How can I draw a pencil easily?
Short answer
Drawing a pencil involves capturing its cylindrical form, conical tip, and hexagonal or round body. By using basic geometric shapes like rectangles and triangles as a foundation, you can build the structure accurately. Adding realistic shading, wood grain textures, and metallic ferrule highlights will bring your simple pencil sketch to life.
On this page
How to draw a pencil step by step
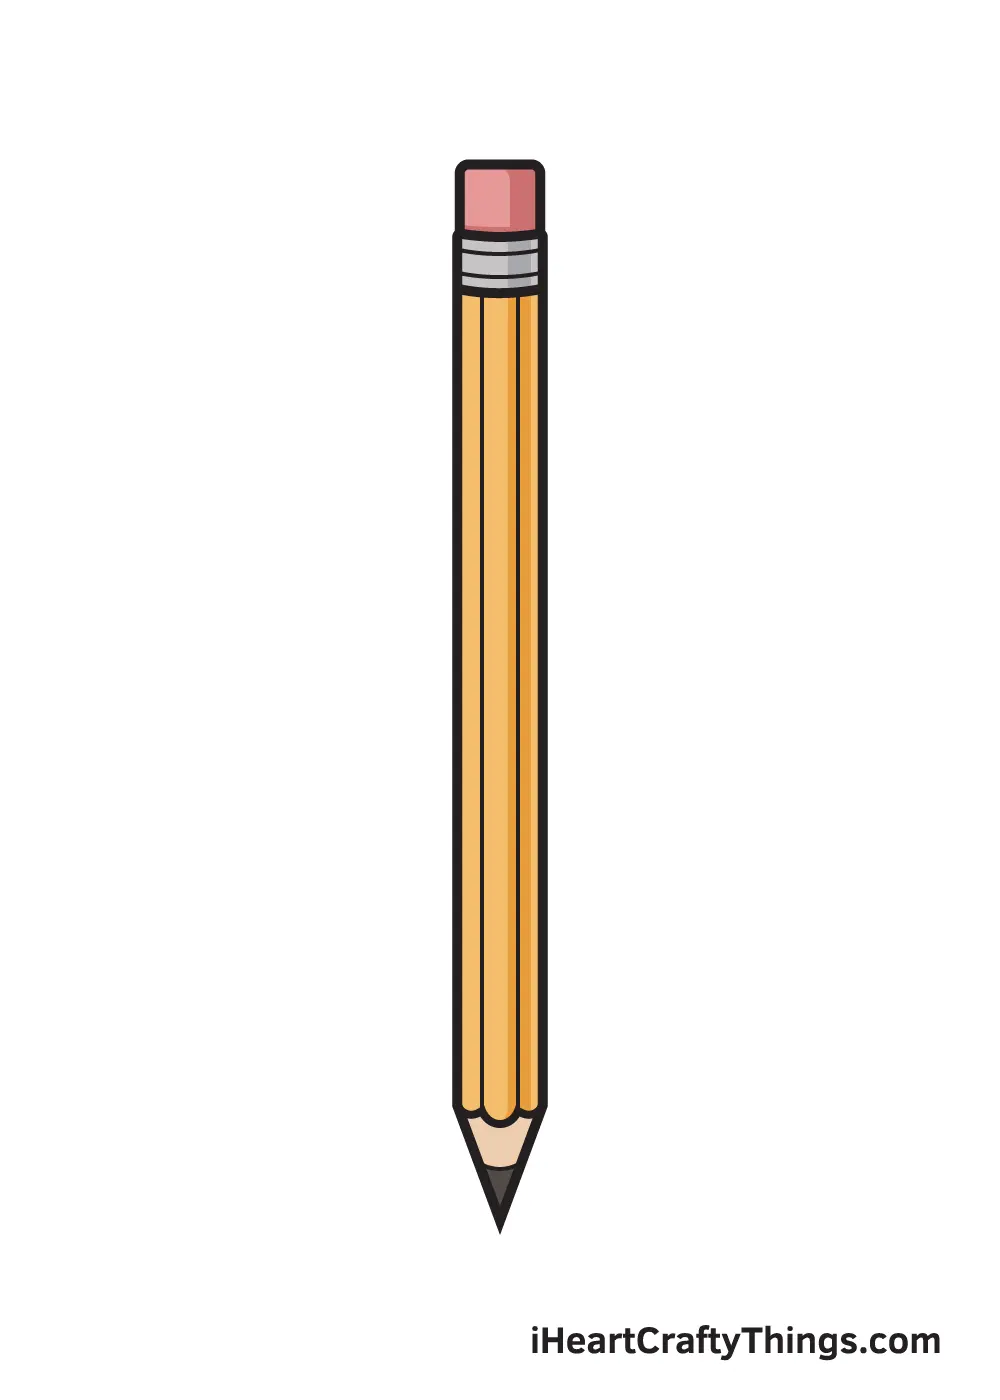
To draw a pencil, begin by visualizing it as a simple geometric assembly. Start by drawing a long, thin rectangle to represent the body of the pencil. At one end, attach a narrow triangle to form the sharpened tip, and at the other end, draw a small, slightly curved rectangle to represent the metal ferrule that holds the eraser. Once the basic outline is established, refine the lines to ensure the pencil looks straight and symmetrical.
- Draw a long, thin rectangle for the pencil's body.
- Add a triangle to one end for the graphite tip.
- Attach a small rectangle to the opposite end for the eraser.
- Draw a small, curved line where the wood meets the graphite.
- Add subtle lines along the length to suggest the hexagonal shape.
Using these steps provides a solid framework. By breaking the object down into these primitive shapes, you ensure that the proportions remain consistent throughout the drawing process.
Best tools for pencil drawing beginners
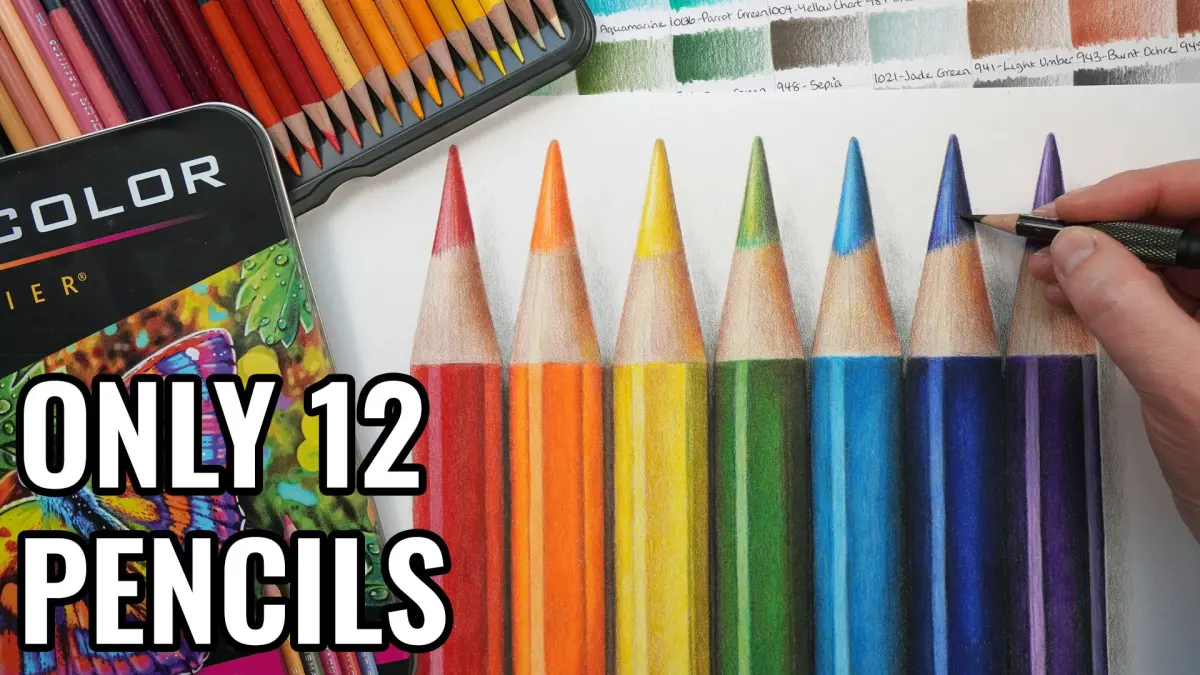
For those just starting out, selecting the right graphite grade is essential for achieving different tones. Pencils are graded on a scale from 9H (hardest and lightest) to 9B (softest and darkest). An HB pencil is the standard choice for general sketching because it offers a balance between hardness and darkness. For shading, a 2B or 4B pencil provides enough softness to create smooth, dark transitions without smudging excessively on the page.
- HB: The standard all-purpose pencil for initial outlines.
- 2B: A slightly softer lead ideal for initial shading.
- 4B: Excellent for deep, dark shadows and dramatic contrast.
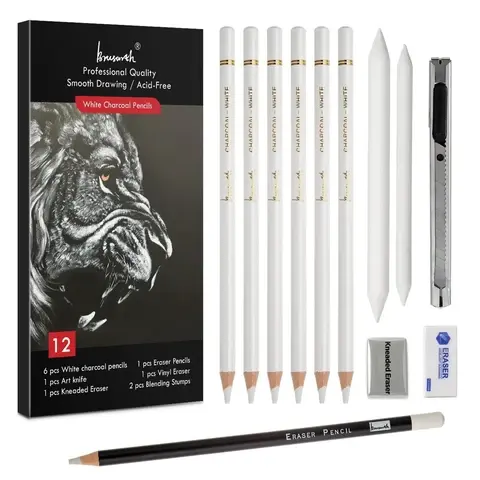
- Kneaded eraser: Useful for lifting graphite to create highlights.
- Blending stump: A paper tool used to smooth out graphite strokes.
Investing in a high-quality sketchbook with a slightly textured surface also helps. The tooth of the paper allows the graphite to adhere better, making your lines look more professional and deliberate.
How to shade a pencil drawing effectively
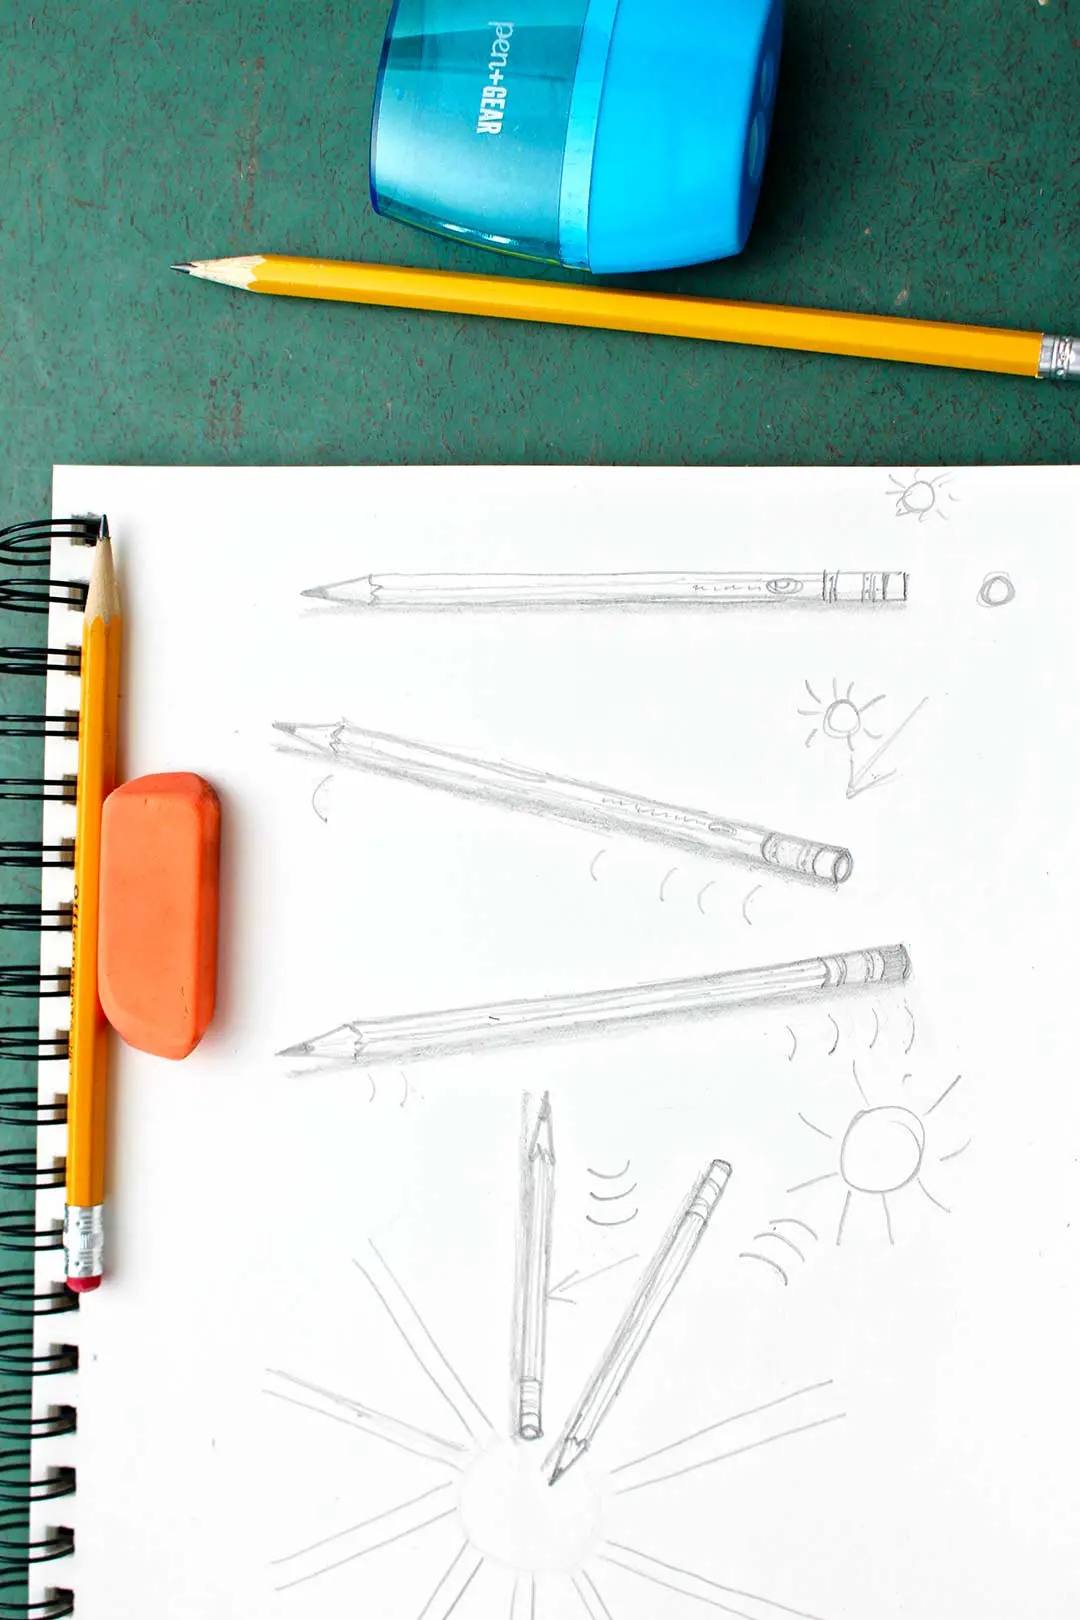
Shading is what transforms a flat, two-dimensional sketch into a three-dimensional object. To shade a pencil, identify the light source and determine where the highlights and shadows will fall. Apply graphite in light, consistent layers rather than pressing down hard immediately. By gradually building up the pressure, you can achieve a smooth gradient that mimics the cylindrical curvature of the pencil's wooden casing.
When shading the ferrule, use short, horizontal strokes to suggest the metallic texture. Leave a small, white gap near the edge of the metal to represent a highlight, which adds realism. For the wooden tip, use diagonal strokes that follow the conical shape. Always keep your pencil sharp when working on these fine details, as a blunt tip will make the shading look muddy and imprecise. Consistent pressure is the key to achieving a professional, clean finish.
Common mistakes when drawing a pencil
One of the most frequent errors is failing to maintain consistent proportions, such as making the eraser too large or the tip too blunt. Beginners often draw the body of the pencil with a slight curve, which makes the object look warped rather than rigid. To avoid this, use a ruler for your initial guide lines or practice drawing long, straight strokes with your entire arm rather than just your wrist.
Another common mistake is over-blending, which can strip away the texture of the drawing and make it look like a grey smudge. Avoid using your fingers to blend graphite, as the natural oils on your skin can create uneven patches. Instead, use a blending stump or a clean piece of tissue. Additionally, neglecting to sharpen your pencil frequently leads to soft, imprecise lines that lack the crispness required for a technical object like a pencil.
Why pencil drawings look flat
Drawings often appear flat when they lack a full range of values, meaning they only utilize mid-tones without true blacks or bright highlights. To add depth, you must push your shadows to be darker and ensure your highlights are clean and bright. Use a kneaded eraser to pull graphite off the page to create sharp, crisp highlights on the metallic ferrule or the sharpened graphite tip.
Perspective also plays a significant role in depth. If the pencil is drawn at an angle, ensure the ellipses at the ends of the ferrule and the eraser are drawn correctly. These ellipses should be wider if the pencil is viewed from a side angle and thinner if viewed from the front. By carefully observing how light interacts with the cylindrical surface and ensuring that your ellipses are properly aligned, you will be able to create a drawing that looks like it could be lifted right off the page.
Key facts
- A standard pencil is essentially a long, thin cylinder topped with a smaller, shorter cylinder for the ferrule and an eraser.
- Use a ruler to draw two parallel lines to establish the length and width of the pencil body.
- The hexagonal shape of many pencils is achieved by drawing three visible rectangular facets on the main body.
- Always sharpen your drawing pencil to a fine point before adding details to ensure clean, crisp lines.
- The ferrule, the metal band holding the eraser, should be drawn slightly wider than the pencil body to create depth.
- Use an H-grade pencil for light initial outlines and a 2B pencil for darker shading and final edges.
The bottom line
Drawing a pencil is an excellent exercise in mastering basic geometric shapes and perspective. By breaking the object down into cylinders and rectangles, you can construct a convincing form. Focus on light and shadow to define the edges and textures of the wood, metal, and graphite. With consistent practice and careful observation of your reference, you will quickly improve your ability to render everyday objects accurately.
People also ask
Why does my pencil drawing look flat?
Your drawing likely lacks shading or highlights. Add a darker tone on one side of the pencil to simulate a light source and create a three-dimensional effect.
What is the best way to draw the pencil tip?
Draw a small cone shape extending from the end of the cylinder. Add a tiny circle at the very tip to represent the exposed graphite core.
Should I use a blending stump for shading?
A blending stump helps smooth out graphite transitions, but you can also use a soft tissue or a cotton swab. Avoid using your fingers, as skin oils can smudge the paper.
How do I draw the eraser?
Draw a slightly curved rectangle at the top of the ferrule. Adding a small shadow at the base of the eraser helps it look attached rather than floating.
Is it better to draw a round or hexagonal pencil?
A hexagonal pencil is easier to render because the flat sides create clear lines for shading. A round pencil requires a smooth gradient, which is more challenging for beginners.
How can I make the metal ferrule look realistic?
Draw thin horizontal lines across the ferrule to represent the crimped metal. Leave a thin white space on one side to mimic a metallic reflection.
This answer was created with the help of AI research tools and reference sources. Spotted an error? Let us know — we correct mistakes quickly. See our editorial policy.