What are the best colored pencils for beginners?
Short answer
The best colored pencils for beginners are wax-based, student-grade options like Prismacolor Premier Scholar or Faber-Castell Goldfaber. These pencils offer a balance of affordability, blendability, and pigment quality. They are soft enough to layer easily without the high price tag of professional-grade sets, making them ideal for developing fundamental drawing techniques.
On this page
What are the best colored pencils for beginners?
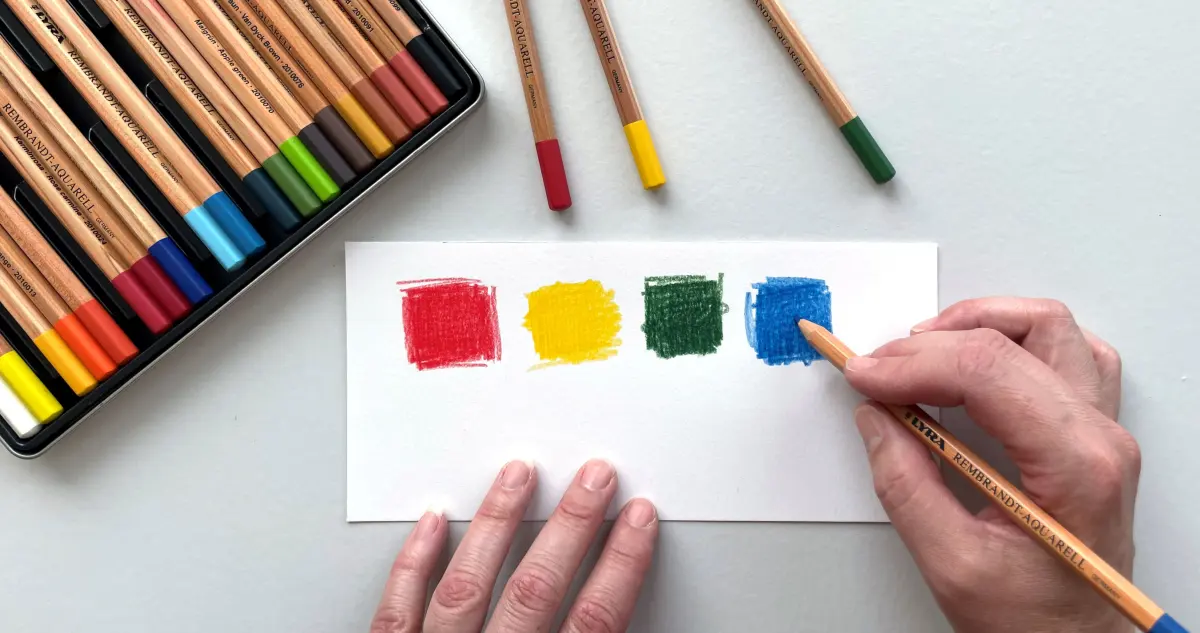
When starting your artistic journey, choosing the right tools is essential for building confidence. Student-grade pencils are specifically designed for learners, offering a balance between durability and ease of use. Unlike professional-grade pencils, which can be expensive and highly pigmented, student-grade options are formulated to be more forgiving during the blending process.
Look for brands that provide a decent color range without requiring a massive financial investment. Prismacolor Premier Scholar and Faber-Castell Goldfaber are widely considered the industry standards for those new to the medium. These pencils feature a core that is soft enough to lay down color smoothly but firm enough that the tips do not constantly break under light pressure.
- Prismacolor Premier Scholar: Known for a buttery, wax-based texture that blends effortlessly.
- Faber-Castell Goldfaber: Offers a harder lead that holds a sharp point longer for detailed work.
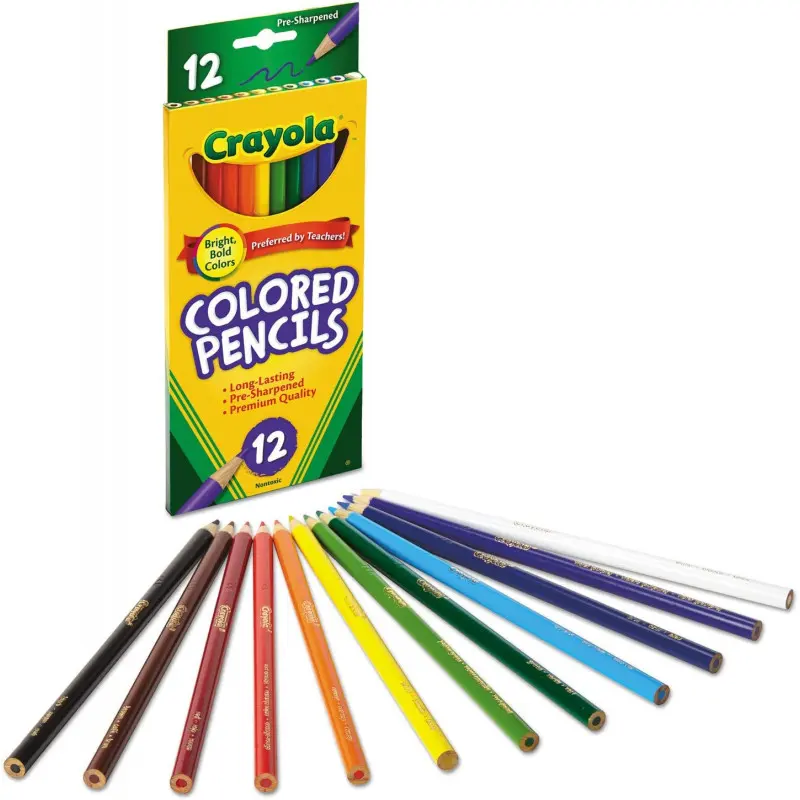
- Crayola Erasable: A budget-friendly option for children or those just testing the medium for the first time.
How to choose between wax and oil-based pencils
Colored pencils generally fall into two categories: wax-based and oil-based. Wax-based pencils, such as those from Prismacolor, have a soft, creamy feel. They are excellent for blending and layering, though they can sometimes develop a "wax bloom," a hazy white film that appears on the surface of a drawing after it has been stored for a while.
Oil-based pencils, such as Faber-Castell Polychromos, contain a harder binder. These pencils are less prone to breaking and do not suffer from wax bloom, making them popular for artists who prefer crisp, clean lines. For a beginner, the choice depends on your personal preference for texture. If you enjoy smooth, painterly effects, start with wax. If you prefer precision and control, oil-based pencils are the better choice.
- Test a single pencil from a few different brands before buying a full set.
- Consider the paper quality, as toothy paper works better with wax-based pencils.
- Check the lightfastness ratings if you intend to display your finished artwork.
How to blend colored pencils effectively
Blending is the process of mixing two or more colors to create gradients or new shades. For beginners, the simplest method is pressure layering. Start by applying a light layer of one color, then gently overlap it with a second color. By varying the pressure of your stroke, you can create a seamless transition between the two hues.
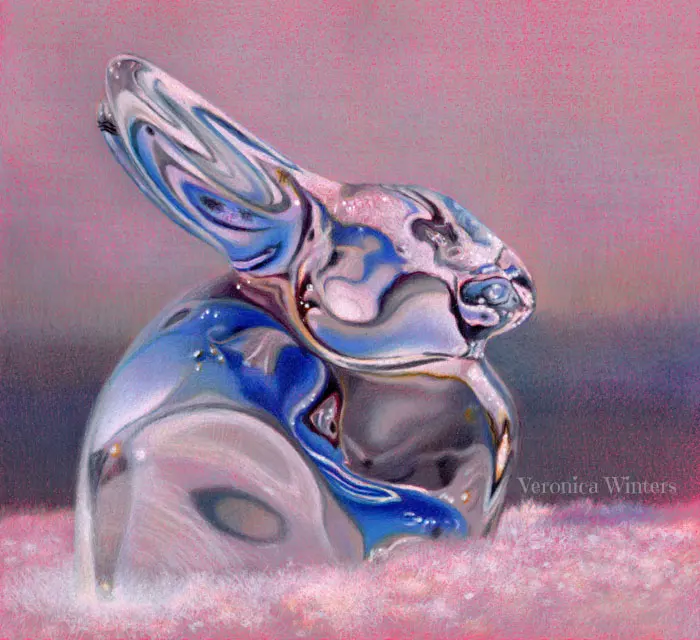
Another technique involves using a colorless blender pencil. This is a pencil containing only the binder without any pigment. When you rub this over your layered colors, it pushes the pigment into the paper's texture, creating a smooth, polished finish. This is an excellent way to achieve a professional look without needing to master complex shading techniques immediately.
- Use circular motions to build up color density evenly across the page.
- Apply light pressure initially to keep the paper tooth open for future layers.
- Use a white pencil to lighten areas or soften transitions between dark and light colors.
Common mistakes when using colored pencils
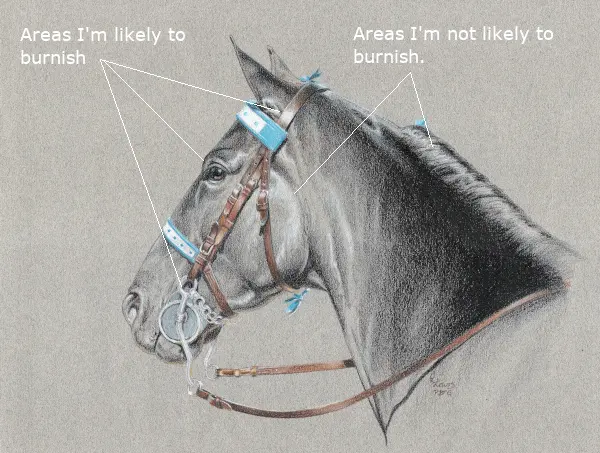
A frequent mistake beginners make is applying too much pressure too early in the drawing process. When you press down hard, you "burnish" the paper, filling the tiny indentations known as the "tooth." Once the tooth is filled, the paper cannot accept any more layers, which limits your ability to blend or add depth to your work.
Another common error is using poor-quality paper. Standard printer paper is too thin and lacks the texture necessary to grab the pigment from the pencil. Using a dedicated drawing pad with a medium-weight, acid-free surface will significantly improve your results. Always start with light layers and build your colors gradually to ensure you maintain control over the final outcome of your drawing.
- Avoid heavy pressure until the final stages of your drawing.
- Do not sharpen your pencils to a needle point for every task, as it wastes material.
- Keep your hand off the paper to prevent oils from your skin from affecting the pigment.
How to maintain and store your art supplies
Proper maintenance of your colored pencils extends their lifespan and keeps your work consistent. Always use a high-quality sharpener, preferably one with a metal blade, to prevent the wood casing from splitting or the lead from snapping inside the barrel. If you notice the lead breaking repeatedly, your sharpener blade may be dull and in need of replacement.
Storage is equally important for preserving the integrity of the wax or oil binders. Keep your pencils in a cool, dry place away from direct sunlight, as heat can cause the cores to soften or crumble. If you are traveling, use a dedicated pencil roll or a rigid case to prevent the tips from shattering. Taking these small steps will ensure your tools remain in excellent condition for years.
Key facts
- Wax-based pencils are generally softer and easier to blend than oil-based alternatives.
- Student-grade pencils contain more binder and less pigment than professional-grade sets.
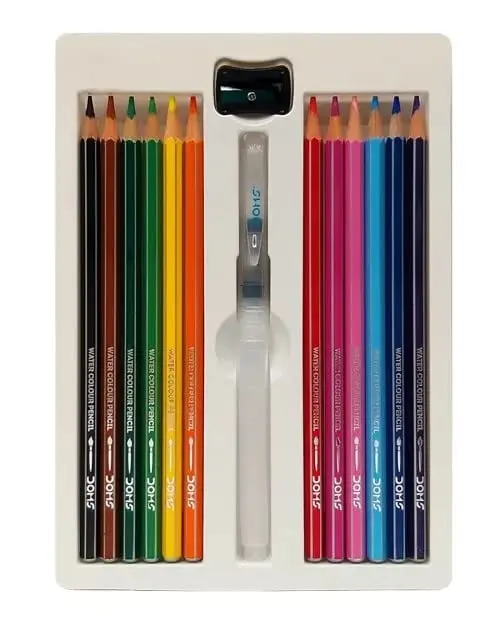
- A 24-piece set is the ideal starting size to provide a sufficient color range without overwhelming the user.
- Always sharpen pencils with a dedicated handheld sharpener to prevent lead breakage.
- Lightfastness ratings indicate how much a color will fade when exposed to sunlight over time.
- Layering colors from light to dark helps achieve depth and prevents the paper from becoming oversaturated.
The bottom line
For beginners, the best approach is to start with a modest 24-piece set of wax-based student-grade pencils. Focus on mastering layering and blending techniques on medium-tooth paper rather than purchasing expensive professional supplies immediately. By applying light pressure and using a sharp, dedicated sharpener, you can create vibrant, professional-looking artwork while developing your fundamental skills and understanding of color theory in a controlled, manageable way.
People also ask
Should I buy wax-based or oil-based pencils?
Beginners should start with wax-based pencils because they are softer and easier to blend. Oil-based pencils are harder, hold a sharper point longer, and are better for fine detail work.
Do I need expensive professional-grade pencils to learn?
No, student-grade pencils are designed for practice and are more affordable. Once you master blending techniques, you can invest in professional sets with higher pigment concentration.
Why do my colored pencil tips keep breaking?
This often happens if you press too hard or use a dull sharpener. Use a light touch to build color gradually and ensure your sharpener blade is sharp.
What type of paper works best for colored pencils?
Medium-tooth paper is best for beginners because it has enough texture to grab the pigment. Smooth paper makes layering difficult, while very rough paper creates a grainy look.
How do I blend colors without a blender pencil?
You can blend by layering light colors over dark ones or using a colorless blender stick. Alternatively, a light touch with a white pencil can soften transitions between colors.
How can I fix a mistake made with colored pencils?
Colored pencils are difficult to erase completely, so it is best to use a light hand initially. You can try a kneaded eraser to lift pigment or cover the area with a darker color.
This answer was created with the help of AI research tools and reference sources. Spotted an error? Let us know — we correct mistakes quickly. See our editorial policy.