How do you color water with colored pencils?
Short answer
You cannot color water directly with dry colored pencils because the wax or oil binders do not dissolve in liquid. To achieve a watery effect, you must use water-soluble pencils on paper, applying pigment and then blending it with a wet brush to mimic the transparency and fluidity of water.
On this page
How to use watercolor pencils for water effects
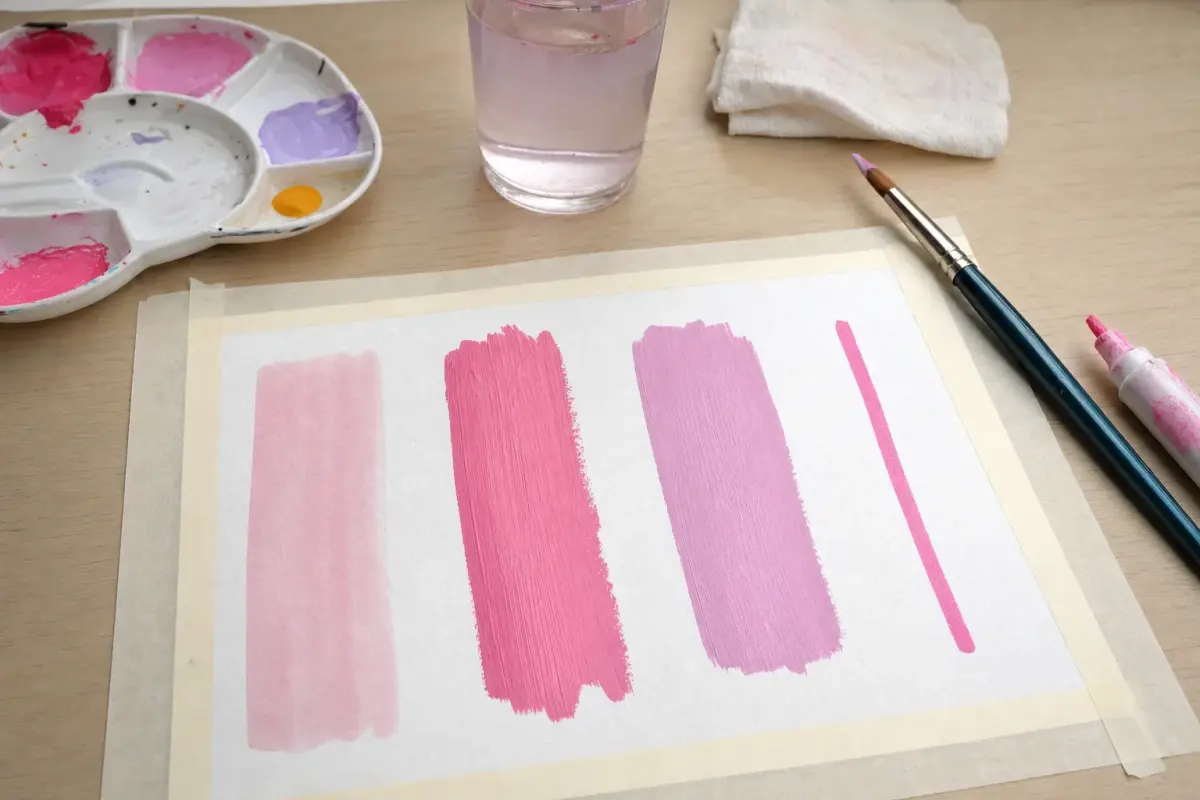
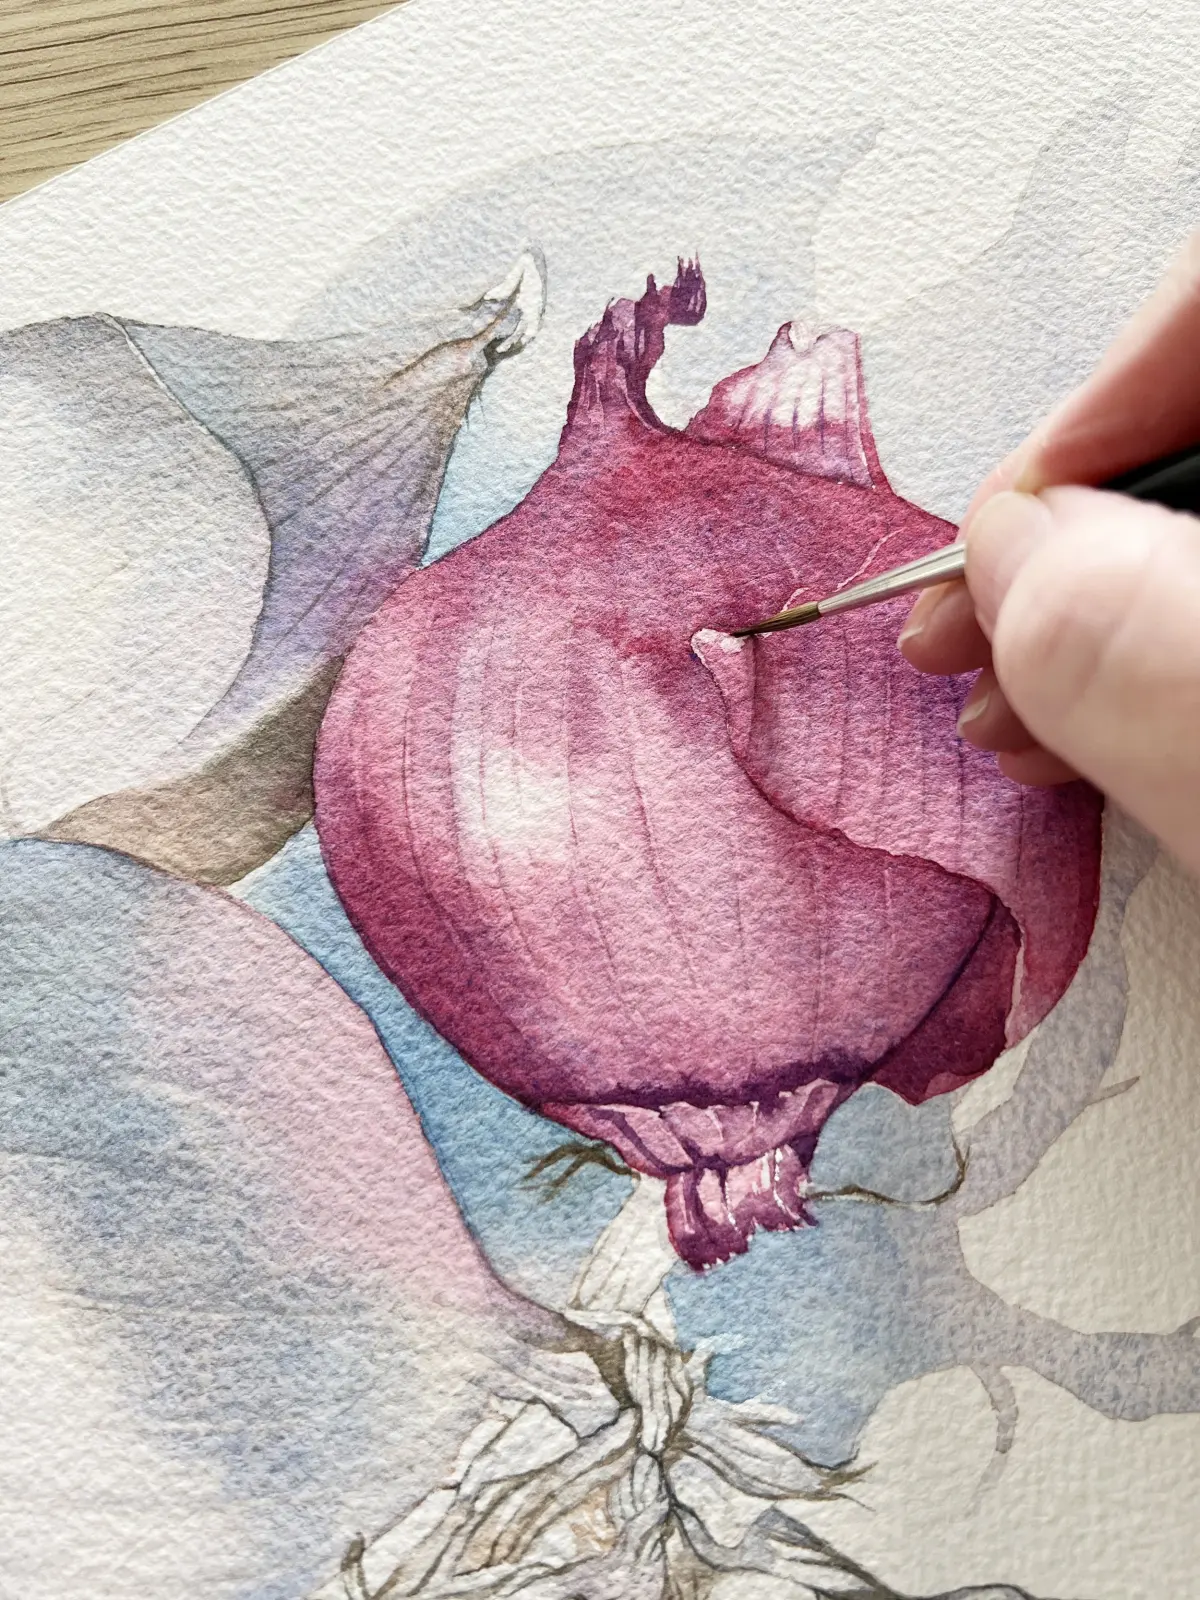
Watercolor pencils are specialized drawing tools containing water-soluble binders instead of standard wax. When you apply water to the pigment, it liquefies, allowing you to create washes, gradients, and soft transitions that resemble traditional watercolor paint. This medium is ideal for artists who want the control of a pencil with the atmospheric qualities of liquid paint.
To achieve the best results, follow these steps:
- Sketch your subject lightly on high-quality, cold-pressed watercolor paper.
- Apply the pencil pigment to the paper, focusing on darker areas first.
- Use a soft, round synthetic brush dipped in clean water to gently pull the pigment across the surface.
- Allow the paper to dry completely before adding additional layers or details.
Always ensure you are using paper rated for wet media. Standard copy paper will pill, tear, or buckle when exposed to water, ruining your drawing.
Best colored pencils for beginners
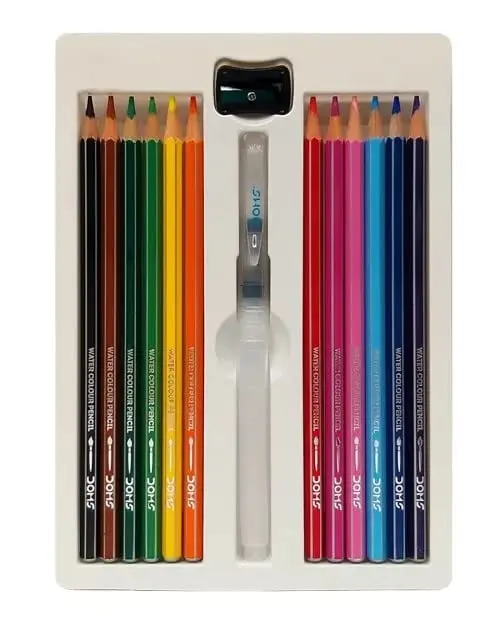
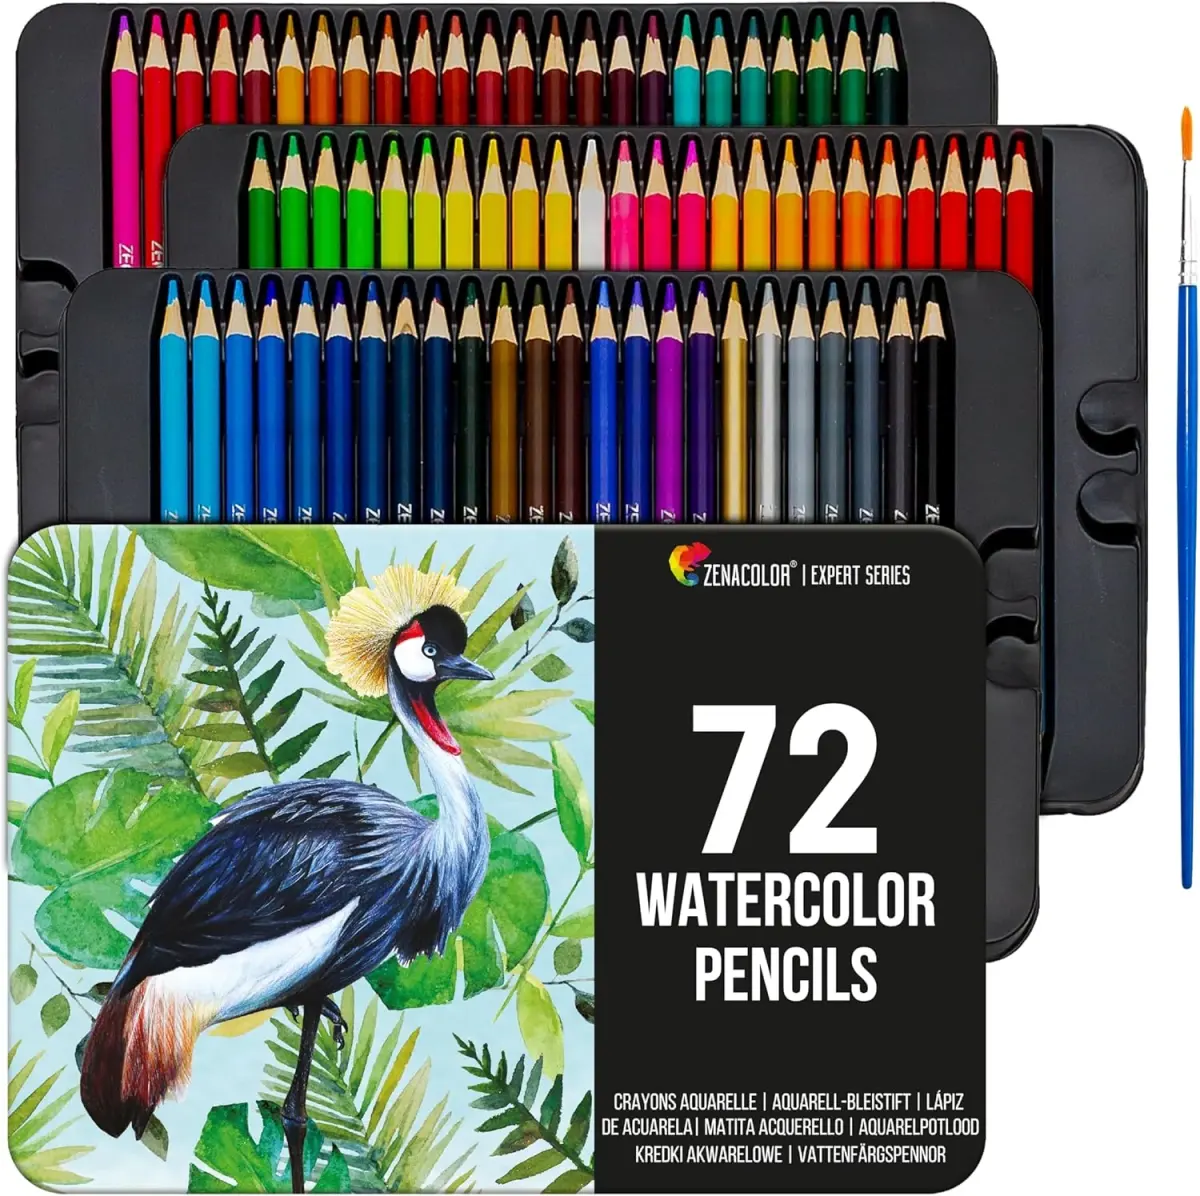
Not all pencils labeled as "colored" possess the ability to turn into paint. Beginners should look for sets specifically labeled "watercolor" or "water-soluble." Popular professional-grade options include Faber-Castell Albrecht Dürer, Caran d’Ache Supracolor, and Derwent Watercolor pencils. These brands offer high pigment concentration, which ensures that the colors remain vibrant even after they are diluted with water.
When selecting your first set, consider these factors:
- Lightfastness: This determines how resistant the color is to fading over time.
- Pigment load: Higher pigment allows for more intense coverage with less physical effort.
- Solubility: High-quality pencils should dissolve almost instantly upon contact with moisture.
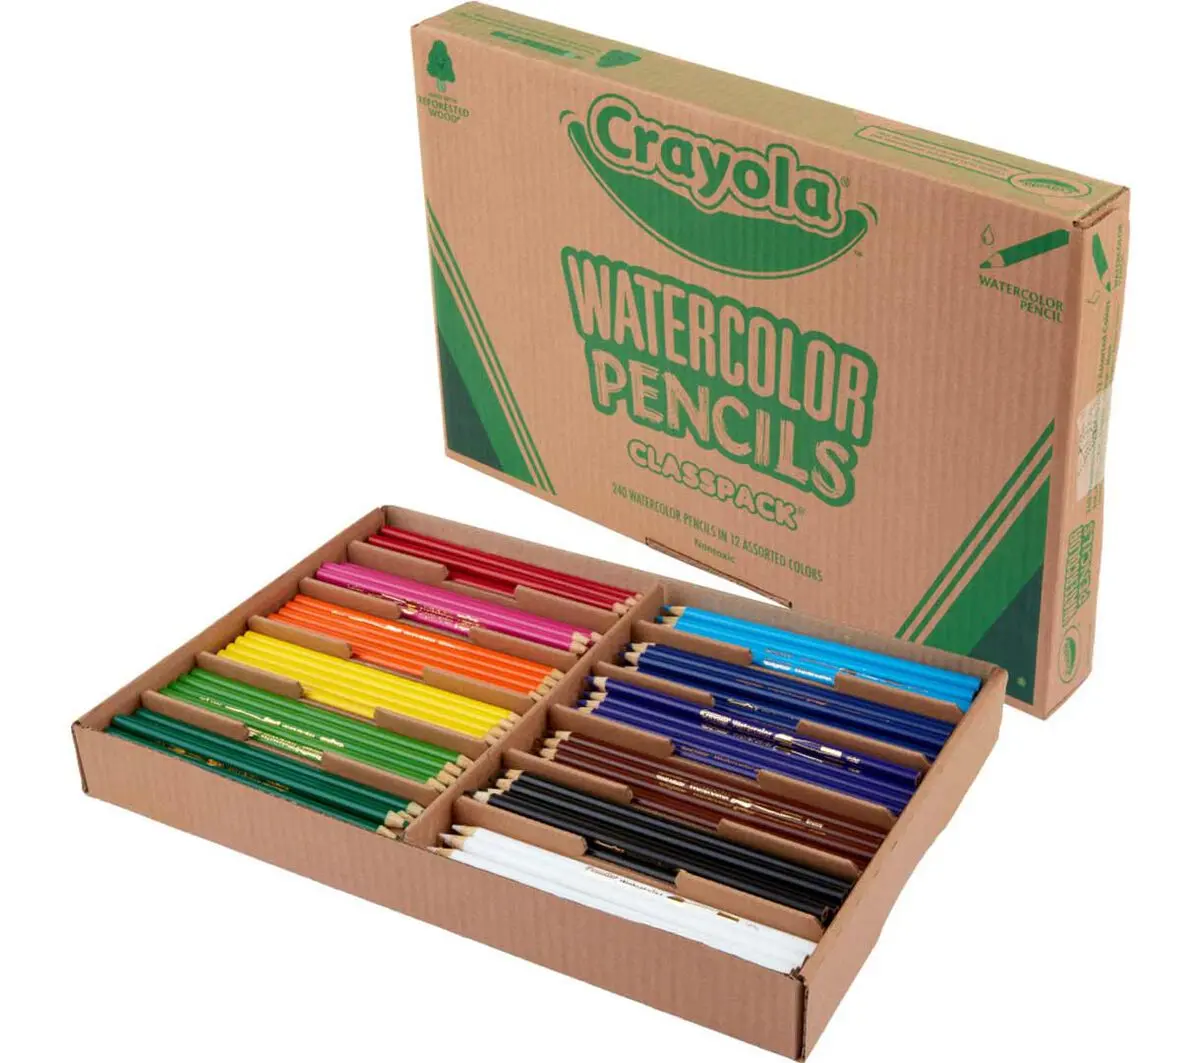
Avoid purchasing cheap, wax-based "art" pencils from craft stores, as these are designed to be permanent. If you try to add water to wax-based pencils, the water will simply bead up on the surface and potentially damage your paper without blending the pigment.
Why water-soluble pencils create better textures
The primary advantage of using water-soluble pencils for depicting water is the ability to control opacity. By adjusting the ratio of water to pigment, you can create everything from deep, dark ocean depths to light, frothy sea foam. This versatility is difficult to achieve with standard dry pencils, which often leave visible, streaky lines that disrupt the illusion of liquid movement.
Professional artists often use a "dry-on-wet" technique to add sharp, crisp details like ripples or reflections after the initial base layer has dried. This creates a sense of depth by layering translucent washes under opaque, sharp marks. Because the binder is designed to react to moisture, you can lift color off the page with a damp cloth to create highlights or "white space" within a dark body of water. This subtractive method is a hallmark of realistic water rendering.
Common mistakes when coloring water
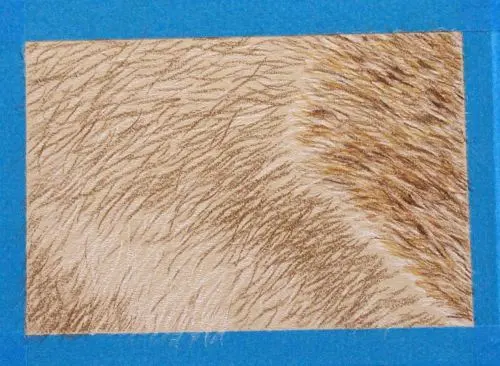
One frequent error is applying too much pressure during the initial dry stage. If you press too hard, you create deep grooves in the paper that will remain visible even after the pigment is washed out. These indentations trap water and pigment unevenly, leading to a patchy, unnatural appearance. Always use a light touch to lay down the color; let the water do the heavy lifting of moving the pigment.
Another common mistake involves using too much water. Saturating the paper can cause the fibers to break down, leading to "blooming" where the pigment spreads uncontrollably. To manage your water usage, keep two containers of water nearby: one for rinsing your brush and one for clean water. Always dab your brush on a paper towel before touching your drawing to remove excess moisture. This control allows you to manipulate the pigment precisely without flooding the page.
How to blend colors for realistic reflections
Reflections in water are rarely a single flat color; they are complex interactions of light, shadow, and surrounding objects. To achieve a realistic look, you must layer complementary colors. For instance, if you are drawing a blue lake, incorporate hints of violet or green to add depth. By layering these colors dry and then blending them with a damp brush, you create a seamless transition that mimics the way light refracts through liquid surfaces.
To enhance your reflections, try these techniques:
- Use a "dry brush" technique to create shimmering light effects on the surface.
- Leave small, uncolored patches of white paper to represent the brightest highlights of the sun or sky.
- Use a white gel pen or opaque white gouache for final, sharp highlights once the watercolor base is fully dry.
By combining these methods, you transform a simple drawing into a dynamic representation of light and motion. Patience is essential, as waiting for layers to dry prevents muddy colors and ensures your final image remains crisp and professional.
Key facts
- Colored pencils contain wax or oil binders that are naturally water-resistant, meaning they do not dissolve in liquid.
- To color water, you must draw on paper rather than attempting to dye the liquid itself.
- Use a layering technique by applying light blue, turquoise, and white to create the illusion of transparency.
- Leave small, uncolored patches of white paper to represent the reflective highlights of sunlight on waves.
- Use a colorless blender pencil to burnish the wax, which smooths out individual pencil strokes for a fluid look.
- Apply darker colors at the base of waves or ripples to create depth and shadow within the water.
The bottom line
Creating the appearance of water with colored pencils relies on color theory and physical technique rather than actual liquid. By layering shades of blue, green, and white while preserving highlights, you can simulate depth and movement. Mastering the use of a colorless blender and varying your stroke pressure will transform static pencil marks into a convincing, fluid representation of water on your chosen drawing surface.
People also ask
Can I use water-soluble pencils to color water?
Yes, watercolor pencils allow you to apply pigment dry and then brush over it with water to create a soft, paint-like wash. This technique is excellent for achieving smooth gradients in large bodies of water.
How do I make water look realistic?
Focus on the interaction between light and surface. Use horizontal strokes for calm water and irregular, curved lines to depict movement or ripples.
What is the best paper for colored pencil drawings?
Heavyweight, toothy paper works best because the texture grabs the wax pigment. Smooth paper makes it difficult to layer colors effectively.
Should I use a sharp or dull pencil?
Use a sharp pencil for fine details like foam or reflections. Use a dull, broad side of the lead to cover large areas quickly without creating harsh lines.
How do I correct mistakes when coloring water?
Use a kneaded eraser to gently lift excess wax from the page. If the color is too dark, you can often layer a lighter, opaque color like white or cream over the top.
Why does my drawing look streaky?
Streaks occur when pressure is applied unevenly or the paper has too much texture. Use a circular motion when coloring to distribute the pigment more evenly across the surface.
This answer was created with the help of AI research tools and reference sources. Spotted an error? Let us know — we correct mistakes quickly. See our editorial policy.