How can I draw a cello easily?
Short answer
Drawing a cello is best approached by breaking its complex, organic shape into three distinct geometric components: a pear-shaped body, a long, thin neck, and a scroll at the top. By focusing on the instrument’s symmetrical curves and vertical alignment, you can construct a recognizable representation using simple, layered pencil sketches.
On this page
How to draw a cello step by step
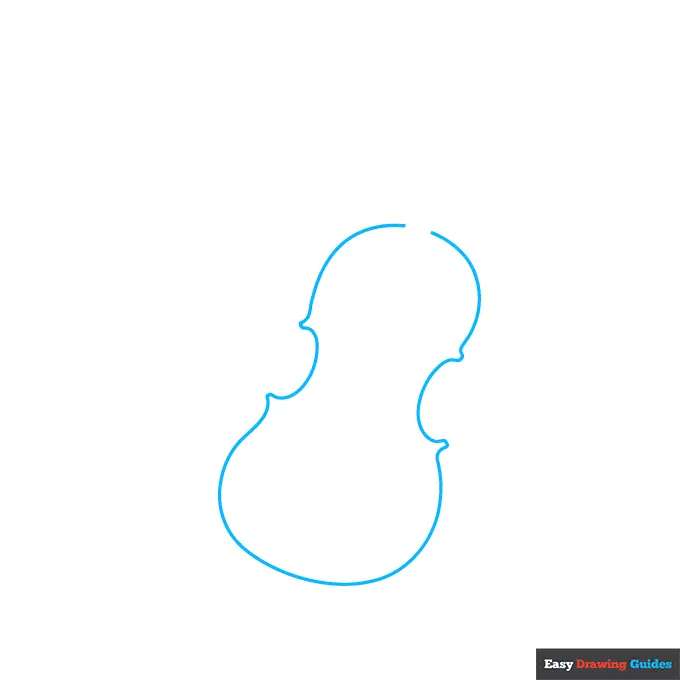
To begin your drawing, establish a vertical center line to ensure symmetry, as the cello is balanced on both sides. Start by sketching a large, elongated pear shape for the body, which consists of two main bouts—the wider lower section and the narrower upper section. Connect these with a gentle indentation at the waist, which is where the player’s knees would typically rest.
Once the body is established, extend a long, narrow rectangle upward from the center of the top bout to serve as the neck. At the very top, draw a small, tight spiral to represent the scroll, which is the signature decorative feature of the instrument. Finally, add the bridge—a small, arched shape in the center of the body—and two f-shaped holes on either side.
- Draw a light vertical axis line to guide your placement.
- Sketch the lower bout as a wide oval and the upper bout as a smaller, slightly flattened oval.
- Connect the two sections with inward curves to create the waist.
- Add the neck and the scroll at the top.
- Place the bridge and f-holes to provide scale and detail.
Best drawing techniques for beginners
When approaching a complex instrument like a cello, beginners should prioritize "blocking in" shapes rather than focusing on fine details immediately. Use a hard lead pencil, such as an H or HB, to keep your initial construction lines faint and easily erasable. This allows you to adjust the proportions of the body or the angle of the neck without leaving dark, permanent marks on your paper.
Once the basic structure is correct, use a softer pencil, like a 2B or 4B, to define the final outlines and add shading. Focus on the highlights along the rounded edges of the instrument, as these give the cello its characteristic polished, wooden appearance. Practicing these light-to-dark transitions will help create the illusion of depth and volume, transforming a flat, two-dimensional sketch into a more realistic representation of the instrument.
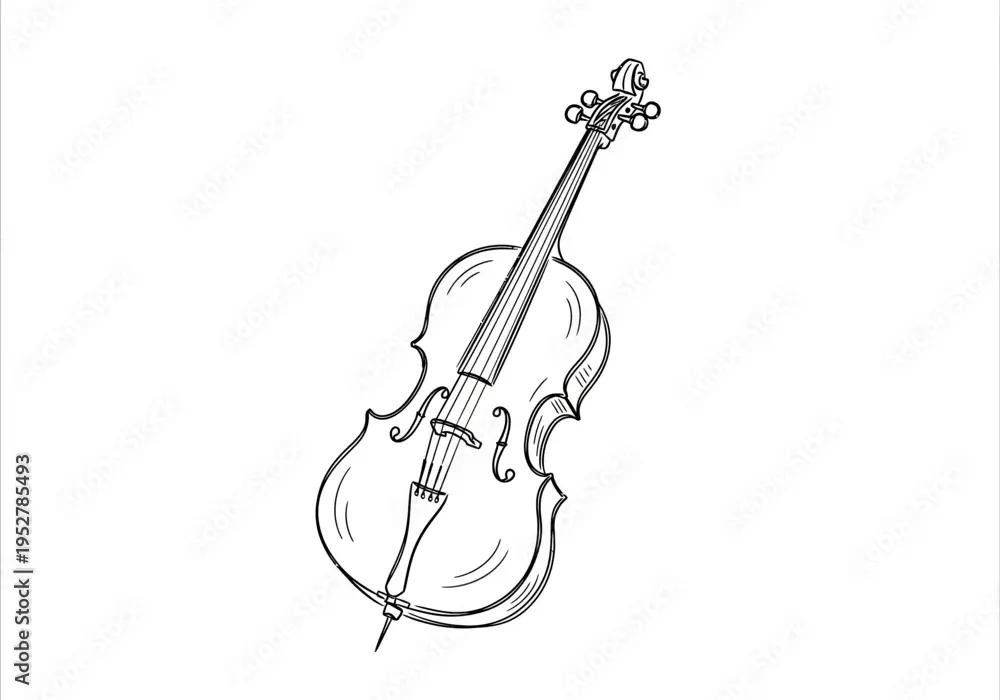
How to get cello proportions right
The cello is defined by its specific ratio of length to width, which is significantly more elongated than a violin. A common error is drawing the body too round or too short, which makes the instrument look like a guitar or a viola. Keep in mind that the lower bout should be roughly twice as wide as the neck, and the total length of the body should be approximately twice its maximum width.
Pay close attention to the placement of the f-holes, which should be situated symmetrically on either side of the bridge. If these are placed too high or too low, the entire instrument will look distorted and unbalanced. Using a ruler or a simple measurement tool, such as your pencil, to check the distance between the bridge and the edges of the body will help ensure that your proportions remain consistent throughout the drawing process.
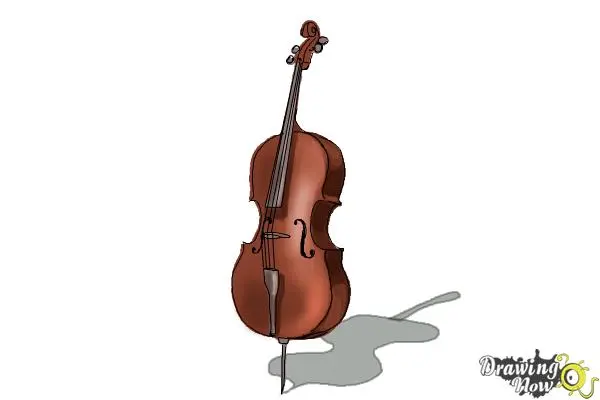
Common mistakes when drawing a cello
One of the most frequent mistakes is failing to maintain the symmetry of the bouts. Because the cello is a handcrafted wooden instrument, even slight variations in the curves on the left and right sides can make the drawing appear lopsided. Always refer back to your center axis line to ensure that the curves on both sides mirror each other accurately.
Another common issue is neglecting the thickness of the ribs, or the sides of the cello. Beginners often draw the instrument as a flat silhouette, missing the subtle shadow that indicates the depth of the body. Adding a thin, darker line along the edge of the instrument helps define its three-dimensional form. Avoid these pitfalls by keeping your lines clean and checking your work against a reference image of a real cello frequently during the process.
- Drawing the body too circular instead of pear-shaped.
- Making the neck too short, which ruins the instrument's scale.
- Forgetting to include the bridge, which acts as the focal point.
- Neglecting the slight inward curve at the waist.
- Drawing the scroll as a simple circle instead of a spiral.
Why shading matters for musical instruments
Shading is the final step that brings a drawing to life, especially when depicting the reflective surface of a varnished cello. Because cellos are made of wood and finished with a high-gloss lacquer, they feature distinct light reflections along their curved surfaces. Use a blending stump or a soft cloth to smooth out your pencil strokes, creating a gradient that suggests light hitting the rounded bouts.
Focus your darkest shading near the edges of the body, where the light is blocked by the instrument's volume. Leave the center of the body slightly lighter to mimic the way light reflects off the rounded front panel. By carefully controlling the contrast between light and shadow, you can convey the texture of the wood and the elegant, sophisticated shape of the instrument. This attention to light is what separates a basic diagram from a finished, professional-looking artistic sketch.
Key facts
- A cello is essentially an elongated figure-eight shape with a long, straight neck extending from the top.
- The body consists of two main curves: a larger lower bout and a smaller upper bout, connected by a narrow waist.
- Always draw the central vertical axis line first to ensure the instrument remains symmetrical.
- The scroll at the top of the neck should resemble a tightly wound spiral, similar to a seashell.
- Position the bridge exactly in the center of the lower bout to maintain realistic proportions.
- Use a ruler to draw the four strings as perfectly parallel lines running from the tailpiece to the pegbox.
The bottom line
Drawing a cello is most successful when you prioritize structural geometry over intricate details. By starting with a central axis and building the body’s figure-eight shape around it, you ensure proper symmetry. Focus on the proportions of the neck and the placement of the bridge, as these elements define the instrument's character. With consistent practice of these simple geometric foundations, you can capture the cello's elegant form effectively.
People also ask
What is the most common mistake when drawing a cello?
Beginners often make the body too round like a guitar, forgetting that a cello has a distinct, elongated pear shape. Ensuring the waist is narrow and the bouts are proportional is essential for accuracy.
How do I draw the F-holes correctly?
Place the F-holes on either side of the bridge, mirroring each other. They should look like stylized, italicized letters, with the top and bottom circles aligned vertically.
Should the neck be as wide as the body?
No, the neck is significantly thinner than the body. It should be roughly one-sixth the width of the lower bout to maintain a realistic scale.
What is the purpose of the endpin?
The endpin is the metal rod at the bottom that touches the floor. Drawing this small, straight line extending from the base adds a necessary sense of scale and function.
How do I draw the bow?
Draw the bow as a long, thin, slightly curved stick with a ribbon of hair running parallel to it. It should be roughly the same length as the cello body.
Do I need to shade the cello?
Shading is crucial because the cello is a curved, wooden object. Focus your light source on one side and darken the edges to create a three-dimensional, rounded appearance.
This answer was created with the help of AI research tools and reference sources. Spotted an error? Let us know — we correct mistakes quickly. See our editorial policy.