How can I draw a plant in a pot easily?
Short answer
Drawing a potted plant is best achieved by breaking the subject into simple geometric shapes. Start with a trapezoid for the pot and circles or ovals for the foliage. By layering these basic forms and adding refined textures, you can create a convincing illustration regardless of your initial artistic skill level.
On this page
How to draw a basic pot structure
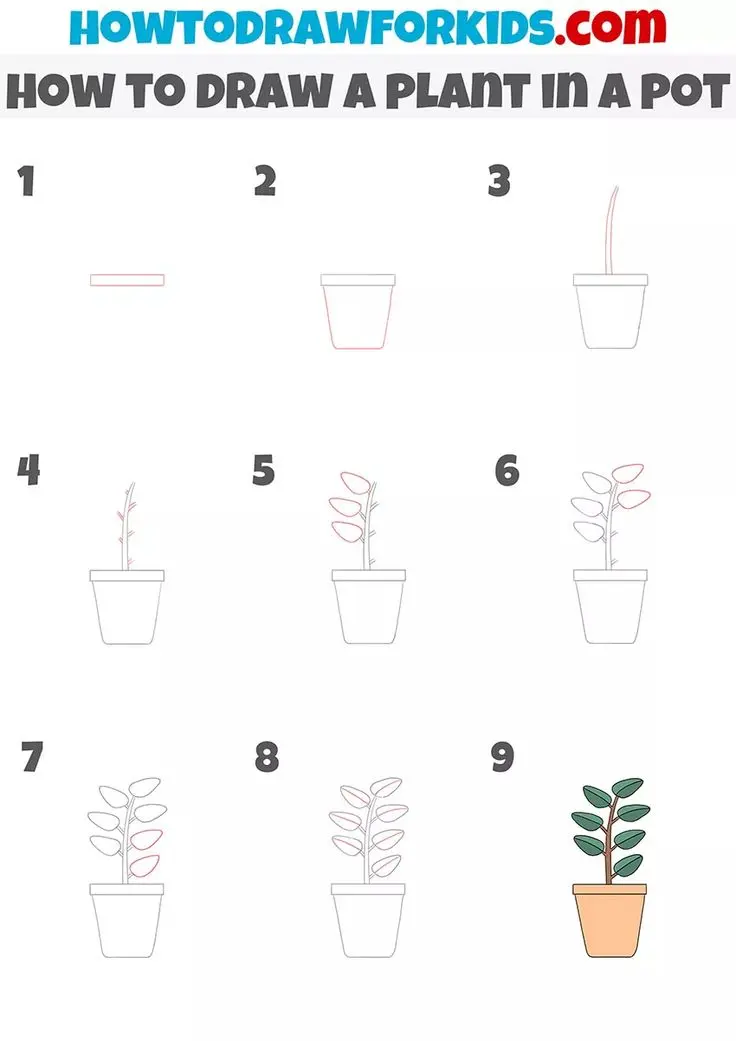
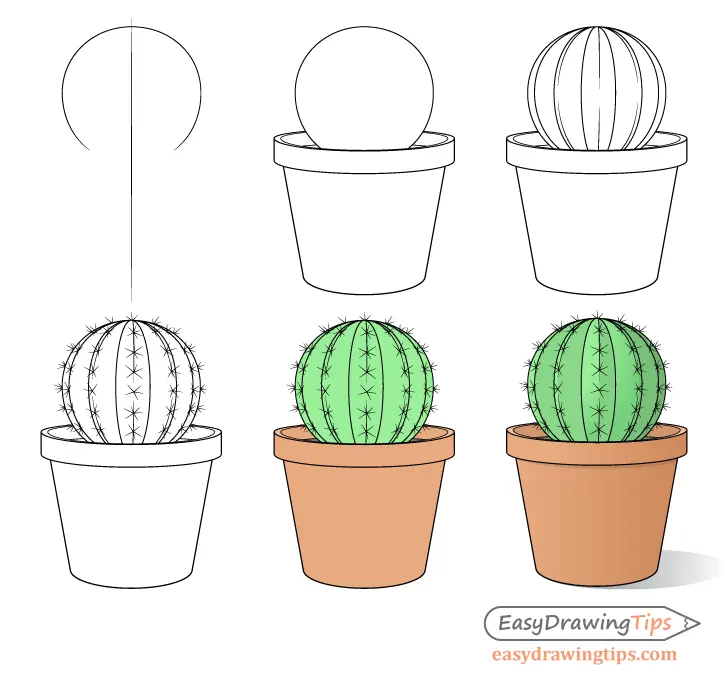
The foundation of a potted plant drawing is the container, which provides balance and perspective. Most standard pots are essentially truncated cones, which appear as a trapezoid when viewed from the front. Begin by drawing a horizontal line for the rim, then add a slightly curved line below it to create the top opening. Connect these to a smaller, parallel line at the bottom to form the base.
To ensure your pot looks three-dimensional, focus on the curvature of the rim and the base. Avoid drawing perfectly straight vertical sides, as most pots taper inward toward the bottom. If you want to add detail, draw a thick band just below the rim to represent the decorative lip found on terracotta or ceramic planters. Keep your initial lines light so you can easily erase or adjust the proportions before finalizing the outline.
How to sketch plant foliage shapes
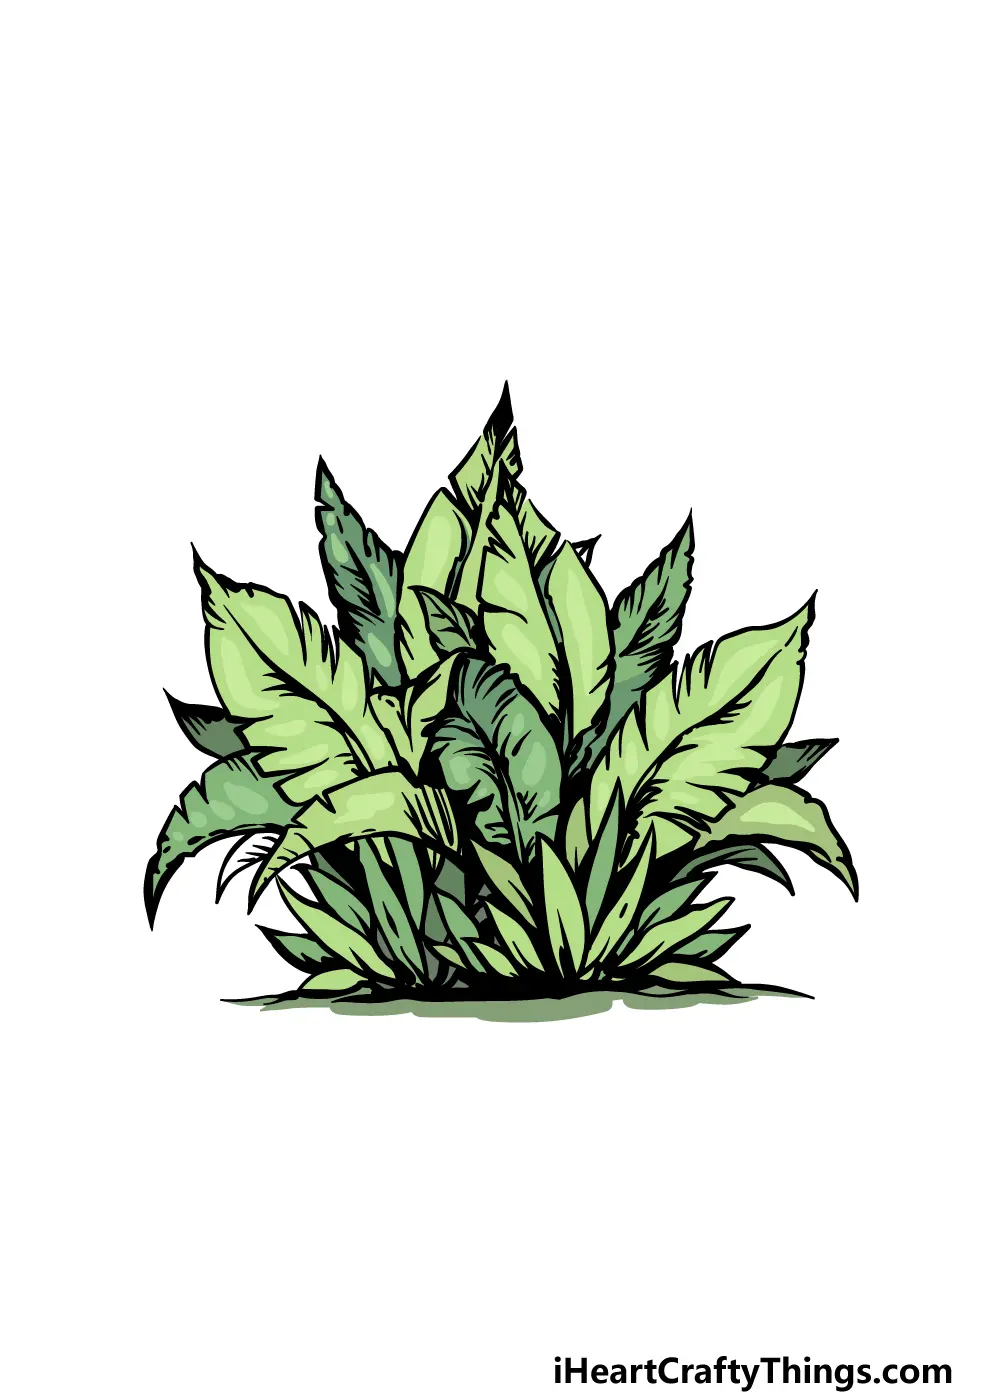
Once the pot is established, focus on the silhouette of the plant rather than individual leaves. Use light, gestural marks to map out the overall volume of the greenery. For a bushy plant, draw a large, loose cloud shape or a series of overlapping circles extending from the center of the pot. If the plant is tall or spiky, use elongated triangles or vertical ovals to indicate the direction of the stems.
Working from the general to the specific helps maintain the correct proportions of the plant relative to its container. Imagine the plant as a collection of masses rather than a chaotic tangle of individual blades. Follow these steps to build the foliage:
- Sketch a central vertical line to determine the height of the plant.
- Outline the outer boundaries of the leaves using soft, rounded shapes.
- Group the leaves into clusters to avoid making the drawing look cluttered.
- Vary the size of the shapes to create a natural, organic appearance.
Best drawing techniques for beginners
Beginners often struggle with the transition between the plant and the pot. To make the drawing look realistic, ensure that some leaves overlap the rim of the pot or hang down over the sides. This creates a sense of depth and integration, making the plant look like it is actually growing out of the soil. Use a sharp pencil to define the edges where the foliage meets the container.
Focusing on light and shadow is the next step in elevating a simple sketch. Determine where your light source is coming from and shade the opposite side of the pot and the underside of the leaves. Use short, rhythmic strokes to suggest texture on the leaves, rather than drawing every single vein. Keeping your hand loose and relaxed will result in more natural-looking curves, which are essential for capturing the fluidity of living plants.
Why drawing plants requires patience
Drawing plants requires careful observation because no two leaves are identical. The most common mistake is attempting to draw every leaf exactly as you see it, which often leads to a stiff or overly symmetrical result. Instead, observe the way leaves grow in clusters or patterns. By capturing the rhythm of the plant’s growth, you create a more authentic representation than a literal, leaf-by-leaf copy.
Patience is also required when refining the details of the soil and the pot's surface. Adding a few pebbles or a slight texture to the clay surface can significantly enhance the final piece. Remember that shadows are just as important as the plant itself; they anchor the pot to the ground and prevent it from appearing as if it is floating. Take frequent breaks to look at your drawing from a distance to check for balance.
Common mistakes when drawing potted plants
Many artists fail to account for perspective, leading to pots that look tilted or lopsided. Always ensure that the ellipse of the pot's rim is consistent with the base; if you draw a wide oval for the top, the bottom should also follow a similar curve. Another frequent error is making the plant too small for the pot, which can make the composition feel top-heavy or disconnected.
Avoid these common pitfalls to improve your results:
- Drawing the pot too small, which makes the plant look disproportionate.
- Using overly dark, heavy outlines that flatten the image.
- Forgetting to add a shadow beneath the pot, which removes the sense of weight.
- Making every leaf the exact same size, which destroys the natural variety found in nature.
- Neglecting to erase construction lines, which leaves the final drawing looking messy and unfinished.
By focusing on these structural elements and avoiding these errors, you will consistently produce clean, professional-looking drawings of your favorite houseplants.
Key facts
- Start by drawing a simple trapezoid or cylinder to represent the pot before adding the plant.
- Use light, sketchy pencil lines for the initial layout so you can easily erase mistakes.
- Draw the plant's main stem or central axis first to establish the height and balance.
- Vary the size and shape of leaves to make the drawing look more natural and organic.
- Add shadows on one side of the pot and leaves to create a sense of depth.
- Use a darker pencil or pen to outline the final shape once you are satisfied with the proportions.
The bottom line
Drawing a potted plant is a rewarding exercise that relies on simple geometric foundations. By starting with a sturdy pot and building the plant upward using light, organic strokes, you can create a balanced composition. Remember to focus on the interplay of light and shadow to bring your sketch to life. With consistent practice and attention to natural shapes, your drawing skills will steadily improve over time.
People also ask
What is the best pencil grade for sketching?
An HB pencil is ideal for initial outlines because it is easy to erase. You can switch to a 2B or 4B pencil later to add darker, more defined shadows.
How do I make the plant look symmetrical?
Draw a faint vertical line down the center of your pot and plant to act as a guide. Check that the leaves on both sides align roughly with this center axis.
Should I draw the pot or the plant first?
Always draw the pot first to anchor the plant in space. This provides a stable base and helps you determine the appropriate scale for the foliage.
How do I draw realistic leaves?
Avoid drawing perfect circles or ovals. Instead, use slightly irregular, curved lines to mimic the organic growth patterns found in real plants.
Why does my drawing look flat?
Drawings often look flat when they lack contrast. Add a consistent light source and shade the opposite side of the objects to create 3D volume.
Can I use colored pencils for this?
Yes, colored pencils are excellent for adding life to your drawing. Start with light base colors and layer darker shades on top to build realistic texture.
This answer was created with the help of AI research tools and reference sources. Spotted an error? Let us know — we correct mistakes quickly. See our editorial policy.