How do you draw a garden step by step?
Short answer
Drawing a garden involves translating three-dimensional space onto a two-dimensional plane using perspective and scale. Begin by establishing a horizon line and a focal point to anchor your composition. Layer your drawing by sketching structural elements first, followed by plant shapes, textures, and finally, light and shadow to create depth.
On this page
How to plan your garden layout on paper
Before picking up a pencil, you must establish the boundaries and scale of your garden space. Start by measuring the actual area you intend to draw or visualize, noting the placement of permanent structures like fences, walls, or existing trees. Use graph paper to maintain a consistent scale, such as one square representing one foot of real-world space. This mathematical approach ensures your drawing remains proportional and functional rather than purely abstract.
Once your boundaries are set, identify the "hardscape" elements. These include pathways, patios, and water features that define the flow of the garden. Draw these shapes with firm, clear lines to provide a skeleton for your design. By establishing these fixed points early, you create a framework that prevents your drawing from becoming cluttered. Remember that a well-planned garden layout prioritizes movement and accessibility, so ensure your paths lead naturally through the space.
How to draw plants and foliage
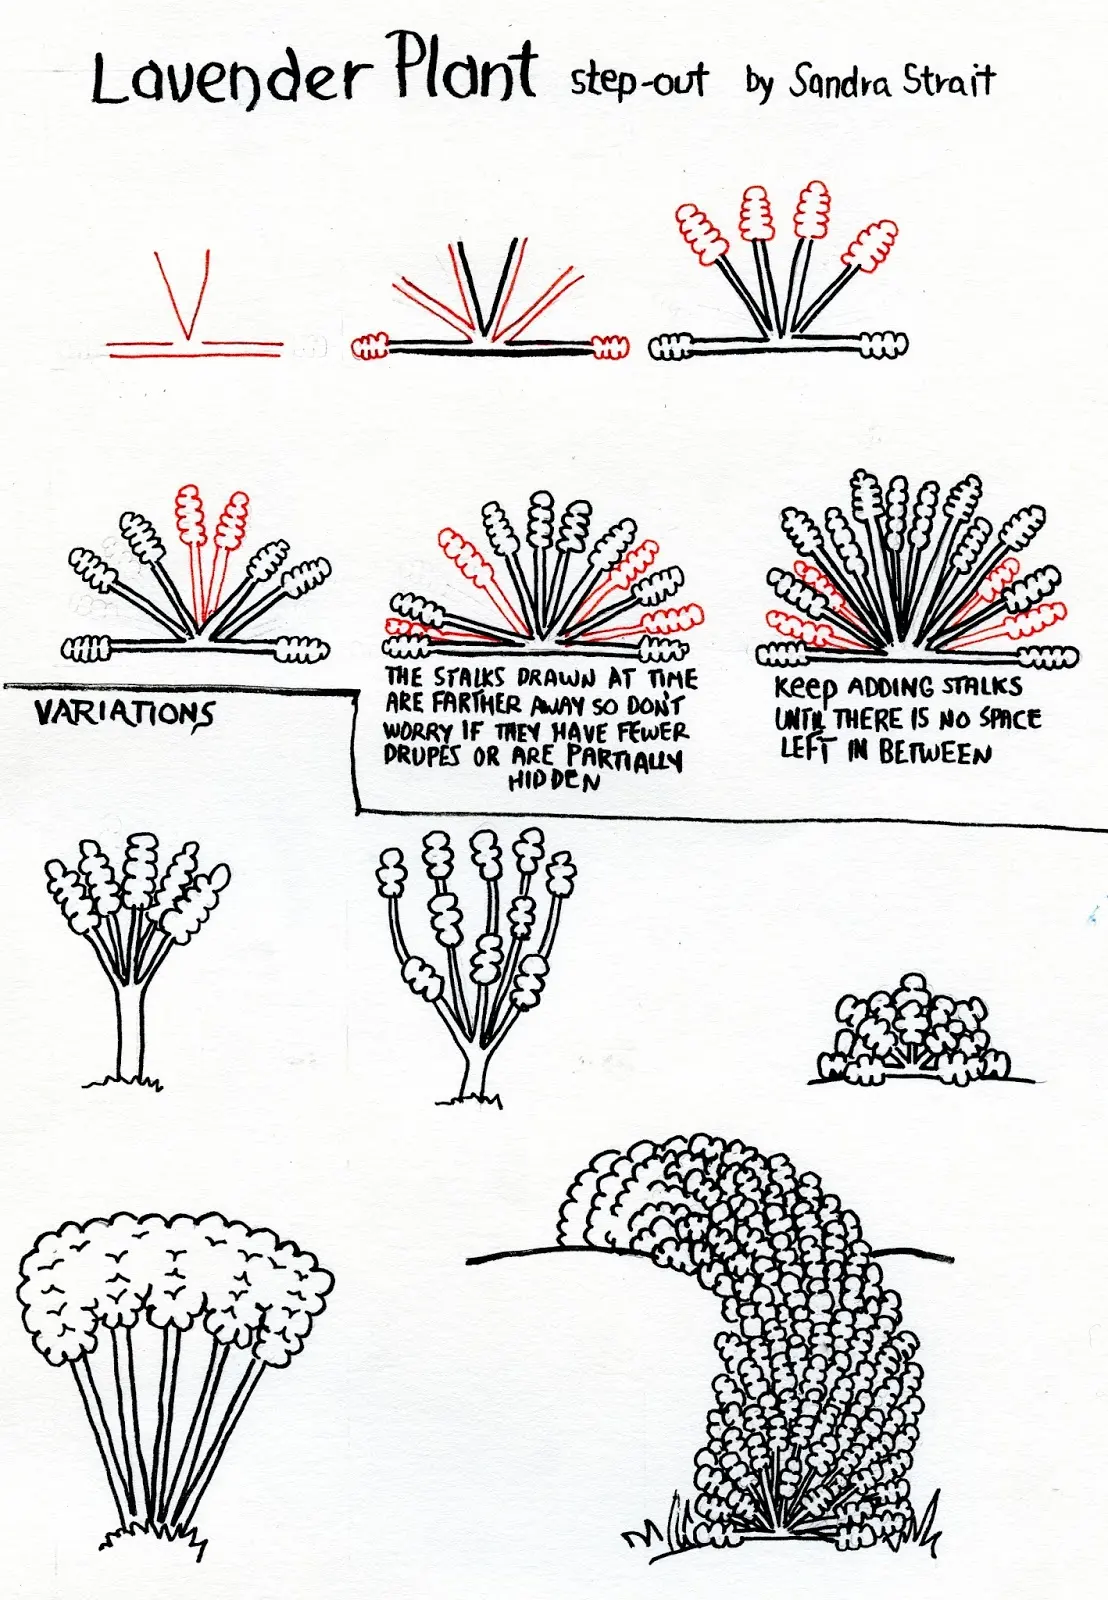
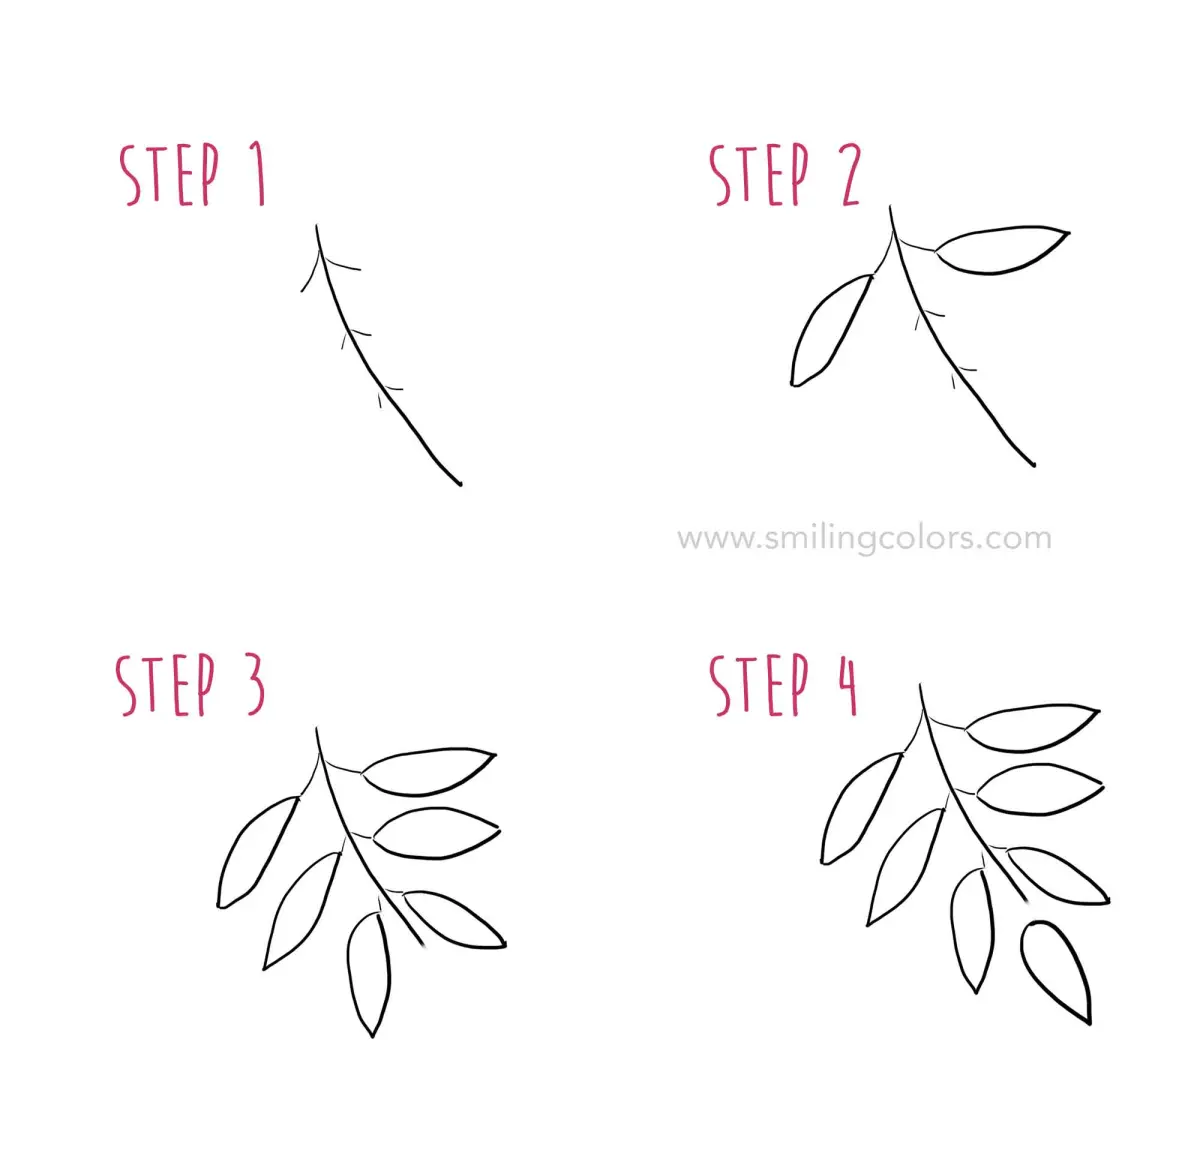
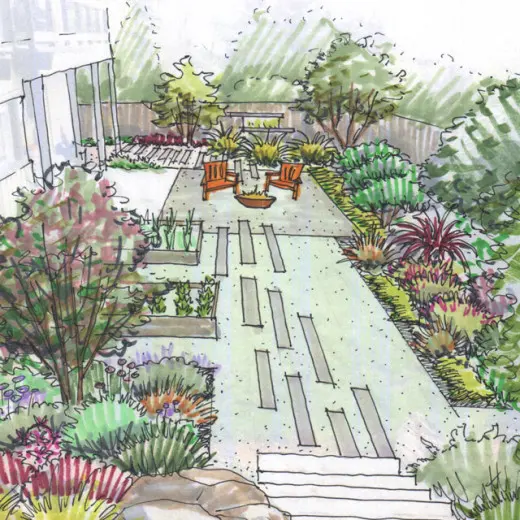
Capturing the essence of plants requires focusing on shape and texture rather than individual leaves. Use broad, loose strokes to outline the general silhouette of shrubs, trees, and flower beds. For instance, a conifer might be represented by a jagged, triangular shape, while a deciduous tree could be a rounded, cloud-like form. By varying these shapes, you create visual interest and mimic the natural diversity found in a healthy landscape.
To add realism, apply different shading techniques to represent the density of the foliage. Dense hedges should be drawn with tight, repetitive marks, whereas ornamental grasses benefit from long, flowing lines. Consider the following techniques to enhance your botanical drawings:
- Use cross-hatching to create deep shadows within the center of dense bushes.
- Apply stippling or light dots to suggest the texture of flower petals or gravel paths.
- Vary the thickness of your lines to emphasize plants in the foreground versus those in the background.
How to create depth in a garden drawing
Creating the illusion of three-dimensional space on a flat page is essential for a professional-looking garden sketch. The most effective method is linear perspective, where all lines converge toward a single vanishing point on the horizon. Objects closer to the viewer should be drawn larger and with more detail, while distant elements should be smaller, lighter, and less defined. This technique, known as atmospheric perspective, mimics how the human eye perceives distance.
You can further enhance depth by layering your elements correctly. Ensure that taller plants or structures in the back do not obscure the primary focal point unless intended for a specific framing effect. Use overlapping shapes to show that one object sits in front of another, which provides the viewer with immediate spatial cues. Practice these steps to build a sense of volume:
- Draw a horizon line across the middle of your paper.
- Place a vanishing point on that line to guide your perspective.
- Sketch larger, darker objects in the foreground.
- Gradually decrease the size and contrast of objects as they approach the vanishing point.
What tools are best for garden sketching
Selecting the right materials can significantly improve the quality and ease of your drawing process. For beginners, a set of graphite pencils ranging from 2H (hard, light lines) to 6B (soft, dark lines) is ideal. Use the harder pencils for initial layout and structural lines, while the softer pencils are perfect for adding depth, shadows, and rich textures to your foliage. A kneaded eraser is also a vital tool, as it allows you to lift graphite gently without damaging the paper surface.
For those who prefer color, watercolor pencils offer a versatile bridge between drawing and painting. You can sketch the garden in detail and then use a damp brush to blend the colors, creating soft, natural transitions that mimic the organic look of a garden. If you prefer a cleaner, more technical look, fine-liner pens provide crisp, permanent edges that are excellent for architectural plans. Regardless of the medium, always keep a sharpener nearby to maintain the precision of your lines.
Common mistakes when drawing a garden
A frequent error is attempting to draw every individual flower or leaf, which often leads to a cluttered and confusing image. Instead, focus on the overall mass and form of the planting beds. Another common pitfall is ignoring the light source, which results in a flat, lifeless drawing. Always decide where the sun is positioned in your scene and keep your shadows consistent on the opposite side of the objects to maintain a realistic appearance.
Scale errors are also prevalent among those new to landscape drawing. If your pathways are too narrow or your trees are disproportionately large compared to the house, the drawing loses its functional value. Always double-check your measurements against your grid paper to ensure that everything remains in proportion. By avoiding these pitfalls and focusing on the relationship between structure and nature, you will create a garden drawing that is both aesthetically pleasing and a helpful guide for your actual gardening projects.
Key facts
- Start by drawing a horizon line to establish the depth and perspective of your garden scene.
- Use simple geometric shapes like circles for flower bushes and rectangles for garden beds to map out the layout.
- Incorporate a vanishing point on the horizon line to ensure all paths and structures appear to recede realistically.
- Add texture to surfaces by using short, repetitive marks for grass and loose, circular scribbles for foliage.
- Vary the size of objects; draw items in the foreground larger and more detailed than those in the background.
- Apply light shading on the side of objects opposite your light source to create a three-dimensional effect.
The bottom line
Drawing a garden is a rewarding exercise in perspective and texture. By establishing a clear horizon line and using geometric shapes to map your space, you create a solid foundation for your scene. Focus on varying the size and detail of your plants to build depth, and use consistent shading to define light. With these practical techniques, you can successfully translate any landscape onto paper.
People also ask
What is the best perspective to use for a garden drawing?
One-point perspective is the most effective for beginners because it creates a clear path leading toward a single point on the horizon. This technique naturally draws the viewer's eye into the center of your garden landscape.
How do I make my flowers look realistic?
Instead of drawing individual petals, focus on the overall shape and volume of the flower clusters. Use darker tones at the base of the plant to suggest shadow and lighter tones on top to indicate sunlight.
Should I use ink or pencil for my initial sketch?
Always start with a light graphite pencil so you can easily erase guidelines and adjust your composition. Once you are satisfied with the layout, you can go over the lines with ink or color.
How can I show different types of plants in one drawing?
Use distinct mark-making patterns for different species, such as spiky lines for tall grasses and soft, rounded clusters for shrubs. This variation provides visual interest and helps the viewer distinguish between different garden elements.
How do I draw a garden path that looks natural?
Draw the path wider at the bottom of the page and taper it as it approaches the vanishing point. Adding slight curves to the edges of the path makes it look more organic and inviting.
What is the most common mistake when drawing a garden?
The most frequent error is neglecting scale, where background trees appear larger than foreground flowers. Always check that objects get smaller and less detailed as they move further away from the viewer.
This answer was created with the help of AI research tools and reference sources. Spotted an error? Let us know — we correct mistakes quickly. See our editorial policy.