How do you draw a horse head for beginners?
Short answer
Drawing a horse head begins with constructing simple geometric shapes to establish proportions. By sketching a large circle for the cheek, a smaller circle for the muzzle, and connecting them with straight lines, you create a structural framework. Refining these shapes into anatomical features allows beginners to achieve a realistic, balanced result quickly.
On this page
How to structure a horse head for beginners
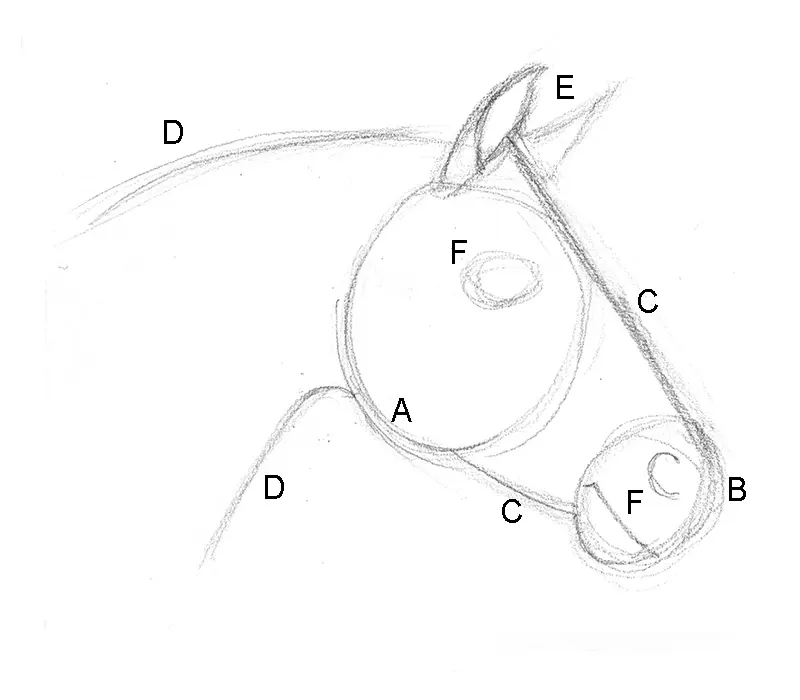
The most effective way to draw a horse head is to utilize the "three-circle method." Start by drawing a large circle to represent the cranium and the bulk of the cheek. Below and slightly to the side of this, draw a smaller circle for the muzzle. Finally, place a medium-sized circle between them to act as the cheekbone area. These shapes provide a foundational map that prevents the head from looking distorted or disproportionate.
Once the circles are in place, connect them with smooth, sweeping lines to form the bridge of the nose and the jawline. The line from the top circle to the muzzle should have a slight concave curve, which is a signature feature of the equine profile. Keep your initial lines very light so they can be easily erased or adjusted before you commit to the final darker outlines.
- Draw the large cranium circle.
- Add the smaller muzzle circle toward the front.
- Connect the shapes with a gentle, inward-curving line for the nose.
- Sketch the jawline by connecting the bottom of the cranium to the muzzle.
Best tools for drawing a horse head
For beginners, using a standard HB pencil is ideal because it allows for both light sketching and darker detailing. Graphite pencils ranging from 2B to 4B are excellent for adding depth and shadows once the basic structure is complete. Avoid using pens or markers until you have fully mastered the proportions, as these mediums do not allow for the necessary corrections during the early drafting phase.
Paper choice also plays a significant role in the quality of your drawing. A smooth, medium-weight sketchbook paper is better than textured paper, as it allows for cleaner lines and easier blending of shadows. You should also keep a soft, white vinyl eraser nearby. Unlike traditional pink erasers, vinyl erasers are less likely to leave residue or smudge your graphite, keeping your workspace clean as you refine the horse's features.
- HB pencil for initial light construction.
- 2B or 4B pencils for shading and dark outlines.
- A high-quality vinyl eraser for precision.
- A blending stump or soft tissue to smooth out transitions.
Why horse head proportions look off
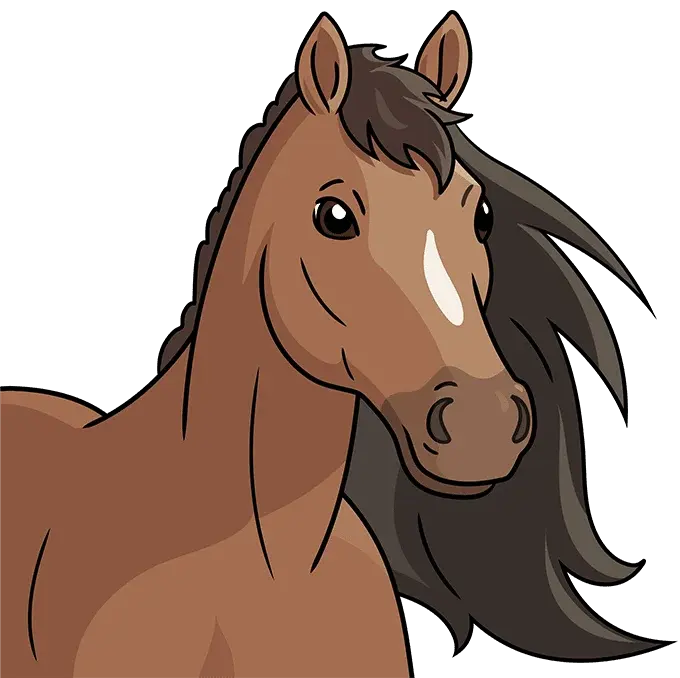
The most common reason a horse head looks incorrect is a misunderstanding of the eye placement. Many beginners place the eye too high or too far toward the front of the face. In reality, the eye should be positioned roughly one-third of the way down from the top of the cranium circle. It should also be set back from the bridge of the nose, nestled into the side of the skull rather than sitting on the surface.
Another frequent issue is the size of the jaw. The jawbone is quite large and extends from the base of the ear down toward the throat latch. If the jaw is drawn too small or too rounded, the horse will appear to have a cartoonish or unnatural look. Always ensure the jawline has a distinct angle near the ear, which adds the necessary structure to support the horse's powerful facial muscles and teeth.
Common mistakes when drawing a horse face
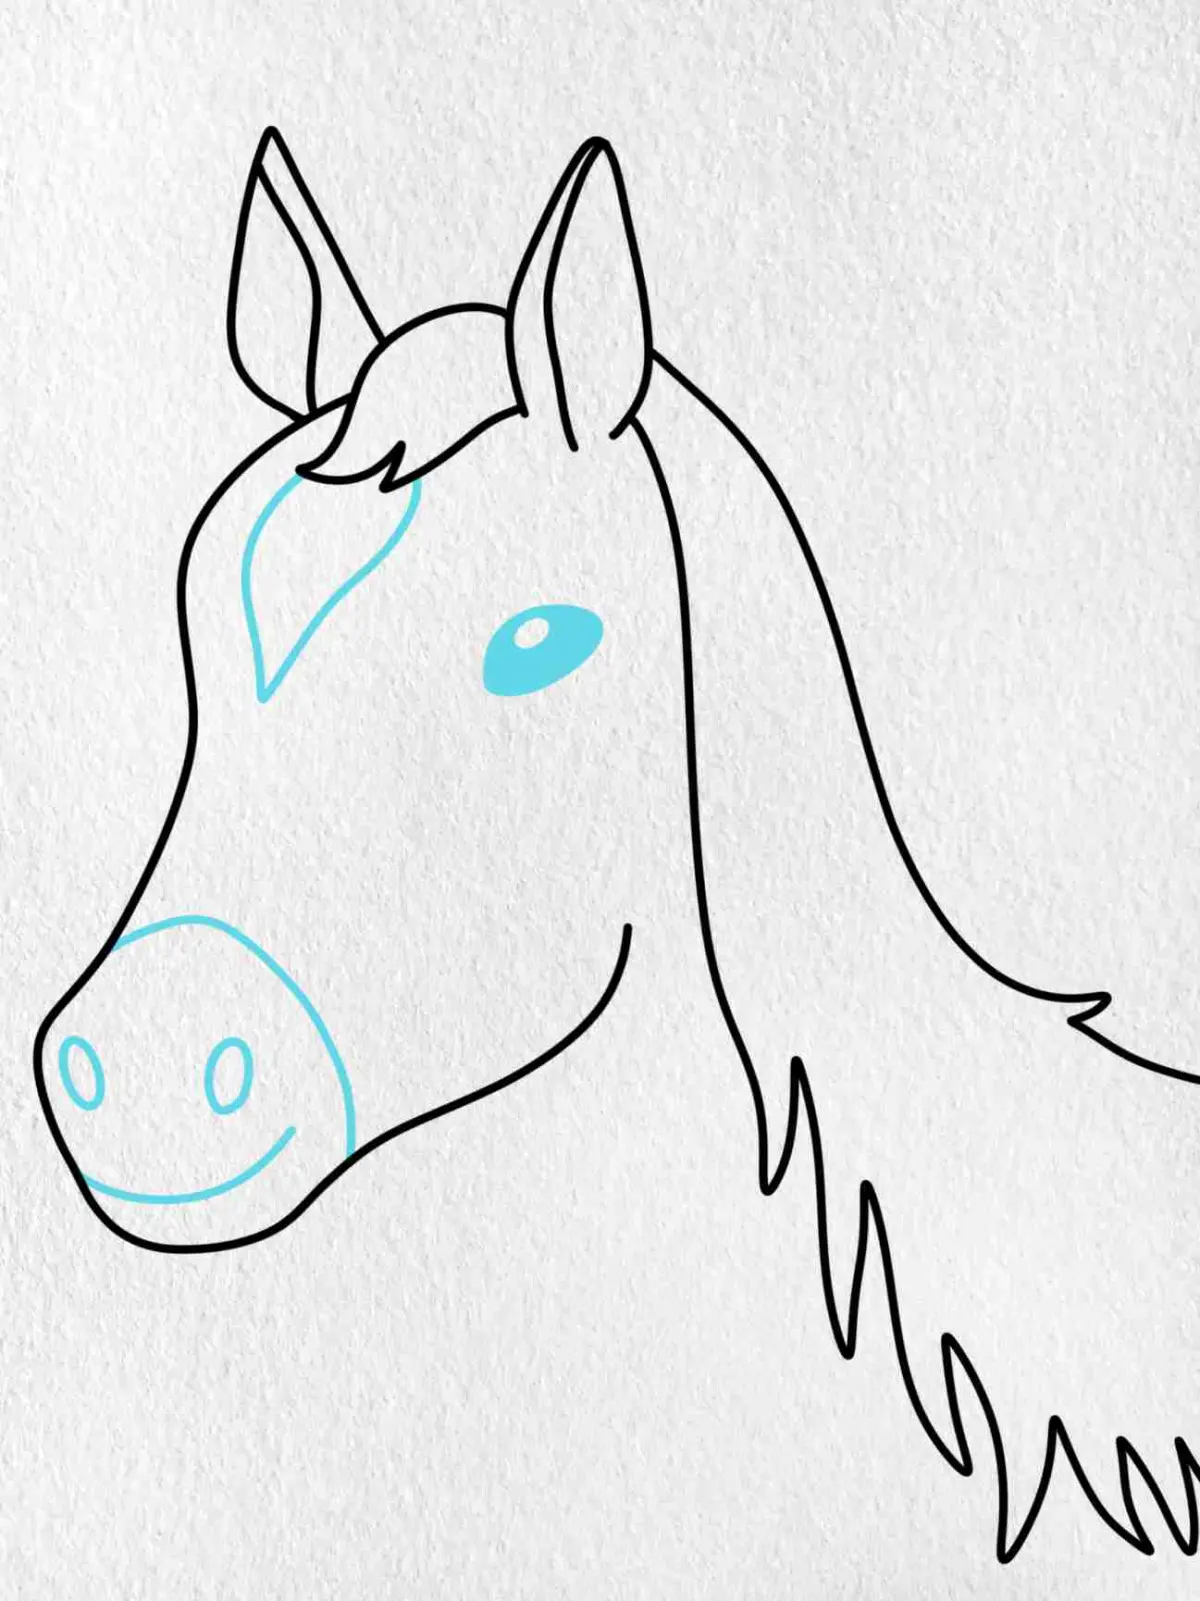
A frequent error is drawing the nostrils too small or too circular. A horse’s nostril is actually shaped like a comma or a bean, and it sits at the very end of the muzzle. If you draw a perfect circle for the nostril, the horse will look surprised or artificial. Focus on the flare of the nostril, which changes based on the horse's mood, and ensure the line of the mouth extends slightly past the nostril area.
Another mistake is neglecting the ears. Ears are highly expressive and should be drawn as elongated, leaf-shaped structures. They should be positioned at the very top of the cranium circle, spaced far enough apart to allow for the width of the skull. If the ears are drawn too close together or tilted at an impossible angle, the entire head will lose its sense of balance and anatomical accuracy.
How to add realistic details and shading
Once the structural lines are finalized, you can begin adding details like the mane and the texture of the coat. Use short, flicking pencil strokes to mimic the direction of hair growth, starting from the base of the neck and moving upward. For the mane, draw long, flowing lines that follow the curve of the neck, adding darker shadows between the strands to create a sense of volume and movement.
Finally, shading is what brings the drawing to life. Identify where the light source is coming from and apply darker graphite to the opposite side of the head. Use a blending stump to soften the transition between light and shadow, particularly around the cheekbones and the bridge of the nose. By focusing on these subtle gradients, you create a three-dimensional effect that makes your horse head drawing look professional, polished, and anatomically convincing.
Key facts
- A horse’s head is roughly shaped like a long, tapered wedge or a trapezoid.
- The eye is positioned about one-third of the way down from the top of the head.
- Horses have prominent cheekbones that form a distinct, rounded curve below the eye.
- The jawline is wide at the base and narrows significantly toward the muzzle.
- Ears are roughly the same length as the distance from the eye to the nostril.
- Always sketch light guidelines first to establish proportions before adding final details.
The bottom line
Drawing a horse head is a matter of mastering basic geometric shapes before refining anatomical details. By starting with a simple trapezoid and carefully placing the eyes and ears, you create a solid foundation for accuracy. Remember to prioritize the long, wedge-like structure of the face and the prominent cheekbone. With consistent practice and observation of real horse anatomy, your sketches will quickly gain depth and realism.
People also ask
How do I make the horse's muzzle look realistic?
Focus on the curve of the nostrils and the soft mouth line. Keep the muzzle slightly blunt rather than perfectly pointed to reflect the natural anatomy of the animal.
Why does my horse drawing look like a dog?
This usually happens because the snout is too short or the eyes are too large. Ensure the muzzle is long and the eyes are set toward the side of the head.
Where should the ears be placed?
Place the ears at the very top of the skull, slightly tilted toward each other. They should be proportional to the head size, usually about one-third the length of the entire face.
What is the best technique for drawing the mane?
Avoid drawing individual hairs initially; instead, sketch the general mass and flow of the hair. Add texture by drawing long, overlapping strokes that follow the direction of the neck.
How do I draw the horse's eye correctly?
A horse’s eye is oval-shaped and sits on the side of the head. Leave a small white highlight to give the eye a sense of life and depth.
Should I use a hard or soft pencil?
Use a hard pencil, such as an H or HB, for light structural sketches and guidelines. Switch to a softer 2B or 4B pencil for shading and defining dark features like nostrils.
This answer was created with the help of AI research tools and reference sources. Spotted an error? Let us know — we correct mistakes quickly. See our editorial policy.