How do you draw a man step by step?
Short answer
Drawing a man involves establishing a balanced skeletal structure using basic geometric shapes, followed by layering anatomical details. By focusing on the "eight-head" proportion rule—where the body is eight heads tall—you can create realistic figures. Mastery comes from observing muscle groups and skeletal landmarks rather than focusing on individual surface outlines.
On this page
How to structure the human figure
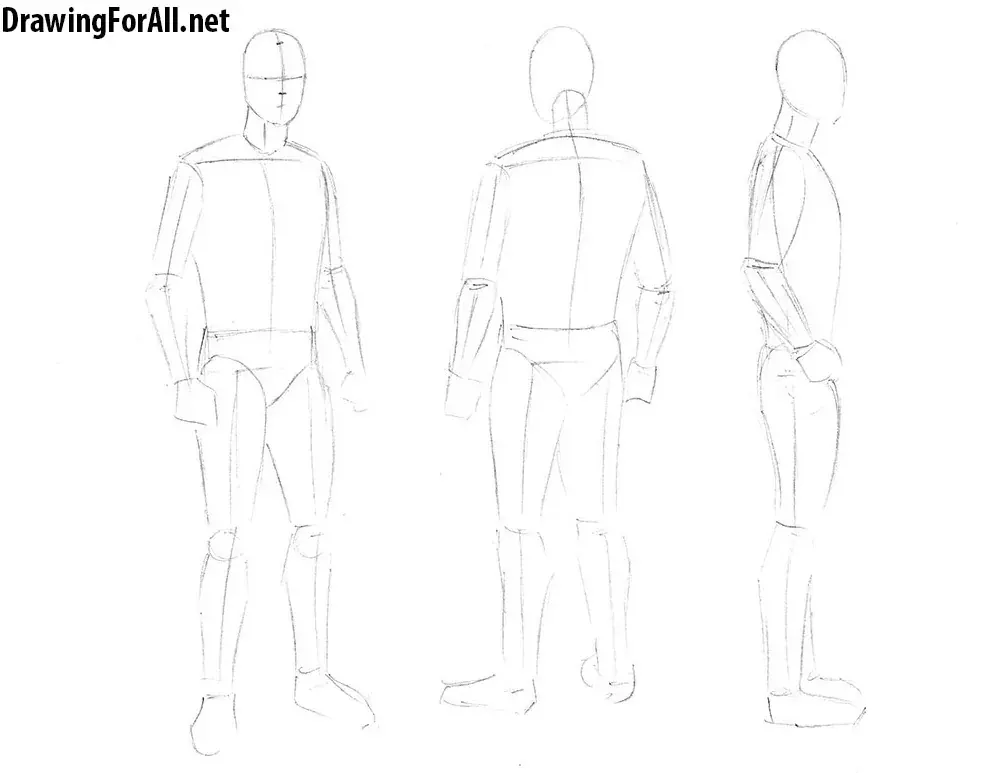
The foundation of a realistic male figure is the "eight-head" proportion system. This standard measurement ensures that the body appears balanced and anatomically sound. Begin by drawing a vertical line and dividing it into eight equal segments. The head occupies the first segment, the torso spans roughly three segments, and the legs account for the final four.
Using a simplified "mannequin" approach helps avoid structural errors early on. Represent the rib cage as an inverted egg shape and the pelvis as a smaller, boxy container. Connect these with a line representing the spine, allowing for a slight curve to indicate posture. By establishing these core volumes before adding limbs, you ensure that the figure has depth and a clear center of gravity.
How to draw male anatomy step by step
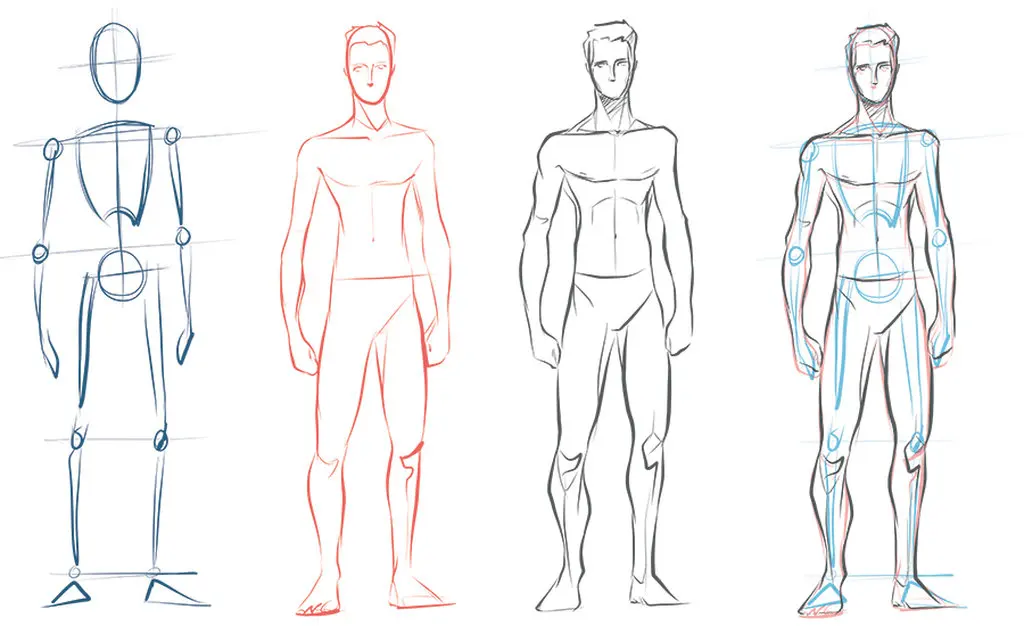
Once the proportions are set, you can begin to flesh out the form. Focus on the distinct differences between male and female anatomy, such as broader shoulders and a more angular jawline. Follow these steps to build the figure systematically:
- Sketch the head as an oval, adding a horizontal line for the eyes and a vertical line for the nose.
- Draw the shoulders as wide, flat planes, ensuring they are significantly broader than the hips.
- Outline the arms, using cylinders for the upper and lower sections, with joints represented by circles.
- Define the legs by emphasizing the outward curve of the quadriceps and the inward curve of the calves.
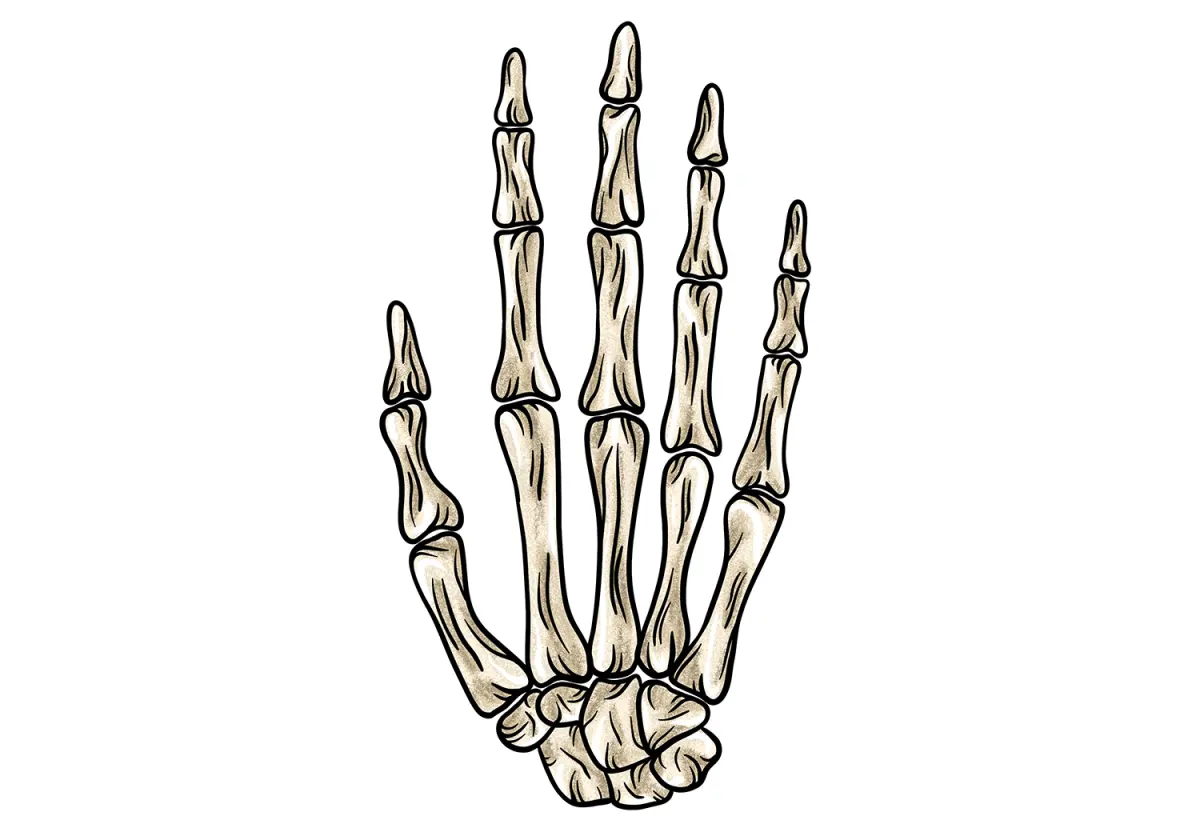
- Add the hands and feet as simple wedges or blocks to maintain the overall flow of the limbs.
Best drawing tools for beginners
Starting with the right equipment can significantly improve your learning curve. Graphite pencils are the industry standard because they allow for varying line weights and easy erasure. A range of hardness, such as an HB for initial sketching and a 2B or 4B for shading, provides enough versatility to define both light and shadow.
Paper choice also plays a role in your progress. Smooth, medium-weight drawing paper prevents the graphite from smearing too easily while allowing for clean, crisp lines. Avoid using low-quality printer paper, as it lacks the "tooth" or texture needed to hold layers of shading. Keep a kneaded eraser nearby, as it can be molded into precise shapes to lift highlights from the paper without damaging the surface fibers.
Why proportions often look wrong
Common proportion issues usually stem from neglecting the relationship between the joints and the torso. A frequent error is making the arms too short; the fingertips of a man should generally reach down to the mid-thigh area when standing straight. If the arms end at the waist, the figure will appear stunted and unnatural.
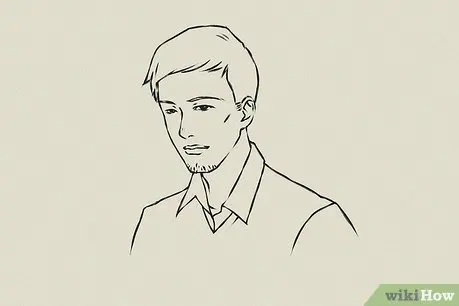
Another frequent problem is the placement of the neck and head. Beginners often attach the head directly to the shoulders, ignoring the neck's length and the slope of the trapezius muscles. The neck should emerge from the center of the upper torso, creating a transition that connects the head to the chest. By checking these specific landmarks against your vertical guide, you can identify and correct imbalances before you begin adding final details or clothing.
Common mistakes when drawing men
Many artists struggle with "stiff" poses because they focus too much on symmetry. Human bodies are rarely perfectly symmetrical, especially when in motion. To avoid a robotic look, introduce a slight tilt to the shoulders or hips, known as "contrapposto." This shift in weight makes the figure appear dynamic and grounded rather than static.
Another mistake is over-detailing the muscles without understanding the underlying structure. Focus on the major muscle groups, such as the pectorals and the deltoids, rather than drawing every individual fiber. Over-shading can also flatten a drawing; use light to define the form by leaving some areas of the skin tone bright. By keeping your lines light initially, you maintain the flexibility to adjust the figure's volume as you refine the shape. Practice these techniques consistently to build muscle memory and improve your artistic accuracy over time.
Key facts
- The average adult human male is approximately 7.5 to 8 heads tall.
- Shoulders are typically two head-widths wide, creating a broad, inverted-triangle torso shape.
- Elbows align with the waistline, while wrists generally line up with the crotch area.
- The eyes are positioned halfway between the top of the skull and the chin.
- Use a "gesture drawing" technique first to establish the spine's curve and the body's center of gravity.
- Avoid drawing outlines first; build the figure using simple geometric shapes like cylinders, spheres, and cubes.
The bottom line
Drawing a convincing male figure relies on understanding fundamental human proportions and geometric construction. By establishing the skeletal structure with simple shapes before adding muscle mass, you ensure the body remains balanced and anatomically sound. Mastery comes from consistent practice, using reference images to observe how light and shadow define form. Focus on the relationship between joints to achieve a natural, dynamic pose every time.
People also ask
How do I make a man look more muscular?
Focus on exaggerating the width of the shoulders and the taper of the waist. Adding definition to the trapezius muscles and the pectoral region creates a stronger, more athletic silhouette.
Why do my drawings of men look like they have long arms?
This often happens because the elbows are placed too low. Remember that the elbow should sit at the level of the bottom of the ribcage, not the hips.
How do I draw hands in proportion to the body?
A simple rule is that a hand should be roughly the same length as the face. If you place the hand against the side of the head, the wrist should align with the chin.
What is the best way to draw a male jawline?
A masculine jaw is typically wider and more angular than a feminine one. Use sharp, square lines to define the corners of the jaw rather than soft, rounded curves.
Should I use a reference photo?
Using a reference is essential for learning anatomy. It helps you understand how light hits the body and how muscles compress or stretch during movement.
How do I draw feet correctly?
View the foot as a wedge shape rather than a flat oval. The heel is a rounded block, and the toes should follow the arc of the front of that wedge.
This answer was created with the help of AI research tools and reference sources. Spotted an error? Let us know — we correct mistakes quickly. See our editorial policy.