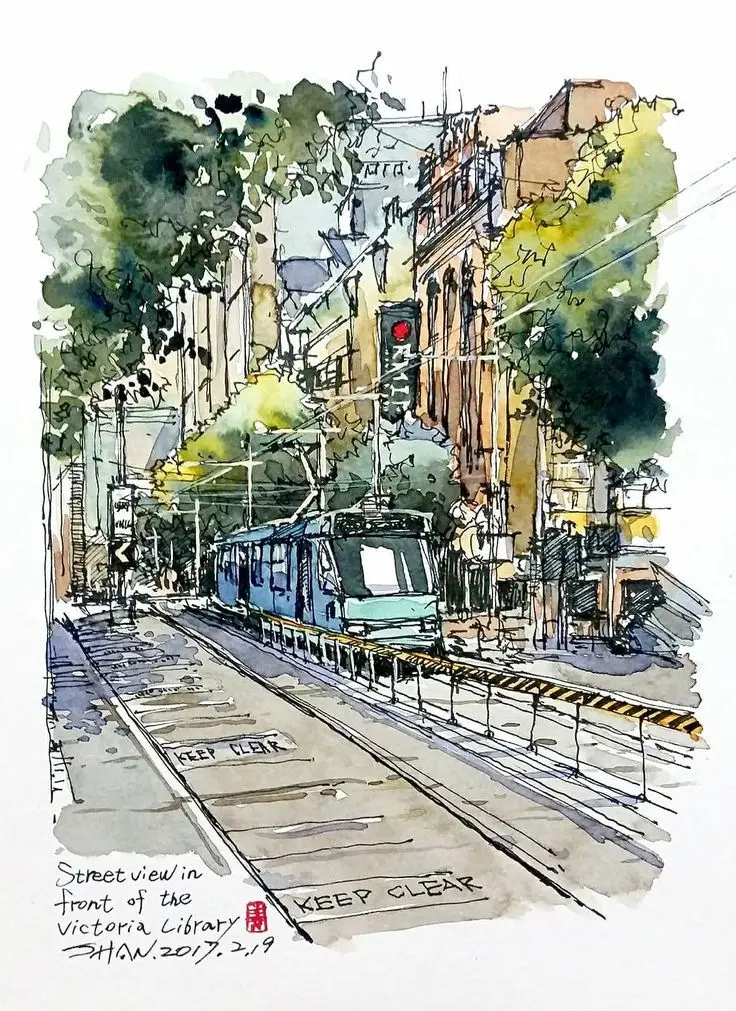
How do you draw a city skyline step by step?
Short answer
Drawing a city skyline involves establishing a horizontal foundation line, layering geometric shapes to represent buildings, and adding architectural details like windows and antennas. By varying the heights and widths of these structures, you create a dynamic perspective that mimics the depth and complexity of a real urban environment.
On this page
How to draw a city skyline step by step
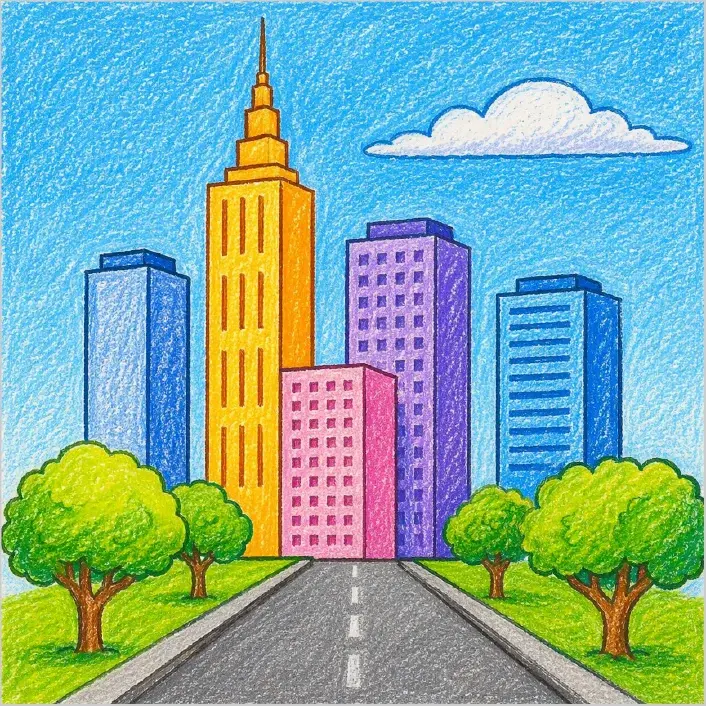
To begin your skyline, use a pencil to draw a light horizontal line across the bottom third of your paper. This serves as the ground plane or the horizon line where the buildings meet the street. Start by sketching simple rectangles and squares of varying heights to form the main silhouettes of your structures. Do not worry about perfection at this stage; focus on creating a diverse rhythm of tall, thin towers and shorter, wider blocks to make the scene visually interesting.
Once the basic shapes are established, refine the outlines by adding architectural features. You can introduce sloped roofs, triangular spires, or rounded tops to differentiate the buildings. Overlap some shapes by drawing a building partially behind another to create a sense of depth and distance. Use a ruler if you prefer crisp, modern lines, or draw freehand if you want a more organic, artistic look.
- Draw a straight base line across your paper.
- Sketch overlapping rectangles and squares of different heights.
- Add varied roof shapes like triangles or curves to the tops.
- Erase the internal lines where buildings overlap to define the foreground.
- Add vertical details like windows and doors to complete the structures.
Best drawing tools for beginners
For those just starting, a standard HB graphite pencil is the most versatile tool for sketching initial outlines. It is firm enough to create light marks that are easy to erase if you make a mistake. Complement this with a high-quality white vinyl eraser, which removes graphite cleanly without smearing or damaging the paper surface. A 12-inch plastic or metal ruler is also essential for ensuring that your vertical lines remain perfectly perpendicular to the horizon.
As you progress, you may want to introduce fine-liner pens or archival ink markers to define your final contours. These tools allow you to create bold, permanent lines that make the skyline pop against the background. Using a variety of tip sizes, such as 0.3mm for details and 0.8mm for main outlines, adds professional polish to your work. Always keep a sharpener nearby, as maintaining a precise point is crucial for drawing the small, repetitive windows that define a skyscraper’s character.
How to add perspective to a skyline
Perspective is the key to transforming a flat drawing into a realistic urban landscape. The most effective technique is atmospheric perspective, where objects closer to the viewer are drawn with darker, sharper lines, while distant buildings are rendered with lighter, softer strokes. This mimics how light scatters through the air, making faraway structures appear slightly faded or less detailed. You can also use a vanishing point to guide your diagonal lines, ensuring that the sides of buildings appear to recede correctly into the distance.
Another way to enhance perspective is through the use of scale. Ensure that buildings intended to be in the foreground are significantly larger than those in the background. By placing small, simplified shapes behind larger, detailed ones, you create a sense of vast space. Consider the following tips for managing depth:
- Use thinner lines for buildings in the back to suggest distance.
- Add minimal detail to distant structures to keep the focus on the foreground.
- Vary the spacing between buildings to avoid a repetitive, flat look.
- Use shading on one side of each building to suggest a consistent light source.
Common mistakes when drawing skylines
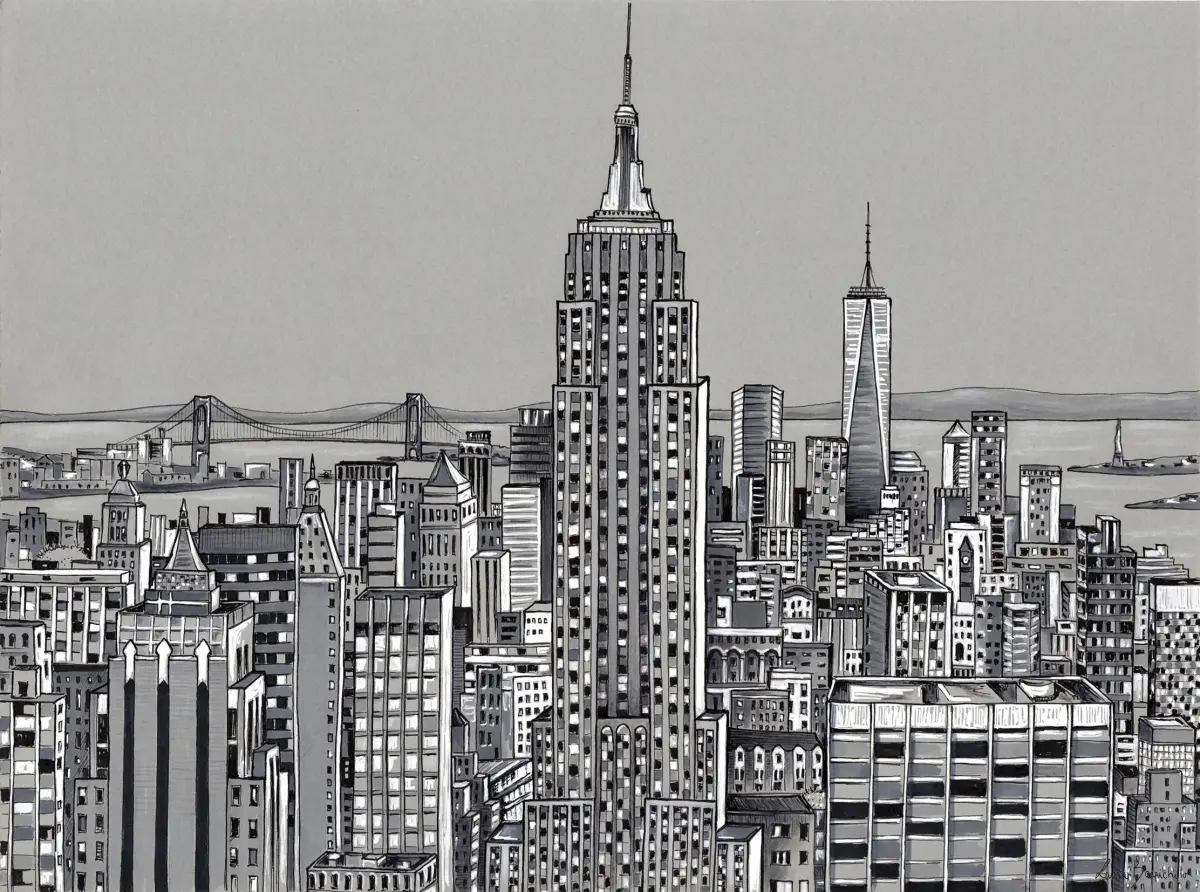
A frequent error is creating a skyline that looks like a uniform row of teeth. This happens when all buildings are roughly the same height and width, which rarely occurs in real cities. To avoid this, intentionally vary your heights and group buildings in clusters. Another common mistake is neglecting the "negative space" between buildings. Ensure that the gaps between structures are as varied as the buildings themselves, as this creates a more natural and authentic urban silhouette.
Beginners often struggle with inconsistent lighting, which makes the scene look flat. If you decide that the sun is on the left, make sure the right side of every building has a slightly darker shade or cross-hatching. Failing to do this results in a disjointed image where the architecture does not feel like it exists in the same physical space. Finally, avoid over-detailing every single window. Focus your energy on the most prominent buildings in the foreground and simplify the textures of the structures further back.
How to add final details and texture
The final stage of your drawing involves adding textures that suggest materials like glass, steel, or concrete. Use a series of thin, vertical lines to suggest the reflective surface of glass skyscrapers. For brick buildings, use faint horizontal marks or a light grid pattern. Adding antennas, water towers, or HVAC units to the rooftops provides a sense of realism and scale that makes the skyline feel lived-in and functional. These small, irregular additions break up the rigid geometry of the buildings.
You can also enhance the atmosphere by adding elements like clouds, birds, or a moon behind the skyline. If you are drawing a night scene, consider leaving windows blank or filling them in selectively to suggest that some lights are on while others are off. This contrast adds a dramatic flair to the composition. Once you are satisfied with your lines, use a soft eraser to gently clean up any stray pencil marks. Your finished skyline should now look balanced, deep, and structurally sound.
Key facts
- Start with a horizontal line across the page to serve as your horizon or ground level.
- Use a ruler to draw vertical lines for buildings to ensure they stand perfectly straight.
- Vary the heights and widths of your rectangles to create visual interest and depth.
- Add geometric shapes like triangles or trapezoids on top of rectangles to form diverse rooflines.
- Incorporate smaller rectangles inside the buildings to represent windows and architectural details.
- Use a vanishing point if you want to apply one-point perspective for a realistic 3D effect.
The bottom line
Drawing a compelling city skyline relies on balancing vertical geometry with varied architectural silhouettes. By establishing a firm horizon line and using a mix of heights and widths, you create a dynamic urban landscape. Remember to prioritize perspective and contrast to add depth, ensuring your drawing feels expansive rather than flat. With practice, these fundamental structural techniques allow you to capture the distinct character of any major metropolis.
People also ask
Should I draw the buildings from left to right or center outward?
It is generally best to start from the center and work outward to maintain balance across your page. This approach helps you visualize the overall composition before committing to the edges.
How do I make the skyline look like it is at night?
Use a dark blue or black marker for the sky and leave the window shapes white or yellow to simulate light. Adding a reflection below the horizon line can also enhance the nighttime aesthetic.
Are all buildings in a skyline rectangular?
No, modern city skylines feature curved glass towers, spires, and antenna masts. Adding these varied silhouettes prevents the drawing from looking like a simple grid of boxes.
What is the best pencil to use for the initial sketch?
A 2H or HB pencil is ideal because it creates light lines that are easy to erase. You can go over these lines with a darker pen or marker once you are satisfied with the layout.
How do I create depth in a city skyline drawing?
Draw buildings in the foreground with darker, thicker lines and more intricate details. Use lighter, thinner lines for buildings in the background to suggest they are further away.
Do I need to include every building I see in a reference photo?
You do not need to replicate every detail, as a skyline is meant to be a stylized representation. Focus on capturing the most iconic shapes and the general rhythm of the architecture.
This answer was created with the help of AI research tools and reference sources. Spotted an error? Let us know — we correct mistakes quickly. See our editorial policy.