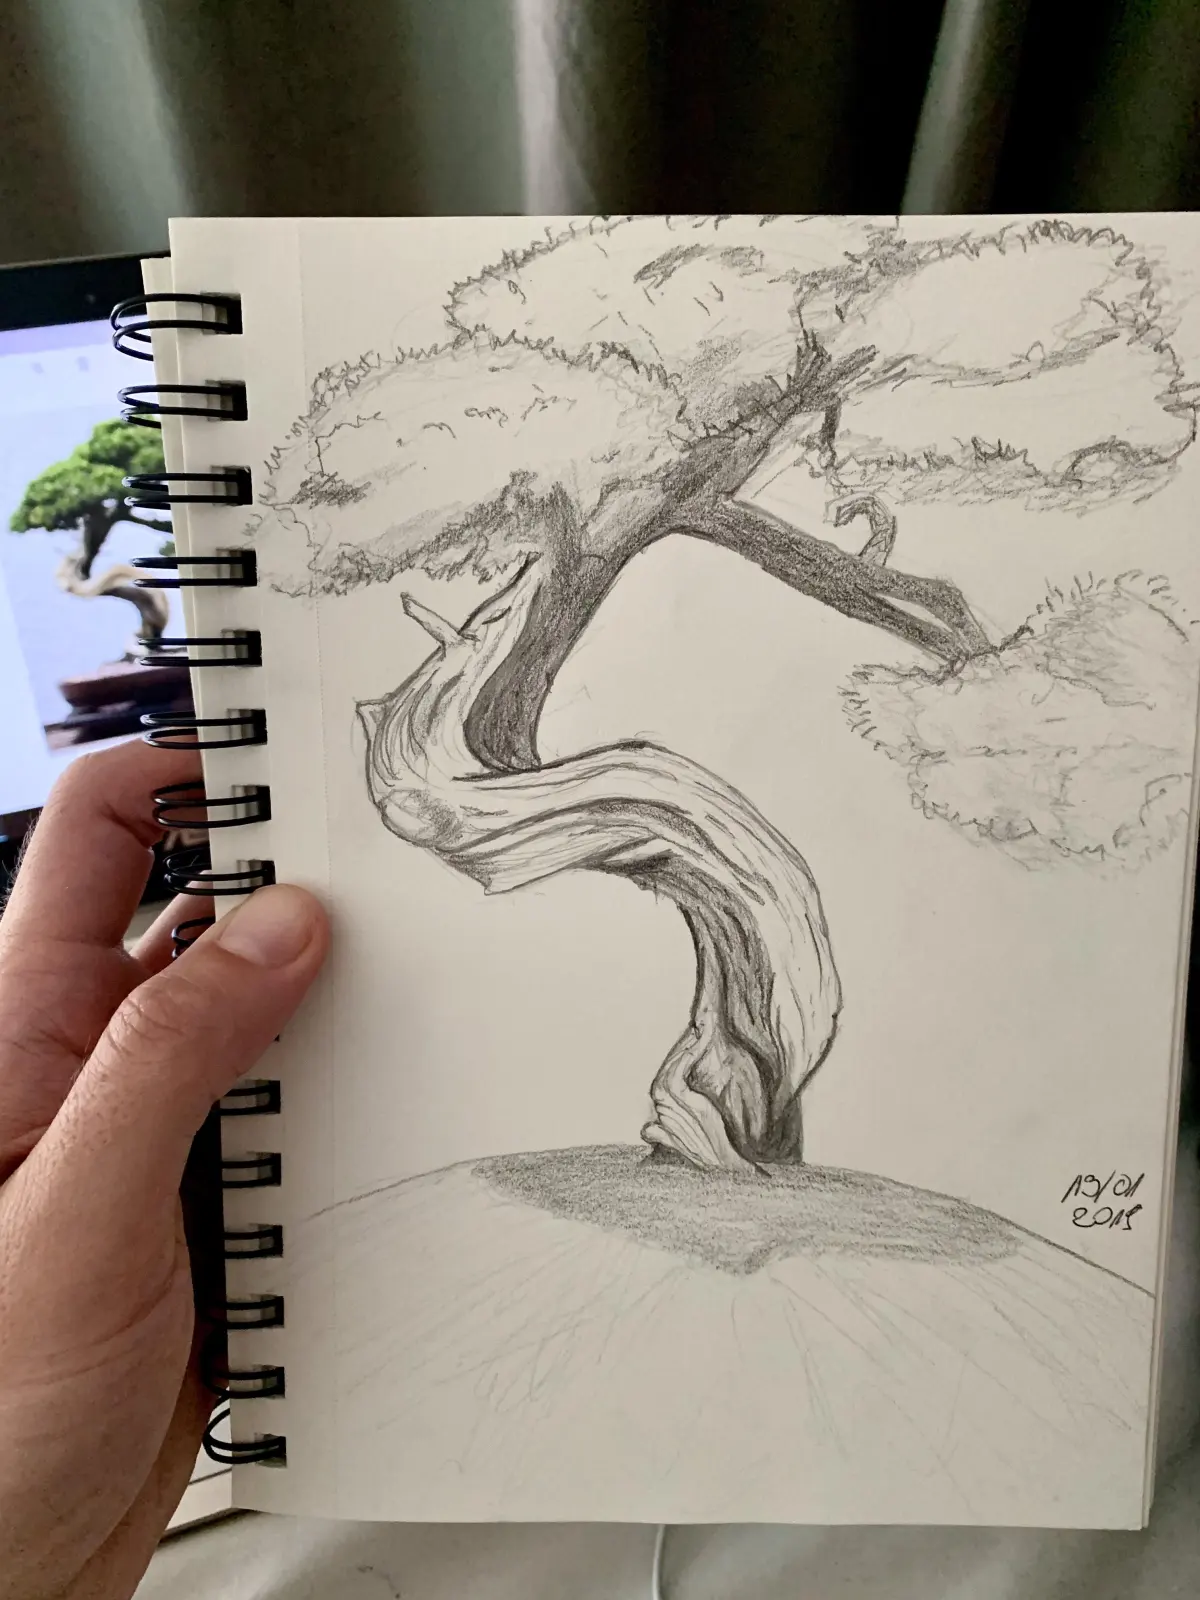
How do you draw a tree trunk?
Short answer
Drawing a tree trunk requires observing the natural taper and irregular texture of bark. Start by sketching two slightly curved, non-parallel vertical lines that narrow toward the top. Add structural roots at the base, incorporate light and shadow to define volume, and use varied, broken lines to suggest the rough, organic surface texture.
On this page
How to structure a tree trunk
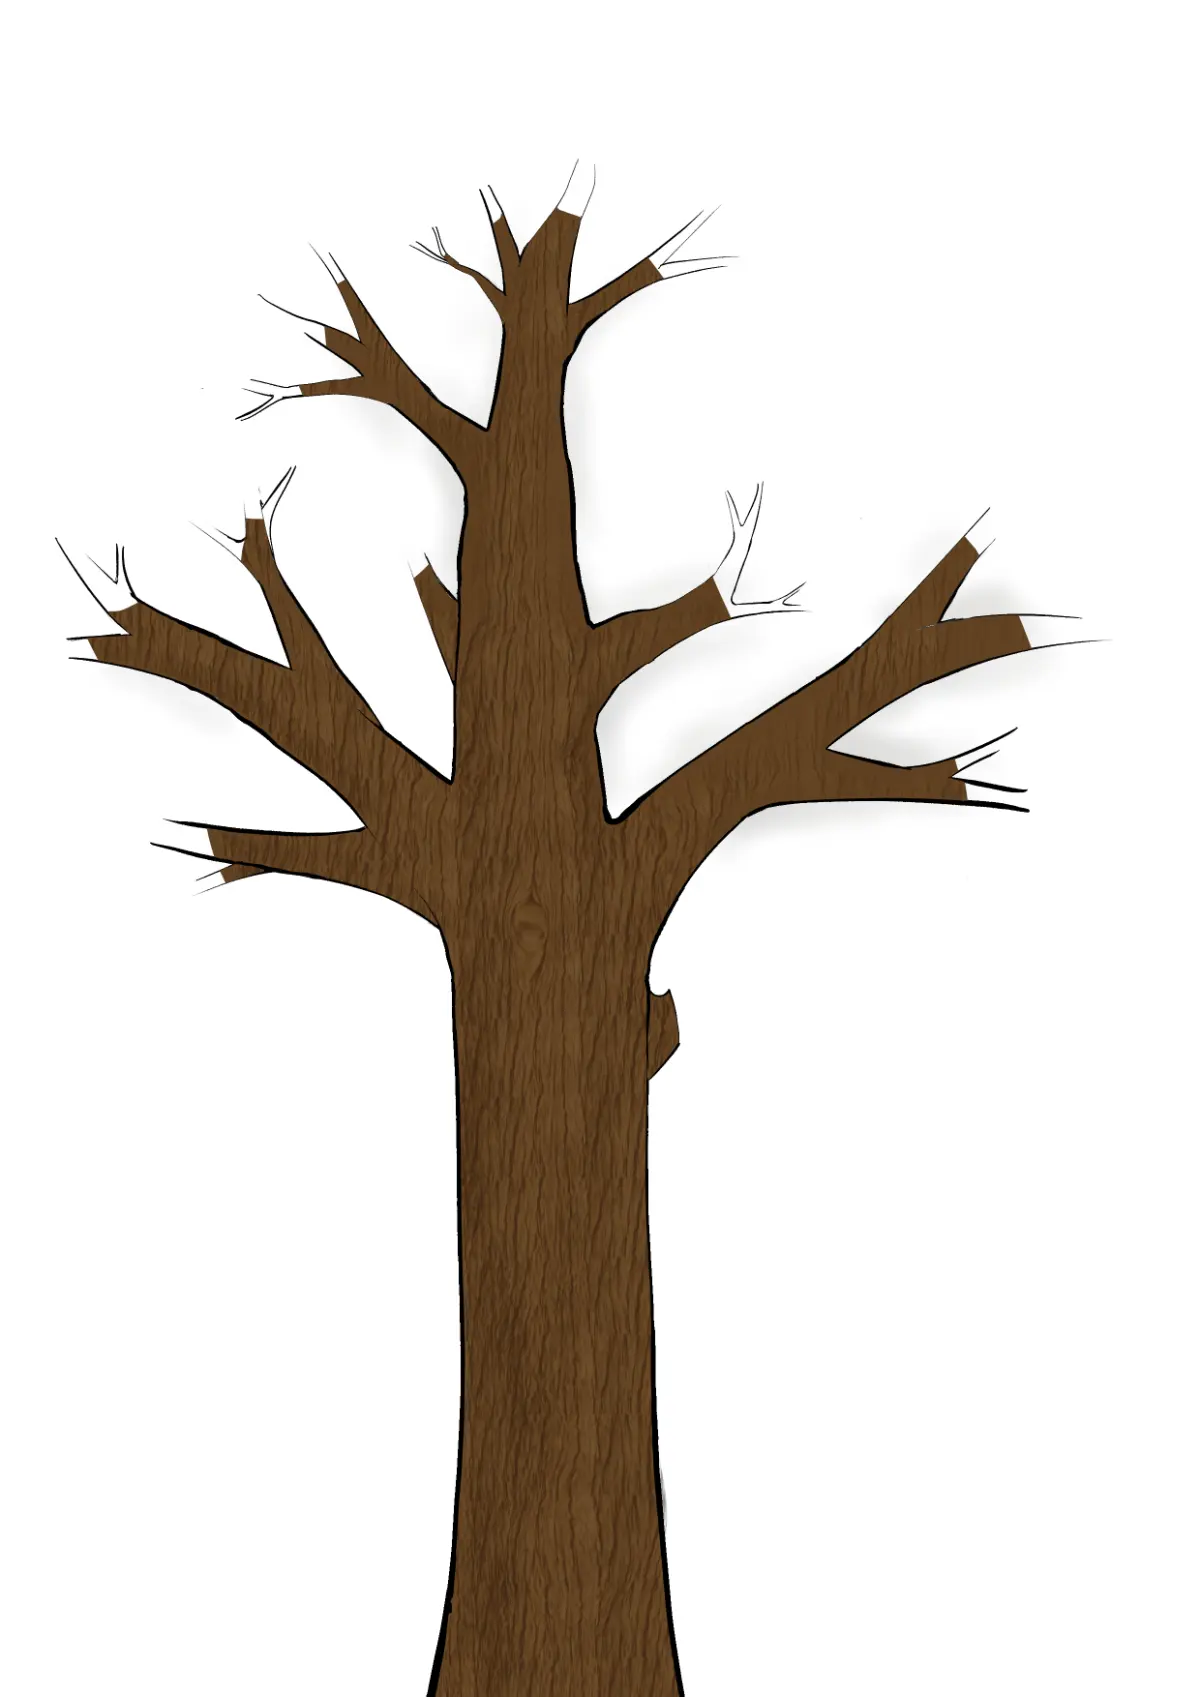
The foundation of a realistic tree trunk lies in understanding its geometry as a tapered cylinder rather than a uniform tube. Trees are rarely perfectly straight; they lean, twist, and widen significantly where they meet the ground. To begin, draw two vertical lines that start wide at the bottom and gradually converge as they move upward. This subtle taper provides the essential sense of height and perspective.
Once the basic silhouette is established, add the structural roots, known as the root flare. These should extend outward from the base, anchoring the tree firmly to the ground plane. Avoid drawing roots as symmetrical circles; instead, allow them to emerge organically from the sides of the trunk at different heights and angles. This irregularity is what distinguishes a natural tree from a man-made pole.
- Draw the primary silhouette with a slight curve to suggest natural growth.
- Sketch the root flare by extending lines outward from the base into the soil.
- Add a few secondary branches or knots to break up the vertical lines.
- Ensure the width at the base is at least one-quarter of the total height.
How to add texture to tree bark
Bark is the defining visual characteristic of a tree trunk, and representing it requires more than just drawing vertical lines. Surfaces are composed of deep ridges, furrows, and patches of moss or lichen. Use a variety of mark-making techniques, such as short, jagged strokes or cross-hatching, to mimic the rough, layered appearance of bark. Always follow the contour of the trunk to maintain the illusion of a three-dimensional cylinder.
Focus on the shadows within the bark crevices to create depth. By darkening the areas between the ridges, you push the texture forward, making it appear tactile and weathered. Remember that light typically hits one side of the trunk more intensely, meaning the texture should appear more pronounced on the shaded side while remaining subtle on the illuminated side. This contrast is key to achieving a convincing, realistic look.
Why tree trunks look three-dimensional
Creating the illusion of volume depends entirely on how you handle light and shadow. A tree trunk is a cylindrical form, so the light will create a gradient across its surface. Identify a primary light source and keep the side facing that source lighter, while gradually darkening the opposite side. This transition, known as the terminator line, is where the shadow begins to wrap around the cylindrical shape.
Cast shadows are equally important for grounding the tree in its environment. The shadow cast by the trunk onto the ground should be darker than the shadows on the trunk itself. By carefully observing how light interacts with the cylindrical form, you can transform a flat drawing into a solid, heavy object. Practice shading by using a soft graphite pencil to build up layers, which allows for smoother transitions between light and dark areas.
Common mistakes when drawing tree trunks
One of the most frequent errors is drawing a perfectly straight, vertical line that lacks character or movement. Trees grow toward sunlight and react to environmental stressors, which often results in bends, leans, and knots. Another common mistake is making the bark texture too uniform or repetitive. If every line looks identical, the trunk will appear flat and artificial rather than organic and aged.
- Drawing the trunk as a uniform cylinder with no taper.
- Creating perfectly symmetrical root flares that look like a tripod.
- Using heavy, dark outlines that flatten the image instead of defining form.
- Ignoring the light source, resulting in a lack of shadow and depth.
- Making the bark texture too neat or patterned, losing the chaotic nature of wood.
Best tools for drawing tree trunks
For beginners, a set of graphite pencils ranging from 2H to 6B is ideal for capturing the full range of values required for a realistic trunk. The harder 2H pencils are perfect for light, initial sketches and fine details, while the softer 6B pencils allow for deep, rich shadows in the bark crevices. A kneaded eraser is also essential, as it can be molded to lift out highlights on the bark or soften overly dark areas.
Paper choice also influences the final result. A medium-tooth drawing paper provides enough texture to catch the graphite, which helps in creating the rough, fibrous look of bark. If you are working on very smooth paper, you may find it difficult to build up the necessary layers of texture. Experimenting with different pencil pressures and blending stumps can further enhance the realism, allowing you to create smooth transitions that mimic the organic, weathered appearance of a mature, living tree trunk.
Key facts
- Tree trunks are rarely perfectly cylindrical; they taper, becoming narrower as they reach toward the canopy.
- Use vertical, broken lines to suggest the texture of bark rather than drawing a single solid outline.
- Add shadows on one side of the trunk to create a three-dimensional effect, using a consistent light source.
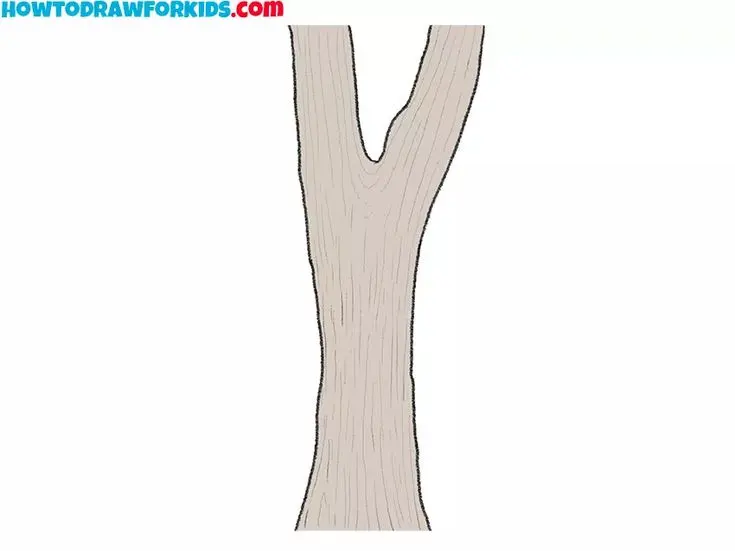
- Incorporate "V" or "Y" shapes where branches emerge to give the trunk a natural, structural transition.
- Observe the specific species, as birch trees feature horizontal lenticels while oak bark appears deeply furrowed and rugged.
- Avoid drawing perfectly straight lines, as natural trunks possess subtle curves, knots, and bends.
The bottom line
Drawing a realistic tree trunk requires moving beyond simple cylinders to capture the organic nature of wood. By focusing on the natural taper, adding varied textures to represent bark, and utilizing consistent shading, you can create a convincing structure. Remember that nature is rarely symmetrical; incorporating slight bends and knots will provide the necessary character to make your drawing feel authentic and grounded in reality.
People also ask
How do I make a tree trunk look three-dimensional?
Apply shading by darkening one side of the trunk while keeping the opposite side lighter to simulate depth. Use cross-hatching or blending to create a gradient that follows the curvature of the cylinder.
Should I draw the bark texture before or after the shape?
Establish the basic silhouette and taper of the trunk first to ensure the proportions are correct. Add the texture details afterward to avoid cluttering the drawing before the form is finalized.
What is the best way to draw knots in the wood?
Draw tight, concentric circles or oval shapes to represent the site where a branch once grew. Vary the density of the lines around these knots to show how the wood grain flows around the obstruction.
Why does my tree trunk look like a cartoon pole?
This usually happens because the lines are too straight and the width is uniform from bottom to top. Introduce slight irregularities in the outline and ensure the base is significantly wider than the top.
How do I show the roots at the base of the trunk?
Extend the trunk lines outward into the ground with sweeping, tapered curves. Ensure the roots appear to emerge from the soil rather than sitting on top of it by adding shadow at the base.
Can I use different pencil grades for the trunk?
Use a hard pencil like an H for light structural outlines and a soft pencil like a 4B for deep shadows and dark bark textures. This contrast helps define the form and adds visual interest to the drawing.
This answer was created with the help of AI research tools and reference sources. Spotted an error? Let us know — we correct mistakes quickly. See our editorial policy.