How do you draw a rose?
Short answer
Drawing a rose requires building its form from the center outward using a spiral technique. By layering overlapping petals around a tight, cylindrical core, you create the illusion of depth. Focus on varying the curvature of each petal to mimic the organic, asymmetrical nature of a real flower’s bloom.
On this page
How to draw a rose step by step
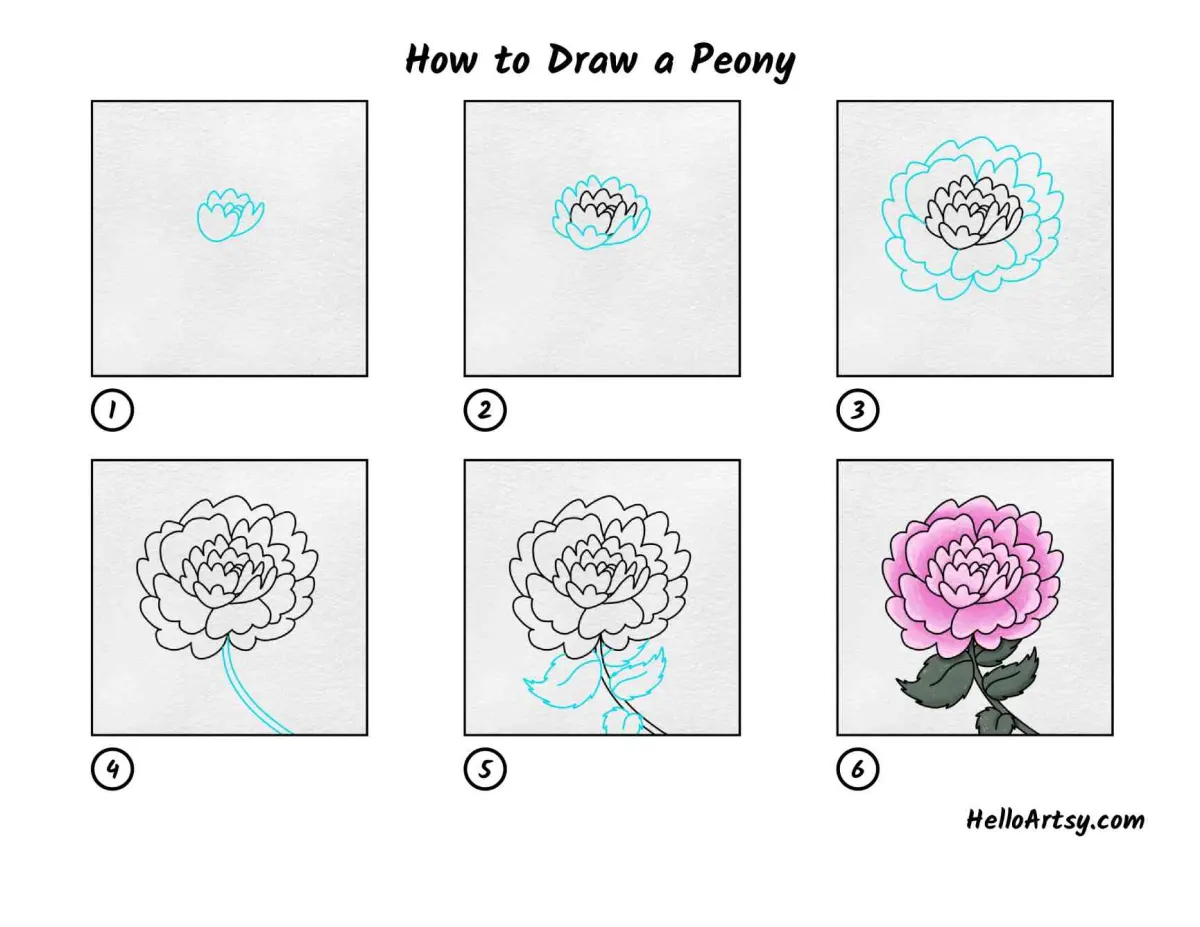
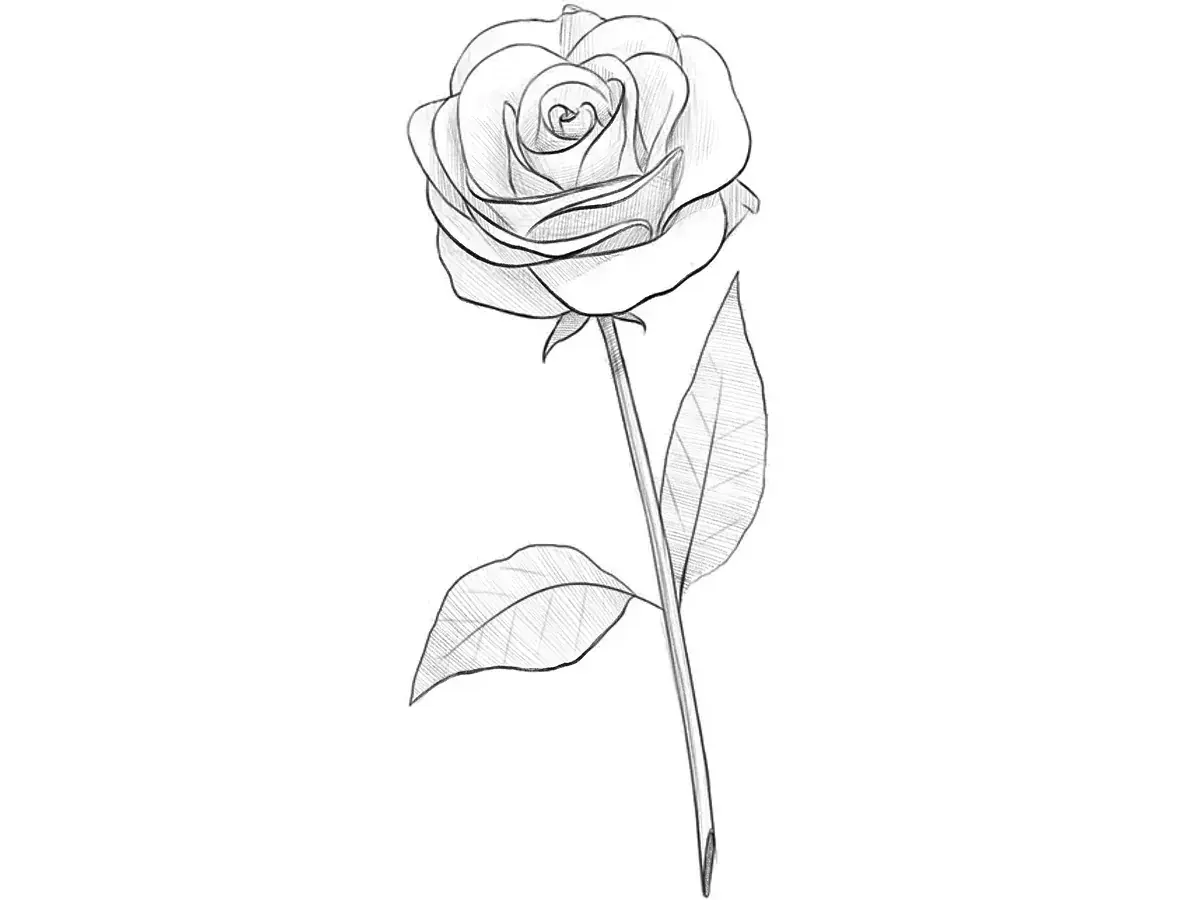
The most effective way to draw a rose is to begin with the inner bud and expand outward. This method ensures the proportions remain balanced as the flower grows in size on your page. Start by drawing a small, tight spiral or a teardrop shape in the center of your paper to represent the innermost petals. From there, draw small, overlapping "U" shapes or crescent curves around this center, gradually increasing the size of the petals as you move toward the outer edges.
- Draw the central bud as a tightly coiled spiral.
- Add small, overlapping petals around the bud to form the heart of the flower.
- Sketch larger, wider petals that curve outward to create the full bloom.
- Add a stem and two leaves, ensuring they have jagged, serrated edges.
- Refine the outlines and add shading to emphasize the depth between petals.
Best drawing materials for beginners
For those new to botanical drawing, starting with a standard HB graphite pencil is ideal. This grade of lead allows for light sketching, which is essential because you will likely need to erase and adjust the shape of your petals as you work. A kneaded eraser is also a professional necessity; it can be molded into precise shapes to lift graphite from small areas without damaging the paper surface or leaving residue behind.
Using a smooth, medium-weight drawing paper provides the best surface for clean lines. Avoid textured watercolor paper or newsprint, as these can make it difficult to achieve the delicate, crisp edges required for a realistic rose. If you wish to add depth, a 2B or 4B pencil is useful for creating darker shadows in the crevices of the petals. Keeping your pencils sharp at all times ensures that the fine details of the rose’s structure remain distinct and professional.
Why rose petals look complex
The complexity of a rose arises from its spiral phyllotaxis, a mathematical arrangement where petals overlap in a specific sequence. As the flower matures, these petals unfurl, creating deep shadows and highlights that define the volume of the bloom. Understanding that a rose is essentially a series of nested cylinders helps simplify the process. When you observe a real rose, notice how the light hits the outer edges of the petals while the inner sections remain tucked away in shadow.
To capture this, you must pay attention to the negative space created by the overlapping curves. Each petal should appear to emerge from behind another, creating a sense of layering. If you treat each petal as a flat shape, the drawing will look two-dimensional and lifeless. Instead, visualize the curvature of each petal as a three-dimensional plane that catches light on its convex side and hides it on its concave side, providing the necessary contrast to make the drawing pop.
Common mistakes when drawing roses
One of the most frequent errors is drawing petals that are perfectly symmetrical or identical in size. Nature rarely produces perfect geometry; a rose looks most realistic when its petals vary in width, height, and degree of curl. If every petal is a uniform "U" shape, the drawing will resemble a cartoon rather than a botanical study. Always vary the rhythm of your lines to suggest the natural, wind-blown, or slightly wilted state of a living flower.
Another mistake is neglecting the stem and leaves, which provide essential context. A rose head floating in isolation often looks incomplete. When drawing the stem, avoid perfectly straight lines, as rose stems are slightly irregular and often feature thorns. Remember that leaves have distinct veins and serrated edges, which add texture and visual interest to the composition. By balancing the soft, rounded forms of the petals with the sharp, structured lines of the thorns and leaves, you create a more compelling and accurate botanical illustration.
How to add realistic shading to roses
Shading is the final step that transforms a simple line drawing into a realistic representation. Begin by identifying the light source; if the light is coming from the top right, the shadows will naturally fall on the bottom left of each petal. Use a technique called hatching or cross-hatching to build up layers of graphite in the deepest parts of the flower, specifically where the petals meet the center bud. Keep your strokes light initially, as it is much easier to darken a shadow than to lighten one.
- Use a blending stump or a soft tissue to smooth out harsh graphite lines.
- Leave small white gaps at the very edges of petals to represent highlights where the light hits the surface.
- Apply darker pressure at the base of the petals to create a sense of depth and weight.
- Use a light touch on the outer petals to maintain a soft, delicate appearance.
- Ensure the transitions between light and shadow are gradual to mimic the soft texture of real rose petals.
Following these steps will result in a professional, well-rendered rose that captures the elegance and organic beauty of the flower.
Key facts
- Start by drawing a small, tight spiral or a "bud" shape to serve as the center of the rose.
- Build petals outward by drawing overlapping "U" shapes or curved brackets that get progressively larger.
- Use a light touch with your pencil to sketch guidelines, as rose petals are organic and rarely perfectly symmetrical.
- Add depth by shading the areas where petals overlap, using darker strokes near the base of each petal.
- Draw the sepals—the small, leaf-like structures—at the base of the flower head to transition into the stem.
- Avoid drawing perfectly circular petals; vary the edges to look slightly wavy or folded to create a realistic appearance.
The bottom line
Drawing a rose is an exercise in layering organic shapes rather than perfecting a single outline. By starting with a central spiral and building outward with overlapping, irregular petals, you create a sense of depth and volume. Remember that nature is rarely symmetrical; embracing slight variations in petal size and shading will ensure your final drawing looks authentic, graceful, and professional rather than stiff or overly mechanical.
People also ask
What is the easiest way to draw a rose for beginners?
Start with a simple spiral for the center and wrap three or four loose, heart-shaped petals around it. Keep your lines soft and avoid rigid geometric shapes to maintain the flower's natural look.
Should I use a pen or a pencil to draw a rose?
Using a graphite pencil is best for beginners because it allows you to erase mistakes and build up shading gradually. Once you are confident with the shape, you can use ink pens to add final details or outlines.
How do I make my rose drawing look three-dimensional?
Focus on the light source and add shadows to the underside of each petal. The darkest areas should be located deep within the center of the flower and where petals overlap.
How many petals should a rose have?
There is no set number, as it depends on the variety of the rose you are drawing. A simple sketch might feature five to seven petals, while a full-bloom rose can feature dozens of layers.
Why do my roses look like cabbages?
This often happens when petals are drawn too uniformly or rounded. Introduce irregular, wavy edges and ensure the petals overlap in a staggered pattern to break up the circular silhouette.
How do I draw the stem and thorns correctly?
Draw the stem with a slight curve to give it movement rather than a straight line. Place thorns sporadically along the stem, pointing slightly downward, rather than in a perfectly symmetrical row.
This answer was created with the help of AI research tools and reference sources. Spotted an error? Let us know — we correct mistakes quickly. See our editorial policy.