How do you paint roses in watercolor?
Short answer
Painting roses in watercolor requires building depth through layering transparent pigments. Start with a light wash for the base, then gradually add darker, concentrated paint to define the petals. Focus on preserving white paper for highlights and using a round brush to create soft, organic curves that mimic the rose's structure.
On this page
What materials are best for painting roses?
To achieve professional results, prioritize high-quality materials, specifically 100% cotton cold-press watercolor paper with a weight of at least 140 pounds. Cotton paper holds water evenly, preventing the pigment from pooling in unwanted spots. For brushes, a size 6 or 8 round brush with a fine point is essential for both broad washes and delicate petal edges. Synthetic-sable blends offer the best balance of snap and water retention.
Regarding pigments, choose artist-grade paints rather than student-grade options to ensure better lightfastness and color vibrancy. A basic palette for roses should include a cool red like Alizarin Crimson, a warm red like Cadmium Red, and a deep green such as Sap Green or Viridian. Having a small ceramic palette for mixing and two jars of clean water—one for rinsing brushes and one for mixing fresh colors—will keep your hues clear and prevent muddying.
How do you sketch a rose for watercolor?
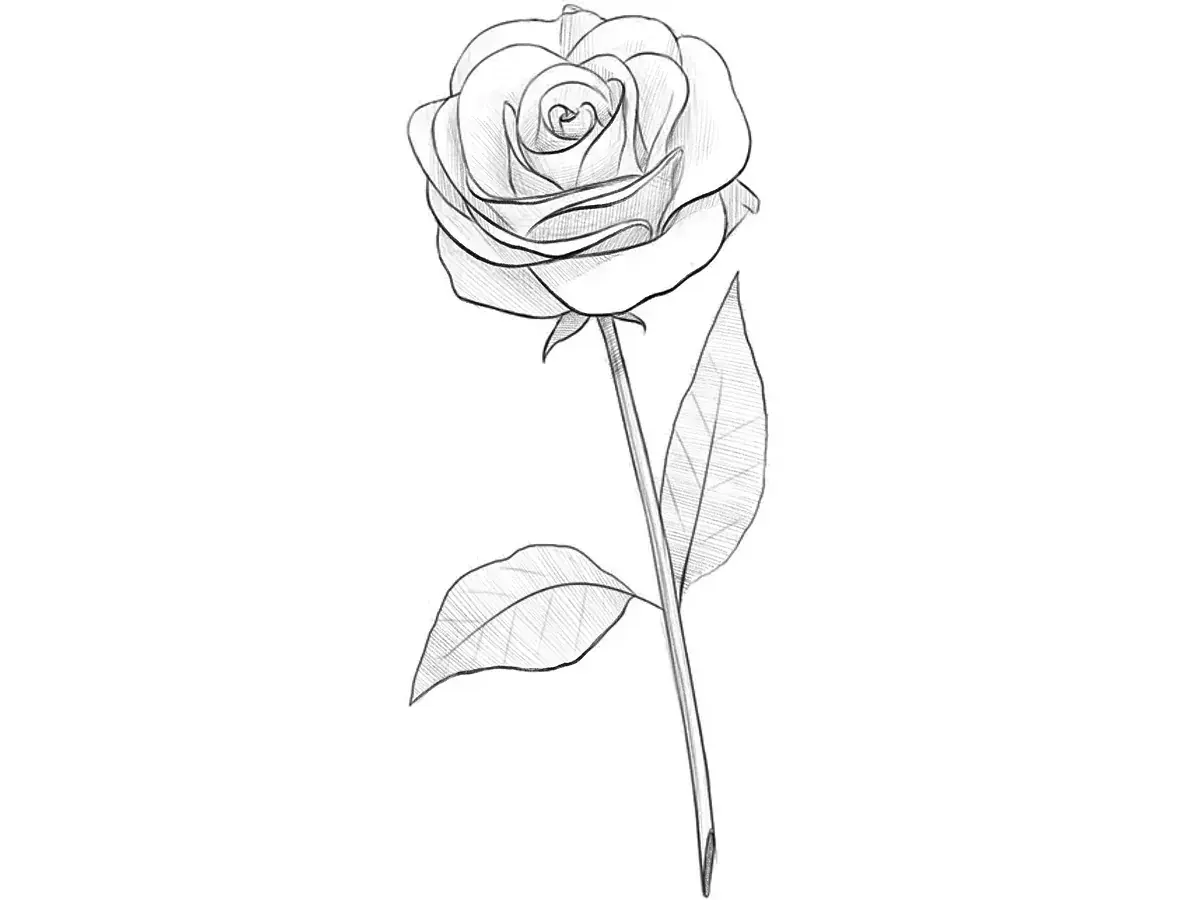
Before applying paint, create a light pencil sketch to define the rose's core and petal structure. Use a hard lead pencil, such as an H or 2H, and apply very little pressure to avoid damaging the paper's surface. Focus on the "heart" of the rose, which is usually a tight spiral of small, overlapping petals, and then expand outward with larger, looser shapes. Do not draw every single line you see; instead, focus on the major curves.
- Draw a small, tight spiral in the center to represent the core.
- Add three to four heart-shaped petals surrounding the center.
- Layer larger, broader petals around the base, ensuring they vary in size for a natural look.
- Gently erase excess graphite with a kneaded eraser until the lines are barely visible.
Keep your sketch minimal. Watercolor is a transparent medium, and heavy graphite lines will show through the paint and dull the final appearance of your floral work.
How to layer watercolor petals effectively?
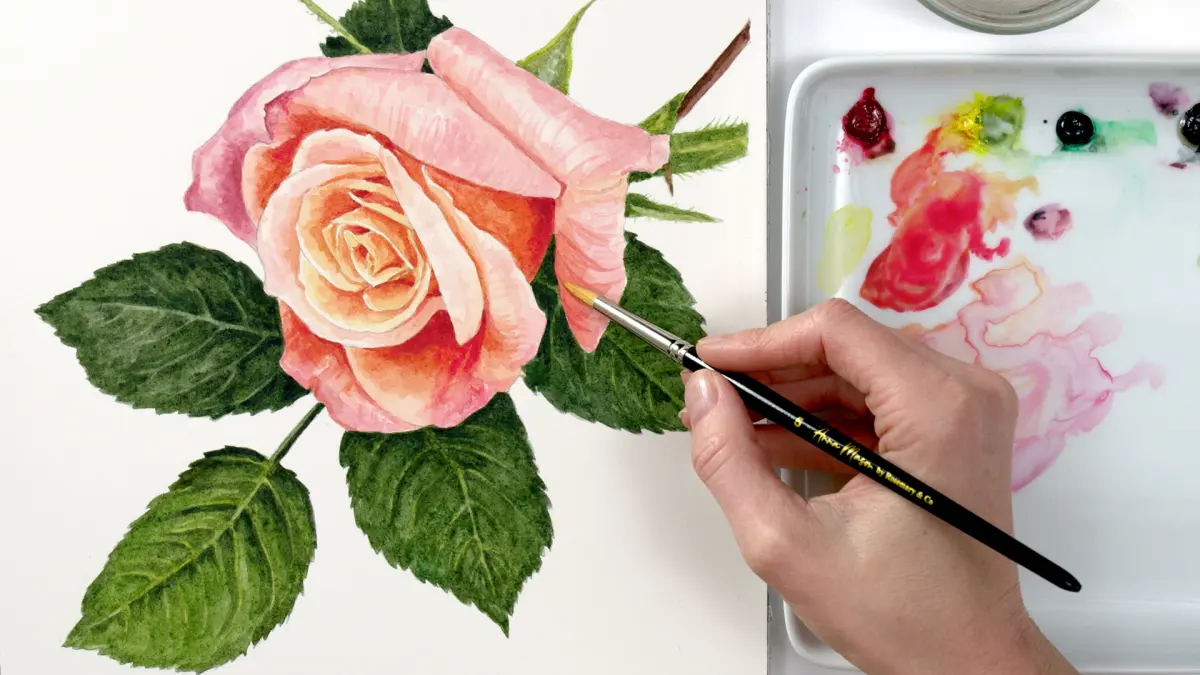
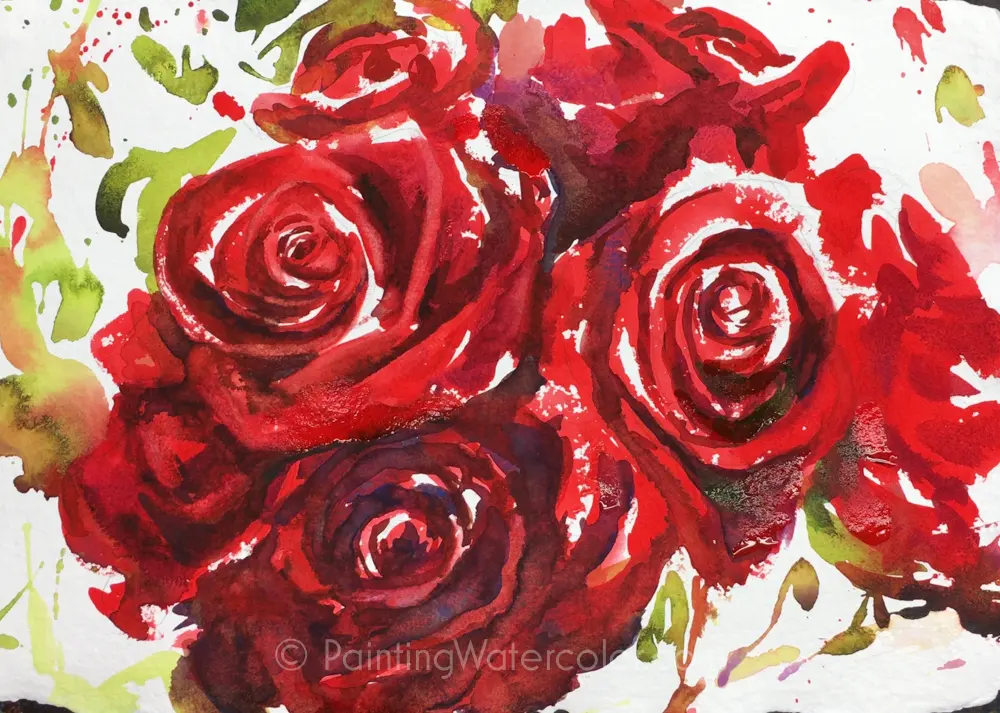
The key to a realistic rose is the "wet-on-dry" technique, which involves painting one petal at a time and allowing it to dry completely before touching the adjacent area. This prevents colors from bleeding into each other and helps maintain the distinct shape of each petal. Start by applying a very thin, watery wash of your chosen red to the entire rose to establish the base tone, leaving small white gaps for highlights.
Once the base is dry, mix a more concentrated version of your red with a touch of purple or brown for the shadows. Apply this darker pigment to the base of each petal where it tucks under another petal. Use a clean, damp brush to soften the edges of these shadows, pulling the color outward into the lighter areas. This transition creates the illusion of depth and volume, making the rose appear three-dimensional rather than flat.
How to add realistic leaves and stems?
Leaves provide the necessary contrast to the warm tones of a rose. When painting foliage, use a mix of greens and a touch of red or brown to desaturate the color, which creates a more natural, organic look. Start by painting the darkest parts of the leaves first, then use a clean, damp brush to pull the pigment toward the edges, creating a gradient from dark to light. This technique mimics the way light hits a curved leaf surface.
- Use a "wet-on-wet" technique for the stems to create soft, blended edges.
- Add small, sharp thorns using the very tip of your brush for fine detail.
- Ensure the greens are not too uniform; vary the ratios of blue and yellow in your mix.
- Connect the leaves to the rose stem with a slightly darker green to ground the bloom.
Avoid painting every leaf perfectly symmetrical. Nature is irregular, so varying the sizes and angles of the foliage will make your composition feel more dynamic and authentic.
Common mistakes when painting roses?
A frequent error is overworking the paint, which leads to "muddy" colors and damaged paper fibers. If you find yourself scrubbing the paper, stop immediately and let it dry. Another common mistake is using too much water or too little pigment, resulting in a washed-out, pale flower that lacks impact. Always test your color intensity on a scrap piece of paper before applying it to your main painting to ensure the value is correct.
- Avoid painting petals that are all the same size or shape.
- Do not use black to darken your shadows, as it makes the rose look dull; use complementary colors like green or purple instead.
- Remember to leave white space for highlights, as you cannot paint white back onto the paper once it is covered.
- Keep your water clean by changing it frequently, especially when switching from red tones to green tones.
By being patient and allowing each layer to dry, you will maintain the clarity and brilliance of your watercolor painting. Practice these steps consistently to refine your brush control and color mixing skills for future floral projects.
Key facts
- Use high-quality cold-press watercolor paper with a weight of at least 300 gsm to prevent buckling.
- Start by painting the center of the rose with a concentrated pigment and work outward to lighter washes.
- Employ a "wet-on-wet" technique for soft, blended petals and a "wet-on-dry" technique for crisp edges.
- Keep a clean brush dampened with clear water nearby to soften hard lines or lift excess pigment.
- Mix complementary colors, such as a touch of green into your red, to create natural-looking shadows.
- Allow each layer to dry completely before adding detail to prevent the colors from turning muddy.
The bottom line
Painting roses in watercolor requires a balance of patience and technique. By mastering the transition between wet-on-wet blending and wet-on-dry detailing, you can create depth and realism. Focus on building layers gradually, starting from light washes to deeper shadows. With practice, you will learn to control water flow, allowing the natural transparency of the medium to capture the delicate, ethereal beauty of a blooming rose.
People also ask
What brushes are best for painting roses?
A round brush with a fine point, typically sizes 4 or 6, is ideal for both broad petals and delicate details. Sable or high-quality synthetic hair brushes provide the necessary snap and water retention.
How do I create depth in a watercolor rose?
Build depth by layering thin, transparent glazes of color, starting with the lightest tones first. Darken the areas closest to the center and where petals overlap to create a three-dimensional effect.
Why does my watercolor rose look muddy?
Muddy colors often result from overworking the paper or mixing too many colors together on the palette. Always clean your brush thoroughly between color changes and avoid scrubbing the paper surface.
How do I paint the leaves of a rose?
Use a mix of sap green and a touch of alizarin crimson to create a harmonious, natural green. Apply the paint with a light touch, leaving small white gaps to represent highlights on the leaf surface.
Can I fix a mistake if I paint outside the lines?
If the paint is still wet, you can lift it by dabbing the area with a clean, dry paper towel or a thirsty brush. Once the paint is dry, it is much harder to remove, though you can sometimes lighten it with a damp brush.
How do I achieve a realistic texture on the petals?
Use a "dry brush" technique, where you use very little water on your brush, to create subtle veins or frayed edges. This adds visual interest and mimics the organic, delicate nature of real rose petals.
This answer was created with the help of AI research tools and reference sources. Spotted an error? Let us know — we correct mistakes quickly. See our editorial policy.