How do you paint a bouquet with watercolor?
Short answer
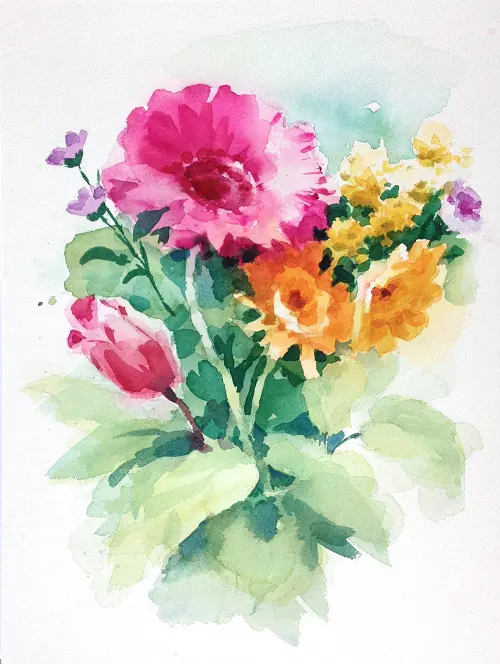
Painting a watercolor bouquet involves layering transparent washes, starting with light base shapes and building toward darker, detailed accents. By focusing on the interplay of water and pigment, you can create depth and movement. Mastering this technique requires patience, quality materials, and an understanding of how colors blend on damp paper.
On this page
What materials are best for beginners?
To paint a successful watercolor bouquet, you must invest in quality supplies rather than student-grade alternatives. High-quality paper, specifically 140-pound (300 gsm) cold-press watercolor paper, is essential because it absorbs water evenly without buckling. Cotton-based paper is superior to wood pulp alternatives as it allows for better pigment flow and easier correction of mistakes.
For brushes, you only need three to start: a size 8 round brush for general shapes, a size 4 round brush for detailing, and a flat wash brush for background work. Synthetic sable or squirrel hair blends offer a good balance of spring and water retention. Choose professional-grade tube or pan paints, focusing on a primary palette of six colors: two reds, two yellows, and two blues. This selection allows you to mix a vast spectrum of vibrant floral hues without muddying your colors.
How to plan your floral composition
Before touching your brush to the paper, visualize the bouquet’s structure. A common mistake is painting flowers in a straight horizontal line, which creates a static, unnatural look. Instead, aim for a triangular or circular arrangement where some flowers overlap and others vary in size. Use a light graphite pencil to sketch simple ovals and circles to represent the heads of your flowers.
- Sketch the largest focal flowers first to anchor the arrangement.
- Add medium-sized filler flowers in the gaps between the focal points.
- Draw light stems and foliage to connect the elements and provide movement.
- Keep your pencil lines faint so they do not show through the transparent paint.
Establishing this framework ensures that your bouquet feels balanced and intentional. By planning the negative space, you prevent the composition from feeling crowded or chaotic once the color is applied.
How to layer watercolor for depth
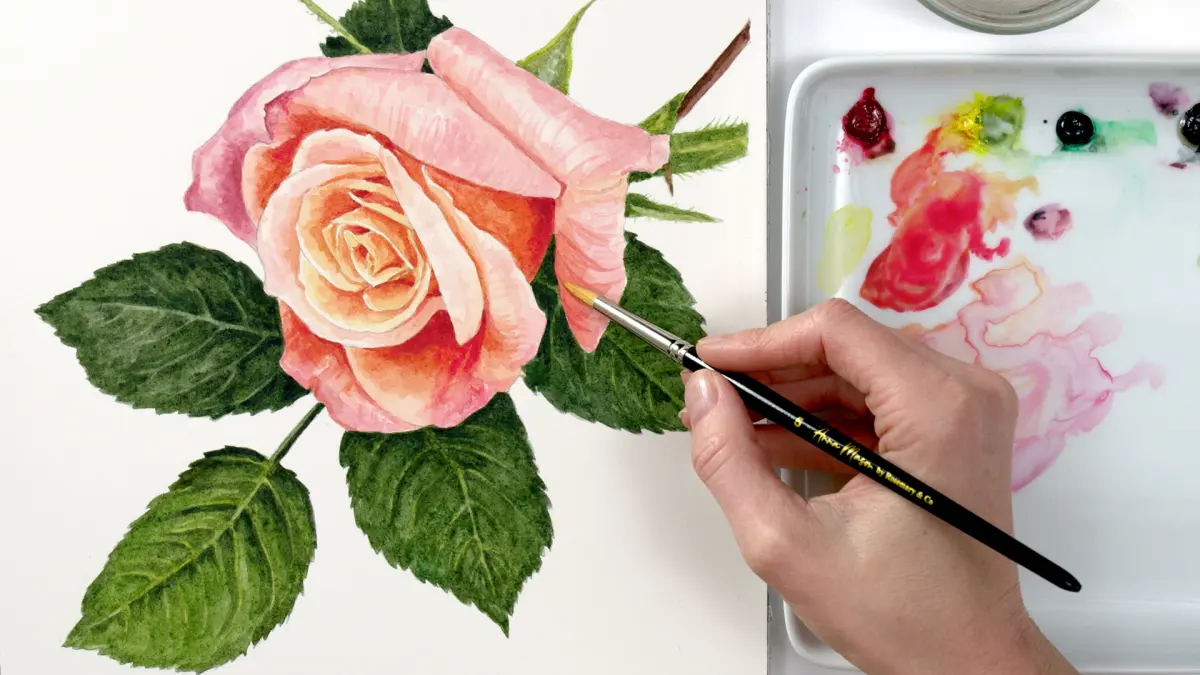
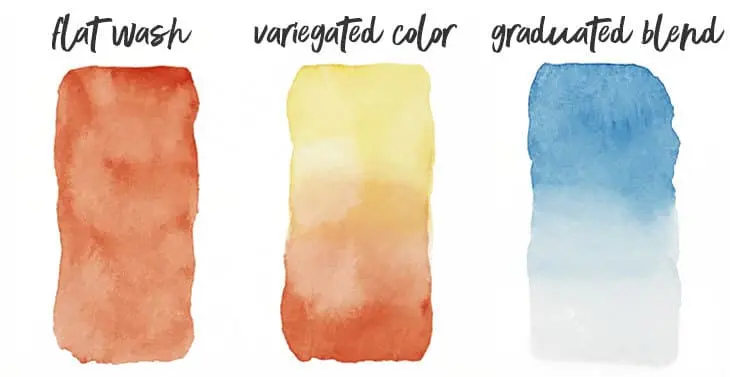
Watercolor is a medium of transparency, meaning you must work from the lightest values to the darkest. Start by applying a thin, watery wash of color to the flower petals, leaving small areas of white paper untouched to act as natural highlights. This "negative painting" technique creates the illusion of light hitting the petals.
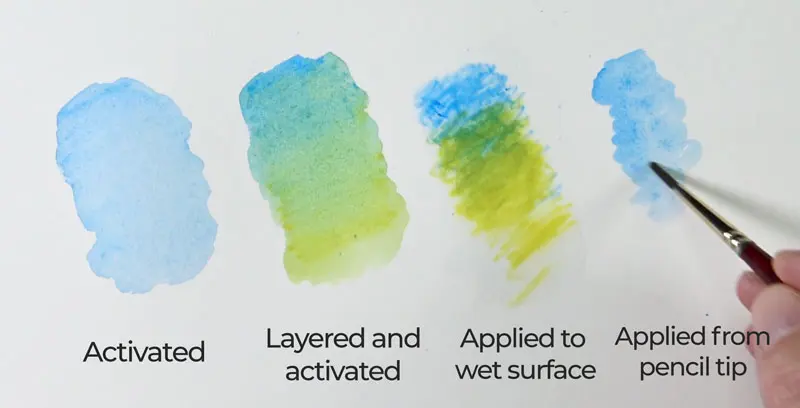
Once the first layer is dry, apply a second, more concentrated layer of pigment to the shadows or the center of the flower. This process, known as glazing, adds depth and dimension to your bouquet. To achieve realistic textures, use the "wet-on-wet" technique for soft, blurred backgrounds and the "wet-on-dry" technique for crisp, defined edges on leaves or stems. Always wait for each layer to dry completely before adding the next to avoid creating unwanted muddy tones or bleeding colors.
Common mistakes when painting bouquets
Many beginners struggle with overworking the paper, which destroys the vibrancy of the pigment. If you keep brushing over the same spot, the paper fibers will begin to pill and the colors will lose their luminosity. Another frequent error is using too much water, which causes the paint to pool uncontrollably and creates "cauliflowers" or backruns.
- Using too little pigment, resulting in a washed-out, pale appearance.
- Ignoring the direction of the light source, which leads to flat-looking flowers.
- Over-blending colors on the page, which turns bright petals into a dull gray.
- Neglecting to clean your brush between colors, causing contamination in your palette.
Focus on making decisive, confident strokes. Even if a stroke is not perfect, it is often better to leave it alone than to try to fix it repeatedly while the paint is still damp.
How to finish and preserve your work
The final stage of your bouquet involves adding fine details like stamens, veins in the leaves, or deep shadows between petals. Use your smallest brush and a thicker consistency of paint for these final touches. Once the entire painting is completely dry, carefully erase any visible pencil marks with a soft kneaded eraser.
To preserve your watercolor bouquet, you must protect it from moisture and direct sunlight, as these can cause the pigments to fade or the paper to warp. Frame your work behind glass, preferably using an acid-free mat to keep the painting from touching the glass surface directly. If you choose not to frame it, store the artwork in an archival-quality portfolio away from humidity. By following these steps, you ensure that your floral study remains a vibrant and lasting piece of art for years to come.
Key facts
- Use cold-press watercolor paper with a weight of at least 140lb (300gsm) to prevent buckling when wet.
- Start with a light graphite sketch to map out the composition, keeping lines faint enough to erase or cover with paint.
- Paint from the background to the foreground, starting with the lightest colors and gradually layering darker pigments.
- Utilize a "wet-on-wet" technique for soft, blended petals and "wet-on-dry" for crisp details and sharp edges.
- Keep two jars of water nearby: one for rinsing brushes and one for clean water to mix fresh colors.
- Allow each layer to dry completely before adding adjacent colors to prevent unwanted bleeding or muddying of hues.
The bottom line
Painting a watercolor bouquet requires balancing patience with spontaneity. By working in layers from light to dark and mastering the transition between wet and dry techniques, you can create vibrant, dimensional floral arrangements. Remember to maintain clean water and allow sufficient drying time between steps. With practice, you will learn to embrace the fluid nature of the medium to capture the delicate essence of nature.
People also ask
Should I paint the flowers or the leaves first?
It is generally best to paint the flowers first, as they are the focal point of the bouquet. Once the blooms are established, you can paint the leaves and stems to tuck them behind or between the floral shapes.
How do I prevent my colors from looking muddy?
Muddy colors occur when you overwork the paper or mix too many complementary colors together. Use a clean brush for every new color and avoid brushing over the same area repeatedly while it is damp.
What brushes are best for floral watercolor?
Round brushes in sizes 4, 8, and 12 are the most versatile for bouquets. A size 12 covers large areas, while a size 4 provides the precision needed for stamens and fine stems.
How do I create depth in my petals?
Apply a light base wash to the entire petal, then drop in a more concentrated pigment near the base while the paper is still damp. This creates a natural gradient that mimics the shadow and volume of a real flower.
Can I fix a mistake if I paint the wrong color?
If the paint is still wet, you can lift it by dabbing the area with a clean, damp paper towel or a thirsty brush. Once the paint has dried, it is difficult to remove, so it is better to incorporate the error into a shadow or a darker element.
Do I need to use masking fluid for a bouquet?
Masking fluid is helpful for preserving white highlights, such as the veins on a leaf or tiny glints of light on petals. Apply it before you begin painting and remove it once the entire piece is dry.
This answer was created with the help of AI research tools and reference sources. Spotted an error? Let us know — we correct mistakes quickly. See our editorial policy.