What is the easiest way to draw a flower?
Short answer
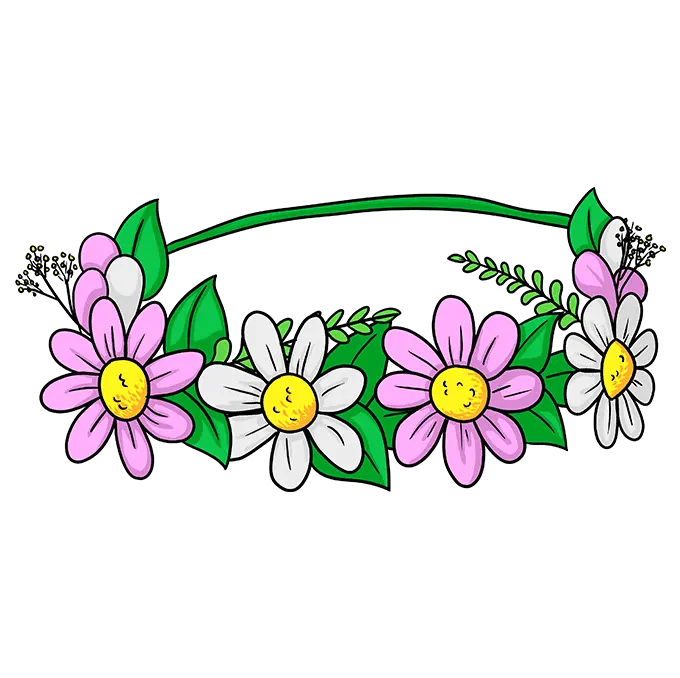
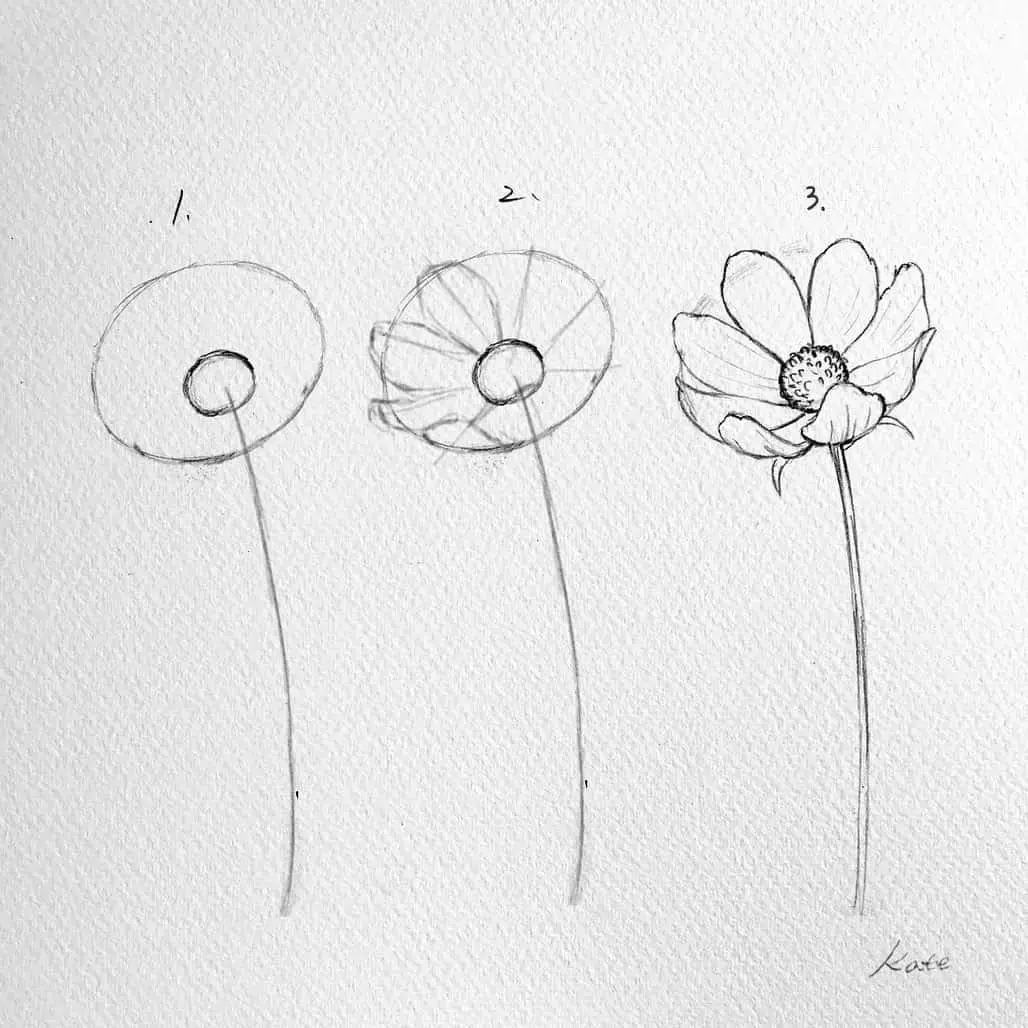
The easiest way to draw a flower is by using the circle-and-petal method. By starting with a simple central circle and adding overlapping rounded shapes around it, you create a balanced, recognizable bloom. This technique provides a structured foundation, allowing beginners to build confidence before attempting more complex, realistic floral illustrations.
On this page
How to draw a simple flower step by step
The most effective approach for beginners is to break the flower down into basic geometric shapes. This method removes the intimidation of complex botanical details and focuses on symmetry and proportion. By building the flower in layers, you ensure that the final result looks intentional rather than chaotic.
- Draw a medium-sized circle in the center of your paper to serve as the flower's heart.
- Sketch five or six evenly spaced, rounded petals radiating outward from the circle, ensuring they overlap slightly at the base.
- Add a second layer of smaller petals tucked into the gaps between the first set to create a sense of depth.
- Draw a single straight line extending downward from the base of the flower to act as the stem.
- Add two small, leaf-shaped ovals on either side of the stem to complete the basic structure.
Best tools for drawing flowers for beginners
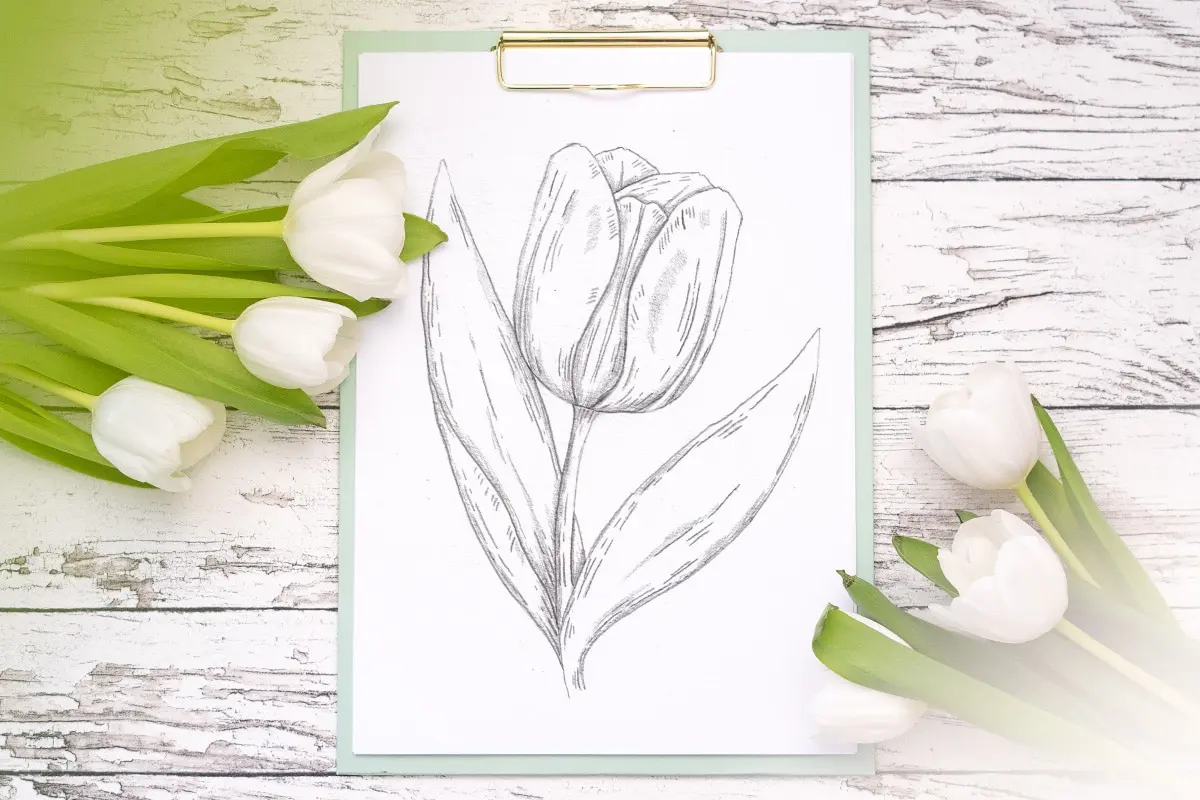
When starting out, the quality of your materials can significantly impact your ease of learning. Graphite pencils are the preferred choice for beginners because they allow for easy corrections and shading. A standard HB pencil provides a middle-ground hardness that is dark enough to see but light enough to erase without leaving heavy indentations on the paper.
- HB Graphite pencil for initial sketching and light outlines.
- A soft white vinyl eraser to remove mistakes without damaging the paper surface.
- A fine-liner pen or marker for tracing your final lines to make them pop.
- Smooth-finish drawing paper to prevent the pencil tip from catching on rough textures.
- A pencil sharpener to maintain a precise point for detailed petal edges.
Using these tools helps you maintain control over your lines. Avoid using ballpoint pens for the initial sketch, as they are permanent and can make the drawing process feel stressful rather than creative.
Why flowers are the best subjects for practice
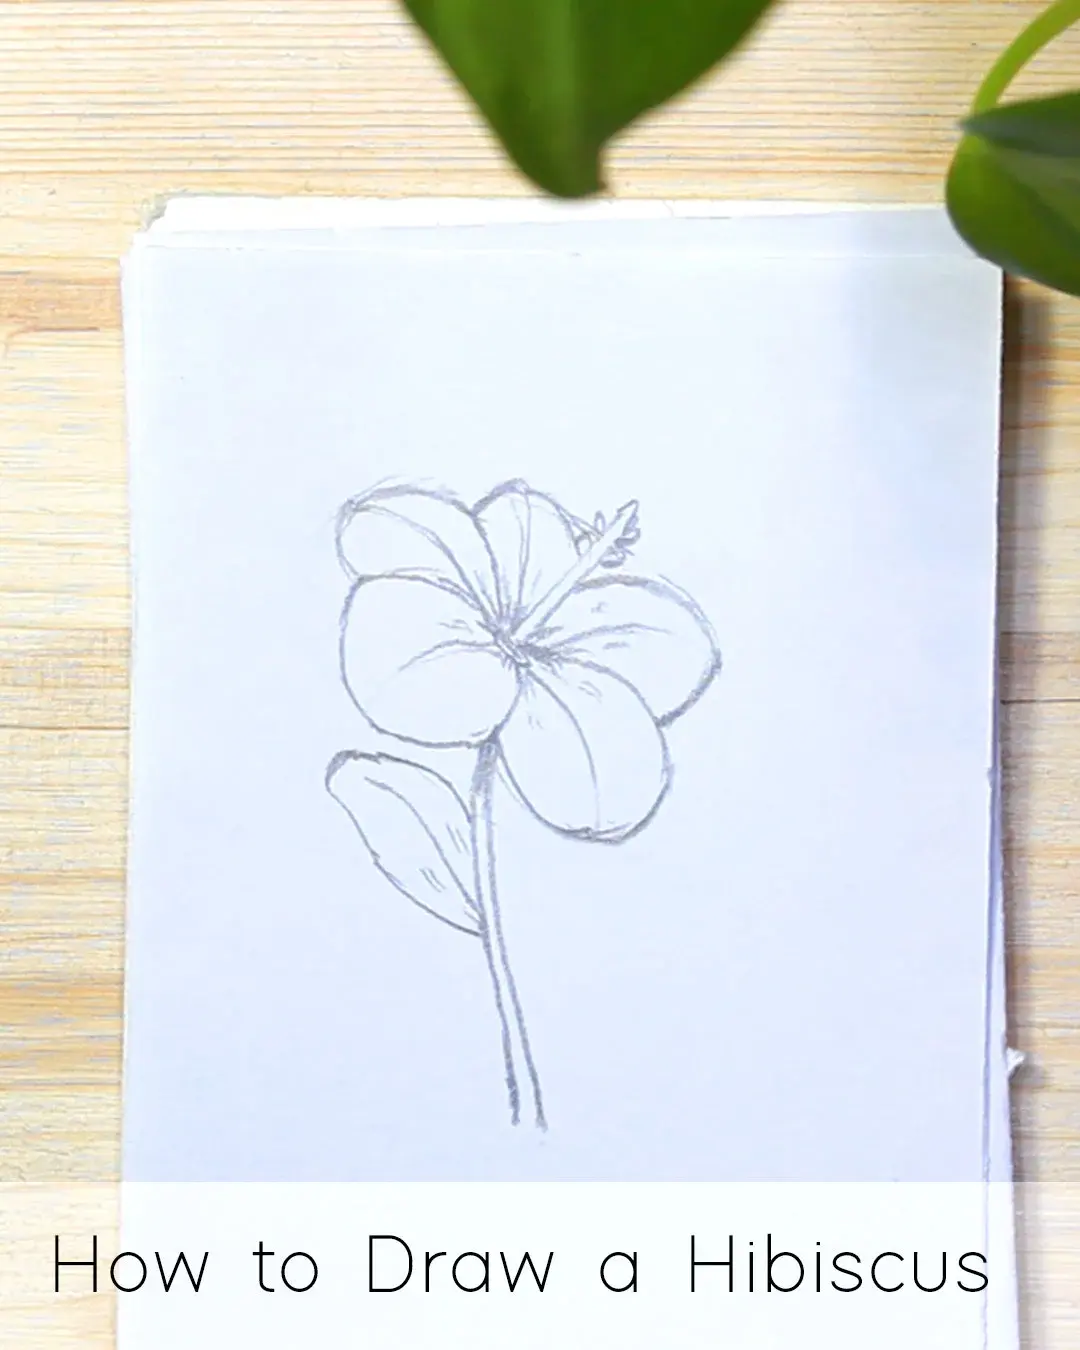
Flowers are ideal subjects for those learning to draw because they are inherently forgiving. Unlike human portraits, where a slight misalignment of the eyes can look unnatural, flowers naturally vary in shape, size, and orientation. This biological diversity means that there is no single "correct" way to draw a petal, which reduces the pressure to achieve perfect symmetry.
Furthermore, flowers offer a perfect introduction to the concept of organic forms. By practicing leaves and petals, you learn how to create curves and flowing lines rather than rigid, mechanical shapes. As you gain comfort with these simple forms, you can begin to observe real flowers in nature to see how light hits their surfaces. This transition from simple shapes to observation is the fundamental path to improving your artistic skills over time.
Common mistakes when drawing flowers
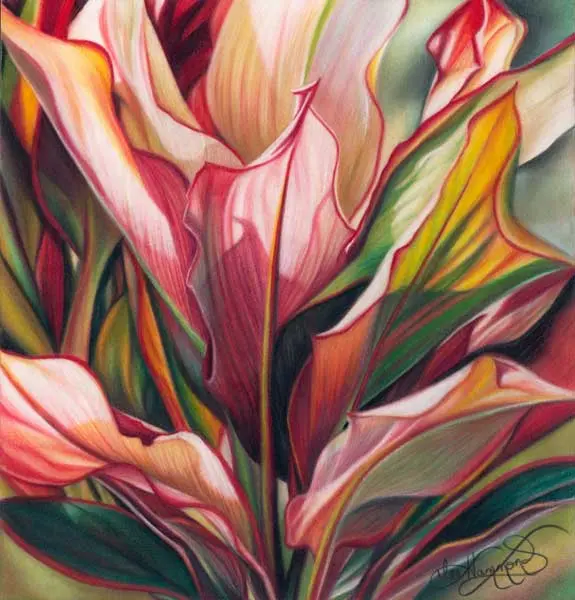
A frequent error for beginners is drawing petals that are too uniform or perfectly identical. In nature, flowers rarely have petals that are carbon copies of one another; they often have slight variations in size, tilt, and curvature. When every petal is identical, the drawing can appear stiff or like a clip-art icon rather than a living plant. To fix this, intentionally vary the width of your petals and add small nicks or curves to the edges.
Another common mistake is failing to connect the petals properly to the center of the flower. If petals appear to be floating around the center circle rather than growing out of it, the drawing will lack structural integrity. Always ensure that the base of every petal touches the central circle. Additionally, avoid using heavy, dark outlines for every single element, as this can flatten the drawing and make it look like a cartoon rather than a botanical study.
How to add detail to your flower drawings
Once you have mastered the basic shape, you can add detail to elevate your work. Start by adding subtle lines inside the petals to represent veins, which should radiate from the center toward the outer edges. These lines should be very light and follow the curve of the petal to suggest its volume. You can also add small dots or a stippled texture inside the central circle to represent the flower's pollen-producing stamens.
To create the illusion of three-dimensional space, consider where your light source is coming from. If the light hits the flower from the top right, add a bit of shading to the bottom left of each petal. This simple technique, known as value shading, adds depth and makes your drawing look much more professional. By layering these small details, you transform a simple, flat drawing into a sophisticated piece of art that captures the essence of a real flower.
Key facts
- Start by drawing a small circle to serve as the center of the flower.
- Add five to seven U-shaped petals around the circle to create a basic daisy shape.
- Use a light pencil touch initially so you can easily erase mistakes.
- Vary the size and shape of petals to make the flower look more natural.
- Draw a simple vertical line extending from the bottom of the flower for the stem.
- Add small, jagged leaf shapes on the sides of the stem to provide balance.
The bottom line
Drawing a flower is most successful when you break the complex form down into simple geometric shapes like circles and ovals. By starting with a central guide and building outward, you maintain control over the proportions. Practice focusing on the organic curves of petals rather than perfect symmetry, as nature is rarely uniform. With consistent practice, these fundamental steps will allow you to sketch various floral species.
People also ask
How do I make my flower drawings look more realistic?
Focus on adding overlapping petals and subtle lines for texture. Observe real flowers to see how light creates shadows and highlights on the curved surfaces.
Should I use ink or pencil for beginners?
Start with a graphite pencil so you can correct proportions before committing to permanent lines. Once you are satisfied with the sketch, you can trace over it with a fine-liner pen.
What is the best way to draw a rose?
Begin with a tight spiral in the center rather than a circle. Wrap larger, curved petals around that spiral, keeping the edges slightly wavy to mimic the organic feel of rose layers.
How can I improve my symmetry?
Lightly sketch a crosshair or a grid on your paper before drawing. This helps you keep the petals evenly spaced around the center point of the flower.
Is it better to draw from memory or a reference?
Drawing from a photograph or a live plant is significantly more effective for beginners. References help you understand how petals actually attach to the stem and how they fold.
How do I add color to my drawing?
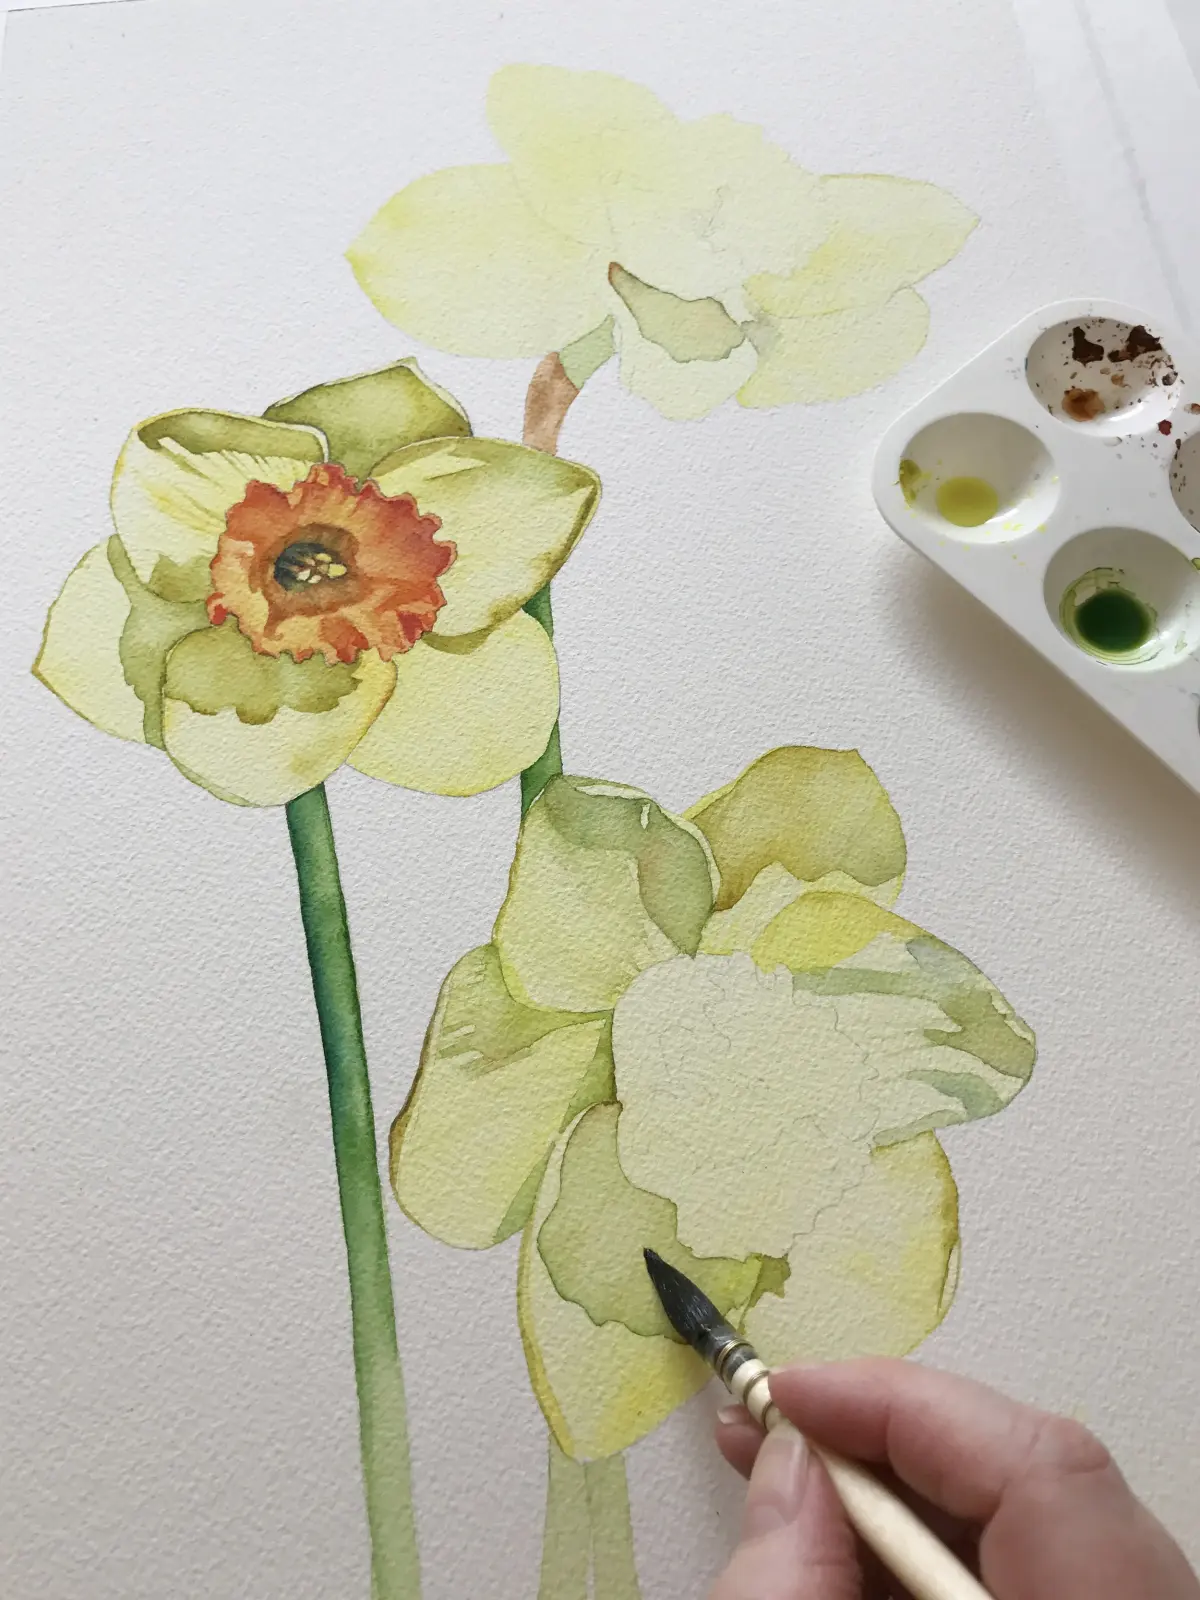
Use colored pencils or watercolors, starting with the lightest shades first. Layer darker colors toward the center of the flower to create depth and a three-dimensional appearance.
This answer was created with the help of AI research tools and reference sources. Spotted an error? Let us know — we correct mistakes quickly. See our editorial policy.