How do you paint flowers in watercolor?
Short answer
Painting flowers in watercolor requires balancing the medium’s natural fluidity with controlled brushwork. By mastering techniques like wet-on-wet for soft petals and wet-on-dry for crisp details, you can capture organic forms. Success relies on layering transparent washes, managing water-to-pigment ratios, and timing your applications to allow colors to bloom naturally on paper.
On this page
What supplies do you need for watercolor flowers?
To begin painting flowers, you need professional-grade materials that handle water effectively. Choose cold-press watercolor paper, which has a slight texture that helps hold pigment in place. A weight of 140lb (300gsm) is the industry standard to prevent buckling when saturated with water. For brushes, invest in a few round synthetic or sable brushes in sizes 4, 8, and 12. These allow for both fine detail work and broad washes.
Select a basic palette of artist-grade paints, focusing on transparent pigments rather than opaque ones. You should include at least two variations of primary colors—a warm and a cool version—to mix a wide spectrum of floral hues. A mixing palette, two jars of clean water, and a roll of paper towels are essential for controlling your brush moisture and cleaning your tools between color applications.
- Cold-press watercolor paper (140lb/300gsm)
- Round brushes (sizes 4, 8, 12)
- Artist-grade transparent watercolors
- Two water containers
- High-quality paper towels or a rag
How to paint floral shapes for beginners
The secret to painting convincing flowers is observing the underlying geometry of the bloom. Most flowers can be broken down into simple shapes like circles, ovals, or cones. Start by lightly sketching your subject with a hard pencil, such as a 2H, using very faint lines that will not show through the final paint layers. Focus on the gesture of the petals rather than tracing every single edge.
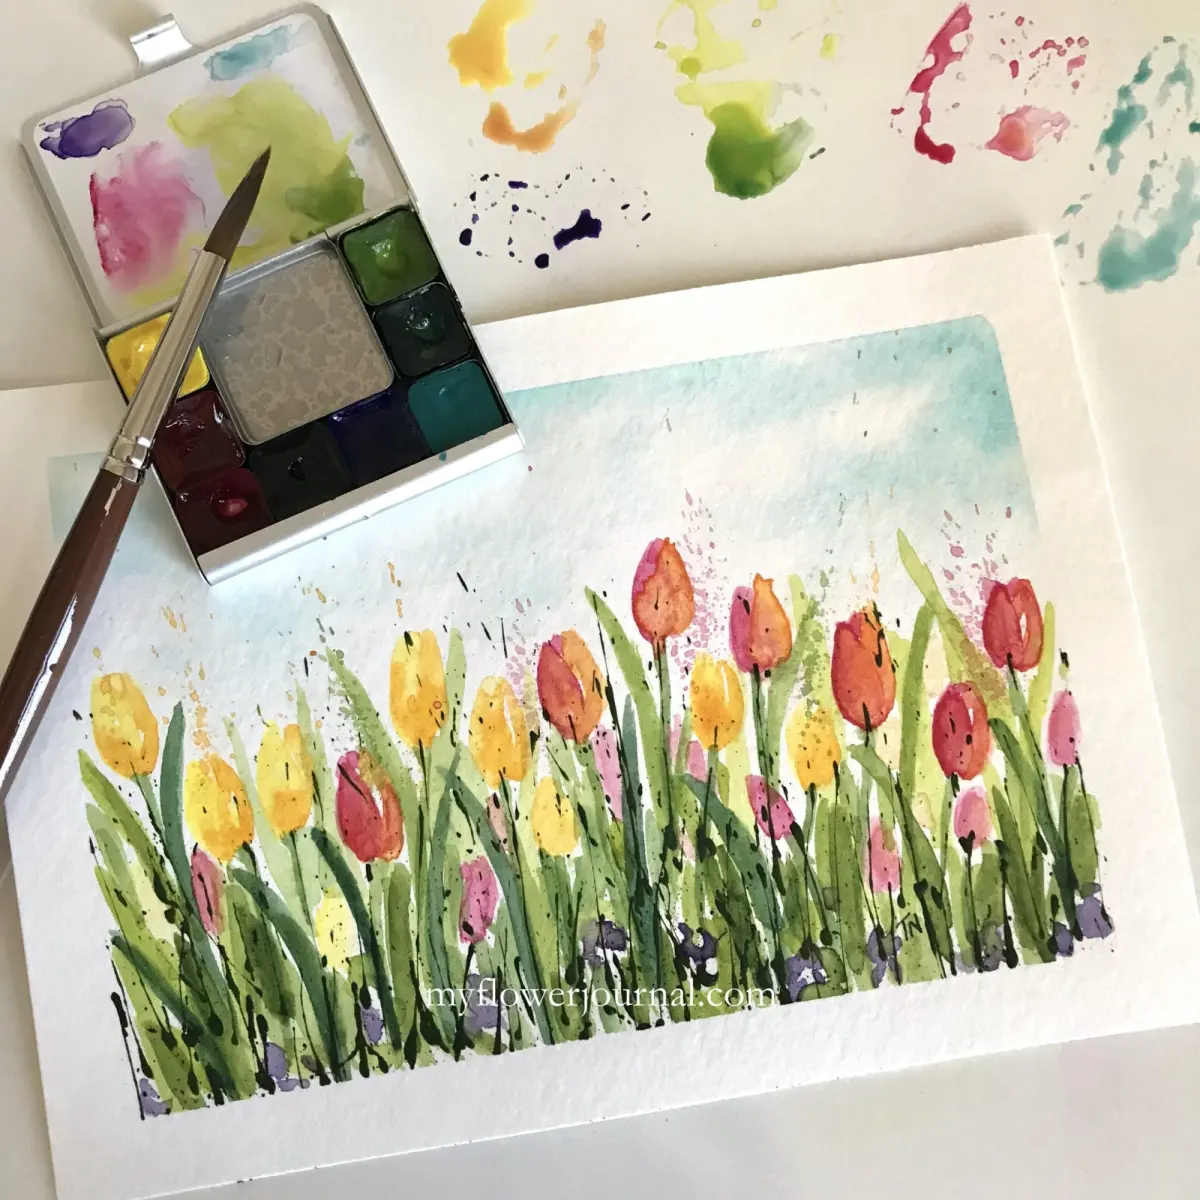
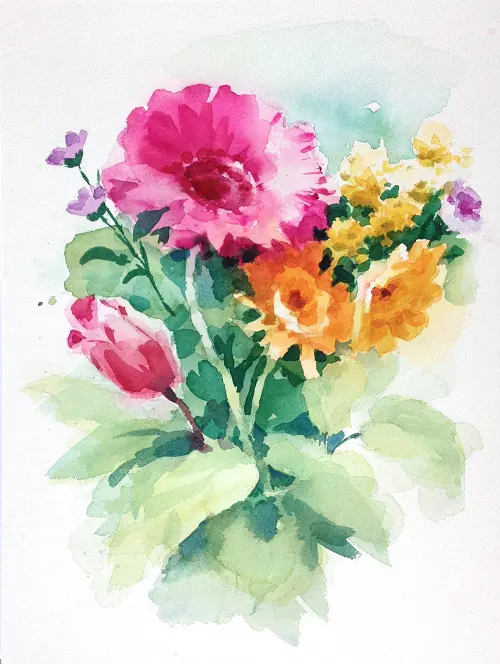
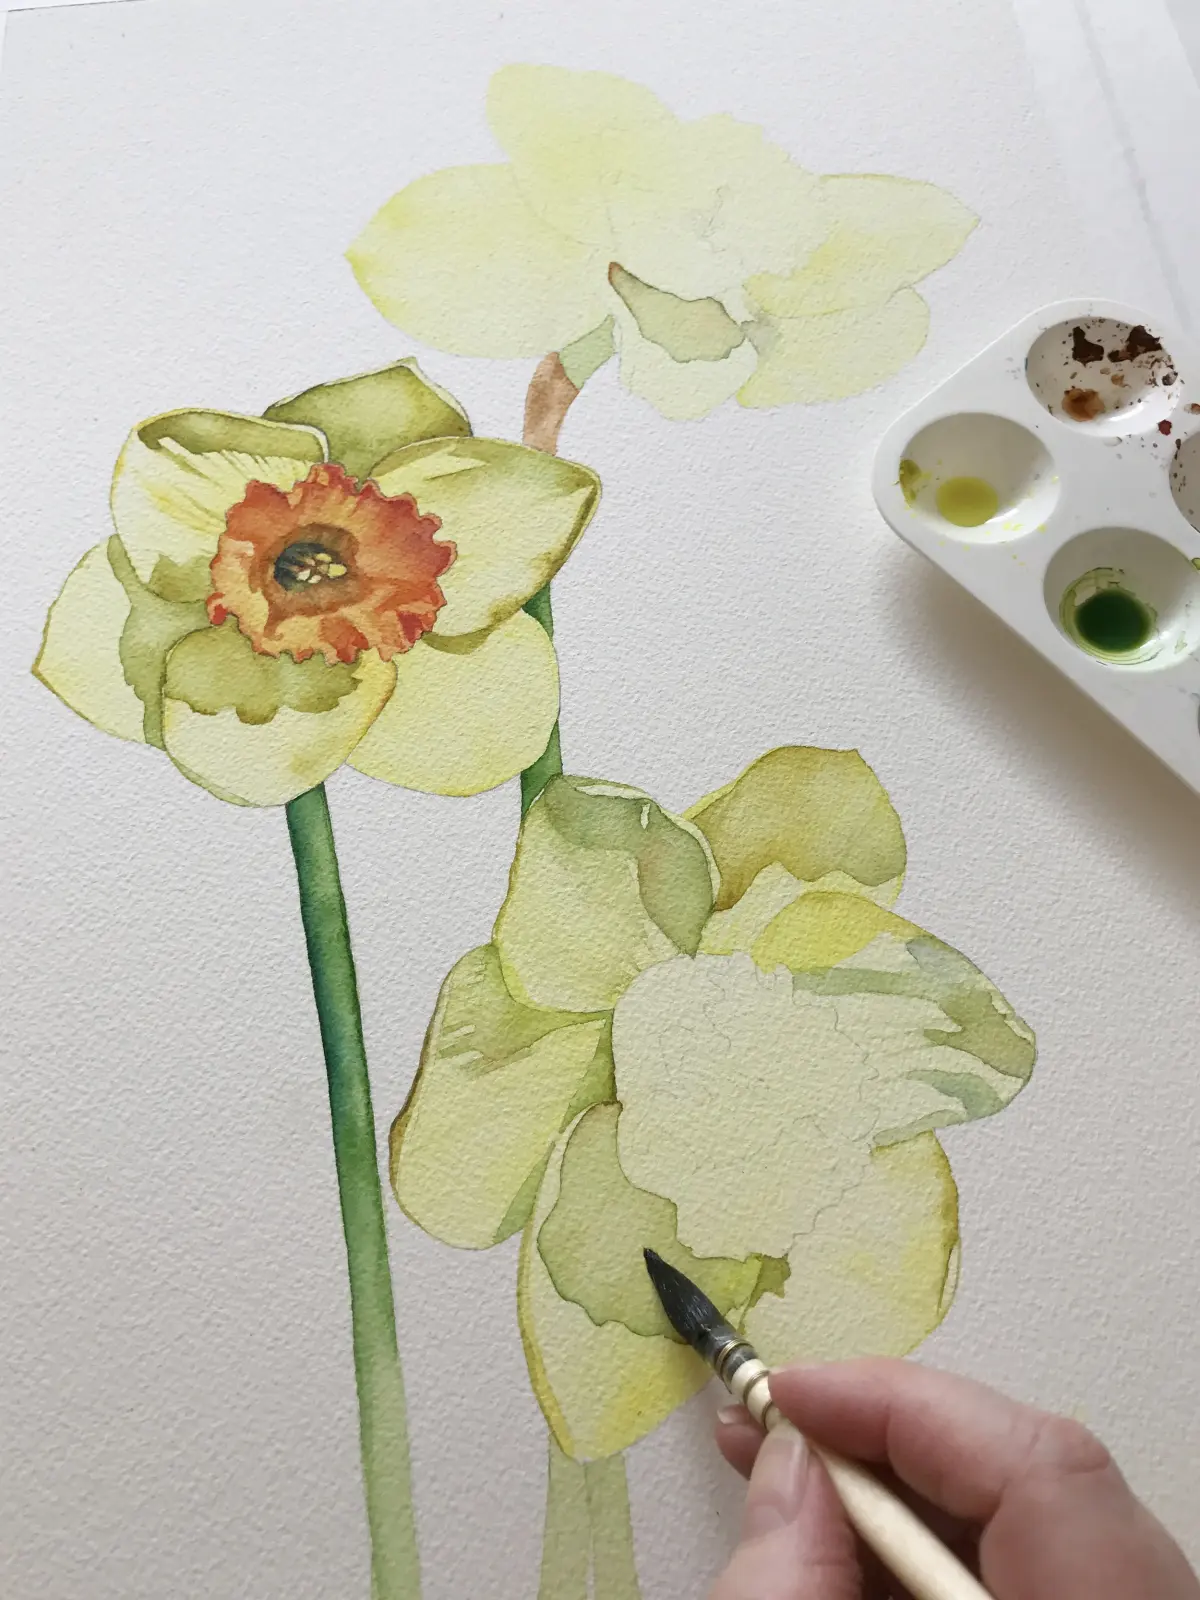
When you begin to paint, work from the center of the flower outward. Use a "wet-on-wet" technique for the initial wash, where you dampen the paper with clean water before dropping in pigment. This allows the colors to spread softly, creating the natural gradients found in nature. Once the first layer is dry, add darker values to the shadows near the center to provide depth and dimension to the petals.
- Sketch the basic structure using light, circular guidelines.
- Apply a light wash of color to the petals while the paper is damp.
- Allow the first layer to dry completely to prevent muddy colors.
- Add deeper, concentrated pigment to the base of the petals for shadow.
- Use a fine-point brush to add delicate veins or stamen details.
Why do watercolor flowers look muddy?
Muddy results typically occur when you overwork the paper or mix too many complementary colors together on the surface. Watercolor is a transparent medium that relies on the white of the paper to provide luminosity. If you scrub the brush against the paper, you damage the fibers and create a dull, greyish appearance. Always aim to place your stroke and leave it alone to dry undisturbed.
Another common cause of muddiness is failing to clean your brush between color changes. If you carry dark, muddy water from one area to another, you will lose the vibrancy of your floral colors. Ensure your water jars are changed frequently, especially when transitioning from dark greens in the foliage to light pinks or yellows in the petals. Remember that colors will always dry lighter than they appear when wet, so do not be afraid of using bold, saturated pigment.
- Over-mixing colors on the palette creates dull, brownish tones.
- Scrubbing the paper surface destroys the texture and clarity.
- Using dirty water contaminates fresh, bright pigment.
- Applying too many layers without letting the previous one dry.
How to paint realistic leaves and stems
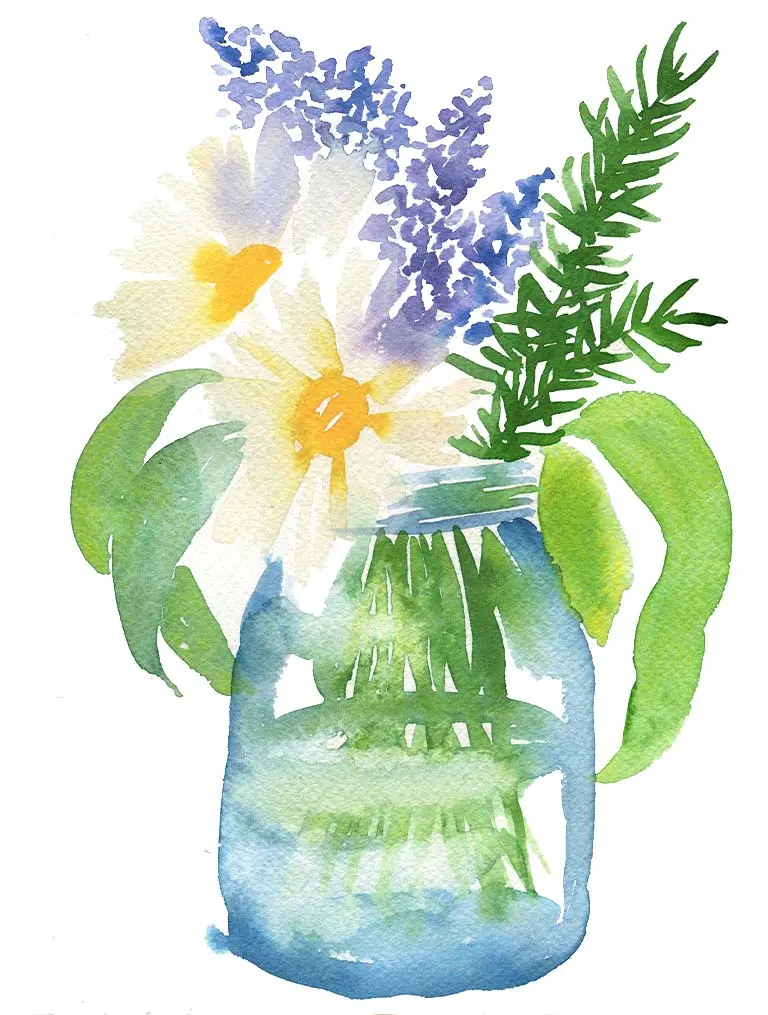
Foliage provides the necessary contrast to make floral colors pop. To paint realistic stems and leaves, avoid using a single flat green straight from the tube. Instead, mix your own greens by combining various blues and yellows, such as ultramarine blue and lemon yellow. Vary the temperature of your greens within a single painting to create visual interest and mimic the way light hits different parts of the plant.
Use the belly of your brush to create thick, rounded leaf shapes and the tip to create sharp, tapering points. Practice "brush pressure" exercises where you start with the tip, press down firmly to create the leaf's width, and lift back to the tip to finish the stroke. This technique creates an organic, tapered look that feels much more natural than a static, uniform shape. Always leave small gaps of white space between leaves to define their edges clearly.
Common mistakes when painting flowers
The most frequent error is starting with colors that are too dark. Watercolor is a subtractive process; it is easy to darken a light wash, but impossible to lighten a dark one. Begin with very thin, watery glazes and gradually build up to your darkest values. If you find your flowers look flat, it is likely because you have not established a strong enough contrast between the light and shadow sides of the petals.
Finally, avoid the temptation to outline every petal with a dark line. This creates a cartoonish effect that detracts from the delicate nature of flowers. Instead, use variations in color and value to define the boundaries between petals. By focusing on the interplay of light and shadow, you will achieve a professional, sophisticated result that captures the ephemeral beauty of your subject. Practice patience, let your layers dry fully, and enjoy the process of watching your garden bloom on the page.
Key facts
- Watercolor relies on transparency, meaning you should always work from your lightest colors to your darkest tones.
- Use cold-press watercolor paper with a weight of at least 140lb (300gsm) to prevent buckling when wet.
- A round brush with a fine point, such as a size 6 or 8, allows for both broad washes and delicate petal details.
- To create a "wet-on-wet" effect, dampen the paper with clean water before applying pigment to achieve soft, bleeding edges.
- Use a "wet-on-dry" technique to add crisp, defined edges or final shadows once the initial layers have fully dried.
- Mix your colors on a palette first to test the consistency; aim for a tea-like consistency for light washes and a cream-like consistency for deep shadows.
The bottom line
Painting flowers in watercolor is a practice of patience and light management. By starting with thin, transparent washes and gradually building depth through controlled layering, you can capture the delicate essence of botanical subjects. Focus on maintaining clean brushes and allowing adequate drying time between steps. With consistent practice of these fundamental techniques, you will develop the confidence to create vibrant, professional-looking floral compositions every time.
People also ask
How do I prevent my watercolor flowers from looking muddy?
Muddy colors occur when you over-mix pigments or apply too many layers while the paper is still damp. Limit your palette to three primary colors and ensure each layer is completely dry before adding a new one.
Should I use masking fluid for flower petals?
Masking fluid is excellent for preserving bright white highlights or thin veins on petals. Apply it to dry paper, let it set, paint over it, and then gently rub it off once the paint is dry.
Why are my colors fading significantly after the paint dries?
Watercolors naturally lighten by about 20 to 30 percent as the water evaporates. To compensate, use a slightly more concentrated pigment mixture than you think you need when painting your initial layers.
How do I create a realistic gradient on a petal?
Load your brush with color and paint the base of the petal, then quickly rinse your brush and use clean, damp bristles to pull the pigment toward the outer edge. This technique, called "charging," creates a smooth transition from dark to light.
What is the best way to paint flower stems?
Use a rigger or liner brush for stems to maintain a consistent, thin line. Start from the base of the flower and pull the brush toward the bottom to ensure the stroke tapers naturally.
Can I fix a mistake if I paint outside the lines?
If the paint is still wet, use a clean, damp paper towel to lift the pigment by dabbing gently. If the paint has dried, you can sometimes "lift" it by re-wetting the area with a clean brush and blotting, though some staining pigments may remain.
This answer was created with the help of AI research tools and reference sources. Spotted an error? Let us know — we correct mistakes quickly. See our editorial policy.