How do you make a paper flower?
Short answer
Making a paper flower involves cutting petal shapes from lightweight paper, layering them, and securing the base with wire. By curling the edges and using adhesive to assemble the layers, you create a realistic bloom. Whether using tissue, crepe, or cardstock, the process transforms simple flat sheets into three-dimensional floral art.
On this page
What materials are best for paper flowers?
The choice of paper significantly dictates the final look and durability of your project. Tissue paper is the most popular choice for beginners because it is inexpensive, lightweight, and easy to manipulate into fluffy, layered pom-poms. Crepe paper, specifically double-sided or heavy-duty Italian crepe, offers superior stretch and texture, allowing you to create realistic, organic curves that mimic the veins of natural petals. Cardstock is ideal for sturdier, structural flowers or geometric designs that require sharp, clean edges.
Beyond the paper itself, you will need a few essential tools to ensure professional results. A sharp pair of craft scissors is necessary for precise cutting, while a hot glue gun or high-quality tacky glue provides the best hold for layered components. Floral wire, typically 18 to 22 gauge, acts as the stem and provides the necessary support for the flower head. Floral tape is the final touch, used to wrap the wire stem and hide the base of the flower where it meets the stalk.
How to make a simple tissue paper flower
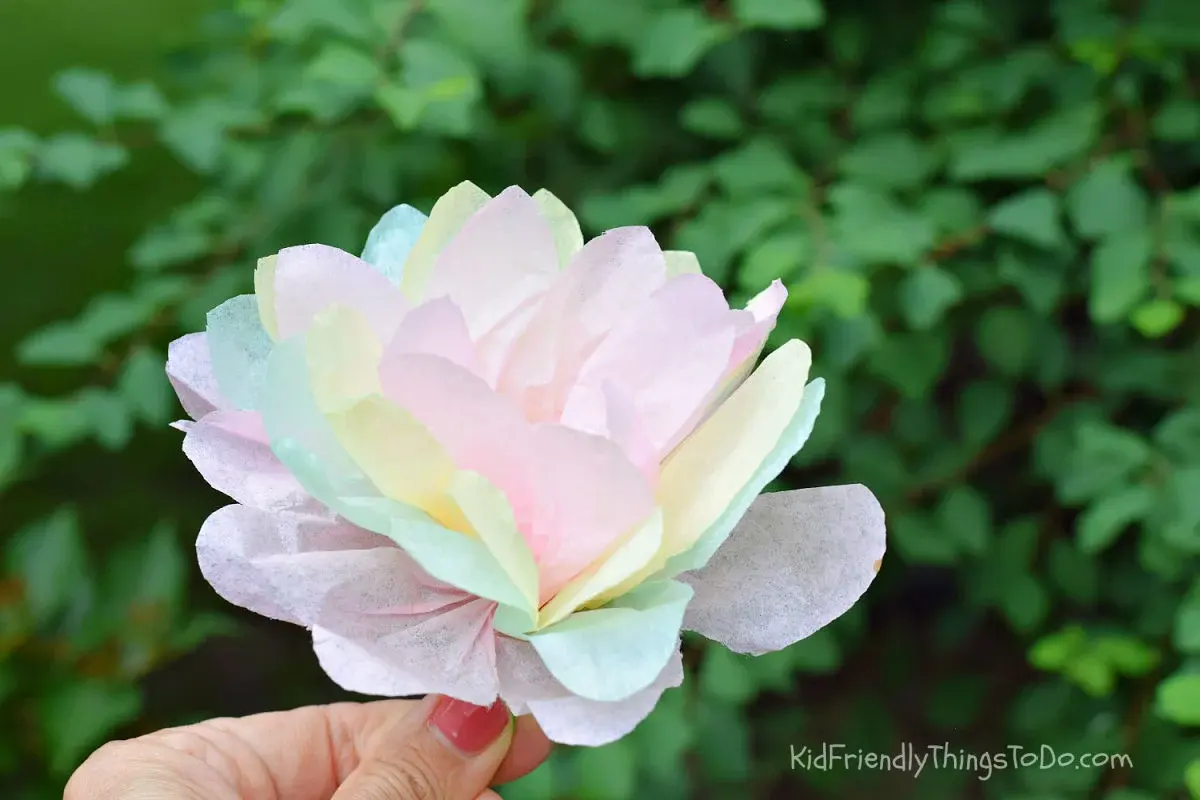
Creating a basic tissue paper flower is a quick process that relies on repetitive folding and gathering. This style is often called a carnation or a pom-pom flower due to its ruffled appearance. You can complete this project in under ten minutes once you have gathered your materials.
- Stack six to eight sheets of tissue paper, each measuring about 8 by 10 inches.
- Fold the entire stack like an accordion, making 1-inch pleats from one short end to the other.
- Secure the center of the folded strip tightly with a piece of floral wire or string.
- Use scissors to round off the ends of the paper stack for a soft, petal-like look.
- Gently pull each layer of tissue upward toward the center, alternating sides until the flower is full and rounded.
How to create realistic crepe paper petals
If you want to move beyond simple pom-poms, you must focus on the technique of shaping individual petals. Crepe paper is unique because it possesses a "grain," which allows the paper to stretch. By pulling gently on the edges of the paper, you can create a cupped shape that gives the flower depth and volume. This process is essential for making roses, peonies, or poppies that look authentic.
When assembling these flowers, start from the center and work outward. Begin by wrapping a small piece of paper around the tip of your floral wire to create a bud, then attach individual petals one by one. Use a small dab of glue at the base of each petal to keep the structure tight. As you add more layers, slightly offset the position of each petal to create a natural, overlapping effect. This layering technique prevents the flower from looking flat or uniform, mimicking the chaotic beauty of real blooms.
Common mistakes when making paper flowers
One of the most frequent errors is using the wrong type of adhesive. Liquid white glue often makes thin paper soggy and causes it to wrinkle or tear, while excessive hot glue can create bulky, unsightly lumps at the base of the flower. Always use a minimal amount of glue and apply it only to the very bottom of the petal where it attaches to the stem. Another mistake is failing to account for the paper grain; if you try to stretch paper against the grain, it will rip rather than curve.
Another common issue is cutting petals that are too uniform. Nature rarely produces perfectly symmetrical shapes, so varying the size and slight curvature of your petals will make the final product look much more professional. Avoid using dull scissors, as they will chew the edges of the paper rather than slicing through cleanly. If your edges look frayed or jagged, take a moment to sharpen your blades or switch to a fresh craft knife before continuing your work.
How to display and preserve paper flowers
Once your flowers are complete, they require proper care to maintain their shape and color. Paper is highly susceptible to fading when exposed to direct sunlight, so place your finished arrangements in a room with indirect light. To prevent the petals from drooping over time, ensure your floral wire is thick enough to support the weight of the flower head. If the flowers begin to gather dust, use a soft, dry paintbrush to gently sweep the particles away, as water will ruin the paper structure immediately.
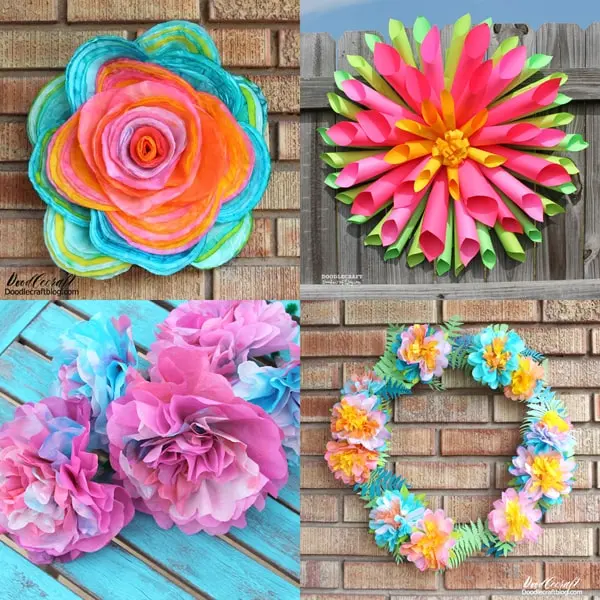
For a more permanent display, you can arrange your flowers in a vase or mount them onto a wreath frame. If you are creating a bouquet, consider adding artificial greenery or dried stems to provide contrast and texture. You can also lightly mist the flowers with a clear acrylic spray sealant to add a slight sheen and provide a thin layer of protection against humidity. With these simple maintenance steps, your paper flowers will remain a vibrant and lasting decorative element in your home for years to come.
Key facts
- Crepe paper is the preferred material for realistic flowers because it stretches and holds organic shapes.
- Use floral wire gauges between 18 and 22 for stems to ensure they are sturdy enough to support the weight of the petals.
- Always cut petals with the grain of the paper running vertically to allow for easier shaping and stretching.
- A low-temperature glue gun is safer for delicate paper and prevents burns while assembling intricate layers.
- Curling the edges of paper petals over a pencil or knitting needle creates a natural, lifelike curve.
- Staggering the placement of petals when gluing them to the base creates a fuller, more voluminous bloom.
The bottom line
Creating paper flowers is a rewarding craft that combines artistic expression with simple engineering. By selecting the right materials, such as flexible crepe paper, and mastering basic techniques like curling and layering, you can produce stunning, long-lasting botanical replicas. Focus on the grain of the paper and use quality adhesives to ensure structural stability. With practice, these handmade blooms become beautiful, permanent additions to any decor.
People also ask
What is the best type of adhesive for paper flowers?
Tacky glue or a hot glue gun are the industry standards. Tacky glue provides a strong hold for delicate edges, while hot glue is best for securing heavy stems and base layers quickly.
How do I make my paper flowers look more realistic?
Use pastels or watercolor paints to add subtle shading at the base of the petals. Adding texture by gently stretching the center of the paper helps mimic the organic irregularities found in nature.
Can I use printer paper to make flowers?
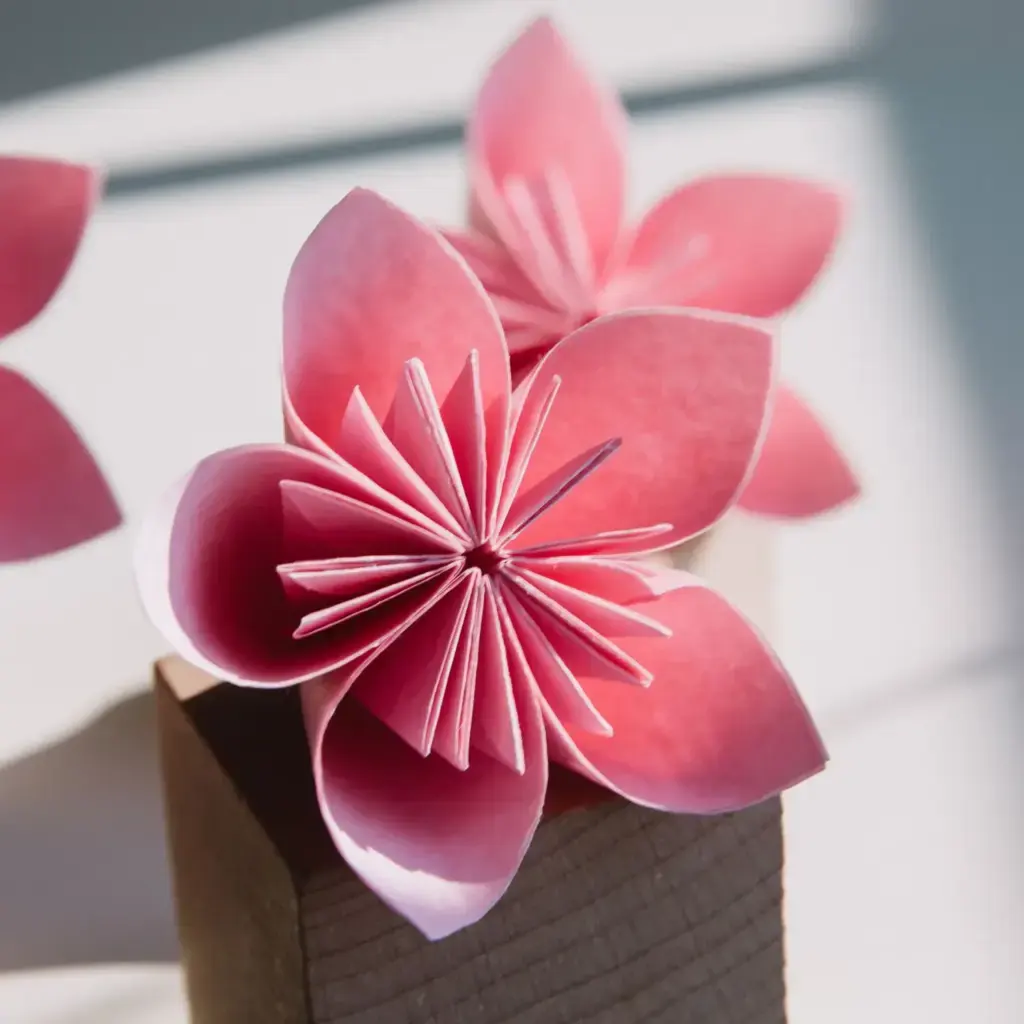
Yes, but printer paper is stiff and difficult to shape compared to crepe or tissue paper. It is best suited for geometric origami-style flowers rather than soft, ruffled floral designs.
How long do paper flowers typically last?
Paper flowers can last for years if kept away from direct sunlight and moisture. Sunlight causes colors to fade, while humidity can cause the paper to soften and lose its structural integrity.
How do I attach the stem to the flower head?
Create a small hook at the end of your floral wire and thread it through the center of your petals. Secure the wire with a small ball of paper or a dab of glue to prevent it from sliding through.
Is it necessary to use floral tape?
Floral tape is highly recommended because it is self-adhesive and stretches to cover wire stems seamlessly. It provides a clean, green finish that hides the metallic wire and protects your hands from sharp edges.
This answer was created with the help of AI research tools and reference sources. Spotted an error? Let us know — we correct mistakes quickly. See our editorial policy.