How do you draw night scenes?
Short answer
Drawing night scenes requires prioritizing high-contrast values over color. By establishing a deep, dark base and strategically placing intense light sources, you create depth. Focus on how light spills onto surfaces rather than outlining objects. Use limited palettes and cool tones to simulate the low-light atmosphere of the nocturnal world.
On this page
How to set up values for night scenes
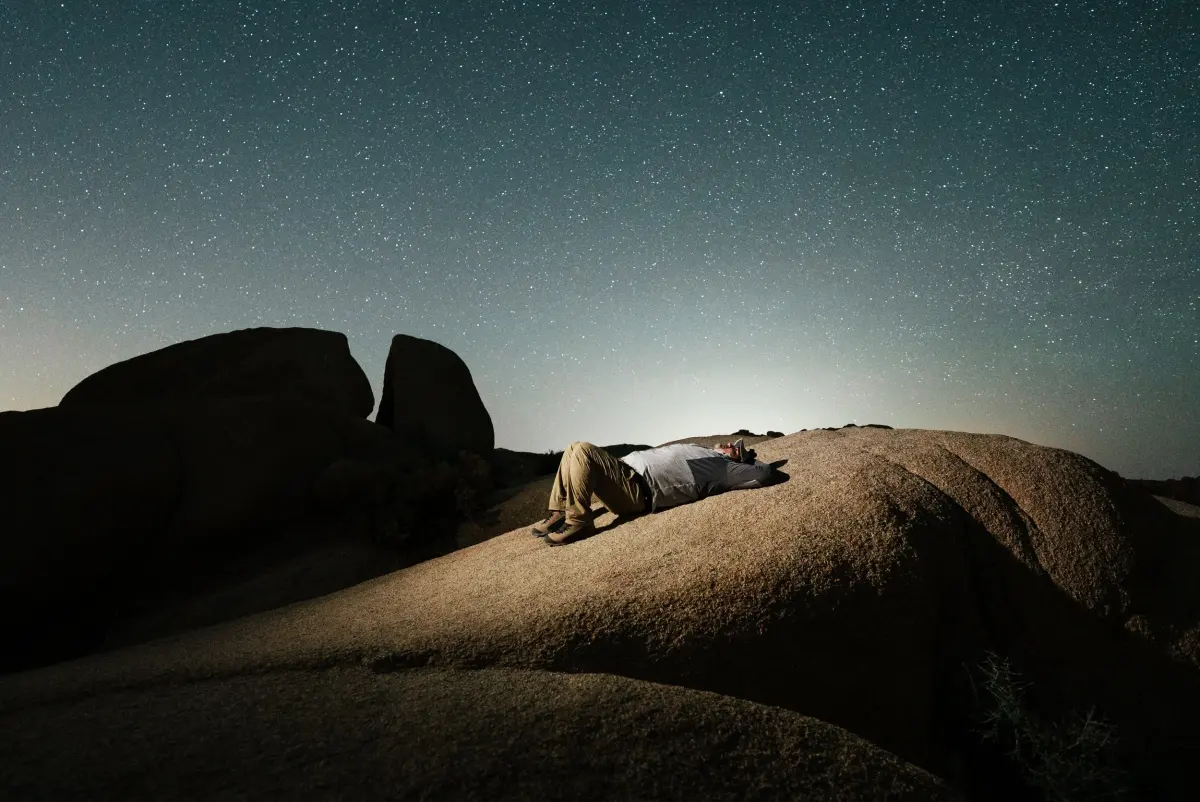
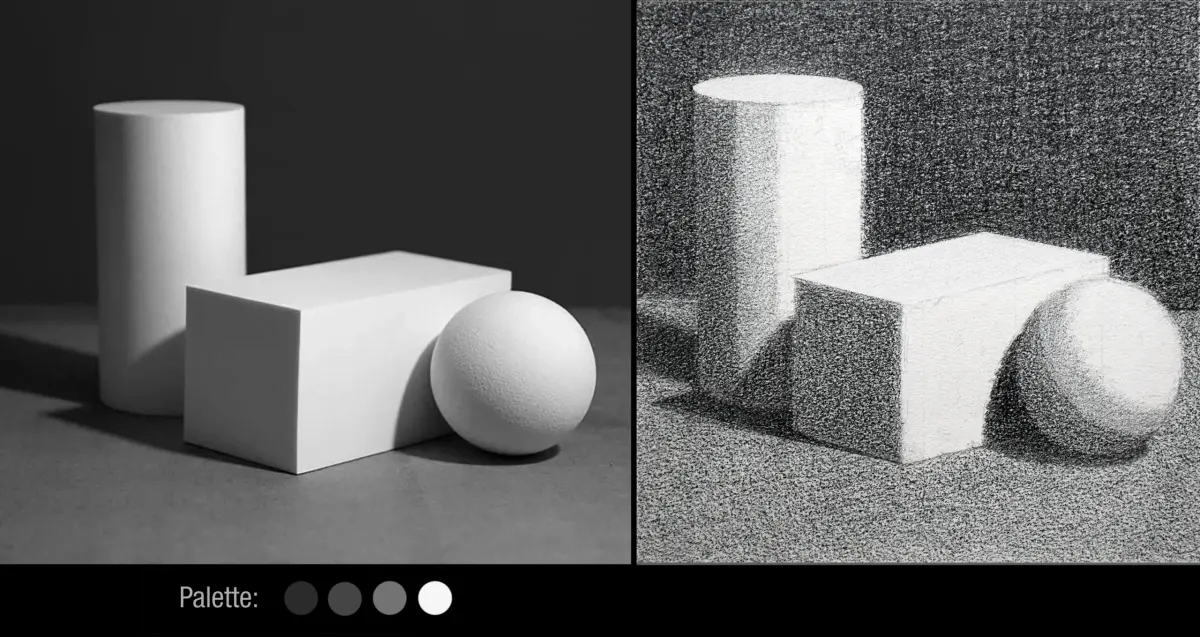
The most critical aspect of a night scene is the relationship between light and shadow. Beginners often make the mistake of using mid-tones, which flattens the image. Instead, push your shadows toward the darkest end of the spectrum and keep your light sources sharp and bright. This high-contrast approach mimics the way human eyes perceive the world in low light, where color saturation drops and shapes become silhouettes.
To achieve this, start by mapping out your light sources, such as streetlamps, moonlight, or windows. Once these anchors are established, fill in the surrounding environment with deep, dark values. Remember that even in total darkness, objects are rarely pure black. Incorporate subtle variations in temperature, using deep blues or purples for shadows, to prevent the drawing from looking muddy or flat.
- Establish your primary light source early to guide the composition.
- Apply a dark base layer to the entire canvas or paper.
- Gradually lift the light areas using an eraser or light-colored media.
- Add final, crisp highlights to create a sense of luminosity.
Best lighting techniques for beginners
When drawing night scenes, you must understand how light behaves in darkness. Light does not simply stop at an object; it bounces and scatters, creating soft edges and reflected light. Beginners should focus on "light pools," where a lamp creates a distinct circle of illumination on the ground. Outside these pools, the light should fall off rapidly, creating a dramatic transition into the surrounding darkness.
Avoid the temptation to draw every detail you see in the dark. Night vision is limited, so focus on the most important shapes. Use these guidelines to maintain clarity:
- Keep highlights small and concentrated to maximize their impact.
- Use soft, feathered edges for light that dissipates into the distance.
- Ensure that light sources are the brightest points in the entire composition.
- Consider how light reflects off wet surfaces, like rain-slicked pavement, to add visual interest.
How to use color in night drawings
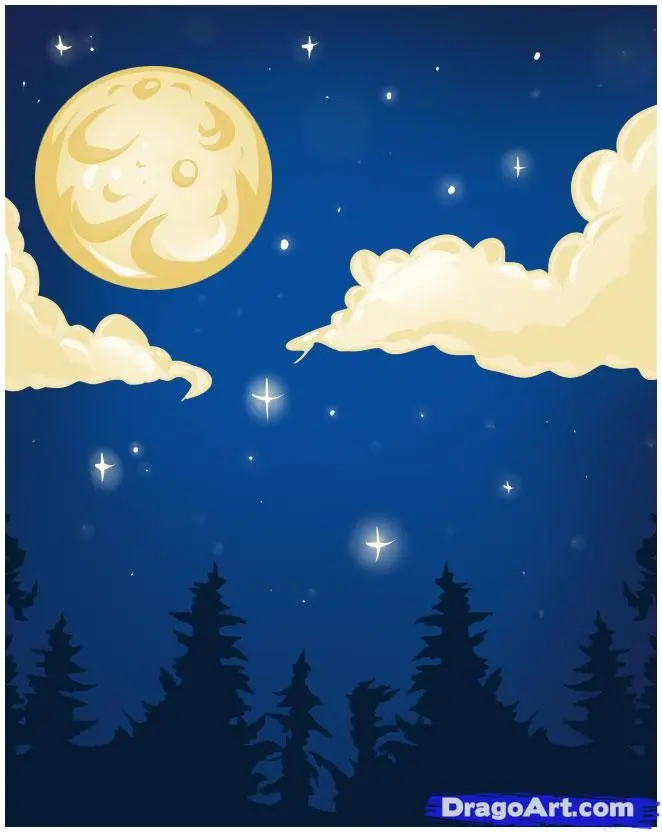
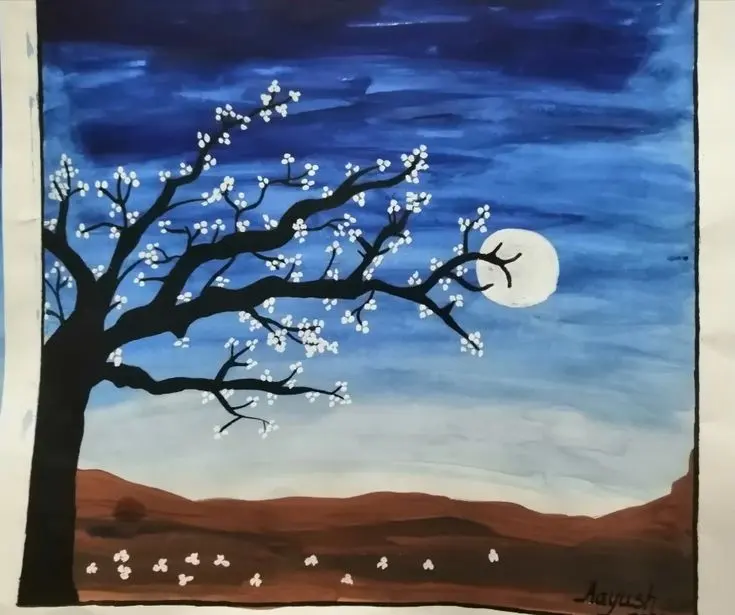
Many people assume that night scenes should be monochromatic, but introducing subtle color shifts adds realism. While the human eye struggles to see color in dim light—a phenomenon known as scotopic vision—you can use cool blues, teals, and violets to represent the ambient moonlight. These colors create a cohesive, chilly atmosphere that feels authentic to the viewer.
When you introduce artificial light, such as a warm yellow streetlamp, use it to create a complementary color contrast. This juxtaposition between the cool, dark environment and the warm, glowing light source is a classic technique used by artists like Vincent van Gogh in his 1888 painting, Café Terrace at Night. By balancing these temperatures, you create a focal point that draws the viewer’s eye immediately to the light source.
Common mistakes when drawing night scenes
One of the most frequent errors is over-detailing the shadows. In a night scene, the darkness should act as a veil, obscuring unnecessary information and simplifying the composition. If you draw every brick in a wall or every leaf on a tree within a shadow, you destroy the illusion of depth. Allow your shadows to merge into large, unified shapes to maintain the mystery of the night.
Another common mistake is failing to account for the "halo" effect. Light sources, especially when viewed through fog, rain, or high humidity, create a glow that extends beyond the physical light fixture. Ignoring this bloom makes lights look like harsh, disconnected stickers on the page. To fix this, soften the edges around your light sources and allow the glow to bleed slightly into the surrounding dark areas, creating a realistic, atmospheric transition.
How to add atmosphere and depth
To make your night scene feel truly immersive, you must incorporate atmospheric perspective. Objects further away from the viewer should have less contrast and appear slightly lighter or more muted than those in the foreground. This technique mimics how particles in the air, such as dust or moisture, scatter light, which is particularly noticeable at night.
You can further enhance the mood by adding environmental elements that interact with light. Fog, smoke, or falling snow can act as a canvas for your light beams, making them visible as rays or glowing clouds. These elements provide a sense of scale and movement that static objects cannot achieve. By layering these details carefully, you transform a simple drawing into a complex, evocative scene that captures the quiet, mysterious nature of the night.
Key facts
- Use a limited color palette dominated by deep blues, purples, and cool grays to establish a nocturnal atmosphere.
- Increase the contrast between light and shadow, as night scenes rely heavily on chiaroscuro to define shapes.
- Avoid using pure black for shadows, as it flattens the image; mix dark blues or browns into your shadows instead.
- Focus on light sources like streetlamps, moonlight, or windows to create focal points that guide the viewer's eye.
- Soften the edges of objects in the distance to simulate how human vision loses detail in low-light conditions.
- Incorporate "rim lighting" to highlight the silhouettes of subjects, separating them from the dark background.
The bottom line
Drawing effective night scenes requires mastering the interplay between deep shadows and localized light. By utilizing a cool, desaturated color palette and emphasizing high-contrast rim lighting, you can create a convincing sense of depth and atmosphere. Remember to avoid pure black, instead layering dark, chromatic tones to maintain visual interest. With careful attention to light sources and soft edges, your nocturnal compositions will feel authentic and immersive.
People also ask
How do I make colors look vibrant in a dark scene?
Use high-saturation colors only for the primary light sources, such as a neon sign or a glowing lantern. By keeping the rest of the scene desaturated, these small pops of color will appear much brighter and more luminous.
Should I use a pure white for moonlight?
Avoid using pure white, as it often looks too harsh and artificial. Instead, use a very pale, cool blue or soft cyan to mimic the reflective quality of moonlight on surfaces.
How do I show depth when there is very little light?
Use atmospheric perspective by making objects further away lighter and less detailed. This mimics how nighttime fog or air particles obscure distant shapes, creating a sense of vast space.
What is the best way to paint reflections on wet ground?
Paint reflections as vertical streaks that mirror the colors of your light sources. Keep the reflections slightly darker and more blurred than the actual light source to suggest a liquid surface.
How do I keep my night painting from looking muddy?
Avoid over-blending your dark colors, as this creates a gray, muddy appearance. Apply your darkest values in distinct, deliberate strokes to maintain clarity and texture in the shadows.
Can I use warm colors in a night scene?
Yes, warm colors like orange or yellow are essential for artificial light sources. Placing these warm tones against a cool, dark background creates a powerful visual contrast that makes the light feel realistic.
This answer was created with the help of AI research tools and reference sources. Spotted an error? Let us know — we correct mistakes quickly. See our editorial policy.