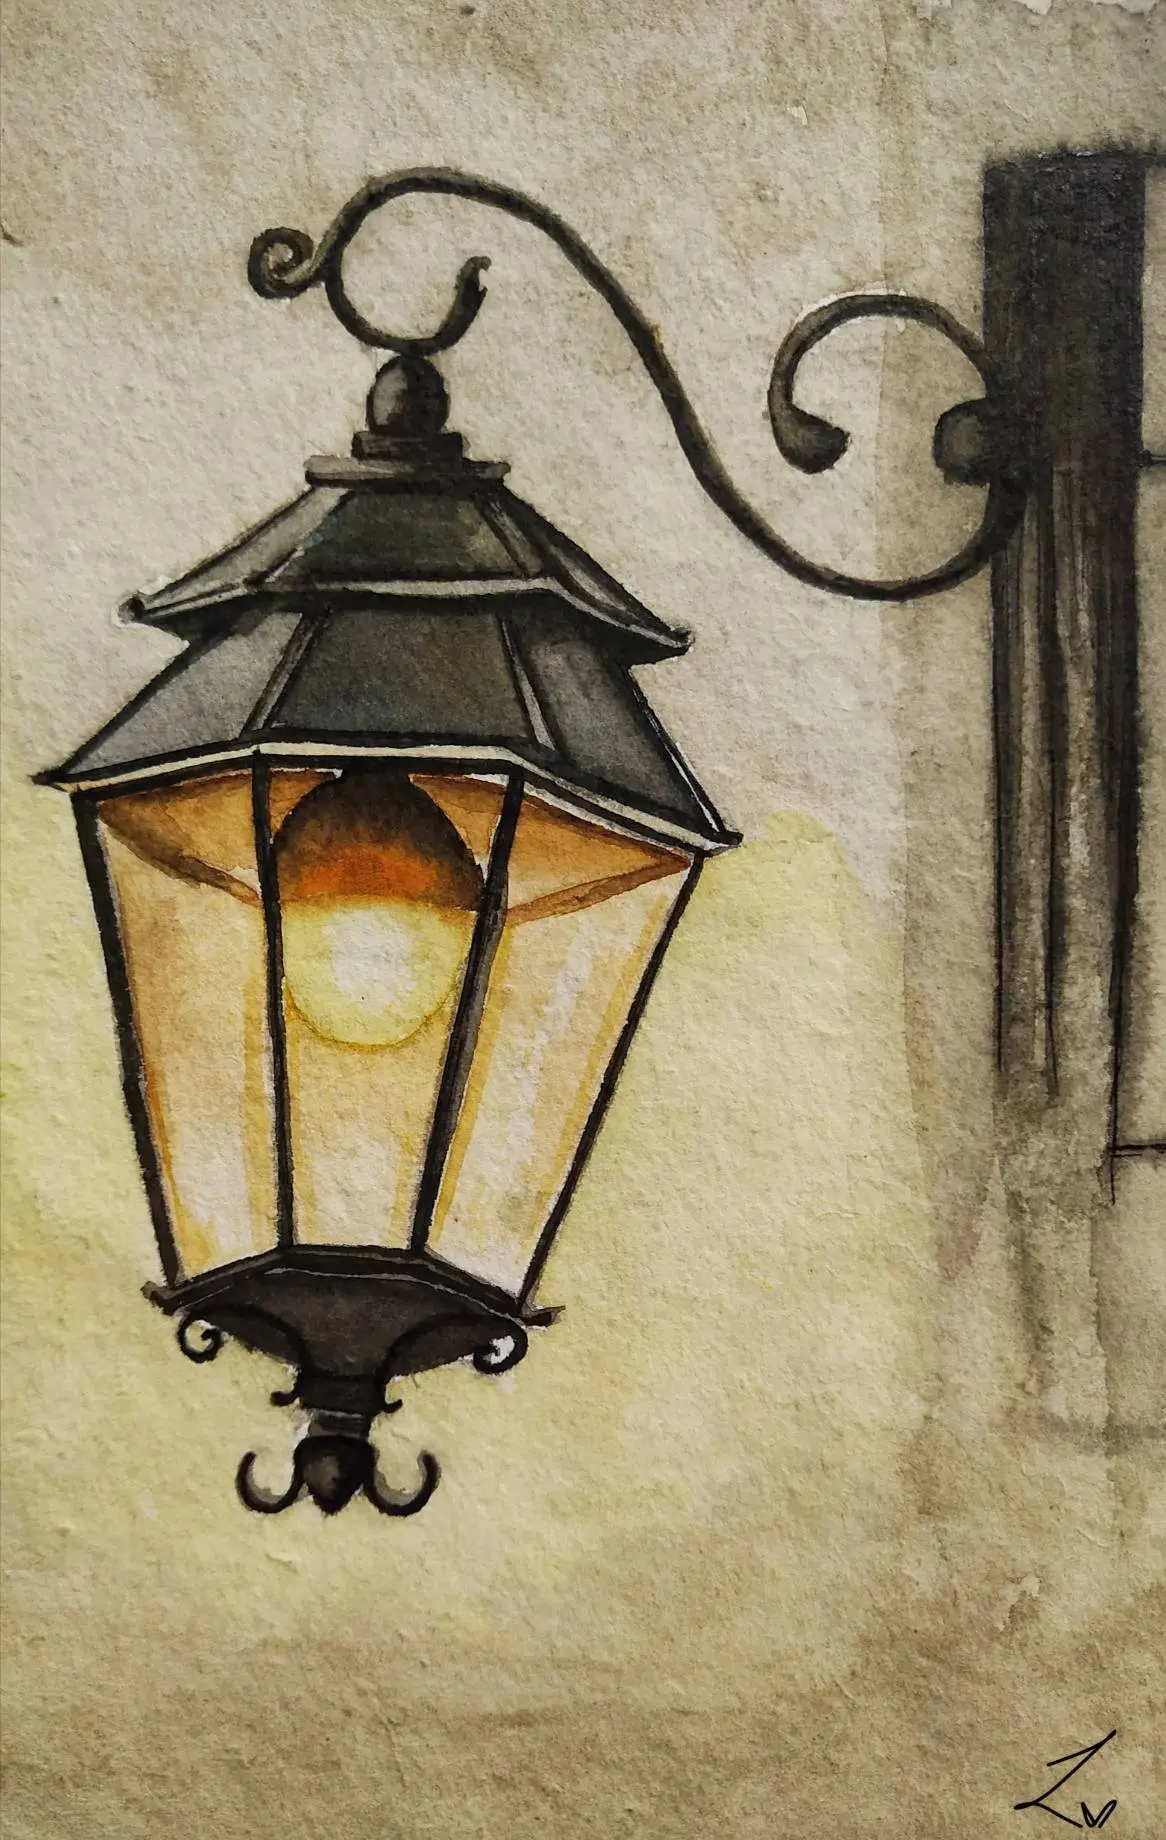
How do you draw a scene?
Short answer
Drawing a scene requires establishing a focal point, setting a horizon line, and organizing elements through perspective. By breaking complex environments into basic geometric shapes—cubes, spheres, and cylinders—you can construct a coherent spatial composition. Consistent light sources and overlapping forms then create the illusion of depth on a two-dimensional surface.
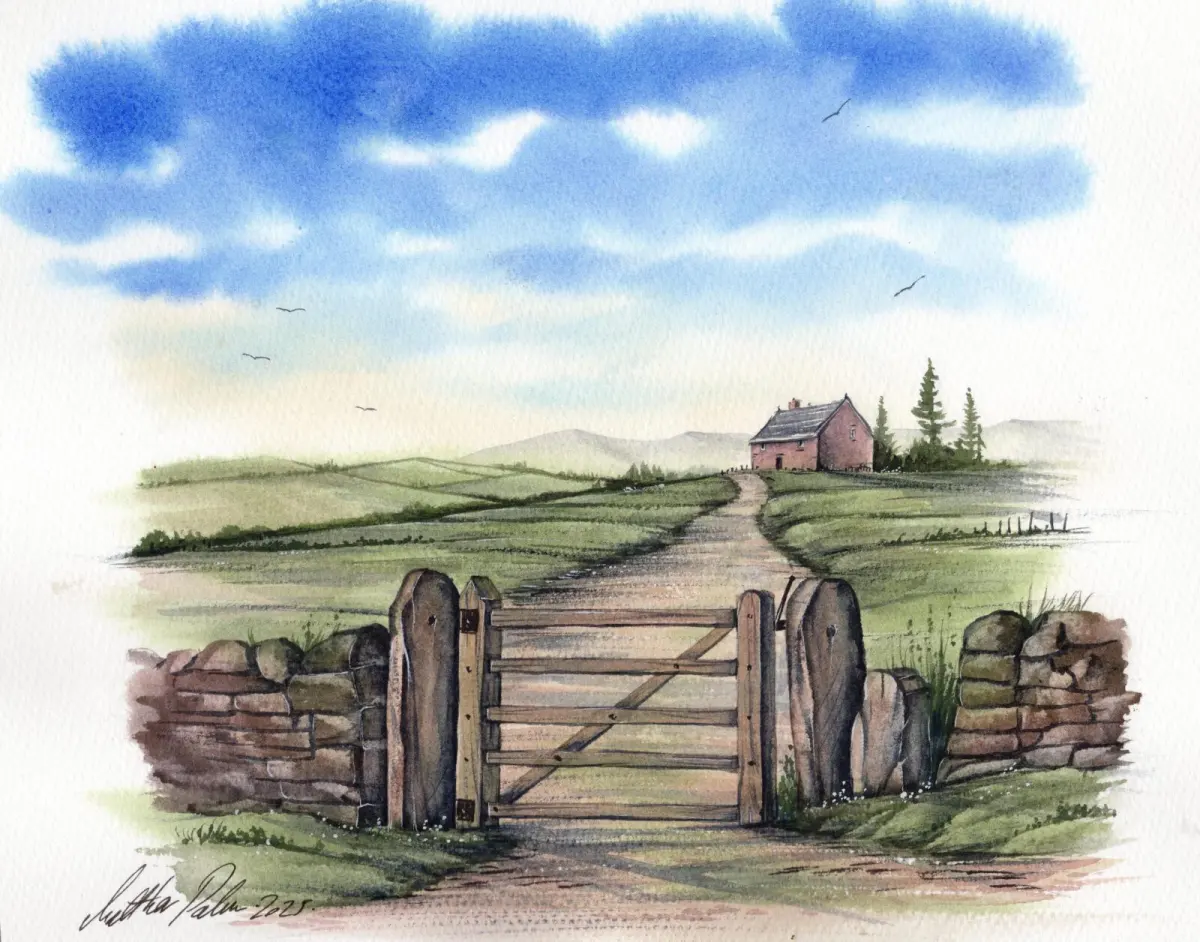
On this page
How to start drawing a scene
Begin by observing your subject and identifying the "big shapes." Avoid focusing on intricate details like leaves or bricks immediately, as this often leads to distorted proportions. Instead, squint at the scene to simplify the values and identify the primary masses. These shapes form the foundation of your composition.
Once you have identified the masses, establish your horizon line. This horizontal line represents your eye level and dictates how the viewer perceives the height and depth of the scene. Everything above this line will angle downward, while everything below will angle upward. Using a light graphite pencil, sketch these guidelines to anchor your drawing.
- Simplify the scene into basic geometric volumes.
- Draw a horizon line to define your perspective.
- Map out the largest shapes first to ensure proper placement.
- Keep your initial lines faint so they can be easily erased or covered.
How to use perspective in drawing
Perspective is the mathematical system used to create the illusion of three-dimensional space on a flat plane. Linear perspective relies on vanishing points, which are the spots on the horizon line where parallel lines appear to converge. For most scenes, you will use either one-point or two-point perspective to guide your structural lines.
In one-point perspective, all lines representing depth lead to a single point, common in indoor scenes or straight streets. Two-point perspective involves two vanishing points, which is ideal for drawing the exterior corner of a building. Mastering these techniques prevents the common "tilted" look that occurs when objects do not align with their intended spatial plane.
- One-point perspective: Use for subjects facing you directly.
- Two-point perspective: Use for corner views of structures.
- Vanishing points: Always place these on the horizon line.
- Convergence: Ensure all receding lines hit the vanishing point precisely.
How to create depth in a scene
Depth is achieved through the manipulation of scale, overlap, and atmospheric perspective. Objects that are closer to the viewer should appear larger, more detailed, and higher in contrast. As objects recede into the distance, they should become smaller, less detailed, and lighter in value, mimicking the way air density obscures distant views.
Overlapping is the most immediate way to signal depth. When one object partially covers another, the brain instinctively perceives the covered object as being further away. Combining this with varying line weights—thicker, darker lines for foreground elements and thinner, lighter lines for background elements—adds a professional polish to your work. Always check that your foreground, mid-ground, and background are clearly distinct.
Common mistakes when drawing scenes
A frequent error is "symbol drawing," where the artist draws what they think an object looks like rather than what they actually see. This leads to generic representations that lack character and spatial accuracy. To combat this, spend more time looking at your subject than at your paper, constantly checking the angles of lines against the horizon.
Another common pitfall is inconsistent lighting. If your light source is coming from the top right, every shadow must fall toward the bottom left. If shadows are placed arbitrarily, the scene will look flat or confusing. Finally, avoid "floating" objects by ensuring they are grounded with a shadow or a connection point to the floor or terrain.
- Drawing from memory instead of direct observation.
- Neglecting to maintain a consistent light source.
- Failing to ground objects, causing them to look like they are floating.
- Over-detailing the background while the foreground remains underdeveloped.
Best tools for beginners
For those starting out, a standard HB graphite pencil is the most versatile tool. It offers a balance between hardness and softness, allowing for both light construction lines and darker shading. Pair this with a kneaded eraser, which can be molded into precise shapes to lift graphite off the page without damaging the paper surface.
Choose a sketchbook with a medium-tooth texture, as it holds graphite well and allows for smooth blending. Avoid extremely slick or overly textured papers until you are more comfortable with your technique. A simple set of pencils ranging from 2H to 4B will provide enough range to create everything from subtle atmospheric effects to deep, rich shadows. Keep your pencils sharpened to maintain control over your lines and ensure your scene remains crisp and readable.
Key facts
- Use a "vanishing point" on your horizon line to create the illusion of three-dimensional depth.
- Divide your paper into a grid using the Rule of Thirds to balance your composition.
- Sketch large shapes first, then refine details to avoid getting lost in minor elements too early.
- Vary your line weight by pressing harder for foreground objects and lighter for distant ones.
- Squint at your subject to simplify complex values into basic light and dark shapes.
- Use a 2B pencil for initial light construction lines and a 4B or 6B for final shading.
The bottom line
Drawing a scene requires a methodical transition from abstract structure to detailed observation. By establishing a clear horizon line, mapping out proportions, and layering values from light to dark, you create a believable sense of space. Avoid the common mistake of over-detailing early; instead, prioritize composition and contrast. With consistent practice, you will develop the ability to translate three-dimensional reality onto a two-dimensional surface effectively.
People also ask
How do I choose a focal point for my drawing?
Place your main subject slightly off-center to create visual interest rather than static symmetry. You can draw the viewer's eye toward this point using leading lines, such as a road or a fence.
Why do my drawings look flat?
Flatness usually occurs when there is a lack of contrast between light and shadow. Ensure you have a full range of tones from pure white to deep black to give objects volume.
What is the best way to measure proportions?
Hold your pencil at arm's length to compare the relative sizes of objects against one another. Use your thumb to mark a distance on the pencil and apply that unit of measurement across the scene.
Should I use an eraser while sketching?
Keep your initial lines very light so you rarely need to erase. Excessive erasing can damage the paper's surface, making it difficult to apply graphite smoothly later.
How do I draw realistic textures?
Focus on the pattern of light and shadow on the surface rather than drawing the texture itself. For example, represent rough stone with jagged, inconsistent shading rather than drawing every individual crack.
How much time should I spend on a drawing?
Beginners often rush, but spending 60% of your time on the initial layout prevents major errors. A complex scene might take several hours, while quick gesture sketches can be completed in under five minutes.
This answer was created with the help of AI research tools and reference sources. Spotted an error? Let us know — we correct mistakes quickly. See our editorial policy.