What are good winter drawing ideas?
Short answer
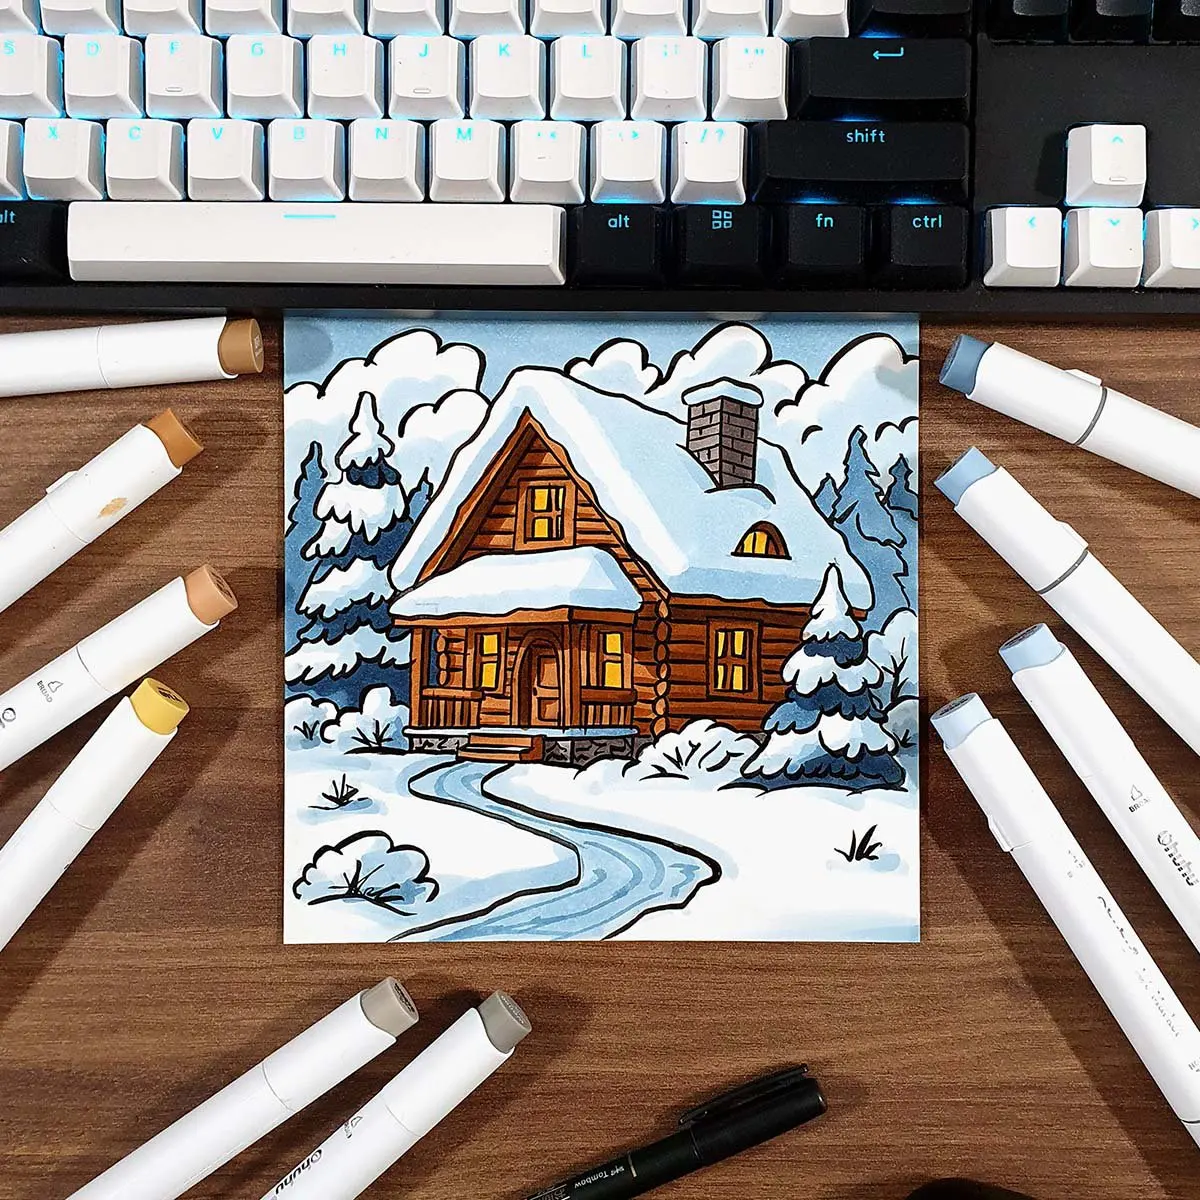
Winter drawing ideas include capturing the stark contrast of snow-covered landscapes, intricate frost patterns on glass, or cozy indoor scenes. Focus on atmospheric lighting, such as the long shadows of a low sun, or the warmth of a candlelit room. These subjects offer excellent practice for texture, value, and mood.
On this page
How to draw winter landscapes for beginners
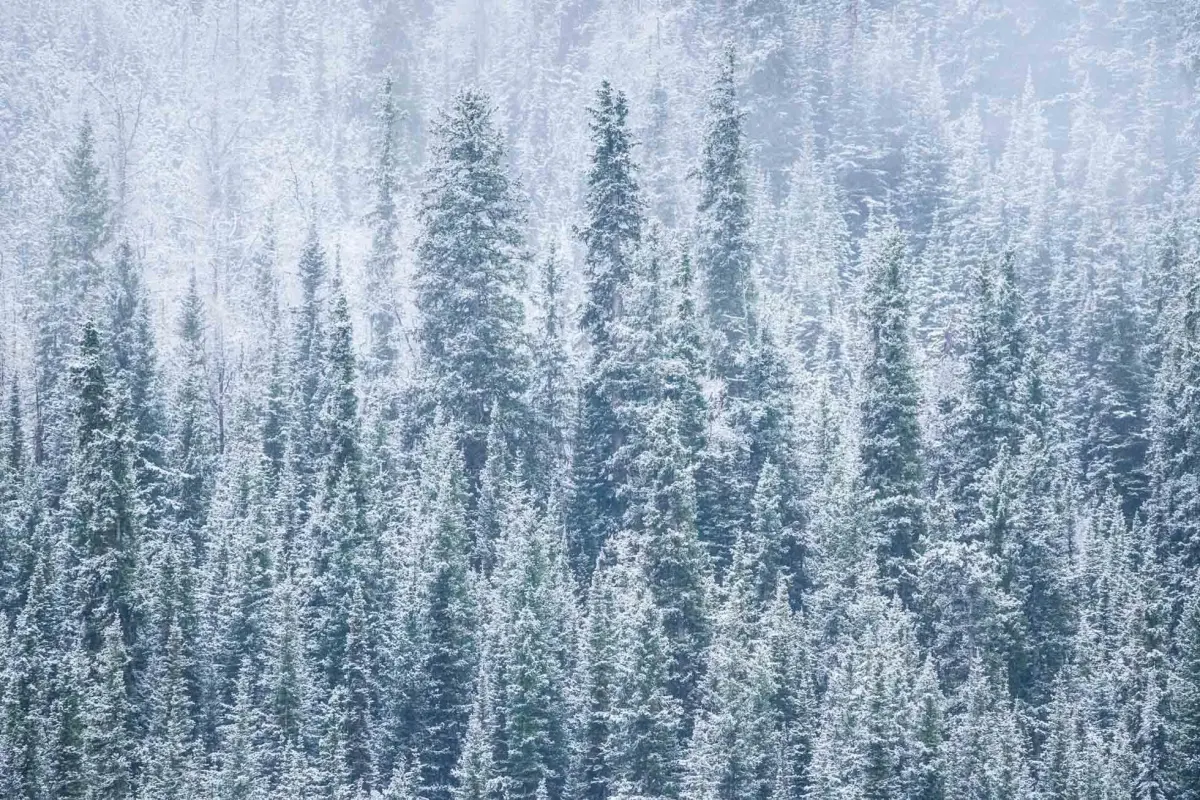
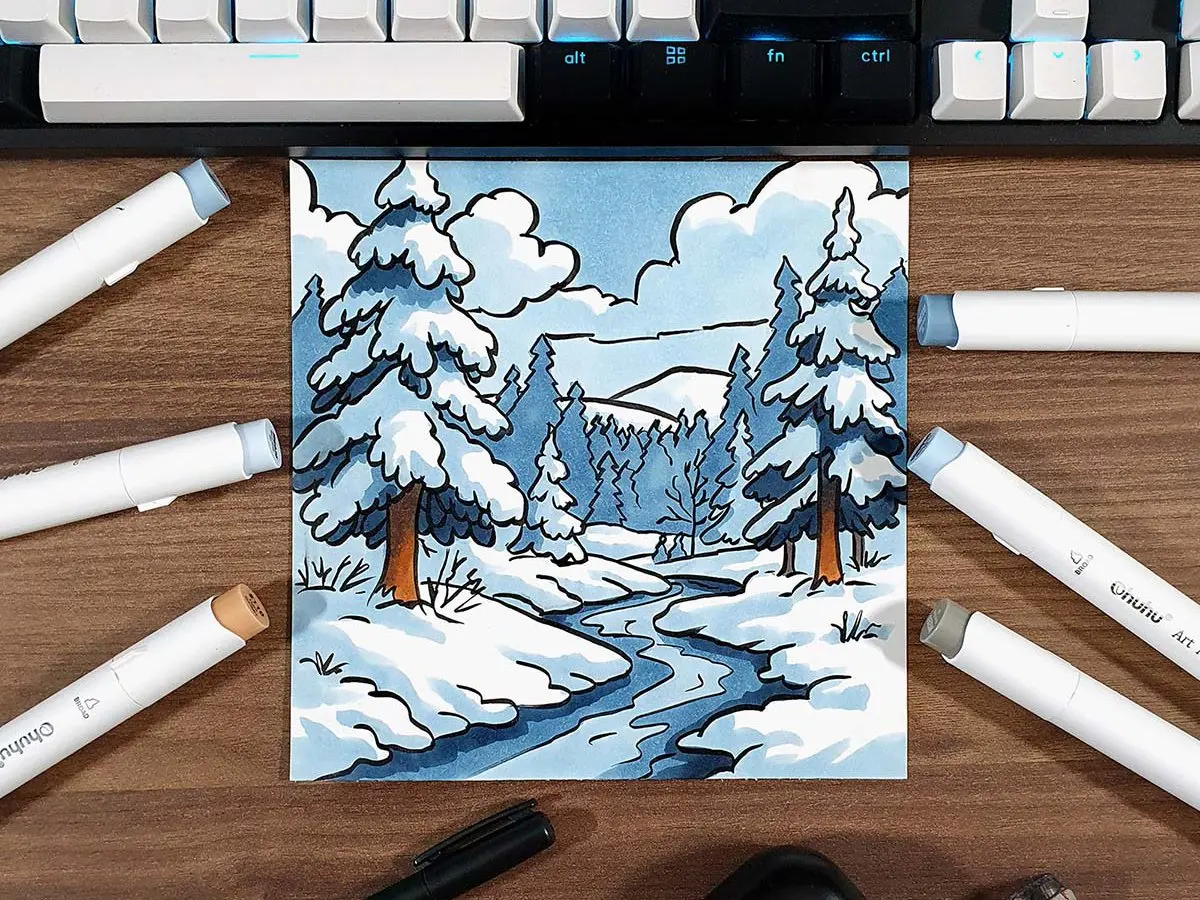
Winter landscapes are defined by high contrast and simplified shapes. The absence of foliage reveals the structural geometry of trees, while snow acts as a reflective surface that bounces light into shadows. Beginners should focus on "negative space," where the white of the paper represents the snow, requiring you to draw only the shadows and dark objects to define the scene.
When starting a winter landscape, prioritize the horizon line and the placement of large elements like barns or evergreen trees. Use a light touch with your graphite or charcoal, as winter scenes often rely on subtle gradients rather than heavy outlines. Avoid the common mistake of drawing snow as pure white; instead, use light blue or gray tones to represent shadows, which adds depth and realism to your composition.
- Sketch the main silhouettes of trees or buildings.
- Identify the light source to determine where shadows fall.
- Apply light washes or shading to the snow, keeping the brightest areas untouched.
- Add fine details like branches or footprints to provide scale.
Best winter drawing subjects for practice
The winter season provides a unique variety of textures that challenge artists to refine their mark-making skills. Frost patterns on windows are excellent for practicing fine line work and radial symmetry, while wool textures on scarves or sweaters help develop skills in rendering soft, overlapping fabrics. Additionally, the human figure bundled in heavy winter gear offers a chance to study how bulky clothing obscures and alters natural body proportions.
Focusing on these specific subjects allows you to experiment with different tools. For instance, ink pens are ideal for the sharp, crystalline edges of ice, while soft pastels or charcoal work best for the diffused, hazy atmosphere of a snowy day. By rotating through these subjects, you can build a versatile portfolio that captures the essence of the season through varied artistic techniques and material applications.
- Frost patterns on windowpanes
- Steam rising from a hot mug
- Mittens, scarves, and thick knit hats
- Bare, snow-dusted tree branches
- A lone bird perched on a fence
Why winter lighting is special for artists
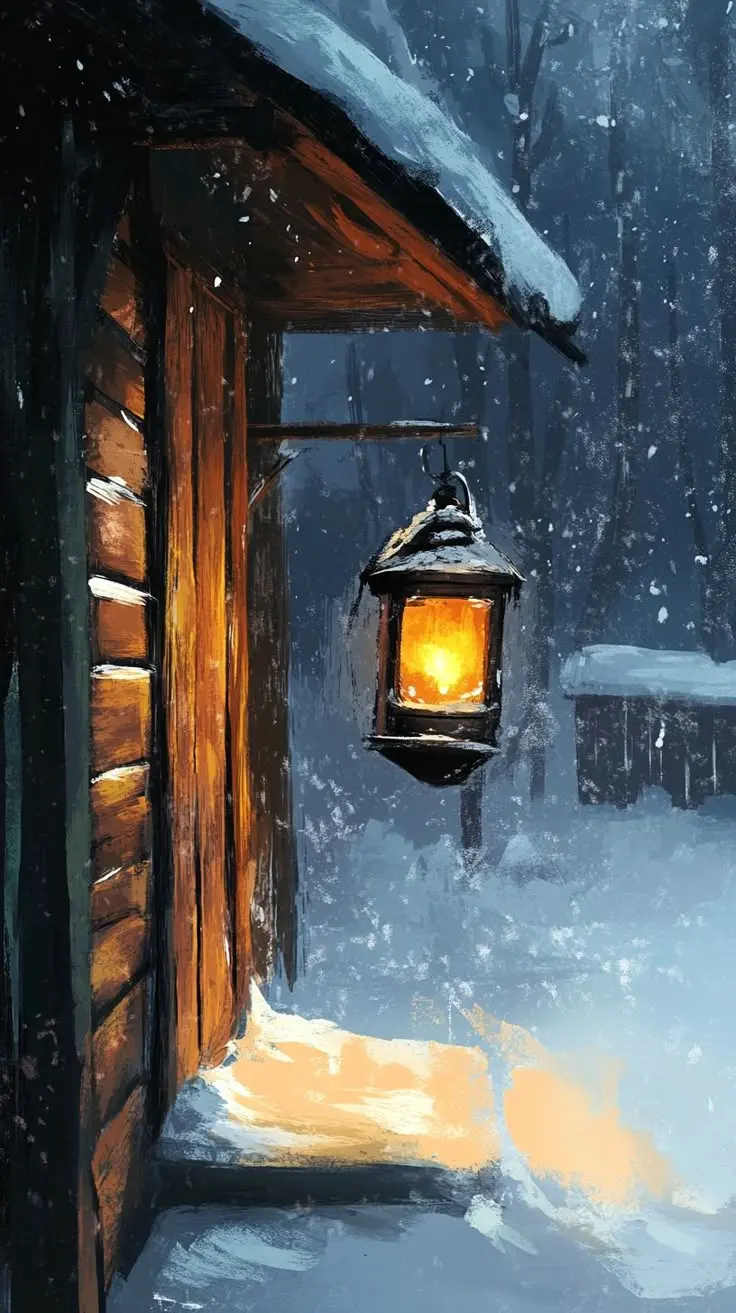
Winter lighting is characterized by the sun’s low angle in the sky, which creates long, dramatic shadows throughout the day. This effect, often called "golden hour" light, persists for longer periods during winter months, providing a soft, warm glow that contrasts beautifully with the cool, blue-toned shadows of snow. Understanding this interplay between warm highlights and cool shadows is essential for creating a convincing winter atmosphere.
To capture this effect, artists must be mindful of their color temperature choices. In a monochromatic drawing, this means using a wider range of values to represent the intensity of the light. When working in color, contrast warm ochres and oranges against deep indigos and violets. A common mistake is using a uniform gray for all shadows; instead, vary the saturation and value of your shadows to reflect the ambient light bouncing off surrounding surfaces or the sky.
Common mistakes when drawing snow
The most frequent error when drawing snow is treating it as a flat, empty space. Snow is a physical substance that accumulates in mounds, drifts, and layers, all of which possess distinct volumes. If you fail to account for the way snow clings to surfaces or settles into hollows, your drawing will appear two-dimensional and disconnected from the environment. Always consider the weight and density of the snow you are depicting.
Another significant mistake is over-detailing the snow. Beginners often attempt to draw every individual flake or texture, which creates visual clutter and distracts from the focal point. Instead, rely on soft, blended edges to suggest the texture of fresh powder, and use harder, sharper edges for packed or melting ice. By simplifying the surface, you allow the viewer’s eye to rest on the intended subject while still perceiving the cold, wintry context of the scene.
How to add atmosphere to winter drawings
Atmosphere is what separates a simple sketch from a compelling winter scene. Techniques like atmospheric perspective—where distant objects appear lighter, less detailed, and closer to the color of the sky—are crucial for creating a sense of vast, cold space. You can enhance this effect by layering washes or using a kneaded eraser to lift pigment, creating the illusion of falling snow or thick, swirling fog.
Adding elements like breath vapor, swirling wind, or footprints leading off the page adds a narrative quality to your work. These small details suggest movement and presence within a quiet, frozen world. When incorporating these elements, ensure they follow the established wind direction or gravity of your scene. By thoughtfully integrating these atmospheric cues, you transform a static image into a living, breathing winter environment that invites the viewer to step inside.
Key facts
- Focus on capturing the unique texture of snow by using negative space and subtle blue or grey shading rather than pure white.
- Practice drawing bare deciduous trees to understand how complex, organic branch structures create silhouettes against a winter sky.
- Incorporate human elements like scarves, mittens, or steaming mugs to add warmth and a narrative focal point to cold landscapes.
- Use a monochromatic color palette with high-contrast highlights to emphasize the harsh, crisp lighting conditions typical of winter days.
- Observe how frost patterns on glass create geometric, fractal-like shapes that offer excellent practice for intricate line work.
- Sketch wildlife such as cardinals or rabbits to learn how to contrast soft, organic fur and feathers against the sharp edges of ice.
The bottom line
Winter drawing offers a unique opportunity to master light, shadow, and texture through a minimalist lens. By focusing on the interplay between stark, cold environments and warm, human-centric details, you can create evocative compositions. Prioritize observing how light reflects off ice and snow, and do not fear using negative space to define your subjects. Consistent practice with these elements will significantly improve your overall artistic versatility.
People also ask
What drawing medium works best for snowy scenes?
Graphite pencils are excellent for capturing the subtle gradients of shadow in snow, while white charcoal or gel pens are essential for adding highlights on toned paper.
How do I make winter landscapes look less flat?
Use atmospheric perspective by drawing distant objects with less detail and lighter contrast, which creates the illusion of depth and cold, misty air.
Should I draw from photographs or life?
Drawing from life is superior for understanding how light hits surfaces, but photographs are helpful in winter when extreme temperatures make outdoor sketching difficult.
What is a common mistake when drawing winter skies?
Beginners often leave skies blank, but adding subtle, layered clouds or a gradient helps ground the landscape and prevents the drawing from appearing unfinished.
How can I draw realistic icicles?
Focus on the transparency and refractive qualities of ice by using sharp, clean lines and leaving small, bright spots of white paper to represent light glinting off the surface.
Is it necessary to use a lot of color in winter drawings?
Not at all, as winter is defined by its muted tones, but adding a single pop of color, like a red berry, can create a powerful visual anchor.
This answer was created with the help of AI research tools and reference sources. Spotted an error? Let us know — we correct mistakes quickly. See our editorial policy.