How do you draw a drawbridge step by step?
Short answer
To draw a drawbridge, begin by sketching a rectangular gatehouse with a central opening. Add a hinged platform extending outward, connected by vertical chains or ropes to the upper structure. Use perspective lines to create depth for the moat and stone walls, ensuring the bridge appears functional and structurally sound.
On this page
How to draw a basic drawbridge structure
Drawing a drawbridge requires a solid understanding of basic geometric shapes. Start by drawing a large rectangle for the castle wall, then cut a smaller rectangle out of the center to represent the gateway. Add a horizontal line extending from the base of the opening to serve as the bridge deck. This simple layout establishes the foundation for the mechanical elements you will add later.
Once the frame is set, focus on the bridge deck itself. Draw a thick, rectangular slab attached to the wall with a hinge line. To make the bridge look realistic, add vertical lines across the surface to suggest wooden planks. Ensure the perspective lines of the bridge converge toward a vanishing point, which creates the illusion that the structure is receding into the distance.
How to add mechanical chains and pulleys
The defining feature of a drawbridge is the mechanism used to lift it. Draw two tall, vertical towers on either side of the gatehouse, extending slightly above the main wall. From the top of these towers, sketch thick chains or ropes that connect to the outer corners of the bridge deck. These lines should be taut, suggesting the bridge is currently in a raised or semi-raised position.
To enhance the mechanical realism, include small circular pulleys at the top of the towers where the chains meet the stone. You can also add a winch or gear system on the inner wall if you want to show how the bridge is operated. Use these steps to refine the mechanical look:
- Draw two vertical pillars flanking the gateway.
- Place small circles at the top of each pillar to represent pulleys.
- Connect the chains from the pulleys to the outer edge of the bridge.
- Add cross-hatching to the chains to give them a metallic, textured appearance.
How to create depth and the moat
A drawbridge is incomplete without the defensive moat beneath it. Draw a wide, horizontal shape at the bottom of your bridge to represent the water or dry ditch. Use dark shading or horizontal wavy lines to indicate water, which provides a stark contrast to the light-colored stone of the bridge. This contrast helps the bridge stand out as the focal point of the drawing.
To improve the sense of depth, use atmospheric perspective. Keep the objects closest to the viewer, such as the bridge planks, highly detailed with sharp lines. As you move toward the background, make the lines thinner and less defined. This technique mimics how the human eye perceives distance and makes the entire scene look more professional and three-dimensional.
Best tools for drawing architectural structures
For beginners, a standard HB pencil is the best tool for initial sketching because it is easy to erase. Once you have finalized your layout, use a fine-liner pen or a darker 2B pencil to go over the lines. This creates a bold outline that defines the structure clearly. A ruler is essential for maintaining straight, architectural lines, especially when drawing the gatehouse and bridge deck.
Consider using the following tools to elevate your drawing quality:
- A mechanical pencil for consistent line thickness during the sketching phase.
- A kneaded eraser to lift graphite without damaging the paper surface.
- A triangle or T-square to ensure all vertical and horizontal lines are perfectly perpendicular.
- A blending stump to create smooth shadows on the stone walls and under the bridge.
Common mistakes when drawing drawbridges
A frequent error is failing to align the bridge with the gateway. If the bridge is wider than the gate opening, the drawing will look illogical and structurally impossible. Always ensure that the bridge width matches the opening exactly. Another common mistake is neglecting the hinge point; the bridge must appear to pivot from the base of the gate, not from the middle or the top of the wall.
Avoid these common pitfalls to ensure your drawing remains accurate:
- Drawing the chains at an angle that does not align with the pulleys.
- Forgetting to add thickness to the bridge deck, which makes it look like a flat sheet of paper.
- Using inconsistent light sources, which makes the shadows look messy and confusing.
- Overcrowding the drawing with too many unnecessary details that distract from the main bridge mechanism.
By focusing on these structural fundamentals, you will create a convincing and well-proportioned drawbridge that captures the essence of medieval engineering.
Key facts
- A drawbridge is a mechanical bridge that can be raised or lowered to allow water traffic or block access.
- The primary components are the deck, the pivot point, and the lifting mechanism, such as chains or counterweights.
- When drawing, start with a horizontal line for the water level and a vertical line for the castle wall.
- Use a vanishing point to ensure the bridge perspective aligns with the surrounding architecture.
- Always draw the bridge in the "raised" position if you want to emphasize the defensive nature of the structure.
- Adding texture like stone blocks or wooden planks provides visual depth and realism to the drawing.
The bottom line
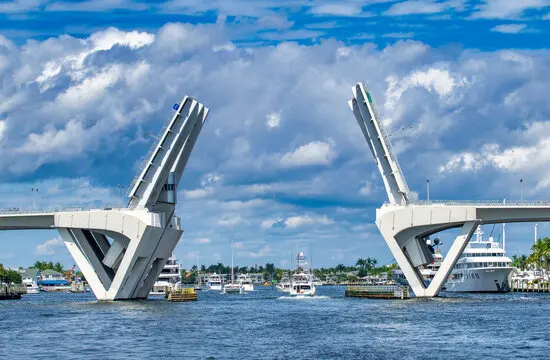
Drawing a convincing drawbridge requires attention to structural mechanics and perspective. By establishing a clear pivot point at the castle gate and using a consistent vanishing point, you create a sense of architectural accuracy. Whether depicting a medieval portcullis or a modern bascule bridge, focusing on the weight of the deck and the tension of the lifting chains will bring your mechanical illustration to life.
People also ask
What is the difference between a bascule bridge and a drawbridge?
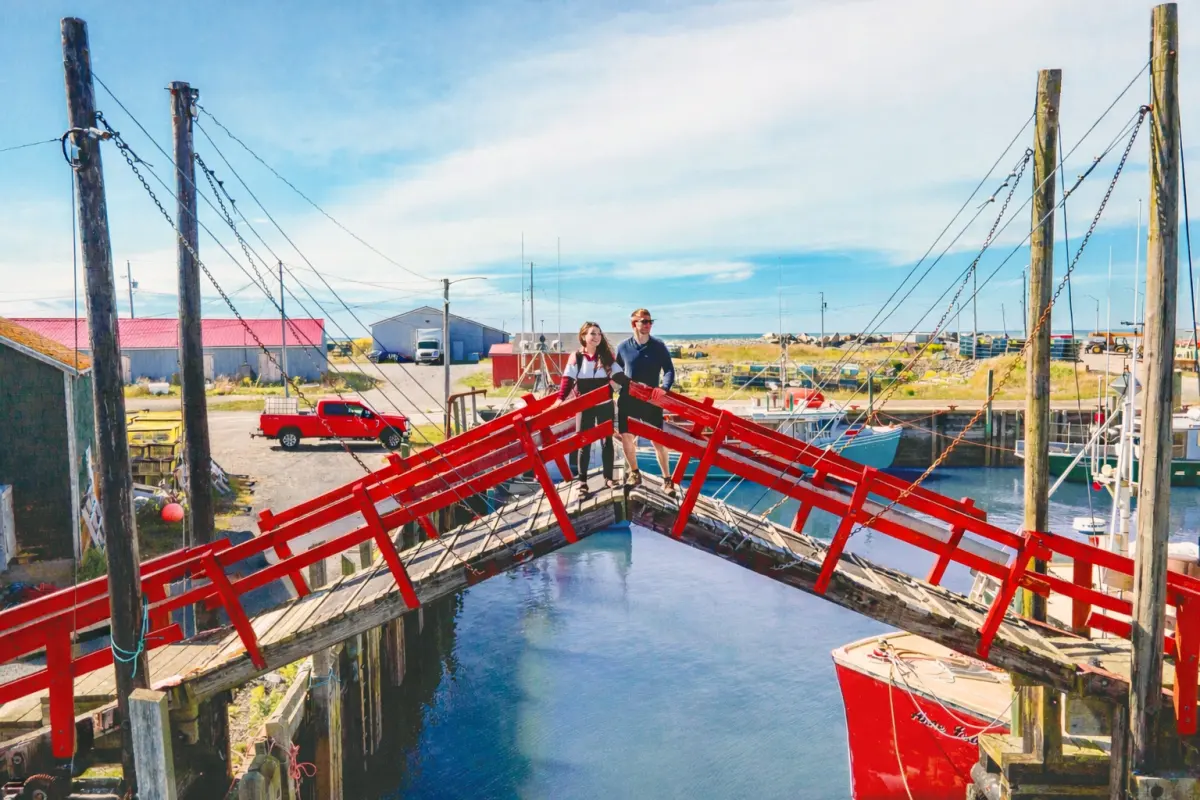
A bascule bridge is a specific type of drawbridge that uses a counterweight to balance the span as it swings upward. While all bascule bridges are drawbridges, not all drawbridges use the bascule mechanism.
How do I draw the chains for a medieval drawbridge?
Draw two thick, curved lines extending from the top of the castle gate to the outer edge of the bridge deck. Add small, repeating oval shapes along these lines to simulate individual chain links.
Should the bridge deck be drawn as a solid rectangle?
It is better to draw the deck as a thin, three-dimensional rectangular prism. This allows you to show the thickness of the wood or stone and creates a more realistic sense of weight.
How can I show that the bridge is moving?
Use "motion lines" or light, dashed arcs behind the rising edge of the bridge. These subtle marks suggest the path the bridge takes as it pivots upward.
What is the most common mistake when drawing a drawbridge?
The most common error is failing to align the pivot point with the castle gate. The bridge must appear to hinge exactly at the threshold of the wall to look functional.
Do drawbridges always have two chains?
Most historical drawbridges used two chains for stability, but some smaller designs utilized a single central chain. You can choose either, but two chains are more visually balanced for artistic compositions.
This answer was created with the help of AI research tools and reference sources. Spotted an error? Let us know — we correct mistakes quickly. See our editorial policy.