How do you draw a sewing machine?
Short answer
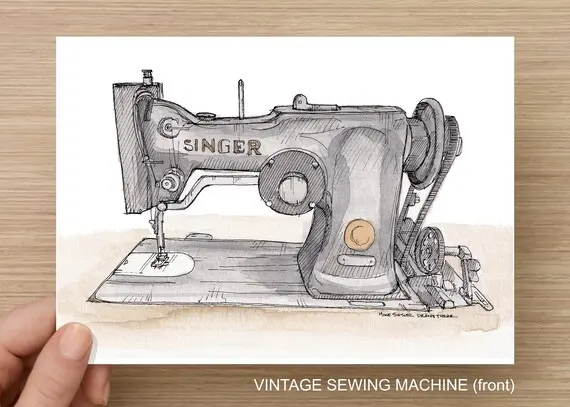
Drawing a sewing machine requires breaking its complex form into basic geometric shapes like rectangles and circles. Start by sketching a large rectangle for the base and a curved arm for the body. Add details such as the handwheel, needle bar, and spool pin to create a recognizable, functional silhouette.
On this page
How to sketch the basic shape of a sewing machine
To begin your drawing, visualize the sewing machine as a combination of three primary geometric volumes. The base is a long, flat horizontal rectangle that provides stability. Rising from the right side of this base is a vertical pillar, which connects to a horizontal arm extending over the work surface. These three components form the classic "C" shape that defines almost every standard domestic sewing machine.
Lightly sketch these forms using a graphite pencil to ensure your proportions remain accurate before committing to darker lines. Keep the base slightly wider than the arm to establish a sense of gravity and balance. Avoid drawing rigid, perfectly straight lines; sewing machines often feature rounded corners and ergonomic curves that make the object look more realistic and less like a mechanical box.
How to add mechanical details to your drawing
Once the main frame is established, focus on the functional parts that give the machine its character. The handwheel is a prominent circle located on the right side of the machine, which controls the needle movement. Draw a smaller circle inside the larger one to indicate the center hub. Next, draw the needle bar as a thin vertical rectangle descending from the far left end of the arm.
Include these specific features to enhance the technical appearance of your sketch:
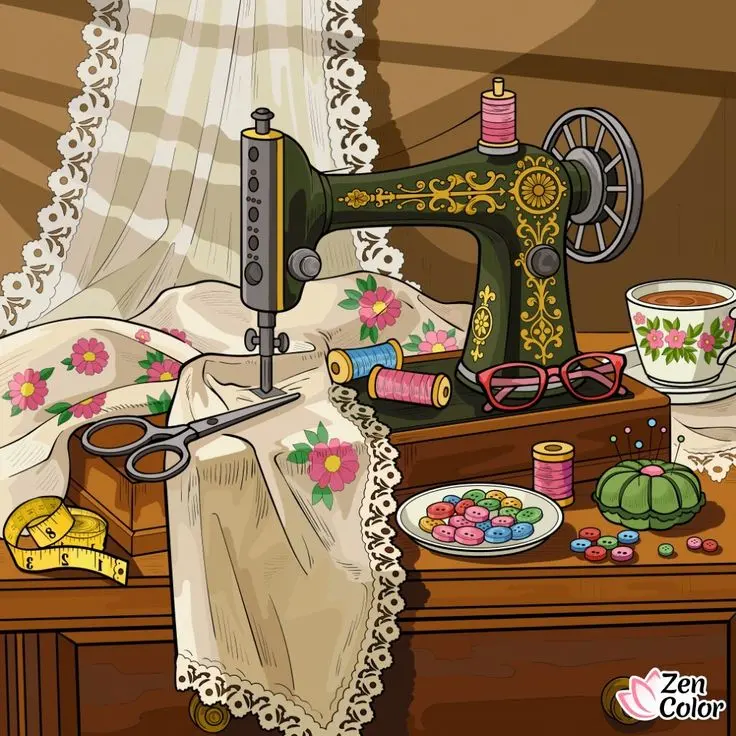
- The spool pin, a small vertical rod atop the machine for thread.
- The tension dial, a circular knob located on the front of the arm.
- The presser foot, a small metal attachment at the base of the needle bar.
- The stitch length selector, usually represented by a small dial or lever on the front panel.
How to create depth and perspective
Perspective is essential for making your drawing look three-dimensional rather than flat. Use two-point perspective if you want to show the side and front of the machine simultaneously. Ensure that the parallel lines of the base and the arm converge toward the same vanishing points on your horizon line. This technique prevents the machine from appearing distorted or tilted on the page.
Adding a cast shadow underneath the base is the most effective way to anchor your drawing to a surface. Use a soft lead pencil to shade the area directly below the machine, fading the shadow as it moves away from the base. You should also consider the light source; if the light comes from the top right, the left side of the machine and the underside of the arm should be darker.
Common mistakes when drawing sewing machines
One frequent error is failing to maintain consistent scale between the various components. Beginners often draw the handwheel too small or the needle bar too thick, which makes the machine look like a toy. Always compare the size of your handwheel to the height of the pillar; generally, the handwheel should occupy about one-third of the pillar's total height.
Another common issue involves neglecting the negative space within the "C" curve of the machine. This area, known as the throat space, is crucial for the machine's function and visual identity. If you make this space too narrow, the machine will appear cramped and non-functional. Take a moment to step back from your drawing every few minutes to check that the proportions feel balanced and the internal space looks open enough to accommodate fabric.
Best tips for adding realistic textures
To finish your drawing, focus on the difference between the materials used in a sewing machine. Most modern machines are made of plastic and metal, which reflect light differently. Use a white gel pen or an eraser to create sharp, bright highlights on the rounded edges of the casing to simulate the glossy finish of plastic. For metal parts like the needle or the throat plate, use cooler, sharper tones with crisp edges.
Consider these finishing techniques to polish your work:
- Use a blending stump to smooth out transitions in the plastic casing.
- Apply cross-hatching to the darker areas of the base to suggest industrial strength.
- Add subtle reflections on the handwheel to imply a metallic, polished surface.
- Use a fine-liner pen to trace the final outlines, ensuring that the curves are smooth and continuous.
By focusing on these surface details, you elevate your sketch from a simple outline to a professional-looking illustration that captures the intricate engineering of the machine.
Key facts
- Start by drawing a large, rounded rectangle for the base and a taller, C-shaped frame for the arm.
- Use a circle to represent the handwheel on the right side of the machine.
- Add a small vertical rectangle for the needle bar and a thin line for the needle itself.
- Place a square or rectangular plate under the needle area to represent the throat plate.
- Include a small knob or dial on the front of the arm to indicate stitch length or tension settings.
- Use simple geometric shapes first, then refine the edges to create the characteristic curves of a modern machine.
The bottom line
Drawing a sewing machine is best approached by breaking the complex object down into simple geometric forms like rectangles and circles. By focusing on the iconic C-shaped silhouette and adding functional details such as the handwheel, needle bar, and stitch dial, you can create a recognizable illustration. Focus on maintaining proper proportions between the base and the arm to ensure your drawing looks balanced and professional.
People also ask
What is the most important part to include when drawing a sewing machine?
The needle bar and the presser foot are essential, as they define the machine's primary function. Including the handwheel on the side also helps the viewer immediately recognize the object.
Should I use a ruler for my sewing machine drawing?
A ruler is helpful for the base and the main body frame to ensure straight, clean lines. However, use freehand strokes for the rounded corners and the handwheel to make the drawing look more natural.
How do I make the sewing machine look three-dimensional?
Add shading to the underside of the arm and the right side of the base to create depth. Consistent light source placement will help define the machine's volume and form.
What are common mistakes when drawing a sewing machine?
A frequent error is making the arm too thin or disproportionate to the base. Ensure the arm is sturdy enough to support the needle assembly and visual weight of the motor housing.
Do I need to draw the thread spool?
Adding a thread spool on top of the machine adds a realistic touch and provides context. It helps the viewer understand that the machine is intended for actual sewing tasks.
How do I draw the stitch pattern dial?
Draw a small circle on the front face of the machine and add tiny tick marks around the edge. This simple detail suggests the complexity of the machine without requiring intricate mechanical drawing.
This answer was created with the help of AI research tools and reference sources. Spotted an error? Let us know — we correct mistakes quickly. See our editorial policy.