What is the easiest way to draw a shoe?
Short answer
The easiest way to draw a shoe is to simplify its complex form into basic geometric shapes. By sketching a wedge for the sole and a rounded rectangle for the upper body, you establish a sturdy foundation. Refine these shapes with curved lines and details to create a realistic, proportional footwear illustration.
On this page
How to simplify shoe shapes for drawing
Drawing a shoe can feel overwhelming due to the variety of textures and curves involved in modern footwear. To make the process manageable, view the shoe as a collection of simple geometric primitives. Most sneakers consist of a thick, wedge-shaped sole and a soft, rounded box that covers the foot. By breaking the object down into these primary forms, you bypass the intimidation of complex laces or logos.
Start your sketch by drawing a long, low-profile wedge that represents the sole of the shoe. Above this wedge, add a curved, bean-like shape that encompasses the heel and the toe box. These two shapes provide the structural anchor for your drawing. Once these volumes are established, it becomes significantly easier to map out secondary features like the tongue, eyelets, and heel collar without losing the overall perspective or proportions of the shoe.
Step by step guide to drawing a sneaker
Following a structured sequence ensures that your drawing remains balanced and accurate. This method works well for most athletic shoes, which are the most common subjects for beginners.
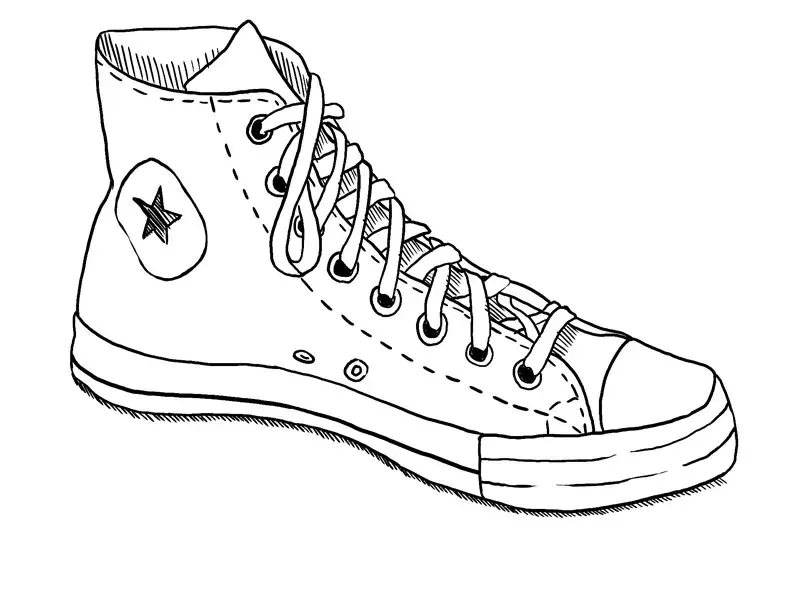
- Draw a horizontal wedge shape to define the sole, ensuring the heel is slightly thicker than the toe area.
- Sketch a rounded, elongated oval on top of the wedge to represent the upper part of the shoe.
- Draw a vertical line rising from the back of the heel to mark the collar height.
- Connect the front of the oval to the toe of the sole with a gentle curve to define the toe box.
- Add a smaller, curved shape on the top surface to indicate the tongue and lace area.
- Refine the edges with darker lines and add details like eyelets or branding.
Best tools for drawing shoes as a beginner
The quality of your drawing depends heavily on using the right materials to build your sketch from light to dark. Start with a hard graphite pencil, such as an HB or 2H, to create your initial construction lines. These pencils are light and easy to erase, which is crucial when you are still refining the proportions of your sketch. Avoid pressing down hard during this stage, as it can leave indentations on the paper that are difficult to correct.
Once your structure is finalized, switch to a softer pencil like a 2B or 4B to add depth and shadow. These softer leads create darker, more expressive lines that give the shoe a sense of weight and volume. Using a high-quality kneaded eraser is also essential, as it allows you to lift graphite off the page gently without damaging the paper surface. A fine-liner pen can be used later if you wish to ink your drawing for a clean, professional finish.
Common mistakes when drawing shoes
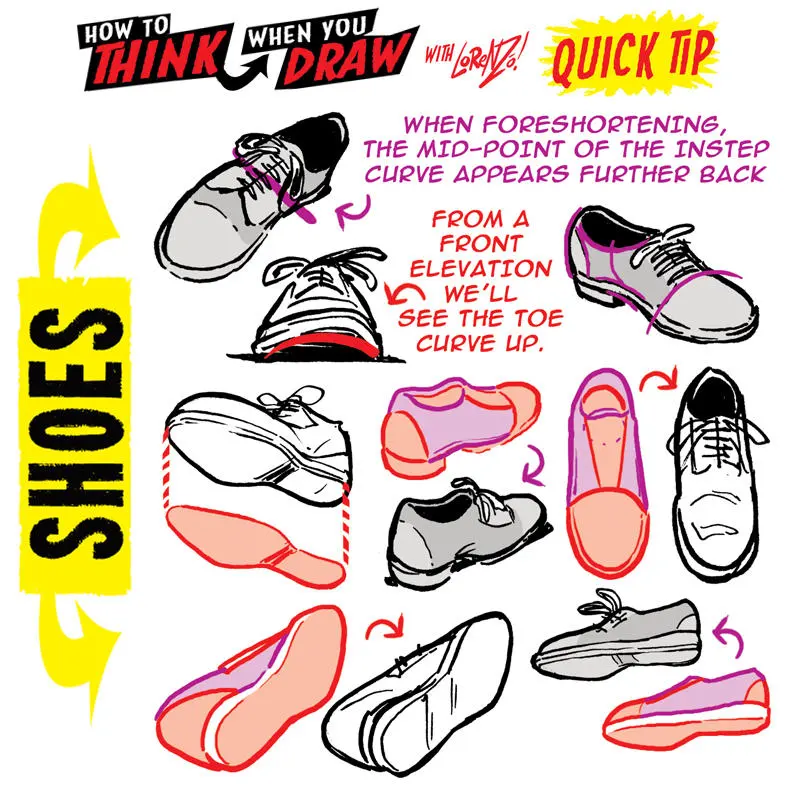
One of the most frequent errors beginners make is neglecting the perspective of the sole. Many people draw the sole as a flat rectangle, which makes the shoe look like it is floating or disconnected from the ground. Always ensure the sole follows the curve of the foot and tapers appropriately toward the toe. Another common mistake is drawing the heel collar too low or too high, which ruins the silhouette of the shoe.
- Failing to account for the arch of the foot, which makes the shoe look like a stiff block.
- Making the toe box too narrow, which makes the shoe appear unnatural or impossible to wear.
- Over-detailing the laces before the main structure is correct, leading to a cluttered and messy final image.
- Ignoring the thickness of the sole, which is a defining characteristic of most modern footwear designs.
How to add realistic details to your sketch
Once the basic shape is secure, you can add details that bring the shoe to life. Focus on the texture of the materials, such as the smooth surface of leather or the woven pattern of mesh fabric. Use short, repetitive strokes to suggest the presence of mesh or fabric weave, and use smooth, blended shading to represent leather or synthetic panels. Adding a subtle shadow beneath the sole is perhaps the most effective way to anchor the shoe to the ground.
Pay close attention to the way light hits the shoe. Identify the lightest areas where the material is most exposed and the darkest areas within the folds or under the sole. By creating a clear contrast between these highlights and shadows, you add a three-dimensional quality to your work. Remember that a shoe is a functional object, so adding small touches like stitching lines or tread patterns on the sole will significantly enhance the perceived realism of your finished illustration.
Key facts
- Start by drawing a simple wedge shape to represent the base of the shoe.
- Use a rounded rectangle for the toe box to ensure the proportions remain realistic.
- Keep your initial construction lines light so they can be easily erased later.
- Focus on the negative space between the heel and the ground to define the arch.
- Add the sole as a thick, separate layer beneath the main body of the shoe.
- Practice drawing shoes from a side profile view before attempting complex angles.
The bottom line
The most effective way to draw a shoe is to break the object down into basic geometric shapes, such as wedges and rectangles. By establishing a solid structural foundation first, you can layer on details like laces, stitching, and shading with confidence. Consistent practice with side-profile references will sharpen your observation skills, ultimately allowing you to capture the unique character and form of any footwear.
People also ask
How do I make my shoe drawing look three-dimensional?
Focus on adding shading along the bottom edge of the sole and the inner curve of the heel. Using a consistent light source will help you define the volume and depth of the material.
Should I use a reference photo when drawing shoes?
Using a reference photo is highly recommended for beginners to understand how light hits different textures like leather or canvas. It helps you capture accurate anatomical details that are difficult to visualize from memory.
What is the most important part of a shoe to get right?
The silhouette is the most critical element because it immediately identifies the type of shoe. If the overall shape is off, the details like laces or logos will not compensate for the structural error.
How do I draw shoelaces without making them look messy?
Draw the lace holes first as small dots or circles along the eyelet line. Connect them with light, sweeping curves, ensuring they overlap in a way that suggests tension and weight.
What pencils are best for sketching footwear?
An HB pencil is ideal for initial light sketches, while a 2B or 4B pencil is better for adding dark shadows. These varying grades allow you to build contrast and texture effectively.
How can I improve the texture of the shoe material?
Use short, directional strokes to mimic the weave of fabric or smooth, blended shading for synthetic materials. Varying the pressure of your pencil helps distinguish between hard soles and soft uppers.
This answer was created with the help of AI research tools and reference sources. Spotted an error? Let us know — we correct mistakes quickly. See our editorial policy.