How do you draw a snowflake?
Short answer
Drawing a snowflake requires starting with a six-pointed star, as all natural snowflakes possess hexagonal symmetry. By drawing three intersecting lines and adding symmetrical, branching patterns to each arm, you capture the crystalline structure of ice. Focus on maintaining consistent angles and repeating delicate, geometric shapes to achieve a realistic, balanced appearance.
On this page
How to draw a basic snowflake structure
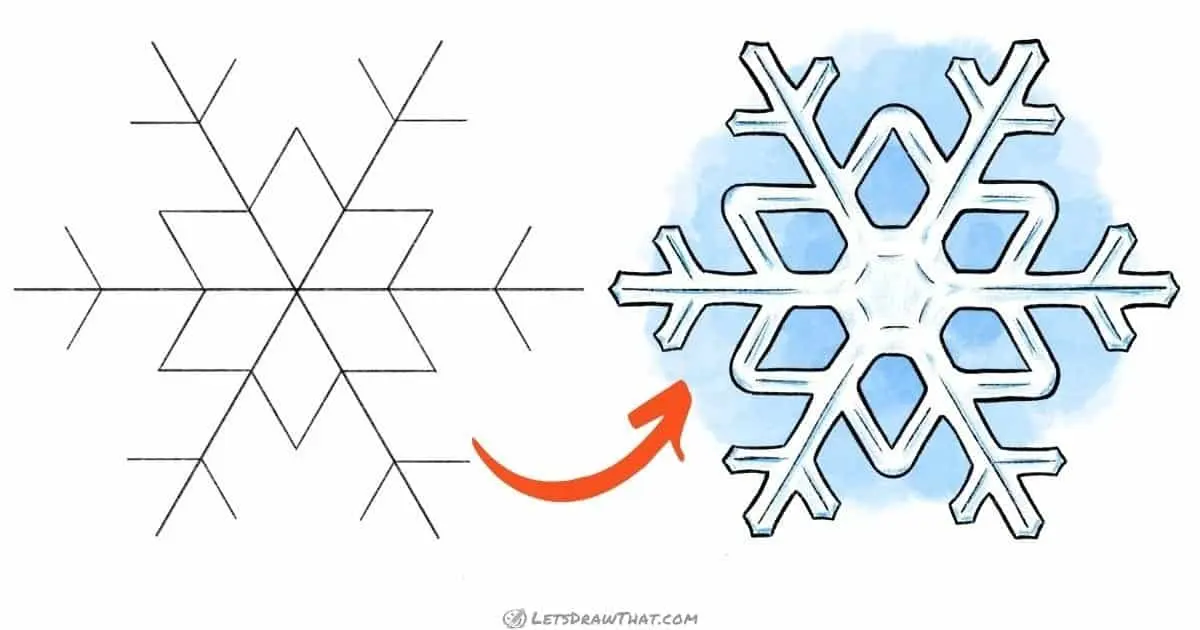
To draw a realistic snowflake, you must begin with a foundation that respects the hexagonal symmetry found in nature. Start by drawing a vertical line, then intersect it with two diagonal lines that cross at the exact center point. This creates a six-pointed star, which serves as the skeletal frame for your crystal. Ensure that the angles between each arm are equal, measuring approximately 60 degrees apart. Using a light pencil stroke during this initial phase is essential, as these guidelines will eventually be erased or incorporated into the final design.
Precision at this stage dictates the overall balance of the drawing. If the arms are uneven, the snowflake will appear distorted rather than crystalline. You can use a protractor if you are struggling to maintain perfect spacing, though a freehand approach often adds a more organic, natural feel. Once your six arms are established, you have successfully created the primary axes upon which all further detail will be constructed.
How to add detail to snowflake arms
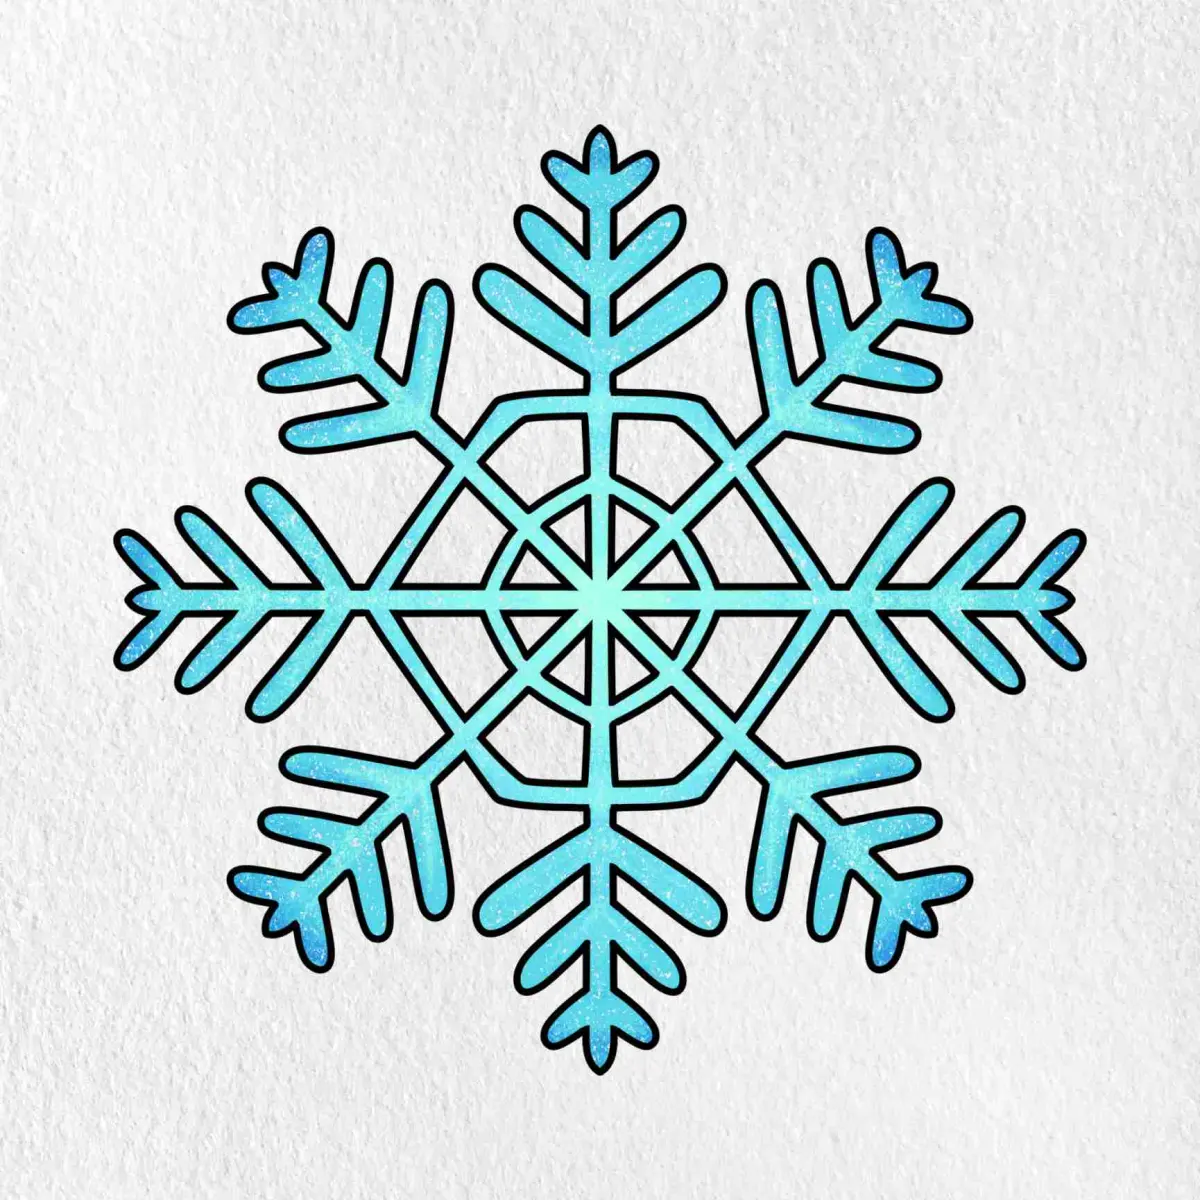
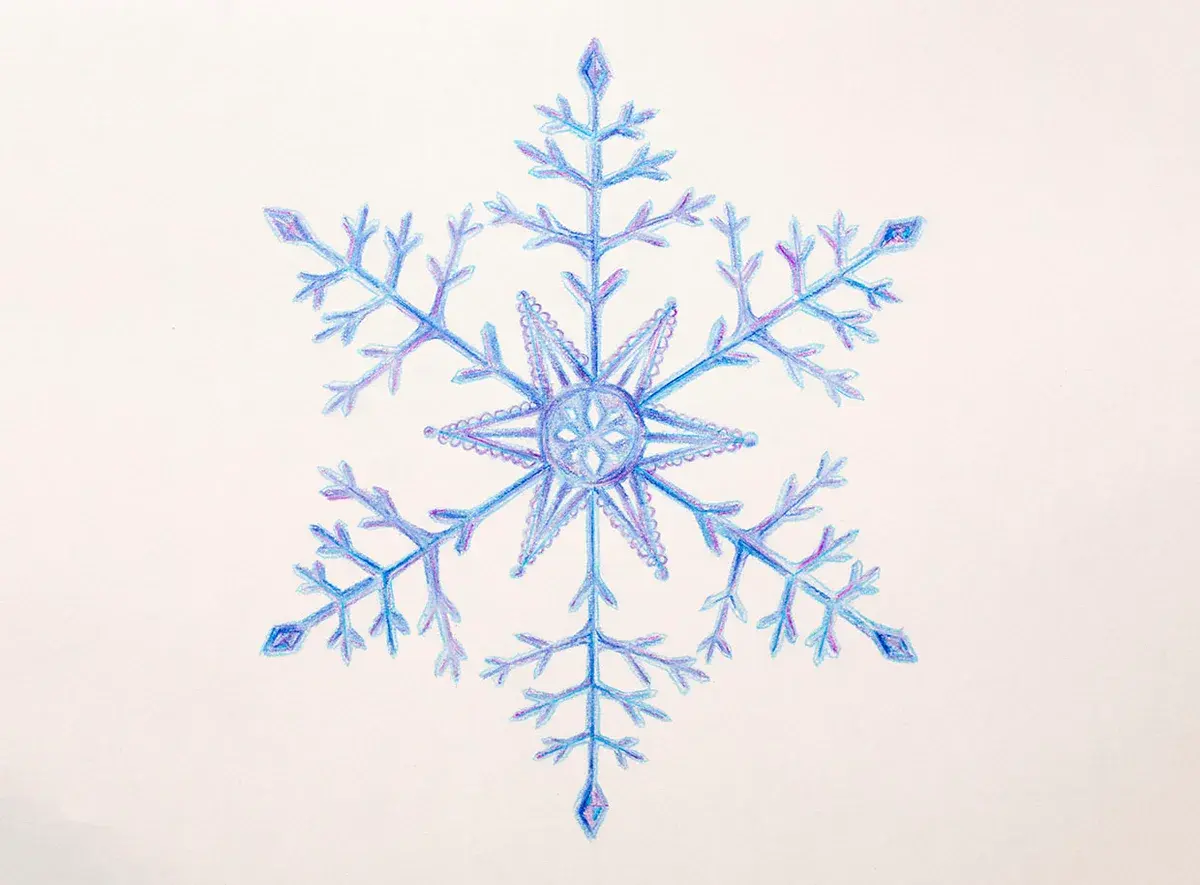
Once the frame is set, you can begin adding the intricate, branching patterns that define a snowflake's unique shape. Start by drawing small "V" shapes or tiny diagonal lines pointing outward from the main axes. Work symmetrically; if you add a branch to one arm, immediately repeat that same shape on the other five arms to maintain the crystal's structural integrity. This process of repetition is what gives a snowflake its characteristic visual harmony.
- Start near the center of the snowflake and add small, subtle notches.
- Move outward toward the tips, making the branches longer and more complex as you progress.
- Vary the shapes by using triangles, diamonds, or simple straight lines for the secondary branches.
- Keep the patterns consistent across all six sides to ensure the final image looks like a cohesive, singular entity.
Best tools for drawing snowflakes
For beginners, a sharp mechanical pencil is the ideal tool because it allows for the thin, precise lines required to mimic the delicate nature of ice crystals. Unlike standard wood-cased pencils, mechanical pencils maintain a consistent line width without needing frequent sharpening. Pair this with a high-quality eraser, preferably a kneaded eraser, which can be molded into a point to remove tiny mistakes without smearing the surrounding graphite. If you are working on paper, choose a smooth, hot-pressed surface to prevent the graphite from catching on texture.
For those looking to advance their work, fine-liner pens with archival ink are excellent for finalizing the design. Once you have finished your pencil sketch, trace over the lines with a pen that has a 0.1mm or 0.05mm tip. This creates a bold, clean look that highlights the geometry of the snowflake. Avoid using pens with broad tips, as they will obscure the fine details and make the snowflake appear clunky and heavy rather than light and airy.
Why snowflake geometry is hexagonal
The hexagonal shape of a snowflake is not a choice made by the artist, but a result of the molecular structure of water. When water molecules freeze, they arrange themselves into a hexagonal lattice because of the way hydrogen bonds connect oxygen atoms. This physical reality is why every natural snowflake has six sides or six points. Understanding this scientific background helps you draw more convincing snowflakes, as you will naturally avoid creating five-pointed or eight-pointed designs, which do not occur in nature.
When you observe real snowflakes under a microscope, you will notice that they are rarely perfectly identical, yet they always adhere to this six-fold symmetry. By mimicking this biological rule, your drawings will feel more authentic. Even when you are creating abstract or stylized snowflakes, maintaining the six-pointed structure ensures that the viewer recognizes the object as a snowflake rather than a generic star or floral pattern.
Common mistakes when drawing snowflakes
The most frequent error is neglecting symmetry, which happens when an artist adds a detail to one arm but forgets to replicate it on the others. This imbalance is immediately noticeable to the human eye, which is naturally tuned to detect patterns. To avoid this, rotate your paper as you work, adding each new detail to all six arms before moving on to the next set of shapes. This systematic approach ensures that no arm is left behind and that the design remains perfectly balanced throughout the process.
- Drawing the arms too thick, which makes the snowflake look heavy instead of delicate.
- Forgetting to erase the initial guide lines, which can clutter the final drawing.
- Making the branches too uniform, which can look robotic rather than natural.
- Failing to vary the length of the branches, resulting in a shape that looks more like a gear than a crystal.
By focusing on these details and maintaining a light touch, you can create intricate, beautiful snowflakes that reflect the elegant, fleeting nature of winter.
Key facts
- All natural snowflakes possess six-fold radial symmetry due to the hexagonal crystalline structure of water molecules.
- Begin your drawing by sketching a six-pointed star, ensuring all arms are of equal length and spaced at 60-degree intervals.
- Use thin, straight lines for the primary branches to maintain the geometric precision characteristic of ice crystals.
- Add secondary "dendrites" or branches at consistent angles to keep the pattern balanced and realistic.
- Avoid drawing perfectly identical arms, as natural snowflakes often exhibit subtle variations despite their overall symmetry.
- Use a fine-tipped pen or pencil to capture the delicate, intricate nature of the crystal's lattice.
The bottom line
Drawing a convincing snowflake requires a commitment to six-fold radial symmetry and geometric precision. By starting with a perfectly measured six-pointed star and building outward with consistent, delicate dendrites, you can replicate the natural beauty of ice crystals. Remember that while nature allows for slight variations in branch length, the fundamental hexagonal structure is non-negotiable. Practice patience to capture the intricate, fragile elegance of winter.
People also ask
Why do snowflakes always have six sides?
Water molecules arrange themselves into a hexagonal lattice when freezing, which dictates the six-fold symmetry of the resulting crystal. This molecular geometry remains consistent regardless of the snowflake's size or complexity.
Can I draw a snowflake with eight sides?
While octagonal designs are common in decorative art, they do not exist in nature. If you want to draw a scientifically accurate snowflake, you must strictly adhere to a six-pointed structure.
What is the best tool for drawing intricate snowflake details?
A technical pen with a 0.1mm or 0.05mm tip is ideal for capturing fine, microscopic details. These pens allow for the precise, thin lines necessary to mimic the fragile appearance of ice.
Should I use a ruler to draw the initial star?
Using a ruler is highly recommended for the primary six-pointed star to ensure the angles are exactly 60 degrees apart. Precision in the base structure prevents the final drawing from looking lopsided.
How do I make my drawing look more three-dimensional?
You can add depth by varying the line weight, using thicker lines for the central core and thinner, lighter strokes for the outer branches. Adding small dots or shading near the center also suggests volume.
What is the most common mistake when drawing snowflakes?
The most frequent error is failing to maintain consistent symmetry across all six arms. If one arm has a specific pattern of branches, the other five must mirror that structure to remain accurate.
This answer was created with the help of AI research tools and reference sources. Spotted an error? Let us know — we correct mistakes quickly. See our editorial policy.