How do you draw a mandala step by step?
Short answer
Drawing a mandala involves creating a geometric design centered around a single point, radiating outward in symmetrical layers. You begin by establishing a circular grid, then systematically add shapes, patterns, and motifs within those segments. This meditative process relies on repetition and balance to form a complex, harmonious, and spiritual circular composition.
On this page
How to prepare for drawing a mandala
Before you begin, gather the necessary tools to ensure your design remains balanced and precise. You will need a high-quality drawing paper, a pencil, an eraser, a ruler, and a compass. A protractor is also highly beneficial for marking out equal segments around the center point, which is essential for maintaining radial symmetry. Choose a comfortable, quiet space where you can focus without interruption, as the practice is often used for mindfulness and relaxation.
Once your workspace is ready, prepare your canvas by finding the exact center of your paper. Use your ruler to draw a faint horizontal and vertical line intersecting at this point, creating a cross. Then, use your compass to draw several concentric circles of varying sizes around the center. These guidelines act as the skeleton for your mandala, helping you keep your patterns aligned as you expand outward.
How to draw the basic mandala structure
The foundation of any mandala is its radial grid. Without this structure, the design may look lopsided or disorganized. Start by using your protractor to divide your circle into segments. For beginners, dividing the circle into eight equal slices is a manageable starting point that provides enough detail without being overwhelming.
- Locate the center point of your paper using a ruler.
- Draw a series of concentric circles using a compass, spacing them about one inch apart.
- Use a protractor to mark angles at 45-degree increments.
- Draw light pencil lines from the center to the edge of the paper at these marks.
- Ensure all lines are drawn very lightly so they can be easily erased later.
These steps create a "web" that allows you to repeat your patterns uniformly. If you skip this structural phase, you will find it difficult to maintain the necessary symmetry as you add more complex layers.
How to add patterns and details
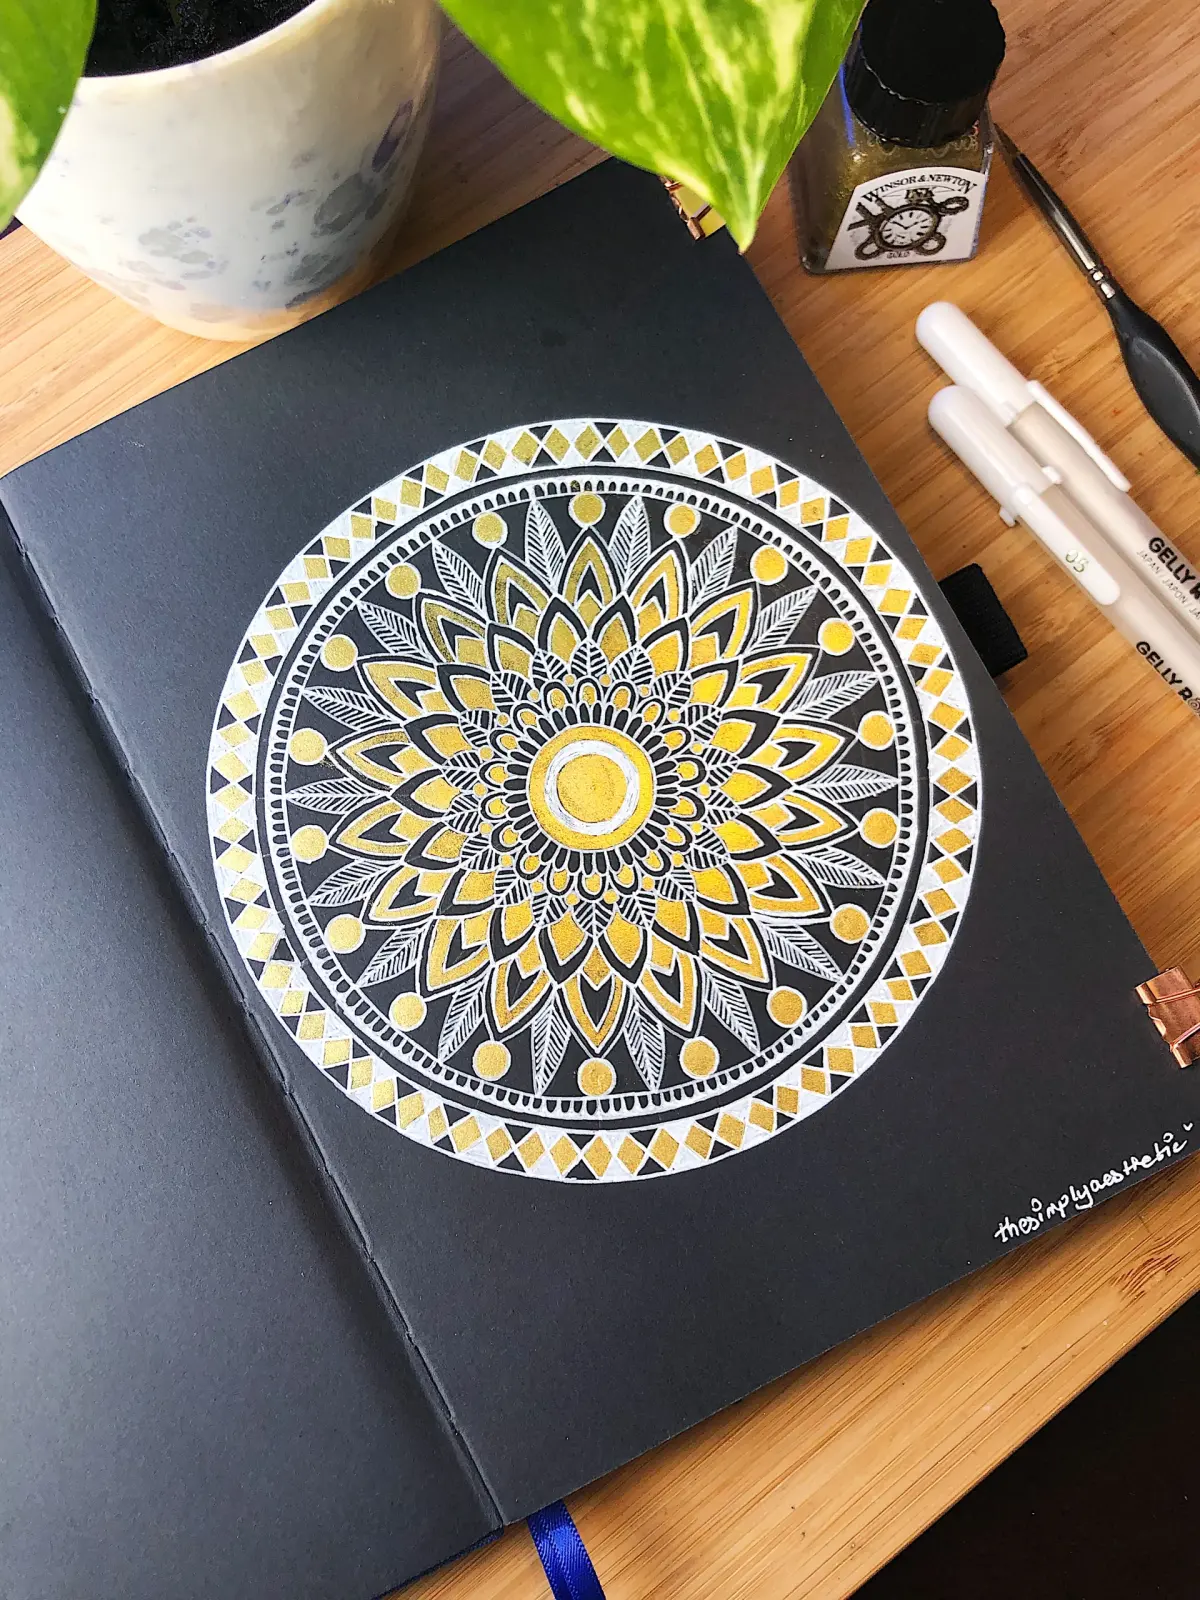
With your grid in place, you can begin filling in the sections with decorative motifs. Start from the center and work your way outward, one layer at a time. This approach ensures that your design grows organically and remains balanced. Common patterns include petals, triangles, teardrops, and geometric waves. The key is to repeat the same shape in every segment of a specific layer before moving on to the next ring.
You do not need to fill every single space immediately. Sometimes, leaving negative space between intricate patterns makes the overall design more visually appealing and less cluttered. If you find yourself struggling with a specific shape, practice it on a separate piece of scrap paper first. Once you are satisfied with your pencil sketch, you can go over your lines with a fine-liner pen or marker to give the mandala a clean, professional finish.
Common mistakes when drawing mandalas
The most frequent error beginners make is rushing the initial grid layout. If your guidelines are inaccurate or uneven, the entire mandala will appear distorted, regardless of how intricate your patterns are. Take your time during the measurement phase; a few extra minutes spent with the protractor will save you from frustration later. Another common mistake is neglecting to use a pencil for the initial sketch. Attempting to draw directly with ink often leads to irreversible errors.
Another pitfall is overcomplicating the design too early. Many artists try to cram too much detail into the center, which can make the mandala look dense and messy. Remember that mandalas are about balance and rhythm. If a layer feels too busy, simplify the shapes or increase the space between them. Always keep an eraser nearby to clean up your construction lines once the ink is dry, as these marks can distract from the final, clean aesthetic of your work.
How to finish and color your mandala
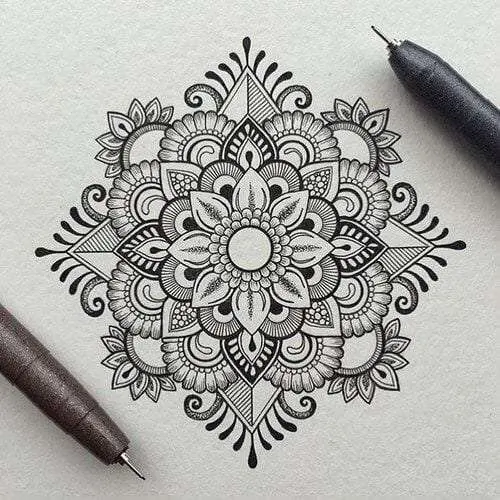
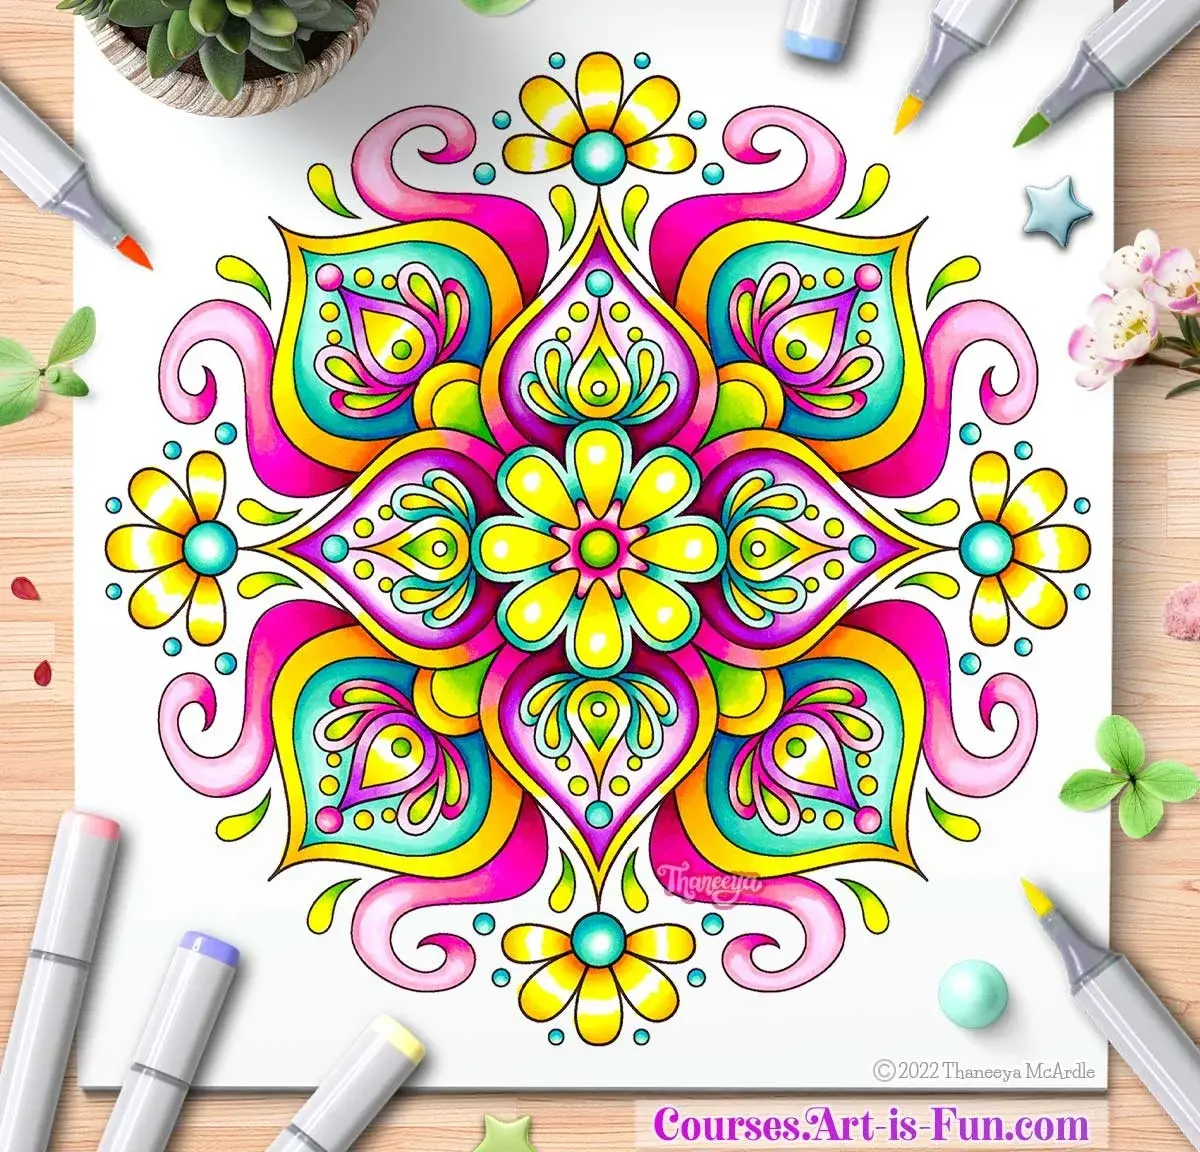
After you have finished inking your design, allow the ink to dry completely to avoid smudging. Gently erase all the pencil guidelines, leaving only your finished pattern. At this stage, you can choose to leave the mandala as a black-and-white line drawing, which highlights the geometric precision, or add color. If you decide to color, consider using a limited palette to maintain a sense of harmony. Complementary colors or monochromatic schemes often work best for these circular designs.
When coloring, start from the center and move outward to avoid smudging your work with your hand. You can use colored pencils, watercolors, or markers depending on your preference. If you use markers, ensure your paper is thick enough to prevent bleeding. Once the coloring is complete, you may choose to add a border or a background color to frame the piece. The final result should be a balanced, meditative image that reflects your personal creativity and patience throughout the entire drawing process.
Key facts
- A mandala is a geometric configuration of symbols, traditionally representing the cosmos in Hindu and Buddhist symbolism.
- Start your drawing by marking the exact center of your paper with a light pencil dot.
- Use a compass to draw several concentric circles, which serve as the scaffolding for your symmetrical patterns.
- Divide the circles into equal segments using a ruler to ensure your radial symmetry remains balanced.
- Begin drawing your primary shapes, such as petals or triangles, from the center outward to maintain consistency.
- Add intricate details like dots, lines, and shading only after the foundational structure is firmly established.
The bottom line
Creating a mandala is a rewarding exercise that combines geometric precision with creative expression. By starting with a central point and building outward through concentric circles, you establish a balanced framework that guides your artistic choices. Focus on steady, repetitive motions to maintain symmetry, and remember that the process of drawing is just as significant as the final visual result of your unique, meditative design.
People also ask
What tools are essential for drawing a mandala?
You need a high-quality compass, a ruler, a protractor, an eraser, and a fine-liner pen. A pencil is necessary for the initial layout, while colored pencils or markers can be used for the final design.
Do I need to be an artist to create a mandala?
No, mandalas are accessible to anyone regardless of artistic background. The process is more about the meditative practice of repetition and symmetry than achieving professional fine art status.
How do I ensure my mandala is perfectly symmetrical?
Use a protractor to mark equal angles around your center point before you begin drawing. Working in sections and rotating your paper frequently helps you maintain uniform spacing and sizing.
What is the significance of the center point?
In traditional practices, the center point represents the "bindu," or the starting point of creation. It serves as the anchor for the entire design and the focal point for meditation.
Can I use digital tools to draw a mandala?
Yes, many artists use tablets and software like Procreate or Adobe Illustrator. These programs offer "symmetry tools" that automatically mirror your strokes across multiple axes for perfect precision.
How long does it take to complete a mandala?
The time required depends entirely on the complexity of your design and your personal pace. A simple geometric mandala may take 30 minutes, while highly detailed, large-scale pieces can take several hours or days.
This answer was created with the help of AI research tools and reference sources. Spotted an error? Let us know — we correct mistakes quickly. See our editorial policy.