How do you draw anime hair?
Short answer
Drawing anime hair requires treating strands as large, simplified geometric shapes rather than individual hairs. You must establish a hairline, define the hair’s volume away from the skull, and group strands into tapered, ribbon-like clusters. By focusing on flow and light reflection, you create a cohesive style that defines the character's personality.
On this page
How to structure anime hair shapes
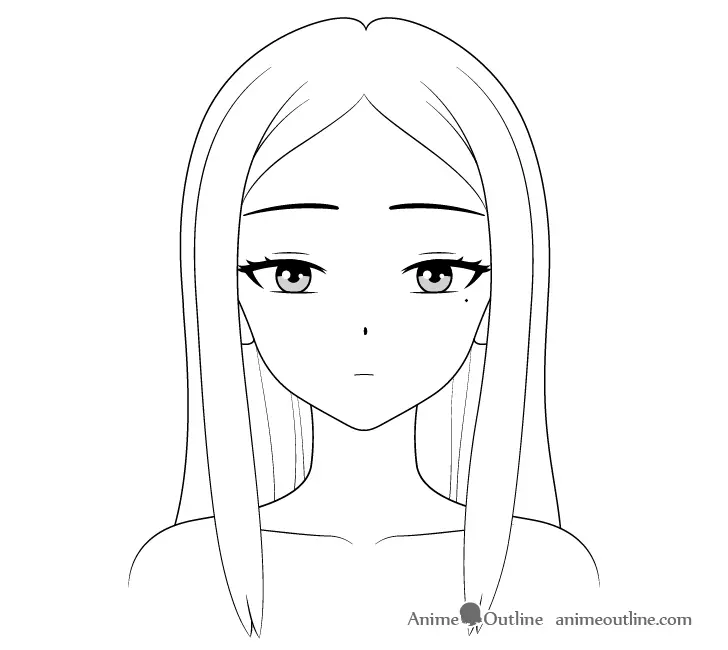
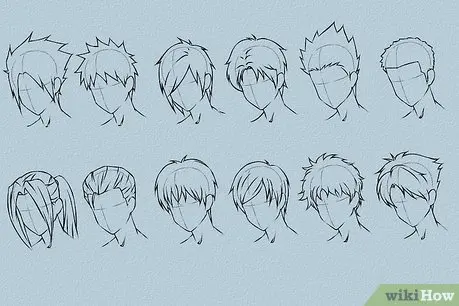
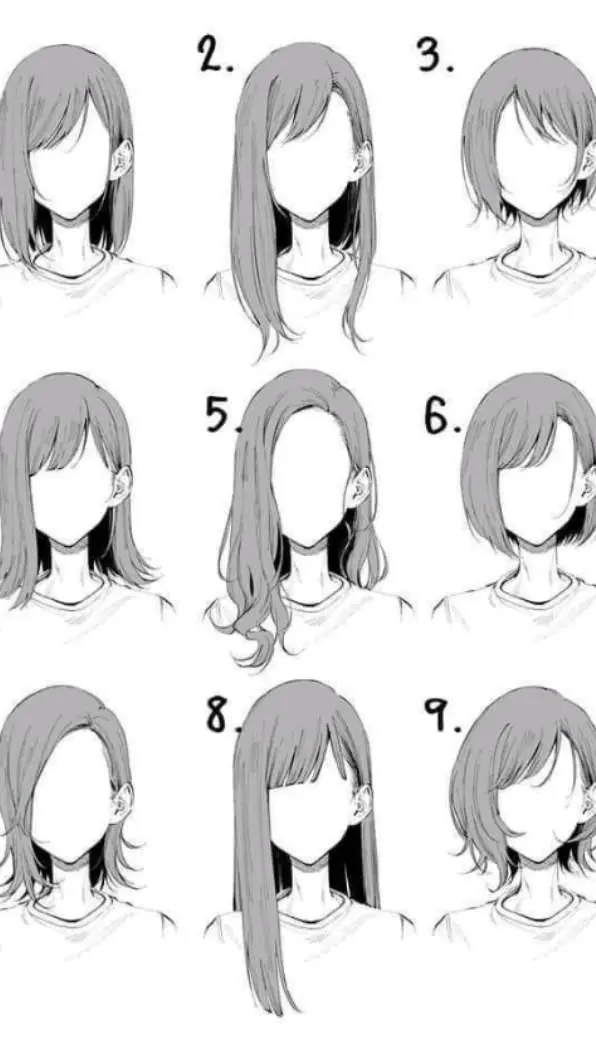
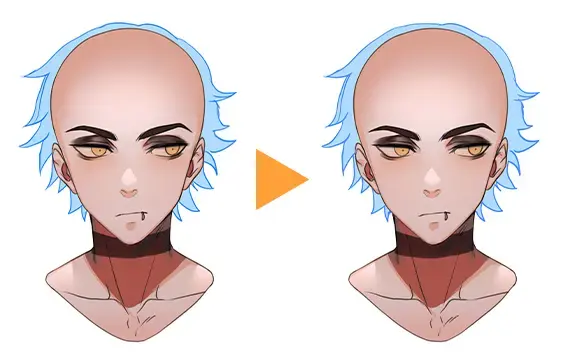
Anime hair is defined by its stylized, clumped appearance. Instead of drawing every strand, artists group hair into thick, flowing segments that follow the curvature of the head. Begin by sketching the hairline, which usually sits about one-third of the way down from the top of the skull. This provides a foundation for where the hair originates.
Think of the hair as a shell or a wig placed on top of the head. It should never hug the scalp perfectly; leave space between the hair mass and the skull to give the character volume. Use these steps to establish your base:
- Draw the skull shape to determine where the hair will sit.
- Outline the hairline to establish the fringe and sideburns.
- Divide the hair into large, manageable sections like the bangs, side locks, and back mass.
- Taper the ends of these sections to points, which is a hallmark of the anime aesthetic.
How to add volume and flow
The secret to dynamic anime hair is movement. Hair should look like it reacts to gravity or wind, rather than hanging like a static block. When drawing, visualize the hair as ribbons that twist and fold. This approach prevents the hair from looking flat and helps you understand how light should hit the surface.
To achieve a natural flow, follow the direction of the hair’s growth from the crown. Use long, sweeping strokes to connect the roots to the tips of the hair clumps. If the character is in motion, ensure all hair segments lean in the direction of that movement. Avoid making the hair look uniform; varying the thickness and length of individual clumps creates a more realistic and visually interesting silhouette.
Best tools for drawing hair
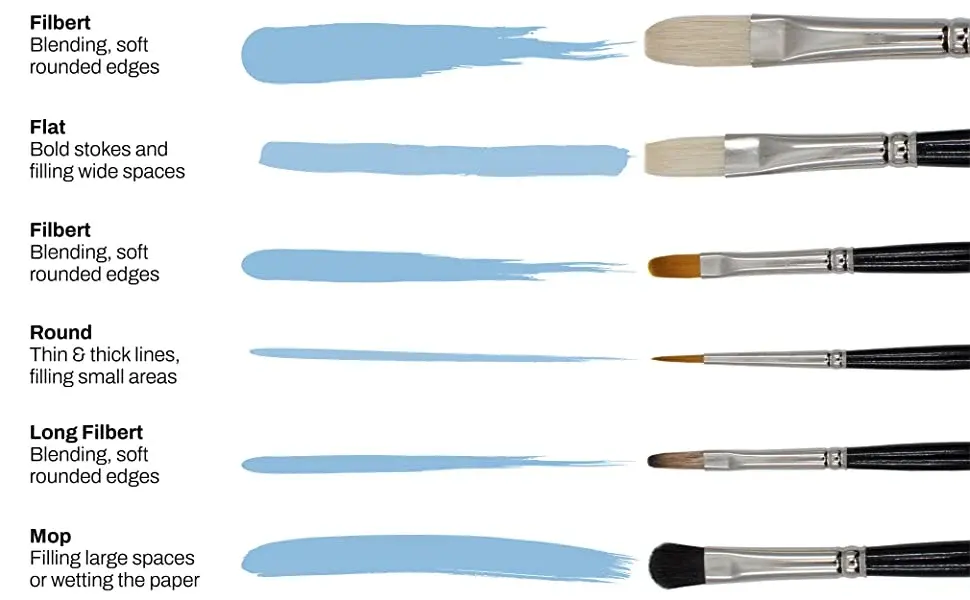
While digital tablets are the industry standard, traditional artists can achieve excellent results with simple tools. For sketching, use a hard lead pencil, such as an HB or 2H, to keep your lines light and erasable. Once the structure is set, switch to a softer lead like 2B or a fine-liner pen to darken the final contours and add depth.
Digital artists should focus on brush settings that allow for pressure sensitivity. This allows you to create lines that start thick and taper to a sharp point, which is essential for the anime look. Consider these essential tips for your setup:
- Keep your canvas at a high resolution to prevent pixelation when tapering lines.
- Use layers to separate the sketch, the line art, and the color.
- Always keep an eraser tool ready to refine the edges of your hair clumps.
- Practice drawing consistent, rhythmic strokes to build muscle memory for smooth curves.
Common mistakes when drawing anime hair
One of the most frequent errors is drawing hair that looks like a solid, heavy helmet. This happens when artists fail to incorporate gaps or "negative space" between the hair clumps. Always look for opportunities to show the scalp or the background through the hair, especially around the bangs. This makes the hair appear lighter and more realistic.
Another common mistake is neglecting the "flow" of the hair. Beginners often draw hair that looks like spikes pointing in random directions. Instead, ensure that every clump originates from a central point or follows a logical path toward the back or sides of the head. If the hair looks disjointed, re-examine the crown of the head and trace the lines back to the source. Consistency in the direction of the strands is what makes the hair look like a single, unified mass.
How to shade and highlight hair
Shading brings the hair to life by defining its three-dimensional form. After your line art is complete, identify where your light source is located. The areas of the hair furthest from the light should be the darkest, while the areas closest to the light should have a prominent, crescent-shaped highlight. This highlight is a signature element of anime art.
To shade effectively, treat each hair clump as a separate cylinder. Apply a shadow along the edges of the clump and leave a bright, clean space in the middle to represent the reflection of light. You can use these techniques to improve your results:
- Apply a base color to the entire hair mass.
- Add a darker tone to the areas where clumps overlap or curve away from the light.
- Use a sharp, bright color for the highlights to create a glossy effect.
- Blend the shadows softly, but keep the highlights crisp to maintain the signature anime style.
Key facts
- Treat hair as solid, grouped "clumps" or ribbons rather than drawing individual strands.
- Always draw the hair volume slightly above the actual skull line to account for hair thickness.
- Use a "tapered" stroke technique by applying pressure at the start and lifting the pen at the end.
- Establish a clear light source to determine where to place highlights, usually on the crown or curves.
- Vary the size and shape of hair sections to avoid a stiff, uniform appearance.
- Follow the direction of growth from the crown (the whorl) to ensure the hair flows naturally.
The bottom line
Drawing anime hair is less about individual strands and more about mastering volume, flow, and grouping. By treating hair as solid, tapered clumps that originate from a central crown, you create a dynamic, professional appearance. Remember to keep your lines clean, account for the skull's shape, and use strategic highlights to define form. Consistent practice with these core principles will significantly improve your character designs over time.
People also ask
How do I make anime hair look less flat?
Increase the distance between the scalp outline and the hair volume to create depth. Adding shadows beneath overlapping clumps helps define the three-dimensional shape of the hairstyle.
Should I draw every single strand of hair?
No, drawing every strand makes hair look messy and distracting. Focus on the silhouette and major flow lines, using only a few stray hairs to suggest texture.
How do I choose a hairstyle for my character?
Consider the character's personality and setting, as sharp, jagged spikes often convey aggression, while soft, rounded shapes suggest a gentle or youthful nature.
Where should I place the highlights in the hair?
Place highlights on the most prominent curves of the hair clumps, typically near the top of the head or where the hair bends. Keep these shapes clean and consistent with your light source.
Why do my drawings look like a wig?
This often happens when the hair does not follow the natural structure of the head. Ensure the hair lines originate from a single point or part line to maintain realism.
What is the best way to practice drawing hair?
Study real-life photos of hair to see how light hits it and how it groups into locks. Practice sketching basic geometric shapes like cones and cylinders before applying them to a head.
This answer was created with the help of AI research tools and reference sources. Spotted an error? Let us know — we correct mistakes quickly. See our editorial policy.