How do you draw a husky?
Short answer
Drawing a husky requires focusing on their distinct wedge-shaped head, almond-shaped eyes, and thick, double-layered coat. Start by sketching basic geometric shapes to establish proportions, then refine the facial features and fur texture. By emphasizing the breed’s alert expression and sturdy build, you can create a realistic and recognizable husky portrait.
On this page
How to sketch the basic proportions of a husky
To begin your drawing, start with a light pencil sketch using simple geometric shapes. Huskies have a compact, athletic build, so draw a medium-sized circle for the head and a larger oval for the chest. Connect these with a curved line for the neck, ensuring the neck appears thick and muscular rather than thin.
The husky’s head is characterized by a wedge shape with a distinct stop—the area where the forehead meets the muzzle. When mapping out the face, draw a vertical line down the center of the head circle to ensure symmetry. Place the eyes at the midpoint of the head circle and position the ears high on the skull.
- Draw a circle for the cranium and a smaller trapezoid for the muzzle.
- Sketch the ears as upright, triangular shapes placed close together.
- Use light guidelines to ensure the muzzle aligns with the center of the eyes.
- Keep all initial lines faint so they can be easily erased later.
How to draw husky eyes and facial markings
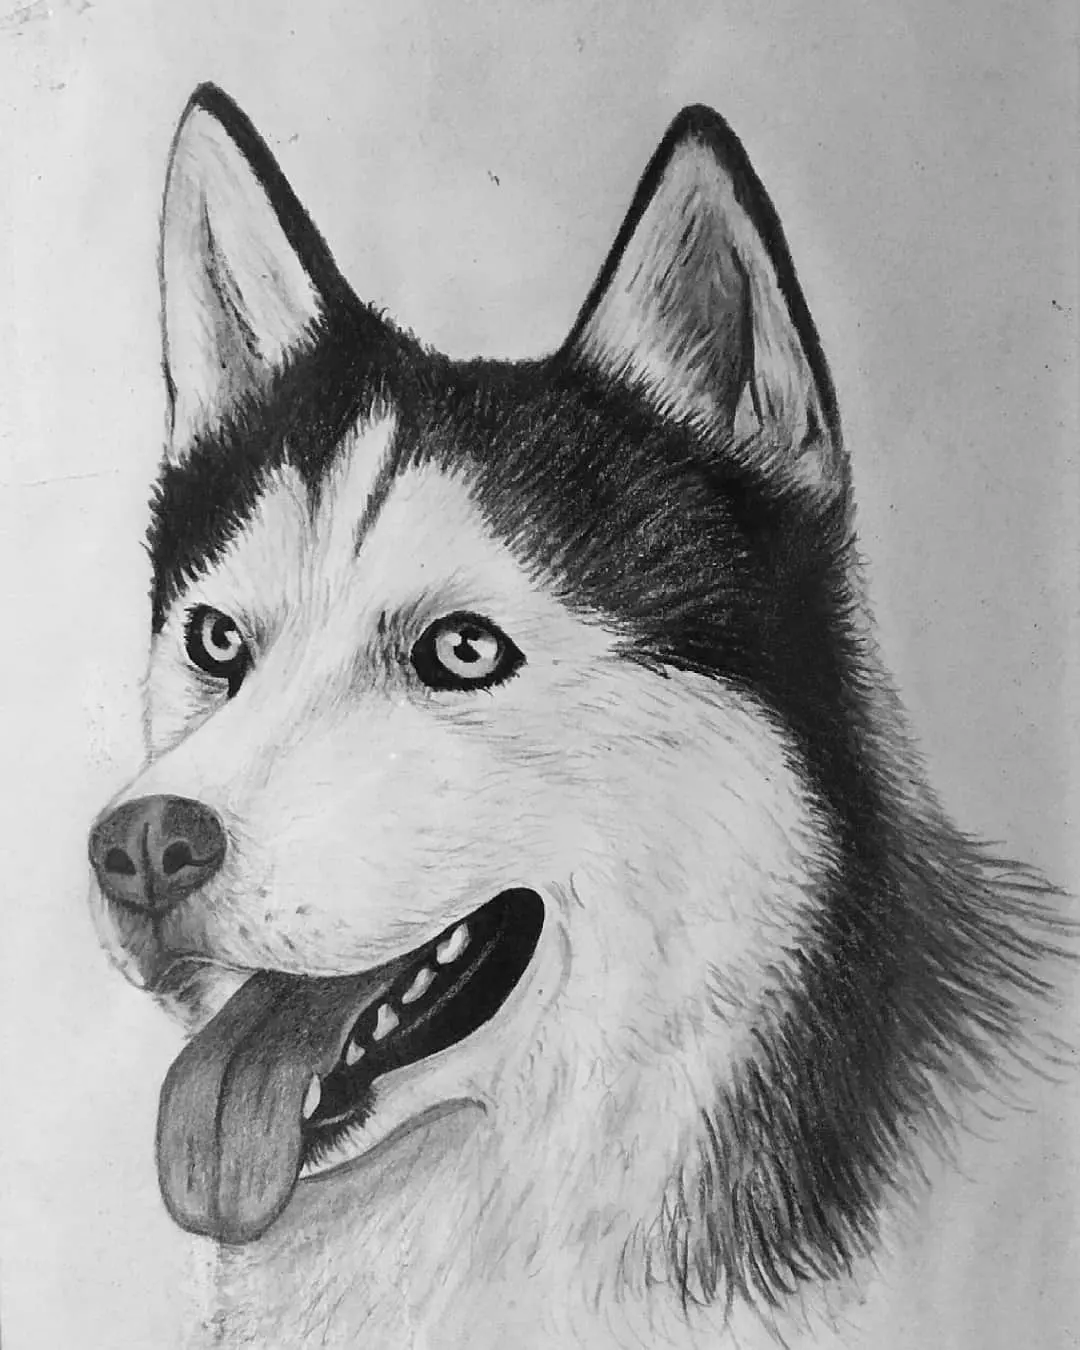
The eyes are the most expressive part of a husky, often described as almond-shaped and set slightly obliquely. They can be brown, blue, or parti-colored, which means one of each. When drawing, focus on the sharp, alert gaze that defines the breed's intelligent and sometimes mischievous personality.
Facial markings are essential for making your drawing look like a genuine husky. Most huskies possess a "mask" pattern that frames the eyes and muzzle. Use soft shading to define the transition between the white fur on the snout and the darker patches around the eyes.
- Use a sharp pencil to define the inner corners of the eyes.
- Add a slight highlight in the pupil to give the eyes depth and life.
- Ensure the mask markings follow the natural contours of the face.
- Avoid making the eyes too round, as this will make the dog look startled rather than alert.
How to render husky fur and texture
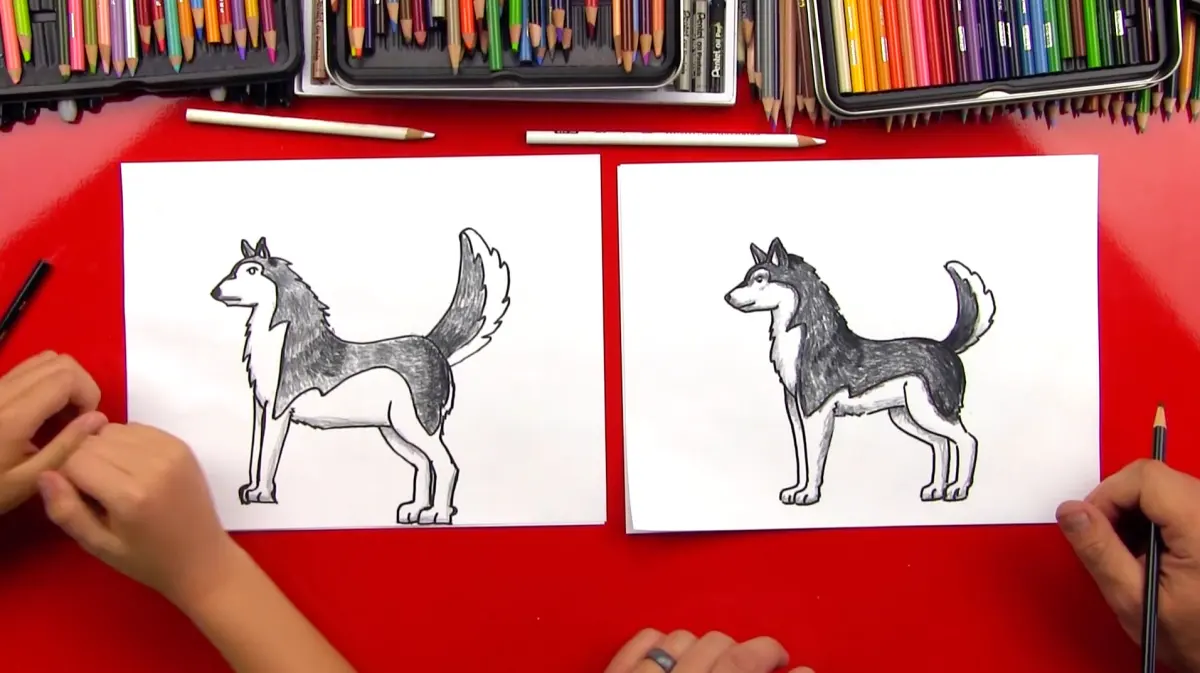
Huskies are famous for their dense, double-layered coats, which protect them from freezing temperatures. Instead of drawing individual hairs, focus on drawing clumps or "tufts" of fur. This method creates a more realistic appearance by mimicking how hair naturally bunches together on a dog's body.
Start by outlining the silhouette of the body with jagged, short strokes to suggest the texture of the coat. Use directional shading to show the flow of the fur, moving from the neck down toward the back and legs. The fur should appear thicker around the neck, creating a "ruff" effect that is common in the breed.
- Use short, flicking strokes with your pencil to create the appearance of fur edges.
- Apply darker shading in the areas where the fur is deepest, such as under the neck.
- Leave some areas white to represent the lighter undercoat or highlights.
- Vary the length of your strokes to show the difference between the shorter facial fur and the longer body coat.

Common mistakes when drawing huskies
One of the most frequent errors is drawing the ears too far apart or too wide at the base. Husky ears should be triangular, thick, and set high on the head, pointing directly upward. If the ears are positioned too low or too far to the sides, the dog will lose its characteristic wolf-like appearance.
Another common mistake is neglecting the muzzle’s length and width. The husky muzzle should be of medium length, neither too blunt nor too pointed. If the muzzle is too long, the dog will resemble a collie, and if it is too short, it will look like a smaller breed. Always check your proportions against your initial geometric sketch to ensure the facial features remain balanced.
- Avoid drawing the muzzle too thin, as this ruins the husky’s powerful look.
- Do not over-detail the fur; focus on the overall shape and shadow patterns.
- Ensure the tail is drawn as a "brush" or "fox tail" rather than a thin, straight line.
- Watch out for overly human-like expressions, which can detract from the dog’s natural anatomy.
Best tools for drawing realistic dogs
For beginners, a set of graphite pencils ranging from 2H to 6B is ideal for achieving a full range of tones. Use the harder 2H pencils for light initial sketches and the softer 4B or 6B pencils for deep, dark shadows in the eyes and fur. A kneaded eraser is also essential, as it allows you to lift graphite off the paper to create soft highlights in the fur.
Choosing the right paper can also significantly impact your results. A medium-tooth drawing paper provides enough texture to hold the graphite while remaining smooth enough for fine details. When working on the final piece, consider using a blending stump to soften your shading, which helps create the smooth transitions seen in the husky’s thick coat.
- Use a mechanical pencil for precise details like the nose and eye pupils.
- Keep a sharpener nearby to ensure your pencil tips remain fine for fur texture.
- Practice shading on a separate sheet to test how different grades of graphite interact.
- Work from the top of the drawing downward to avoid smudging your work with your hand.
Key facts
- Huskies have a distinct "mask" pattern of fur around their eyes and muzzle that defines their facial expression.
- The almond-shaped eyes are set slightly obliquely and are often blue, brown, or heterochromatic.
- Their ears are triangular, thick, and stand erect, positioned high on the top of the skull.
- A husky's tail is "fox-like" or brush-shaped, usually carried over the back in a sickle curve.
- Focus on the dense, double-layered coat texture rather than drawing individual hairs to maintain a realistic look.
- Use a wedge-shaped silhouette for the head to capture the breed's characteristic alert and wolf-like profile.
The bottom line
Drawing a husky requires attention to its unique, wolf-like proportions and dense, layered coat. By focusing on the wedge-shaped head, almond eyes, and the signature facial mask, you can capture the breed's spirited personality. Use jagged lines to suggest fluffiness and maintain a lean, athletic silhouette. With consistent practice of these specific anatomical features, you will successfully translate the husky’s striking appearance onto the page.
People also ask
How do I make a husky look fluffy?
Use short, jagged pencil strokes along the edges of the body to suggest thick fur. Avoid drawing perfectly smooth outlines, as the double coat creates a soft, voluminous appearance.
What is the most common mistake when drawing husky eyes?
Many artists draw the eyes too round or too large. Remember that husky eyes are almond-shaped and should be placed deep within the socket to maintain their intense, focused expression.
Should I draw the nose as a perfect circle?
No, a husky nose is rectangular with rounded corners and a slight indentation in the center. Ensure the nostrils are clearly defined to give the snout a realistic, three-dimensional structure.
How do I capture the husky's athletic build?
Draw the chest deep and the legs straight with strong, well-defined joints. Huskies are endurance runners, so emphasize their lean muscle mass rather than a bulky or heavy frame.
What shading technique works best for the fur?
Use directional shading that follows the growth pattern of the coat, moving from the neck outward. This creates depth and helps the viewer understand the direction of the fur flow.
How do I draw the ears correctly?
Keep the ears small and triangular, positioned close together on the top of the head. If they are too wide apart, the dog will lose its signature alert and inquisitive appearance.
This answer was created with the help of AI research tools and reference sources. Spotted an error? Let us know — we correct mistakes quickly. See our editorial policy.