How do you draw a dog step by step?
Short answer
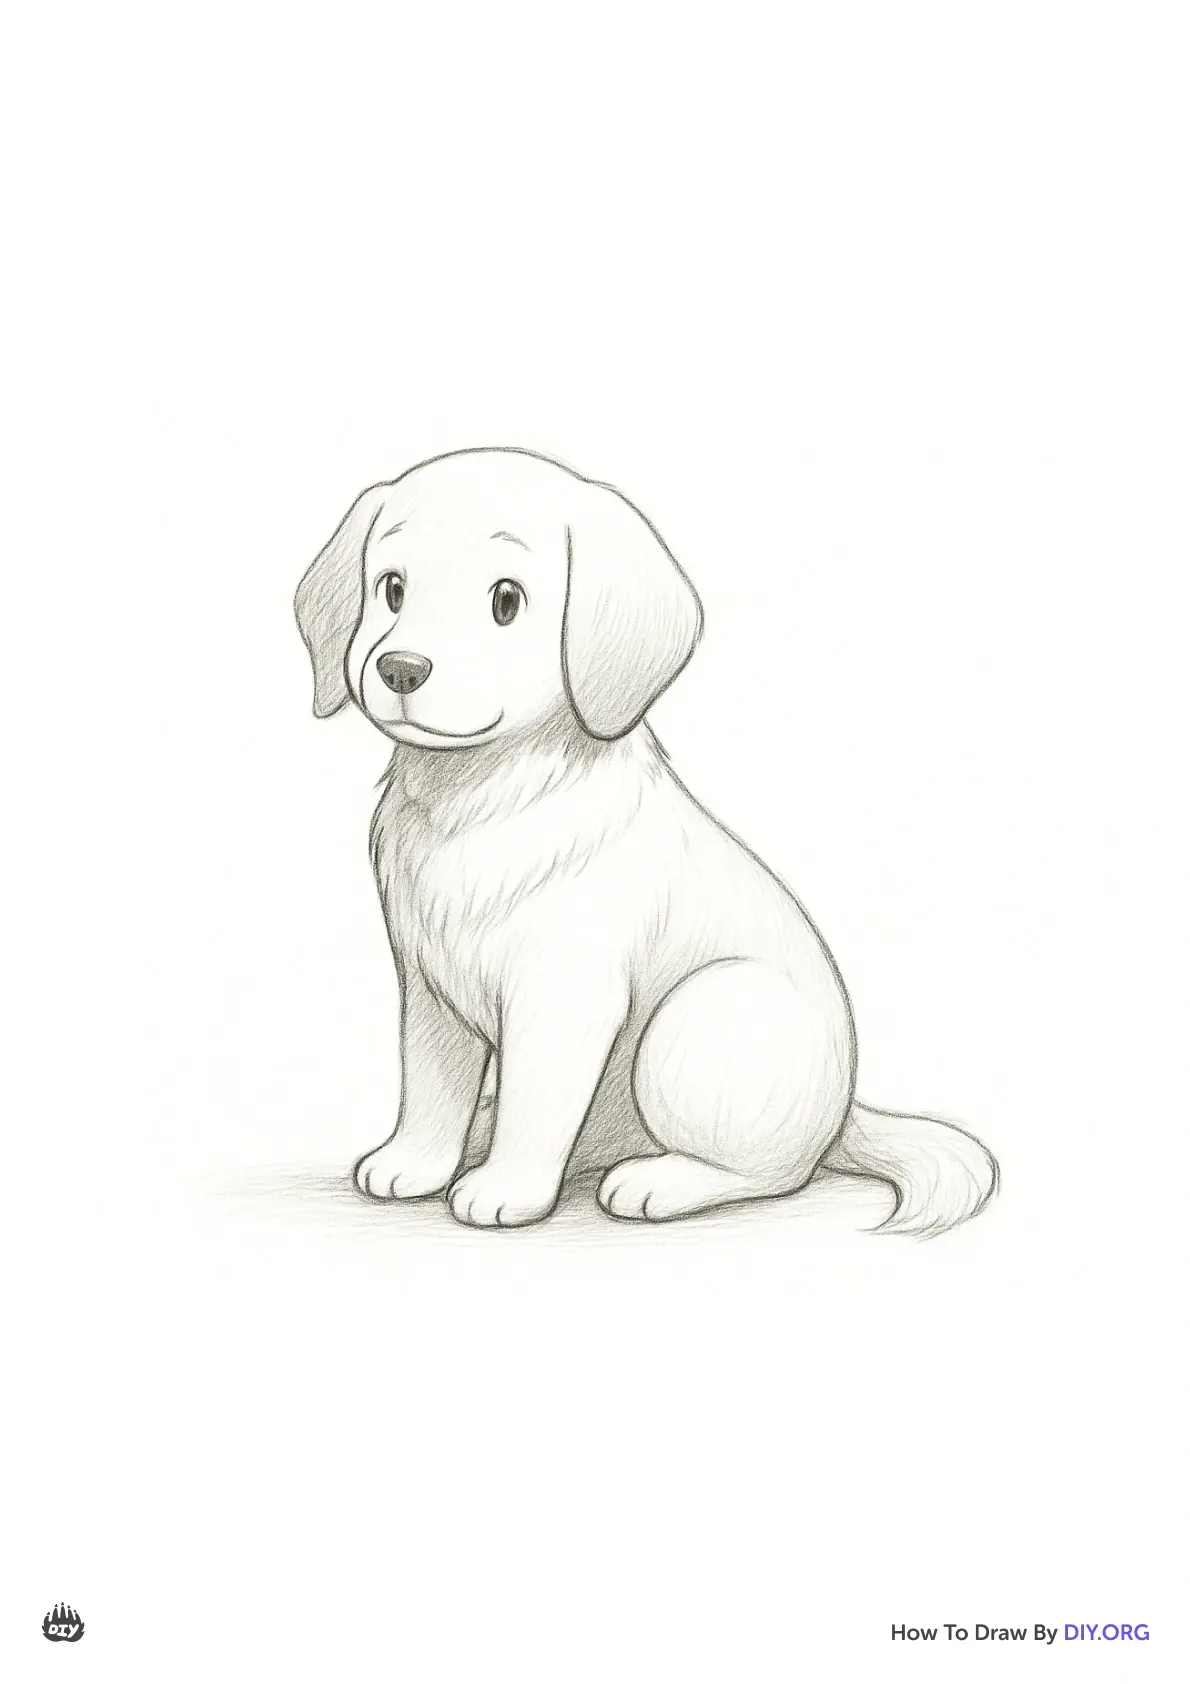
Drawing a dog involves constructing its form using simple geometric shapes like circles and ovals before refining the details. By establishing a skeletal framework, you ensure proper proportions and balance. Once the basic structure is set, you can add fur texture, facial features, and shading to bring the canine to life.
On this page
How to start a dog drawing
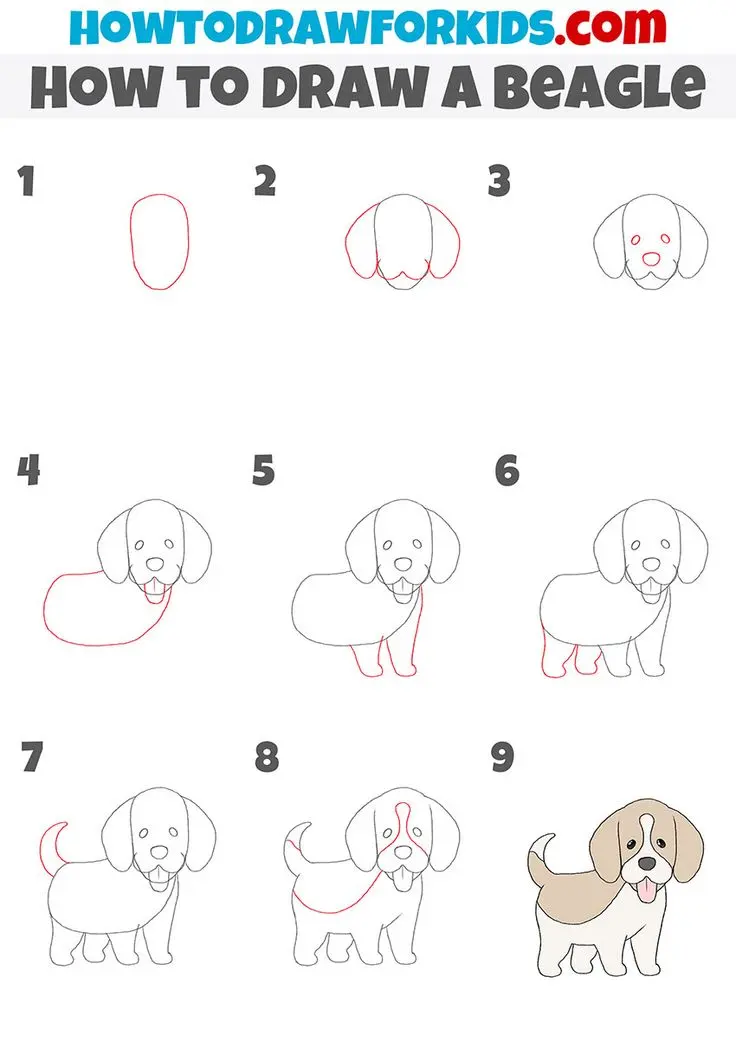
Begin your drawing by sketching light, loose shapes to represent the dog's body. Use a large circle for the chest, a smaller circle for the head, and an oval for the hindquarters. Connect these shapes with curved lines to define the back and the belly, keeping your pencil pressure very light so you can easily erase or adjust the lines later. This foundational approach helps you visualize the dog's posture and scale before committing to permanent marks.
Focusing on these basic forms prevents common errors like making the legs too short or the head disproportionate to the torso. Once your shapes are in place, lightly draw lines for the legs, using small circles at the joints to indicate where the knees and ankles will be. This skeletal guide acts as a blueprint for the final anatomy. Taking time to establish these proportions correctly is the most critical step in creating a realistic-looking animal.
How to draw dog facial features
The face is where a dog's personality emerges, so precision is necessary when placing the eyes, nose, and ears. Start by drawing a cross on the head circle to determine the center line for the muzzle and the eye level. The nose is typically a rounded triangle shape located at the tip of the muzzle, while the eyes should be placed symmetrically on either side of the vertical center line.
- Draw the nose as a rounded triangle, adding two small nostrils inside.
- Place the eyes as ovals, ensuring they are level with each other.
- Sketch the ears according to the specific breed, such as floppy triangles for a retriever or pointed shapes for a shepherd.
- Add the mouth by drawing a line extending down from the center of the nose, curving slightly upward at the ends.
Refining these features requires careful observation of how the muzzle attaches to the skull. Avoid drawing the eyes too high up on the forehead, as this can make the dog appear human-like or distorted.
How to add fur and texture
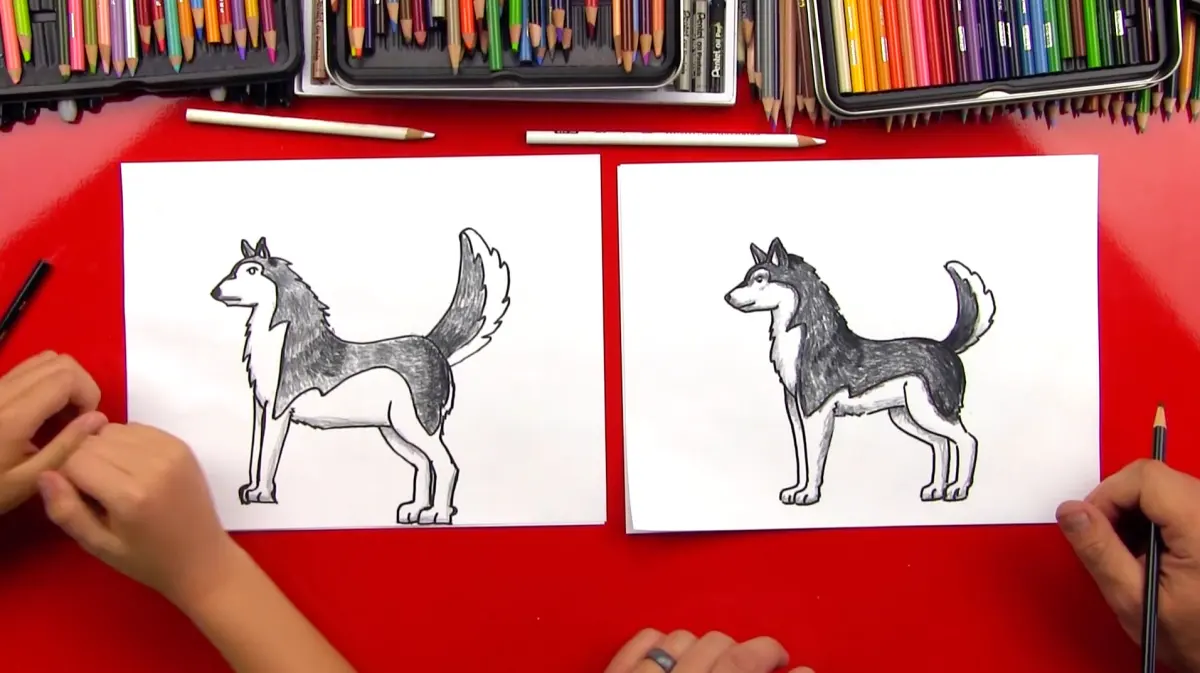
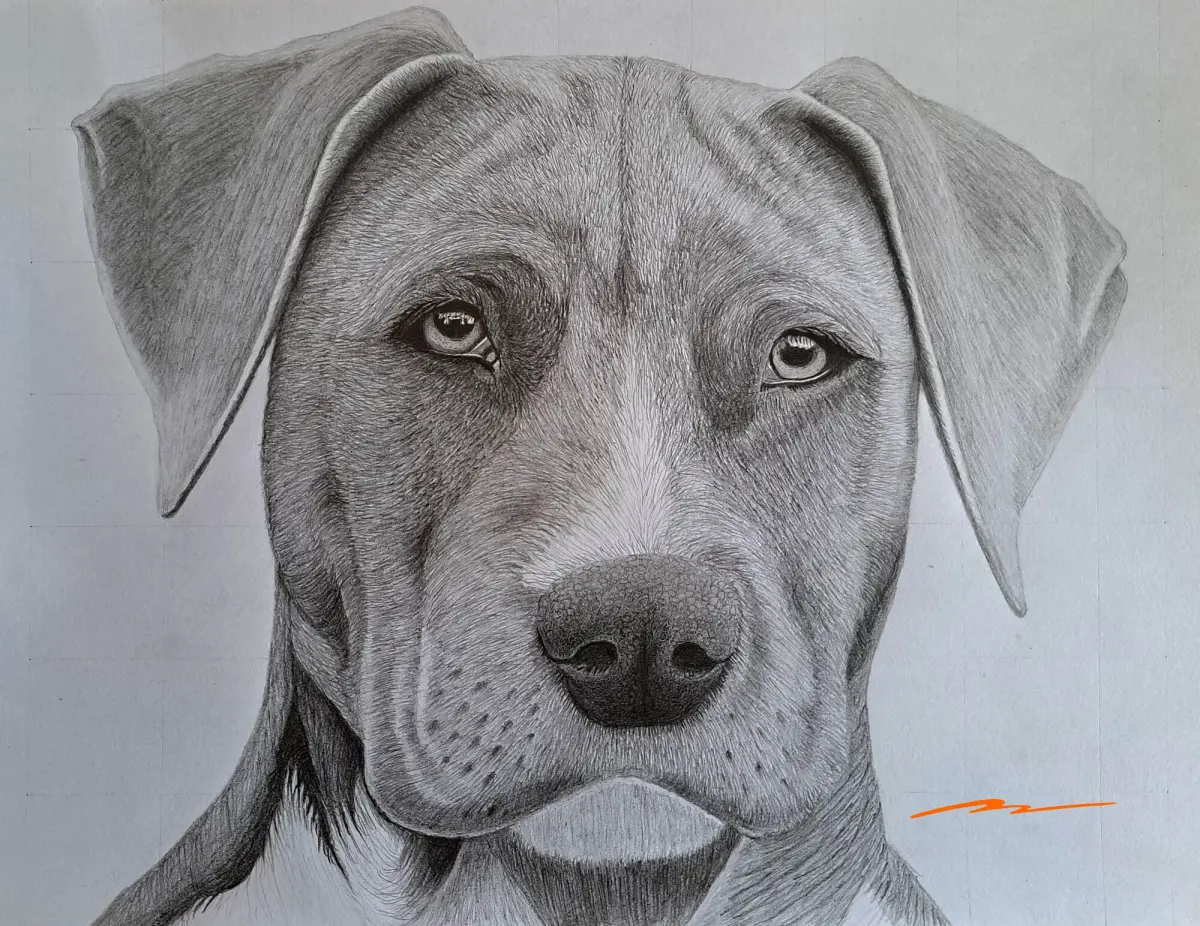
Adding fur is the stage where your drawing starts to look like a living creature rather than a stiff mannequin. Instead of drawing individual hairs, focus on the general direction of the fur growth, which usually flows from the head down toward the tail and outward from the spine. Use short, flicking pencil strokes to mimic the texture, varying the length and density based on the breed of the dog you are drawing.
- Use long, smooth strokes for breeds with silky, straight hair like an Afghan Hound.
- Use short, choppy, or jagged strokes to represent the coarse coat of a terrier.
- Leave small white spaces between groups of strokes to suggest highlights where light hits the fur.
- Soften the edges of the body by using light, feathery strokes rather than hard, continuous outlines.
Always consider the underlying muscle structure when applying texture. Fur will appear flatter over the shoulders and hips but may look thicker or more ruffled around the neck and chest.
Common mistakes when drawing dogs
Many beginners struggle with the anatomy of the legs and paws, often drawing them as simple cylinders. A common mistake is failing to account for the "hock," which is the joint on the dog's hind leg that bends backward. If you draw the hind legs straight like human legs, the dog will look unnatural and stiff. Always ensure the hind legs show that characteristic angle, which provides the dog with its athletic, spring-like movement.
Another frequent error is neglecting the tail or misplacing it on the body. The tail should be an extension of the spine, emerging naturally from the base of the back rather than appearing as an afterthought attached to the side. Additionally, avoid making the paws too small; a dog's feet are typically quite substantial to support its weight. By checking your work against a reference photo, you can identify these anatomical discrepancies and correct them before finalizing your drawing with darker lines.
Best techniques for shading a dog
Shading adds depth and volume, transforming a flat sketch into a three-dimensional form. Start by identifying where the light source is coming from and keep that area the lightest. Apply darker shading on the opposite side of the dog's body and underneath the belly, neck, and legs where shadows naturally fall. Use a soft graphite pencil or a blending stump to create smooth transitions between light and dark areas, which helps represent the soft surface of the fur.
- Identify the primary light source to determine where highlights and shadows belong.
- Apply a light layer of graphite to the shadowed side of the body.
- Deepen the shadows under the ears, neck, and legs to create contrast.
- Use an eraser to lift small amounts of graphite to create highlights on the nose or the top of the back.
Consistent shading creates a sense of weight and realism. Avoid using heavy, dark outlines around the entire dog, as this creates a cartoonish effect; instead, let the contrast between light and shadow define the edges of the form.
Key facts
- Start by sketching basic geometric shapes, such as circles for the head and ovals for the body, to establish proportions.
- Connect the shapes with light, flowing lines to create a cohesive silhouette before adding details like fur or paws.
- Place the eyes at the horizontal midline of the head to ensure the dog’s expression looks natural and anatomically balanced.
- Use a reference image of a specific breed to understand how ear shape and tail length vary significantly between dogs.
- Keep your initial pencil strokes very light so you can easily erase guidelines once the final outline is complete.
- Focus on the direction of fur growth when shading, using short, flicking strokes to mimic the texture of a coat.
The bottom line
Drawing a dog successfully relies on breaking down complex anatomy into simple geometric shapes. By establishing correct proportions early and focusing on the unique characteristics of a specific breed, you can create a realistic depiction. Remember to keep your initial lines light, prioritize structural accuracy over fine detail, and use shading to bring your subject to life. Practice observation to master the nuances of animal movement.
People also ask
How do I make the dog look like a specific breed?
Focus on the defining features of the breed, such as the floppy ears of a Golden Retriever or the pointed snout of a German Shepherd. Adjust the proportions of the muzzle and the placement of the ears to match the unique silhouette of the dog you are drawing.
Should I draw the fur first or the body shape?
Always draw the underlying body shape first to ensure the anatomy is correct. Adding fur texture should be the final step, as it serves as a surface detail rather than the structural foundation of the drawing.
What is the best way to draw a dog's eyes?
Draw a simple circle or oval and place a dark, circular pupil inside, leaving a tiny white spot to represent a highlight. This reflection makes the eyes appear wet and lifelike, which is essential for capturing a dog's personality.
How do I draw the legs so they don't look stiff?
Avoid drawing straight, vertical lines for legs; instead, incorporate slight bends at the joints to suggest movement. A dog's anatomy involves distinct angles at the elbow and hock, which provide a more natural, dynamic appearance.
What common mistake should beginners avoid?
A frequent error is drawing the head too small in relation to the body. Use your initial circular guidelines to check that the head is large enough to support the features before you begin adding detail.
How can I add depth to my drawing?
Use shading to create a sense of volume by identifying where the light source is hitting the dog. Darken the undersides of the belly, the neck, and the areas beneath the legs to give the figure a three-dimensional quality.
This answer was created with the help of AI research tools and reference sources. Spotted an error? Let us know — we correct mistakes quickly. See our editorial policy.