How do you draw a dog sitting?
Short answer
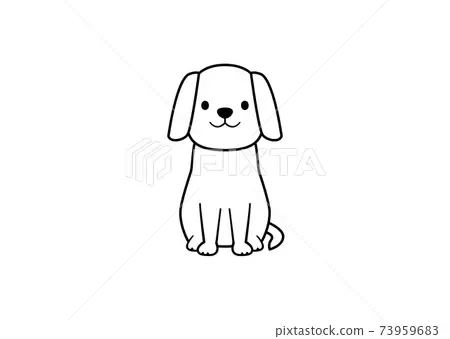
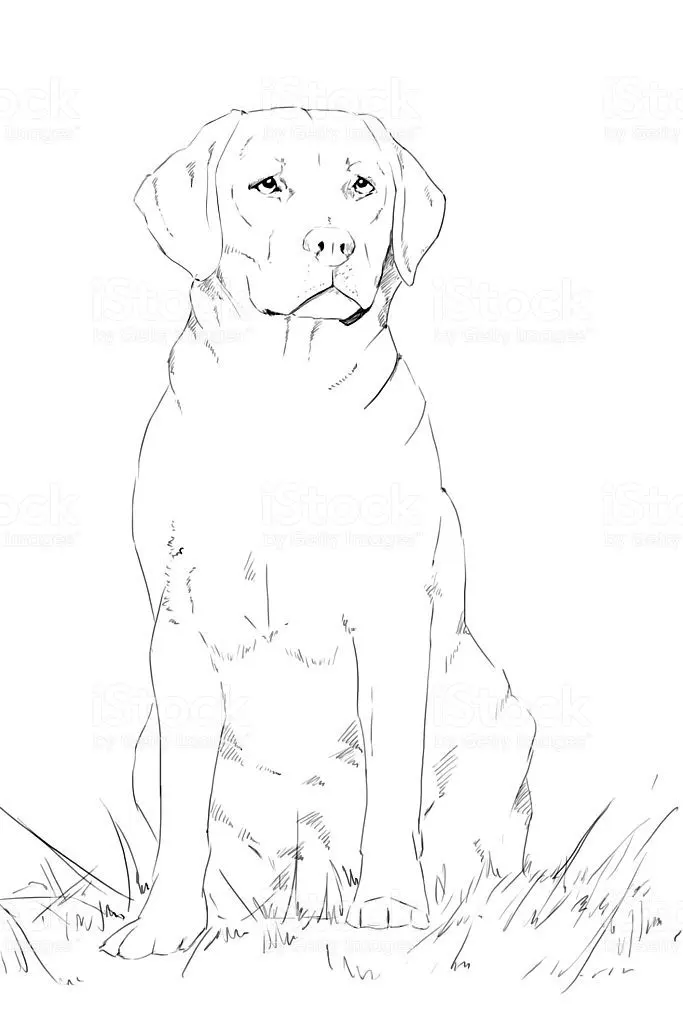
Drawing a sitting dog involves constructing the animal’s anatomy using basic geometric shapes like circles and ovals. By establishing a stable base with the haunches and connecting the chest to the head, you create a balanced silhouette. Focus on the triangular shape of the ears and the vertical alignment of the front legs.
On this page
How to structure a dog's body using shapes
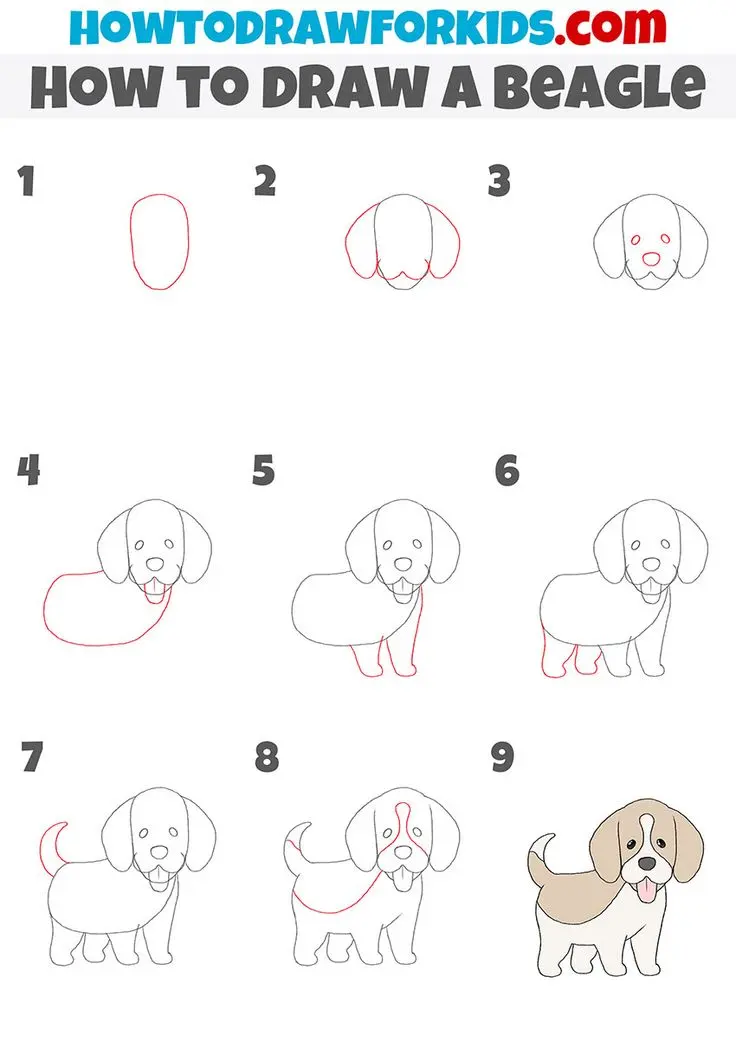
To draw a sitting dog effectively, you must first break down the complex anatomy into simple, manageable geometric forms. Begin by sketching a large circle for the chest and a slightly smaller, overlapping circle for the rear haunches. Connect these two shapes with a curved line to represent the dog's back, which should slope downward toward the tail. This foundational structure ensures that the proportions remain accurate before you begin adding details like fur or facial expressions.
When positioning the dog, remember that a sitting posture requires the rear legs to be tucked underneath the body. The front legs should be drawn as two parallel, vertical cylinders extending from the chest to the ground. By establishing these basic shapes first, you provide a skeleton that supports the rest of your drawing. This method is the standard approach used by professional illustrators to ensure the animal looks grounded and anatomically correct.
How to draw the head and facial features
The head of a sitting dog is typically represented by a circle or an oval, depending on the specific breed you are sketching. Once you have the head shape, draw a smaller muzzle area attached to the front of the circle. Use a horizontal and vertical crosshair inside the head shape to help you align the eyes, nose, and mouth correctly. This grid system prevents the features from appearing lopsided or distorted as you refine the drawing.
- Place the eyes on the horizontal line, spaced evenly from the center.
- Position the nose at the very end of the muzzle, usually shaped like a rounded triangle.
- Add the ears at the top of the head; floppy ears should hang down toward the neck, while pointed ears should stand upright.
- Draw the mouth as a simple line extending from the nose, curving slightly upward to suggest a relaxed expression.
Best drawing techniques for different dog breeds
Different dog breeds have distinct silhouettes that require minor adjustments to your basic geometric framework. For example, a Greyhound has a very deep, narrow chest and a long, slender neck, while a Bulldog is characterized by a wide, heavy frame and short, sturdy legs. When drawing a specific breed, observe the silhouette of the animal first. Identify whether the breed has a long, flowing coat or short, tight fur, as this will dictate how you apply your shading and line work.
- For long-haired breeds, use soft, sweeping strokes that follow the direction of the fur growth.
- For short-haired breeds, focus on the underlying muscle definition and bone structure of the legs and shoulders.
- Use thicker, darker lines for the shadowed areas beneath the chest and haunches to create a sense of depth and weight.
- Adjust the length of the muzzle and the shape of the ears to capture the specific personality of the breed.
Common mistakes when drawing a sitting dog
One of the most frequent errors beginners make is failing to account for the weight and gravity of the dog’s posture. If the front legs are drawn too far apart or the haunches are not tucked close enough to the body, the dog will appear to be floating or falling over. Always ensure that the front legs are firmly planted on the ground plane. Another common mistake is ignoring the neck connection; the neck should flow naturally from the chest, not look like a separate shape glued onto the head.
Another issue is inconsistent perspective, where the head is drawn from a different angle than the body. To avoid this, keep your light source consistent throughout the drawing. If the light is coming from the top right, ensure that all shadows on the chest, legs, and muzzle fall on the left side. Taking the time to observe these subtle details will significantly improve the realism and professional quality of your final artwork.
How to add detail and texture to your sketch
Once the basic structure and features are finalized, you can begin adding texture and depth to your drawing. Use cross-hatching or stippling to create shadows in the recessed areas, such as under the chin, between the legs, and along the lower belly. These shadows define the volume of the dog and help it stand out from the background. Avoid over-detailing every individual hair, as this can make the drawing look cluttered and distract from the overall form.
- Refine the outline by using darker, more confident lines to define the silhouette.
- Erase the initial construction lines once you are satisfied with the proportions.
- Add subtle fur texture only at the edges of the body, such as the ears, tail, and chest.
- Use a soft blending stump or your finger to smooth out the transition between light and shadow on the dog's coat.
By focusing on these final touches, you bring the drawing to life, transforming simple shapes into a convincing representation of a sitting dog. Practice these steps consistently to build your confidence and artistic skill.
Key facts
- Start by sketching a large circle for the chest and a smaller circle for the head, connected by two curved lines for the neck.
- A sitting dog’s back legs form a distinct "Z" shape, with the hock joint pointing backward near the ground.
- The front legs should be drawn as two parallel vertical pillars supporting the weight of the chest.
- Keep the tail position low or tucked to emphasize the resting posture of the animal.
- Use simple geometric shapes like ovals and triangles to map out the snout and ears before adding fur texture.
- Focus on the "triangle of stability," ensuring the center of gravity aligns over the hindquarters to make the pose look natural.
The bottom line
Drawing a sitting dog is best achieved by breaking the complex form into simple geometric shapes. By focusing on the "Z" shape of the hind legs and ensuring the center of gravity rests firmly on the ground, you create a believable, stable pose. Always prioritize the underlying skeletal structure over surface details like fur to ensure your proportions remain accurate and your final illustration looks natural.
People also ask
What is the most common mistake when drawing a dog's legs?
Beginners often draw the front and back legs at the same length or angle. Remember that a sitting dog’s back legs are folded tightly, making them appear much shorter and more angular than the straight front legs.
Should I draw the fur before the body structure?
No, always establish the skeletal structure and basic proportions first using simple shapes. Adding fur details too early can obscure the anatomy and lead to a lopsided or distorted figure.
How do I make the dog look like it is actually sitting?
Ensure the bottom of the torso is touching or very close to the ground. If the dog is hovering, it will look like it is floating rather than resting on its haunches.
How should I position the head in a sitting pose?
The head is usually held upright, balancing on the neck. Tilting the head slightly to one side adds personality and breaks up the rigid symmetry of the pose.
Why do my dog drawings look like they have human knees?
This happens when the hind leg joints are drawn bending forward like human knees. Dog hocks actually bend backward, so always double-check your reference photos to ensure the joint orientation is correct.
How do I draw the paws correctly?
Draw the front paws as rounded ovals placed side-by-side. The back paws are often partially hidden behind the front legs or tucked underneath, so you only need to suggest their shape.
This answer was created with the help of AI research tools and reference sources. Spotted an error? Let us know — we correct mistakes quickly. See our editorial policy.