How do you make a candle?
Short answer
Making a candle involves melting wax, securing a wick in a container, and pouring the liquid wax to set. You must monitor temperatures carefully to ensure a smooth finish. By combining fragrance oils and dyes with natural waxes like soy or paraffin, you can create custom candles at home safely.
On this page
What materials are needed to make a candle?
To begin candle making, you need a few essential supplies that ensure safety and quality. The primary component is the wax, which serves as the fuel; soy wax is popular for beginners due to its clean burn and ease of use, while paraffin is often used for its superior scent throw. You will also need a wick, which must be sized correctly for the diameter of your container to prevent tunneling or excessive soot.
Beyond the basics, you will need a heat-resistant container, such as glass jars or metal tins, and a double boiler setup to melt the wax safely. Fragrance oils and candle-specific dyes allow for customization, though you should always check the manufacturer's recommended load percentages. A thermometer is indispensable, as wax temperature significantly impacts how the fragrance binds and how the final candle cures.
- Wax (Soy, beeswax, or paraffin)
- Pre-tabbed wicks
- Fragrance oil (optional)
- Candle dye (optional)
- Heat-resistant container
- Double boiler or melting pitcher
- Thermometer
- Wick centering tool or wooden sticks
How to make a candle step by step
The process begins with preparing your container and wick. Secure the metal tab of the wick to the center of the container bottom using a glue dot or a small amount of melted wax. Keep the wick upright by wrapping the top end around a pencil or using a specialized centering tool balanced across the rim of the jar.
Next, melt your wax in a double boiler until it reaches the manufacturer's recommended temperature, usually between 160°F and 185°F. Remove the wax from the heat and stir in your fragrance oil gently for about two minutes to ensure it fully incorporates. Allow the wax to cool slightly before pouring it slowly into the container to minimize air bubbles. Let the candle sit undisturbed for at least 24 hours to cure, which allows the wax to crystallize properly and improves the overall burn quality.
- Clean and dry your chosen container thoroughly.
- Affix the wick to the center of the container base.
- Melt the wax using a double boiler to avoid direct heat.
- Add fragrance and color when the wax reaches the target temperature.
- Pour the wax slowly into the container.
- Center the wick and allow the candle to cool completely.
Best wax types for beginners
Choosing the right wax is the most critical decision for a new candle maker. Soy wax is widely considered the best option for those just starting out because it is natural, biodegradable, and has a lower melting point, which makes it forgiving to work with. It produces a slow, cool burn that extends the life of your candle, although it may require a longer cure time to achieve a strong scent throw.
Paraffin wax is another common choice, known for its ability to hold a high concentration of fragrance and produce vibrant colors. However, it is a petroleum byproduct and can produce more soot if the wick is not trimmed properly. Beeswax is a premium, natural alternative that burns very cleanly and emits a subtle, honey-like aroma, though it can be more expensive and difficult to scent. Experimenting with these three types will help you understand how different waxes interact with wicks and fragrances.
Why candle tunneling happens
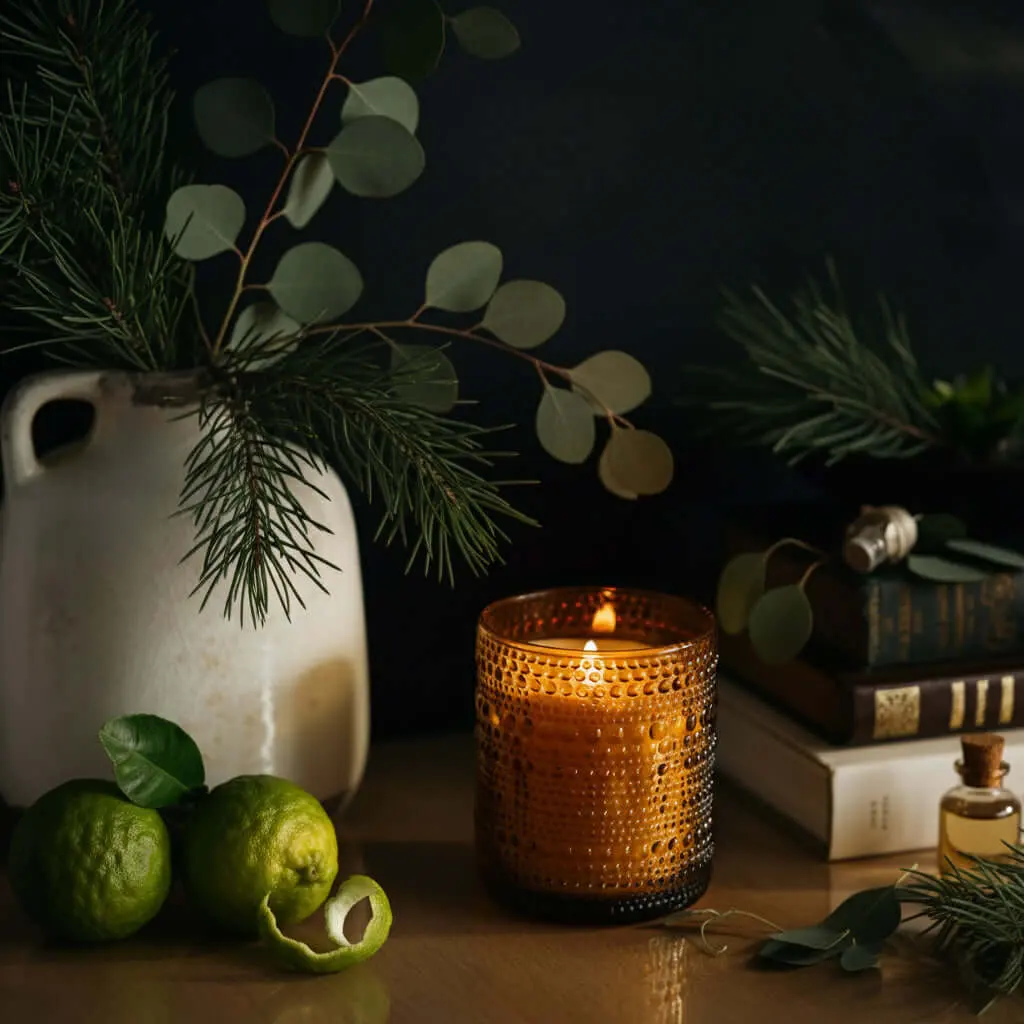
Tunneling occurs when a candle burns straight down the center, leaving a ring of hard, unmelted wax around the edges of the container. This usually happens because the wick is too small for the container's diameter, meaning the flame does not generate enough heat to melt the wax all the way to the sides. It can also be caused by extinguishing the candle too early, before the "melt pool" has reached the edges of the jar.
To prevent tunneling, ensure that your first burn is long enough to create a full melt pool, typically lasting one to two hours. If you notice a tunnel forming, you can often fix it by using a heat gun or a hair dryer to melt the top layer of wax until it is level. Proper wick selection based on the specific diameter of your container remains the most effective long-term solution to ensure an even, consistent burn throughout the life of the candle.
Common mistakes when making candles
One of the most frequent errors is adding fragrance oil when the wax is too hot, which causes the scent to evaporate before it can bind to the wax. Always use a thermometer to ensure you are within the safe temperature range specified by the wax manufacturer. Another common mistake is failing to trim the wick; a wick that is too long will create a large, flickering flame that produces excess smoke and soot, potentially damaging the container or creating a fire hazard.
Additionally, many beginners rush the cooling process by placing the candle in a refrigerator or freezer. Rapid cooling can cause the wax to crack or pull away from the sides of the container, resulting in an unattractive appearance known as "wet spots." Patience is essential in candle making; allowing the wax to cool slowly at room temperature ensures a smooth, professional finish and consistent performance every time you light your creation.
Key facts
- Paraffin, soy, and beeswax are the three most common types of candle wax used today.
- A wick must be centered in the container to ensure an even burn and prevent the glass from overheating.
- Fragrance oils should be added to melted wax at approximately 185°F (85°C) for optimal scent throw.
- Wicks are measured by size; a wick that is too thick will cause excessive soot and a flickering flame.
- Always use a double boiler method to melt wax to prevent the wax from reaching its flash point and igniting.
- Curing candles for at least 48 hours after they have cooled improves the quality of the burn and the fragrance intensity.
The bottom line
Making candles is a precise process that balances chemistry with craft. By selecting the right wax, properly centering your wick, and carefully controlling temperatures during the melting and pouring phases, you can create high-quality results. Always prioritize safety by using a double boiler and allowing your candles to cure fully. With patience and attention to detail, you can master the art of candle making at home.
People also ask
Why is my candle tunneling?
Tunneling occurs when the candle is not burned long enough during the first use to melt the wax to the edges of the container. To fix this, ensure the melt pool reaches the sides of the jar every time you light it.
Can I use crayons to color my candles?
You should avoid using crayons because the pigments can clog the wick and prevent the candle from burning properly. Use specialized liquid or dye chips designed specifically for candle making instead.
How do I calculate how much wax I need?
Fill your chosen container with water, measure the volume, and subtract about 20 percent to account for the space taken by the wick and fragrance. This volume in milliliters roughly equals the weight in grams of the wax needed.
What is the purpose of a wick tab?
A wick tab is the small metal base at the bottom of the wick that keeps it upright and anchored to the bottom of the container. It also acts as a heat sink to prevent the flame from reaching the bottom of the glass.
Is soy wax better than paraffin wax?
Soy wax is a renewable, vegetable-based product that burns cleaner and slower than petroleum-based paraffin. However, paraffin often holds fragrance better and provides a stronger scent throw in large rooms.
How do I remove leftover wax from a jar?
The easiest method is to place the jar in the freezer for a few hours, which causes the wax to shrink and pop out easily. Alternatively, pour boiling water into the jar to melt the residue, then wipe it clean with a paper towel.
This answer was created with the help of AI research tools and reference sources. Spotted an error? Let us know — we correct mistakes quickly. See our editorial policy.