How do you make custom brushes in Photoshop?
Short answer
Creating custom brushes in Adobe Photoshop involves defining a selection or an image as a brush preset. You simply paint or place a high-contrast shape on a canvas, select it, and navigate to the Edit menu to save it. This allows artists to replicate textures, signatures, and complex patterns with one click.
On this page
How to create a custom brush from an image
To turn an existing image or a custom drawing into a brush, begin by opening the file in Photoshop. Ensure the image is in grayscale, as Photoshop interprets black pixels as fully opaque, white as transparent, and gray as varying levels of opacity. If your source image is in color, convert it to grayscale by navigating to Image, then Adjustments, and selecting Desaturate.
Once your image is prepared, use the Rectangular Marquee tool to make a selection around the area you wish to convert. If you want to capture the entire layer, simply press Ctrl+A (Windows) or Command+A (Mac). With the selection active, go to the top menu bar and select Edit, followed by Define Brush Preset. A dialog box will appear, allowing you to name your new tool. Click OK to save it to your current brush library, where it will appear at the bottom of the list.
How to customize brush settings for better performance
After defining your brush, you must fine-tune its behavior using the Brush Settings panel. This panel is essential for controlling how the brush reacts to your mouse or stylus movements. Access it by going to Window and selecting Brush Settings. Here, you can adjust the spacing, which determines how often the brush stamp repeats as you drag it across the canvas.
- Open the Brush Settings panel to view the controls for shape dynamics and scattering.
- Adjust the Spacing slider; lower values create a smooth stroke, while higher values create distinct, separated stamps.
- Enable Shape Dynamics to allow for size and angle jitter, which makes the brush look more organic and less like a digital stamp.
- Use the Transfer setting to control opacity jitter, allowing for pressure-sensitive transparency if you are using a tablet.
Best practices for brush file management
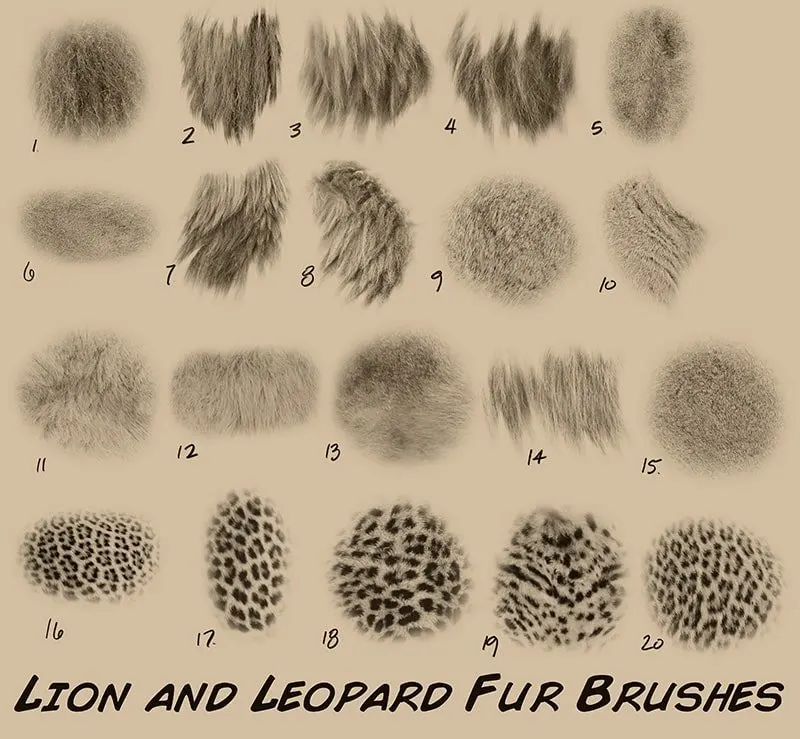
Organizing your custom brushes is vital for maintaining an efficient workflow as your collection grows. Photoshop stores brushes in ABR files, which can be exported and shared across different computers or versions of the software. To export your brushes, open the Brushes panel, click the menu icon in the top-right corner, and select Export Selected Brushes. This saves your custom tools as a single file that can be re-imported later.
It is recommended to group your brushes into logical categories, such as "Textures," "Foliage," or "Calligraphy," to avoid cluttering your workspace. You can create these groups directly within the Brushes panel by clicking the folder icon at the bottom. By naming your groups clearly, you ensure that you can quickly locate specific tools during a project. Regularly backing up these ABR files to a cloud service or external drive prevents the loss of your custom assets if your software settings are reset.
Why brush resolution matters for quality
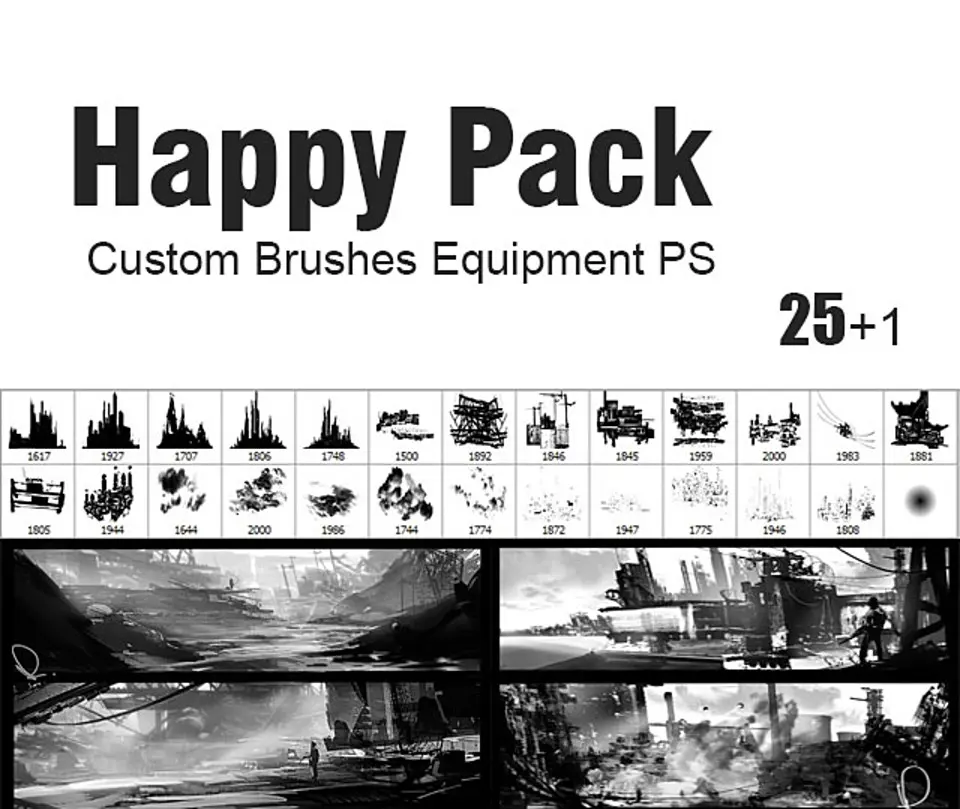
The resolution of your source image directly dictates the maximum size and sharpness of your custom brush. If you create a brush from a small, low-resolution image, scaling it up in the Brush Settings will result in pixelation and blurry edges. For the best results, start with a high-resolution document—ideally at least 1000 by 1000 pixels—when designing your brush shape. This ensures that the brush remains crisp even when used on large-scale canvases or high-DPI displays.
When designing your brush, consider the contrast of your source material. If the edges of your shape are soft or blurry, the resulting brush will produce a fuzzy stroke. Use the Levels or Curves adjustment tools to push your darks to pure black and your background to pure white before defining the brush. This high-contrast approach creates a clean, professional-looking tool that mimics the behavior of traditional media like charcoal, ink, or oil paint.
Common mistakes when making custom brushes
One of the most frequent errors users make is neglecting to clear the selection before defining the brush. If you have an active selection when you go to the Edit menu, Photoshop will only capture the pixels within that boundary, potentially cutting off parts of your design. Always double-check your selection marquee before saving. Another mistake is failing to set the brush dynamics, which often results in a "stamped" look that feels artificial and repetitive rather than fluid and natural.
- Forgetting to reset the brush size to 100% after testing can lead to confusion about the actual scale of your tool.
- Using images with complex, noisy backgrounds will result in unwanted artifacts appearing in your brush strokes.
- Neglecting to save your brush to a specific group makes it difficult to find your custom tools among the default Photoshop presets.
- Failing to test the brush with different pressure settings on a tablet can lead to unexpected results when you finally use it in a professional illustration.
Key facts
- You can turn any selection or image into a brush by going to Edit > Define Brush Preset.
- Brushes are saved as .abr files, which allows you to import and export your custom sets easily.
- High-contrast, black-and-white images work best for brush creation because Photoshop interprets black as opaque and white as transparent.
- The Brush Settings panel (F5) is essential for adjusting spacing, jitter, and scattering to make your brush feel natural.
- A brush's maximum diameter in Photoshop is 5,000 pixels, which is sufficient for most high-resolution canvas work.
- Always save your custom brushes in a dedicated folder or library to prevent losing them during software updates.
The bottom line
Creating custom brushes in Photoshop is a powerful way to personalize your digital toolkit and streamline your creative workflow. By transforming simple shapes, textures, or photographs into reusable presets, you gain total control over your marks. Remember to focus on high-contrast source images and utilize the Brush Settings panel to refine your tool's behavior, ensuring your custom brushes perform exactly as needed for your specific artistic projects.
People also ask
Can I turn a photograph into a custom brush?
Yes, you can convert any photo into a brush by desaturating it and increasing the contrast. Use the Define Brush Preset command to capture the image as a stamp, which works effectively for textures like clouds or foliage.
How do I change the shape of an existing brush?
Open the Brush Settings panel and navigate to the Brush Tip Shape section. Here, you can adjust the roundness, angle, and hardness of the tip to customize how the brush interacts with the canvas.
Why does my custom brush look pixelated?
Pixelation often occurs if the source image used to create the brush was too small or low-resolution. Always create your brushes at the largest possible size to ensure they remain crisp when scaled up.
How do I export my brushes to share with others?
Go to the Brushes panel menu and select Export Selected Brushes. This saves your collection as an .abr file, which can be sent to other users or installed on a different computer.
What is the difference between a brush tip and a brush preset?
A brush tip is the raw image shape, while a brush preset includes the tip plus specific settings like flow, opacity, and texture. Presets save your workflow configurations so you can reuse them consistently.
Can I use erasers as custom brushes?
Yes, any brush tip can be used as an eraser by selecting the Eraser tool and choosing your custom brush from the preset menu. This is useful for creating unique distressed or textured edges.
This answer was created with the help of AI research tools and reference sources. Spotted an error? Let us know — we correct mistakes quickly. See our editorial policy.