How do you paint a fox in watercolor?
Short answer
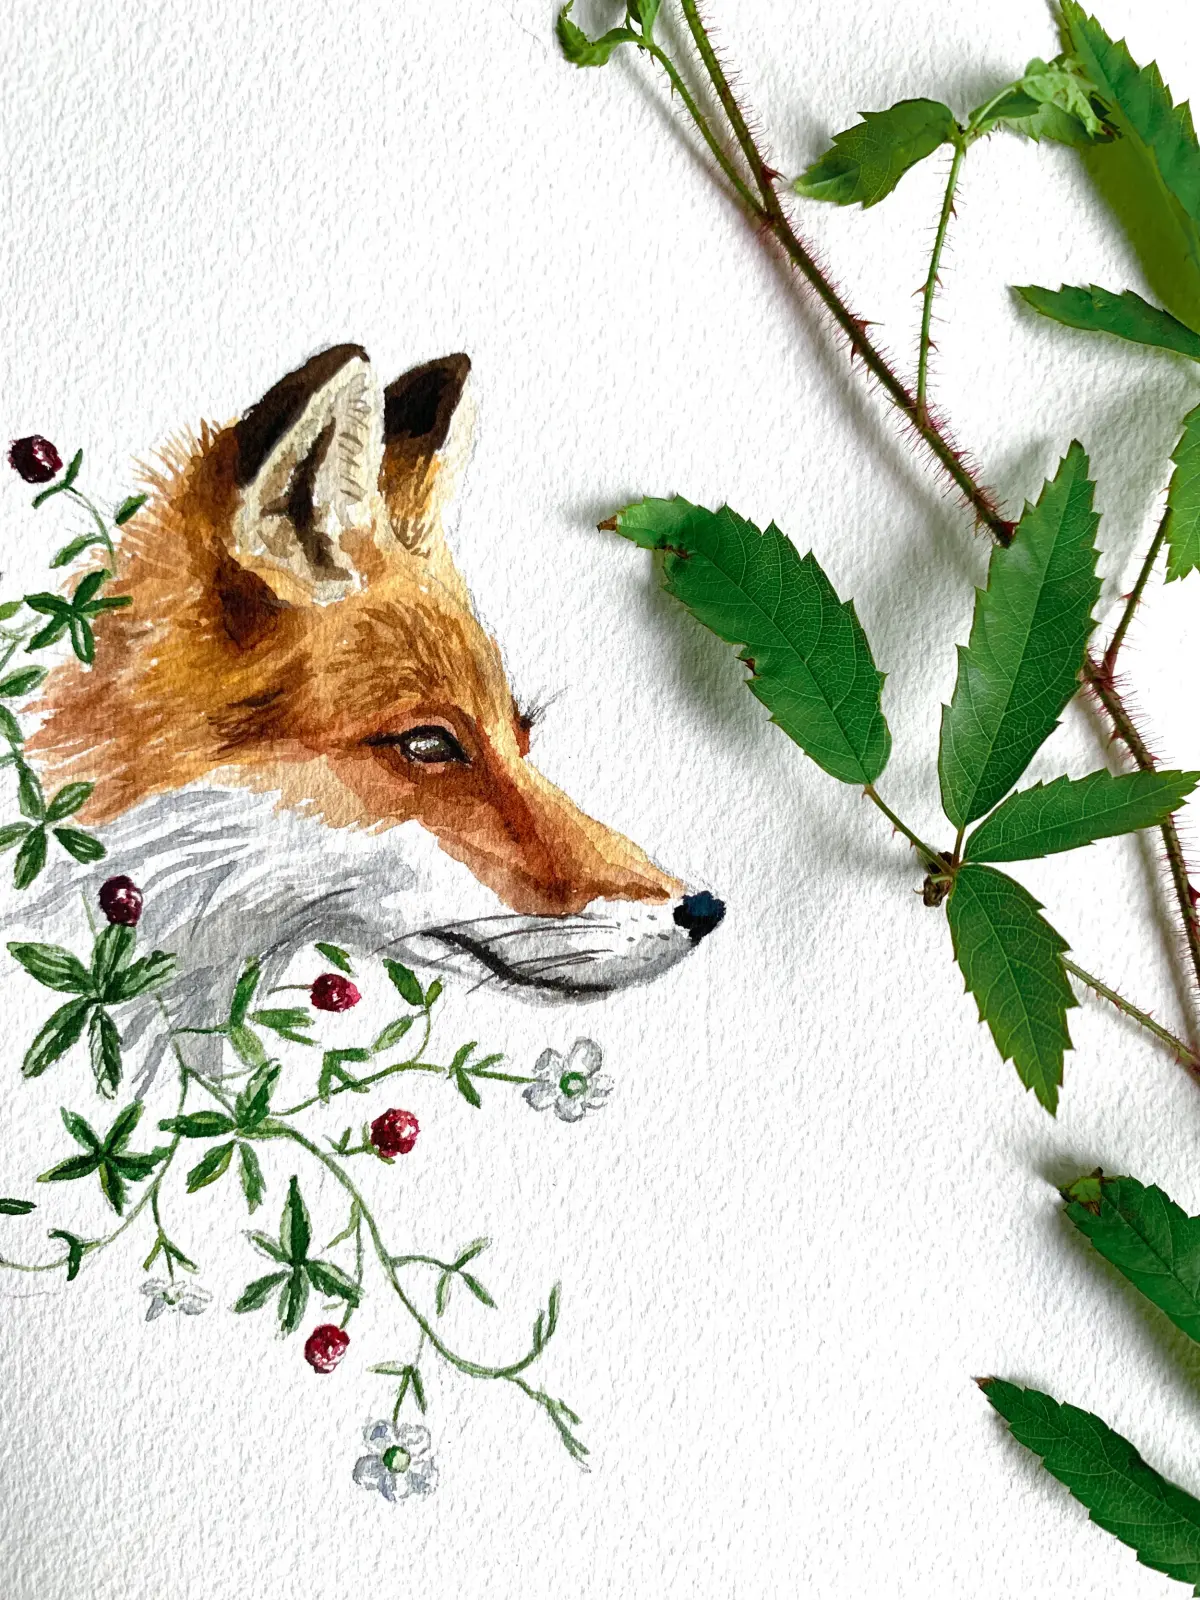
Painting a fox in watercolor requires layering transparent washes to build depth and texture. Begin with light, warm under-washes for the fur, then gradually darken the shadows and define the features. By utilizing wet-on-dry techniques for fine details and wet-on-wet for soft transitions, you can capture the fox’s characteristic, vibrant appearance.
On this page
What supplies do I need for painting a fox?
To achieve professional results, prioritize high-quality materials. Use cold-press watercolor paper, which features a textured surface that holds pigment well and allows for multiple layers. For brushes, select a round size 8 for broad washes and a size 2 or 4 for fine details like whiskers and eyes. Synthetic sable brushes are excellent for beginners because they offer a good balance of durability and water retention.
Your palette should include a range of oranges, reds, and earthy browns to capture the fox’s coat. Essential pigments include:
- Cadmium Orange or Burnt Sienna for the base coat.
- Alizarin Crimson for deeper, shadowed areas.
- Raw Umber or Sepia for the legs and ear tips.
- A high-quality white gouache for adding highlights to the eyes and nose.
- Masking fluid to preserve bright white highlights on the chest or muzzle.
How do I sketch a fox for watercolor?
Before applying paint, create a light, accurate pencil sketch on your watercolor paper. Use a hard lead pencil, such as an H or 2H, to ensure the lines remain faint and do not smear when wet. Focus on the fox’s triangular head, elongated snout, and large, pointed ears. Keep the anatomy simple at first, focusing on the overall posture, such as a sitting or curled-up pose, which is common for foxes.
Follow these steps to prepare your surface:
- Lightly outline the fox's silhouette, paying attention to the proportions of the head to the body.
- Mark the boundaries of the white chest and tail tip, as these areas must remain clean or be masked.
- Use a soft kneaded eraser to lift excess graphite, ensuring your lines are visible but not dark enough to show through the transparent paint.
- If using masking fluid, apply it to the whiskers and eye highlights now, allowing it to dry completely before starting the wash.
How do I layer watercolor for fur texture?
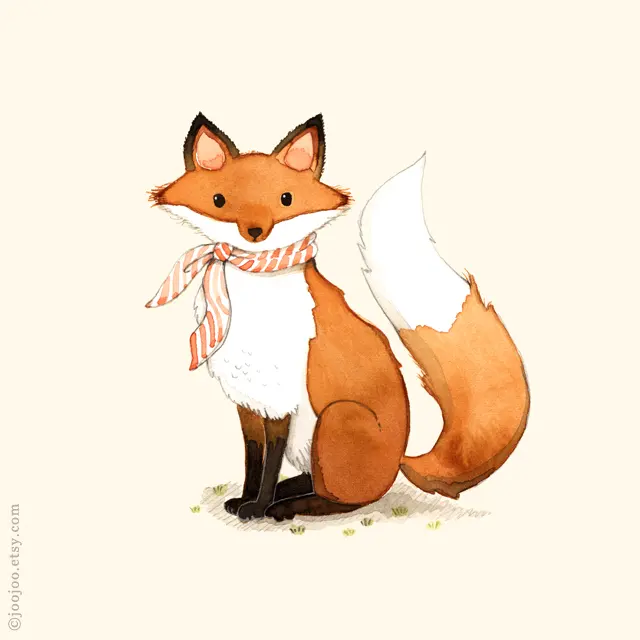
Layering is the key to creating the illusion of realistic fur. Start with a very thin, watery wash of yellow or light orange across the entire body, excluding the white areas. Once this layer is bone-dry, apply darker glazes of Burnt Sienna or orange in the shadowed areas, such as under the neck and along the back. This technique, known as glazing, allows the previous colors to shine through, creating luminosity.
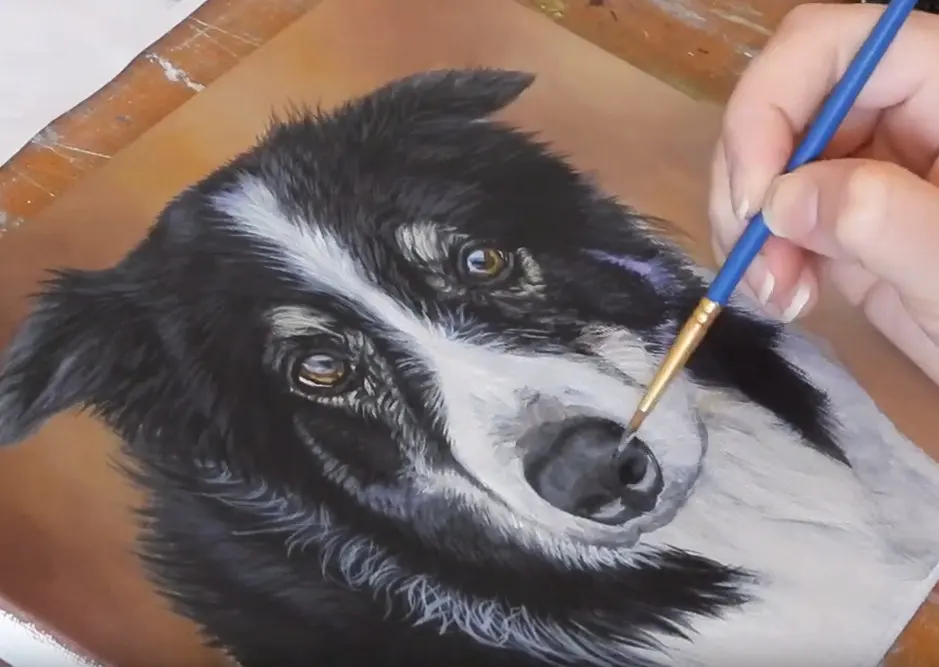
To create the texture of fur, use short, flicking brush strokes with a smaller brush once the base layers are dry. Work from the back of the animal toward the front, overlapping your strokes to mimic the direction of hair growth. Avoid painting every single hair; instead, suggest the texture by varying the density of your strokes. Keep your edges soft in some places by dampening the paper slightly, and keep them crisp in others to define the fox's form.
![VIDEO] How to paint a loose watercolour fox full of vibrant hues](/img/af/how-do-you-paint-a-fox-in-watercolor-3.webp)
How do I paint the fox’s face and eyes?
The face is the focal point of your painting, so it requires the most precision. Begin with the eyes by applying a light wash of yellow or amber, then carefully drop in a darker brown for the pupil while the paint is still damp. Leave a tiny white speck of unpainted paper or reveal your masked area to create the reflection, which gives the animal a lifelike, alert appearance. Use a fine-tipped brush to outline the eye with dark pigment.
For the nose and mouth, use a mix of neutral grey or a deep brown rather than pure black, which can look flat. Paint the nose with a slightly wet-on-wet technique to allow the color to bleed naturally, then add a small highlight once dry. The ears should be painted with a darker, more saturated mix at the tips, fading into the lighter tones of the head. Ensure the transitions between the dark ear tips and the lighter fur are smooth to maintain a natural look.
Common mistakes when painting a fox?
One of the most frequent errors is overworking the paper, which causes the fibers to pill and the colors to become muddy. To avoid this, always wait for each layer to dry completely before adding the next. If you find your colors becoming dull, clean your brush thoroughly and use fresh water. Another common mistake is using too much paint at once, which makes it difficult to control the flow and creates harsh, unwanted edges.
Follow these tips to ensure a clean finish:
- Never scrub the paper with your brush, as this damages the surface texture.
- Test your color mixes on a scrap piece of watercolor paper before applying them to your painting.
- Avoid using pure black for shadows; instead, mix your darks using complementary colors like blue and orange to create a rich, deep hue.
- Do not rush the drying process with a hair dryer on a high heat setting, as this can cause the pigment to shift and create uneven, blotchy results.
Key facts
- Use a round watercolor brush, size 6 or 8, to balance detail work with broader washes.
- Apply the "wet-on-dry" technique for the fox’s sharp fur edges and "wet-on-wet" for soft, blended undercoats.
- Mix burnt sienna and cadmium orange to create the signature vibrant, reddish-brown fur color.
- Reserve white areas of the paper using masking fluid or careful brushwork for the fox’s white chest and tail tip.
- Always paint from the lightest colors to the darkest to maintain luminosity and prevent muddy layers.
- Use a fine-tipped synthetic brush to add individual whisker lines only after the face area is completely dry.
The bottom line
Painting a fox in watercolor requires a balance of vibrant color layering and precise brushwork. By utilizing wet-on-wet techniques for soft fur and wet-on-dry for sharp details, you can achieve a lifelike result. Remember to preserve white highlights, work from light to dark, and use short, directional strokes to capture the animal's texture. With patience and proper paper, you will successfully create a dynamic, expressive wildlife portrait.
People also ask
How do I prevent the orange paint from bleeding into the white chest area?
Use masking fluid to cover the white areas before painting the orange, or leave those sections completely dry and paint around them carefully. Ensure the orange paint is not too watery to prevent it from creeping into unpainted regions.
Should I use cold-press or hot-press watercolor paper for animal portraits?
Cold-press paper is generally preferred because its slight texture helps hold pigment and creates a natural, fur-like appearance. Hot-press paper is smoother and better suited for hyper-realistic detail work with minimal texture.
How can I make the fox’s eyes look realistic and glossy?
Leave a tiny, unpainted white dot on each pupil to represent a light reflection. Once the eye is dry, apply a tiny drop of white gouache to sharpen this highlight.
What is the best way to paint the dark legs of a fox?
Use a concentrated mix of black or dark brown, such as Payne’s gray, and apply it with a steady hand. Wait for the orange body color to dry fully before adding these dark accents to avoid unwanted color mixing.
Why does my watercolor painting look dull after it dries?
Watercolors typically dry about 20 to 30 percent lighter than they appear when wet. Apply your pigments with higher concentration or add a second, darker glaze once the first layer is bone-dry to restore vibrancy.
How do I create the illusion of fur texture?
Use short, flicking brush strokes that follow the direction of the fox’s muscle and bone structure. Avoid long, continuous lines, as short, varied strokes mimic the overlapping nature of animal hair.
This answer was created with the help of AI research tools and reference sources. Spotted an error? Let us know — we correct mistakes quickly. See our editorial policy.