How do you paint a hummingbird in watercolor?
Short answer
Painting a hummingbird in watercolor requires layering transparent washes to build vibrant, iridescent plumage. Begin by sketching the bird’s aerodynamic shape, then focus on wet-on-wet techniques for soft feathers and precise, dry-brush strokes for the wings. Manage moisture carefully to maintain luminosity and capture the bird’s characteristic speed and delicate, jewel-like color palette.
On this page
What supplies are needed for hummingbird watercolor painting?
To capture the delicate nature of a hummingbird, you must select high-quality materials that allow for both soft blending and sharp detail. Use 140-pound (300 gsm) cold-press watercolor paper, as its slight texture helps hold pigment while allowing for smooth washes. Professional-grade paints are essential because they contain higher pigment loads, which are necessary for achieving the intense, saturated colors found in hummingbird feathers.
For brushes, you need a variety of sizes to handle different areas of the bird. A round brush in size 6 or 8 is ideal for the body, while a size 1 or 2 detail brush is crucial for the beak, eyes, and individual wing feathers. Always keep two jars of water nearby: one for rinsing dirty brushes and one for clean water to ensure your colors remain vibrant and free of muddy streaks.
- 140lb cold-press watercolor paper
- Professional-grade watercolor paints
- Round brushes (sizes 8, 4, 1)
- Two water containers
- Masking fluid for highlights
- Paper towels for moisture control
How to sketch a hummingbird for watercolor?
The hummingbird’s anatomy is defined by its streamlined, torpedo-shaped body and long, needle-like beak. Start your sketch by drawing a simple oval for the torso and a smaller circle for the head, connecting them with a gentle curve for the neck. Keep your lines very light, as heavy graphite can smear when wet paint is applied, potentially ruining the clarity of your light-colored highlights.
Focus on the angle of the wings, which are typically positioned in a figure-eight motion during flight. Use light, gestural marks to indicate the wing span rather than drawing every individual feather at this stage. Once the basic proportions are correct, use a kneaded eraser to lift excess graphite until the lines are barely visible. This ensures that the delicate watercolor layers remain clean and transparent, allowing the paper’s white surface to act as the brightest light source.
- Draw a horizontal oval for the chest and body.
- Add a small circle for the head and a straight line for the beak.
- Sketch the wing arcs, keeping them slightly blurred to imply motion.
- Lightly erase the graphite until lines are faint.
- Apply masking fluid to the eye and the brightest chest feathers.
How to layer colors for iridescent feathers?
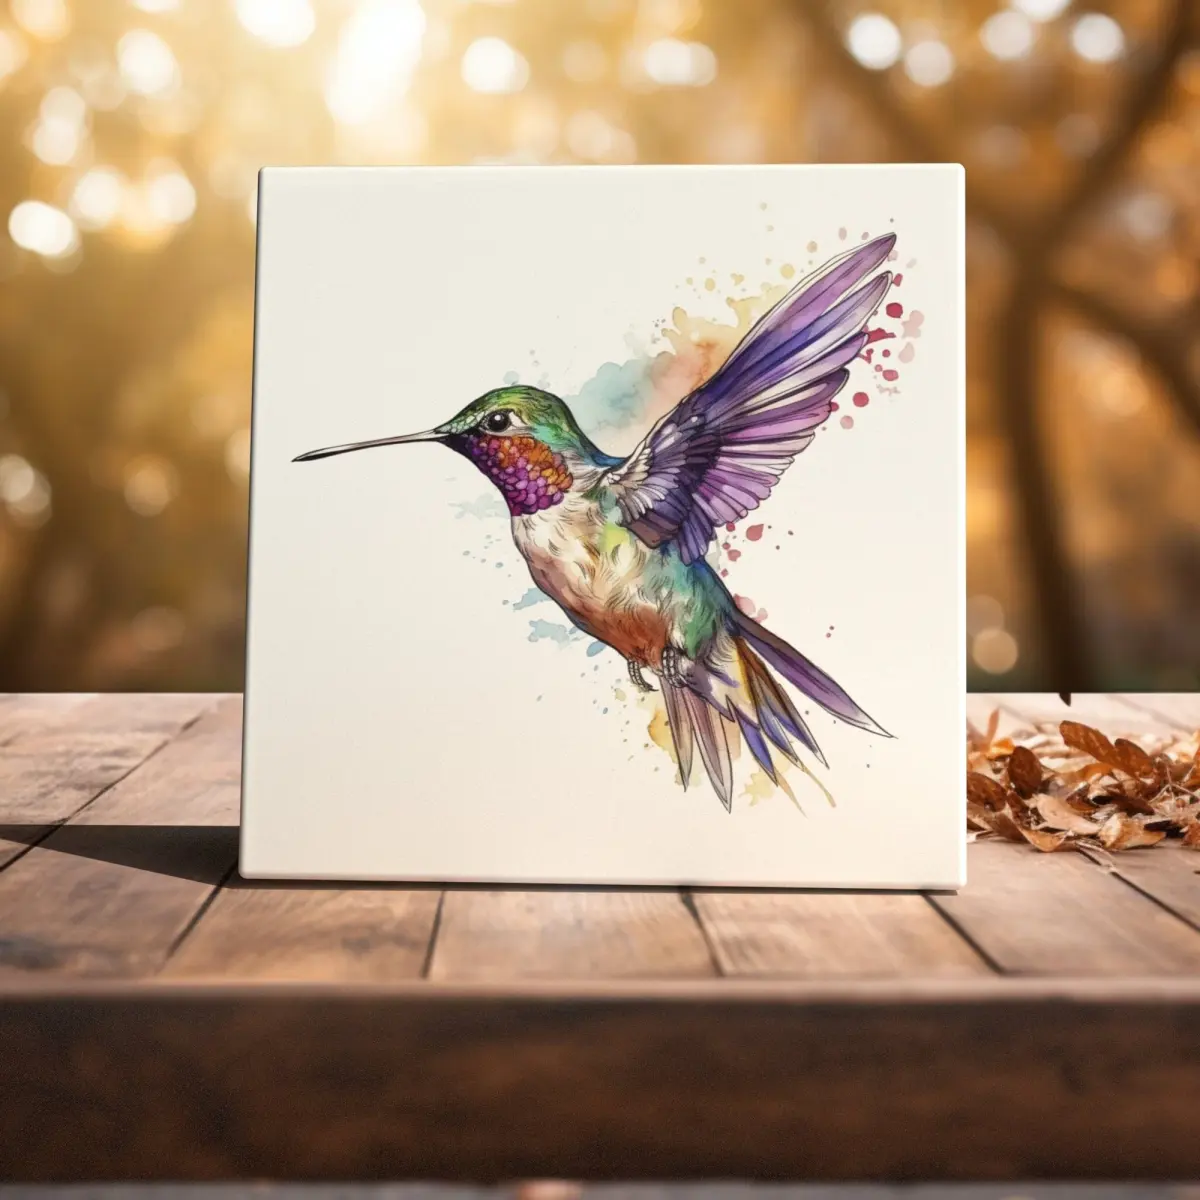
Hummingbirds are famous for their iridescent, shifting colors, which require a layering technique known as glazing. Begin by applying a very pale, watery wash of your base color, such as a light lime green or soft blue. Once this layer is completely dry, apply a second, more concentrated wash of a different hue, like a deep emerald or violet. This optical mixing creates the illusion of depth and shimmering light that characterizes the species.
Avoid over-mixing your colors on the palette, as this often leads to dull, brownish tones. Instead, let the colors blend directly on the paper by dropping pigment into a damp wash. If you want to create a metallic sheen, use a damp brush to lift small amounts of paint from the center of the feathers, revealing the lighter color underneath. This subtractive method adds the necessary sparkle to the throat, known as the gorget, which is the most vibrant part of the bird.
How to paint wings and motion?
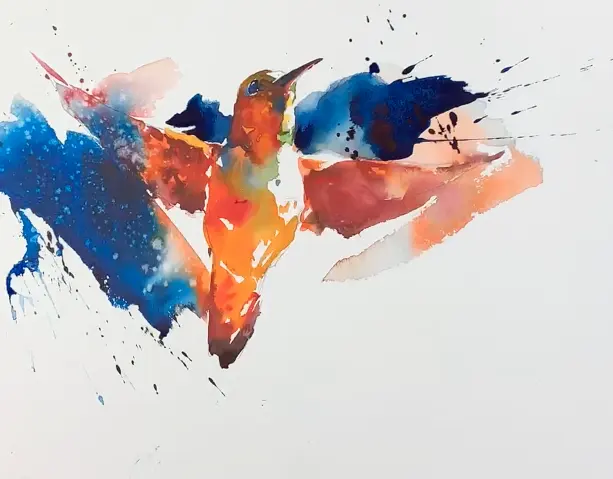
Capturing the rapid movement of wings is the most challenging part of painting a hummingbird. To achieve a sense of blur, use the wet-on-wet technique by dampening the wing area with clean water before dropping in a mixture of gray, blue, and a touch of iridescent pigment. As the paint spreads into the damp paper, it creates soft, feathered edges that suggest high-speed motion without needing sharp, defined lines.
After the base layer of the wing is dry, use a dry-brush technique to add a few sharper, darker strokes near the wing joints. This contrast between the blurry, soft edges and the crisp, dark details tricks the eye into seeing movement. Be careful not to overwork the wings; a few well-placed, confident strokes are far more effective at conveying speed than a dense, overworked mess of paint. Always work from the lightest values to the darkest to maintain the transparency of the wing structure.
Common mistakes when painting hummingbirds?
One of the most frequent errors is using too much water, which causes the colors to bleed uncontrollably and lose their shape. If your paper is too saturated, the pigment will pool in unwanted areas, creating "cauliflower" blooms that look messy. Always touch your brush to a paper towel before applying it to the paper to control the moisture content. Another common mistake is failing to preserve the white of the paper for highlights.
Beginners often try to paint white highlights with opaque white paint, which looks flat and chalky compared to the natural glow of the paper. Use masking fluid or simply paint around the areas you want to keep bright. Finally, avoid using black paint for shadows. Instead, mix complementary colors like burnt sienna and ultramarine blue to create a rich, chromatic gray. This adds much more life and depth to your hummingbird than a flat, dead black ever could.
Key facts
- Use high-quality 140lb (300gsm) cold-press watercolor paper to prevent buckling when applying multiple layers of wet paint.
- Employ small, round synthetic brushes, specifically sizes 0, 2, and 4, to maintain control over the bird's delicate feathers and beak.
- Reserve the brightest white highlights by using masking fluid or carefully painting around the eye and throat patch before applying color.
- Work from light to dark, starting with pale washes for the underbelly and gradually layering deeper, more saturated pigments for the wings.
- Use a wet-on-dry technique for the feathers to ensure crisp edges, while using wet-on-wet for soft, iridescent color transitions on the neck.
- Keep a clean paper towel nearby to lift excess pigment immediately if you make a mistake or need to soften a harsh edge.
The bottom line
Painting a hummingbird in watercolor requires patience, precision, and a focus on layering transparent pigments. By starting with light washes and gradually building depth, you can capture the bird's iridescent quality and delicate anatomy. Remember to preserve your white highlights early and use a steady hand for fine details. With practice, you will master the balance between soft, blended transitions and sharp, defined feather edges.
People also ask
What is the best way to achieve the iridescent look of hummingbird feathers?
Layer thin, transparent glazes of complementary colors like blue and green rather than mixing them into a muddy brown. Allow each layer to dry completely before applying the next to maintain luminosity.
How do I paint the long, thin beak without it looking shaky?
Use a rigger or liner brush and hold it further back from the ferrule to allow for a fluid, confident stroke. Brace your hand against the edge of the table to stabilize your movement.
Should I use a reference photo when painting hummingbirds?
Yes, a clear reference photo is essential for capturing the complex anatomy and wing positions. Hummingbirds move quickly, so a still image helps you understand the feather structure and light direction.
Can I use opaque white paint for the highlights?
While gouache or white ink can be used for final details, it is better to preserve the white of the paper. Opaque paint often looks chalky and lacks the natural glow of the paper surface.
How do I prevent the colors from bleeding into each other?
Ensure your paper is fully dry between color applications, especially when painting adjacent areas with contrasting hues. You can use a hair dryer on a low, cool setting to speed up the drying process.
What are the most common mistakes beginners make?
Beginners often overwork the paint, leading to muddy colors and damaged paper fibers. Another common error is using too much water, which causes the pigment to lose its vibrancy and control.
This answer was created with the help of AI research tools and reference sources. Spotted an error? Let us know — we correct mistakes quickly. See our editorial policy.