How do you paint trees with watercolor?
Short answer
Painting trees in watercolor requires layering from light to dark values. Start by establishing the trunk and main branches, then build the foliage using varied brushstrokes. Focus on capturing the light source to create depth. By controlling water-to-pigment ratios and using negative space, you can achieve realistic, textured, and expressive tree forms.
On this page
How to paint tree trunks and branches
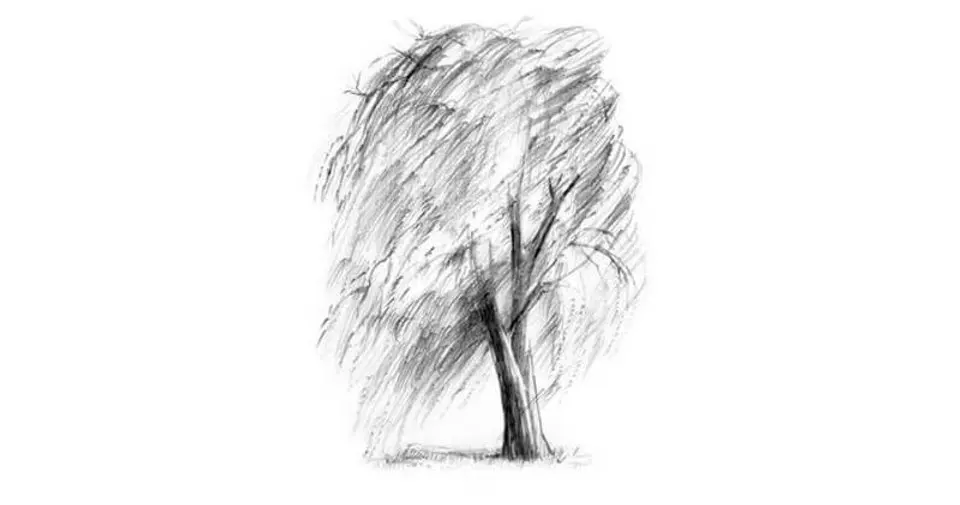
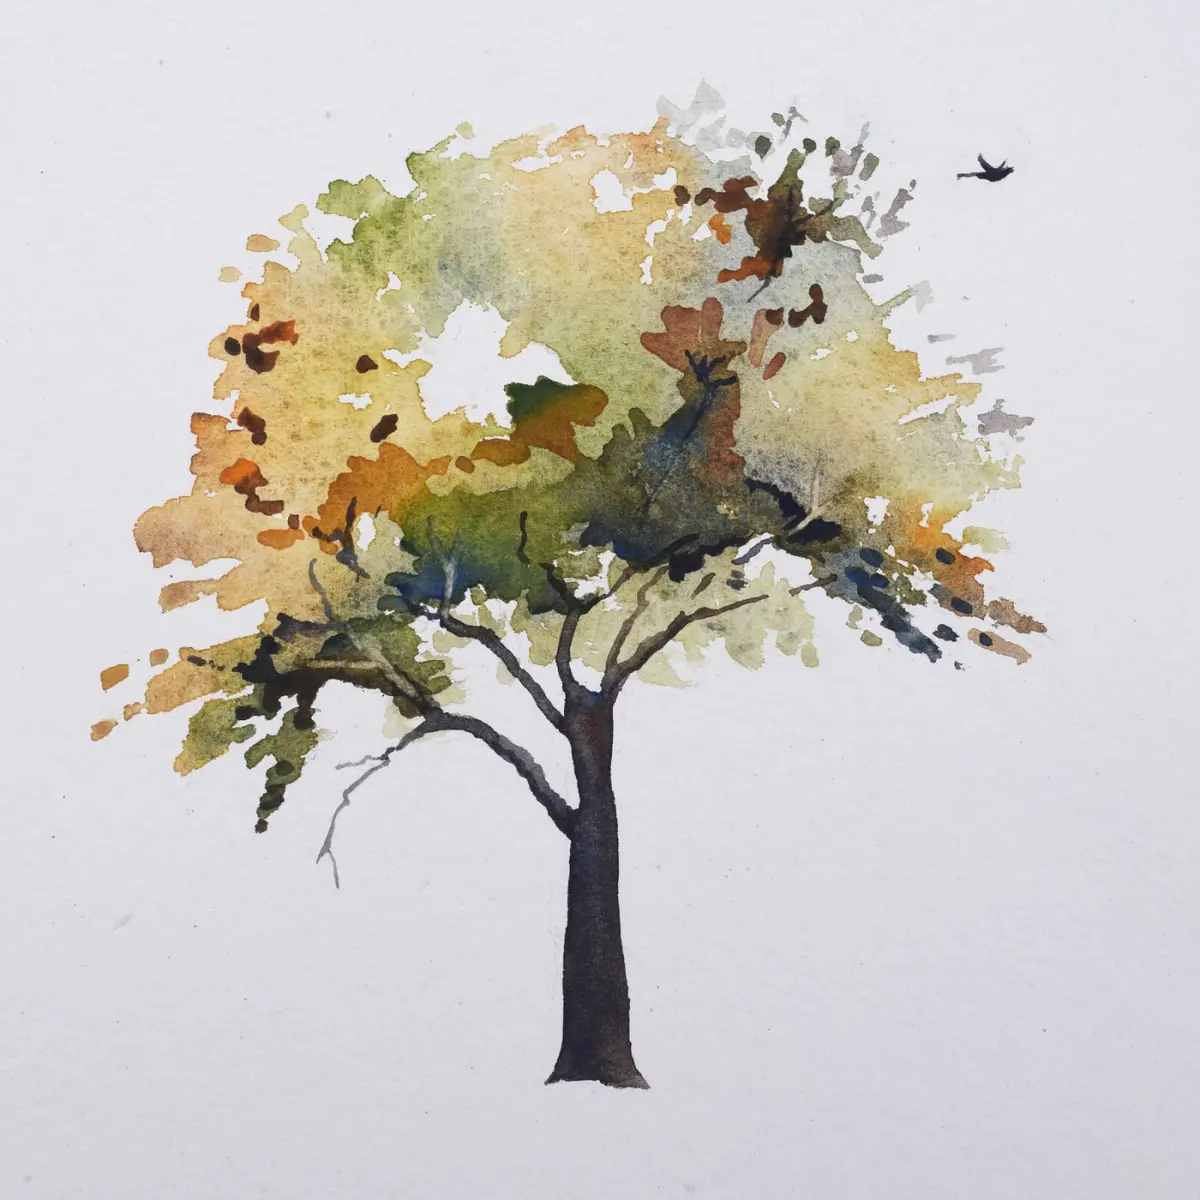
The structure of a tree begins with the trunk, which serves as the anchor for the entire composition. Use a round brush to apply a light wash for the initial shape, ensuring you leave room for highlights where light hits the bark. As you move toward the top of the tree, taper your brushstrokes to create thinner, more delicate branches that reach outward.
When painting branches, avoid perfectly symmetrical lines, as natural trees grow in irregular, organic patterns. Use a "dry brush" technique by removing excess water from your bristles to create a rough, textured effect that mimics the appearance of bark. If you are painting a deciduous tree, focus on the "V" shapes created where branches split. To add depth, apply a darker pigment to the side of the trunk opposite your light source, creating a subtle shadow that gives the tree a three-dimensional appearance.
Best watercolor techniques for foliage
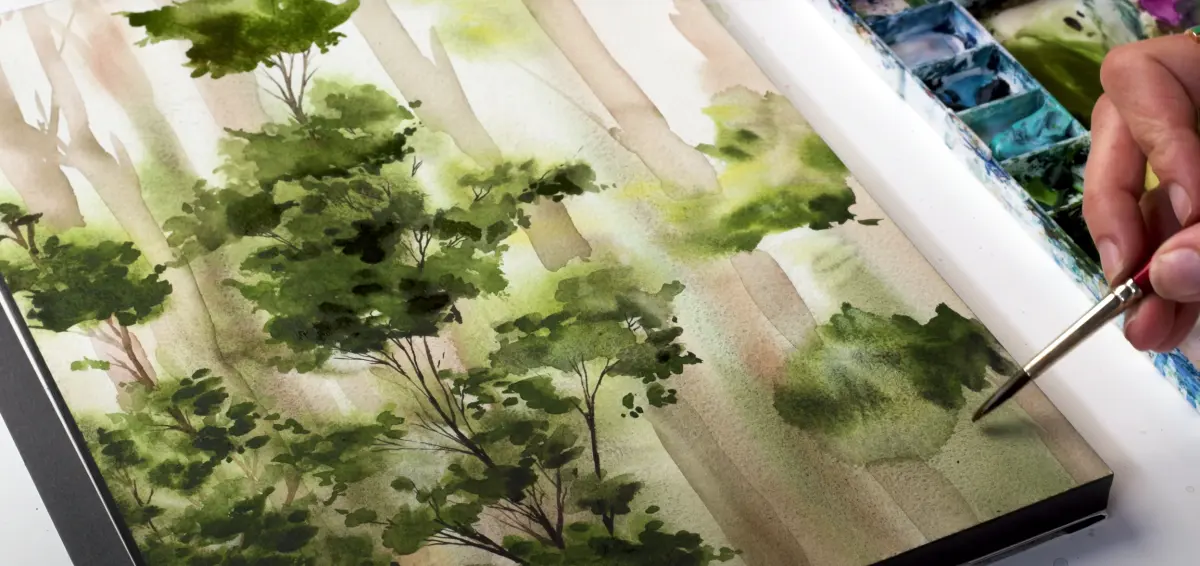
Foliage is best rendered by focusing on clusters rather than individual leaves. Instead of painting every leaf, use a stippling technique with a small round brush or a sea sponge to suggest the mass of the canopy. Start with a light green wash to establish the base color, then layer darker, more concentrated pigments into the shaded areas underneath the clusters.
- Mix a variety of greens by combining yellows, blues, and earth tones like burnt sienna to avoid a flat, artificial look.
- Allow the first layer of paint to dry slightly before adding darker accents to prevent the colors from bleeding into one another.
- Use a "wet-on-dry" approach to define the edges of the foliage clusters, which helps maintain the crispness of the tree's silhouette.
- Leave small gaps of white paper between clusters to represent light filtering through the leaves, which adds significant visual interest.
How to create depth in watercolor trees
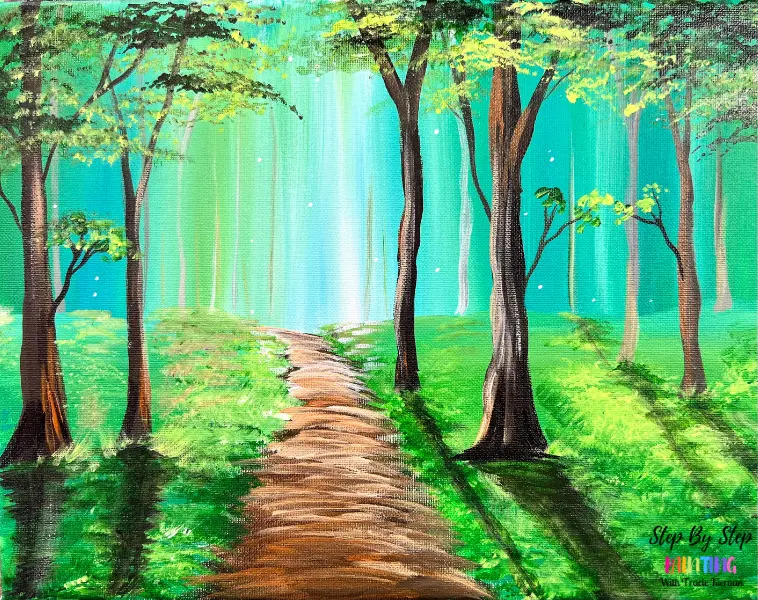
Creating depth requires a clear understanding of atmospheric perspective. Trees in the foreground should feature high-contrast colors, sharp edges, and detailed textures. In contrast, trees positioned further back in the landscape should be painted with cooler, desaturated colors and softer, blurred edges. By reducing the intensity of your pigments as you paint trees further into the distance, you naturally lead the viewer's eye through the painting.
Another effective way to build depth is through the use of overlapping layers. Paint the trees that are furthest away first, and then layer the closer trees on top once the background is dry. This layering process creates a sense of space and complexity within the forest or landscape. Remember that the lightest parts of the tree should always be established early, as watercolor is a transparent medium that relies on the white of the paper to provide luminosity.
Common mistakes when painting trees
One of the most frequent errors is over-detailing the leaves, which can make a tree look cluttered or stiff. Beginners often attempt to paint every single leaf, which distracts from the overall form and light quality of the tree. Instead, focus on the general shape of the canopy and use varying brush pressures to suggest detail. Another common mistake is using a single shade of green for the entire tree, which results in a flat, cartoonish appearance.
- Avoid using too much water when adding dark shadows, as this can cause "blooms" or "cauliflowers" that ruin the texture of the bark or leaves.
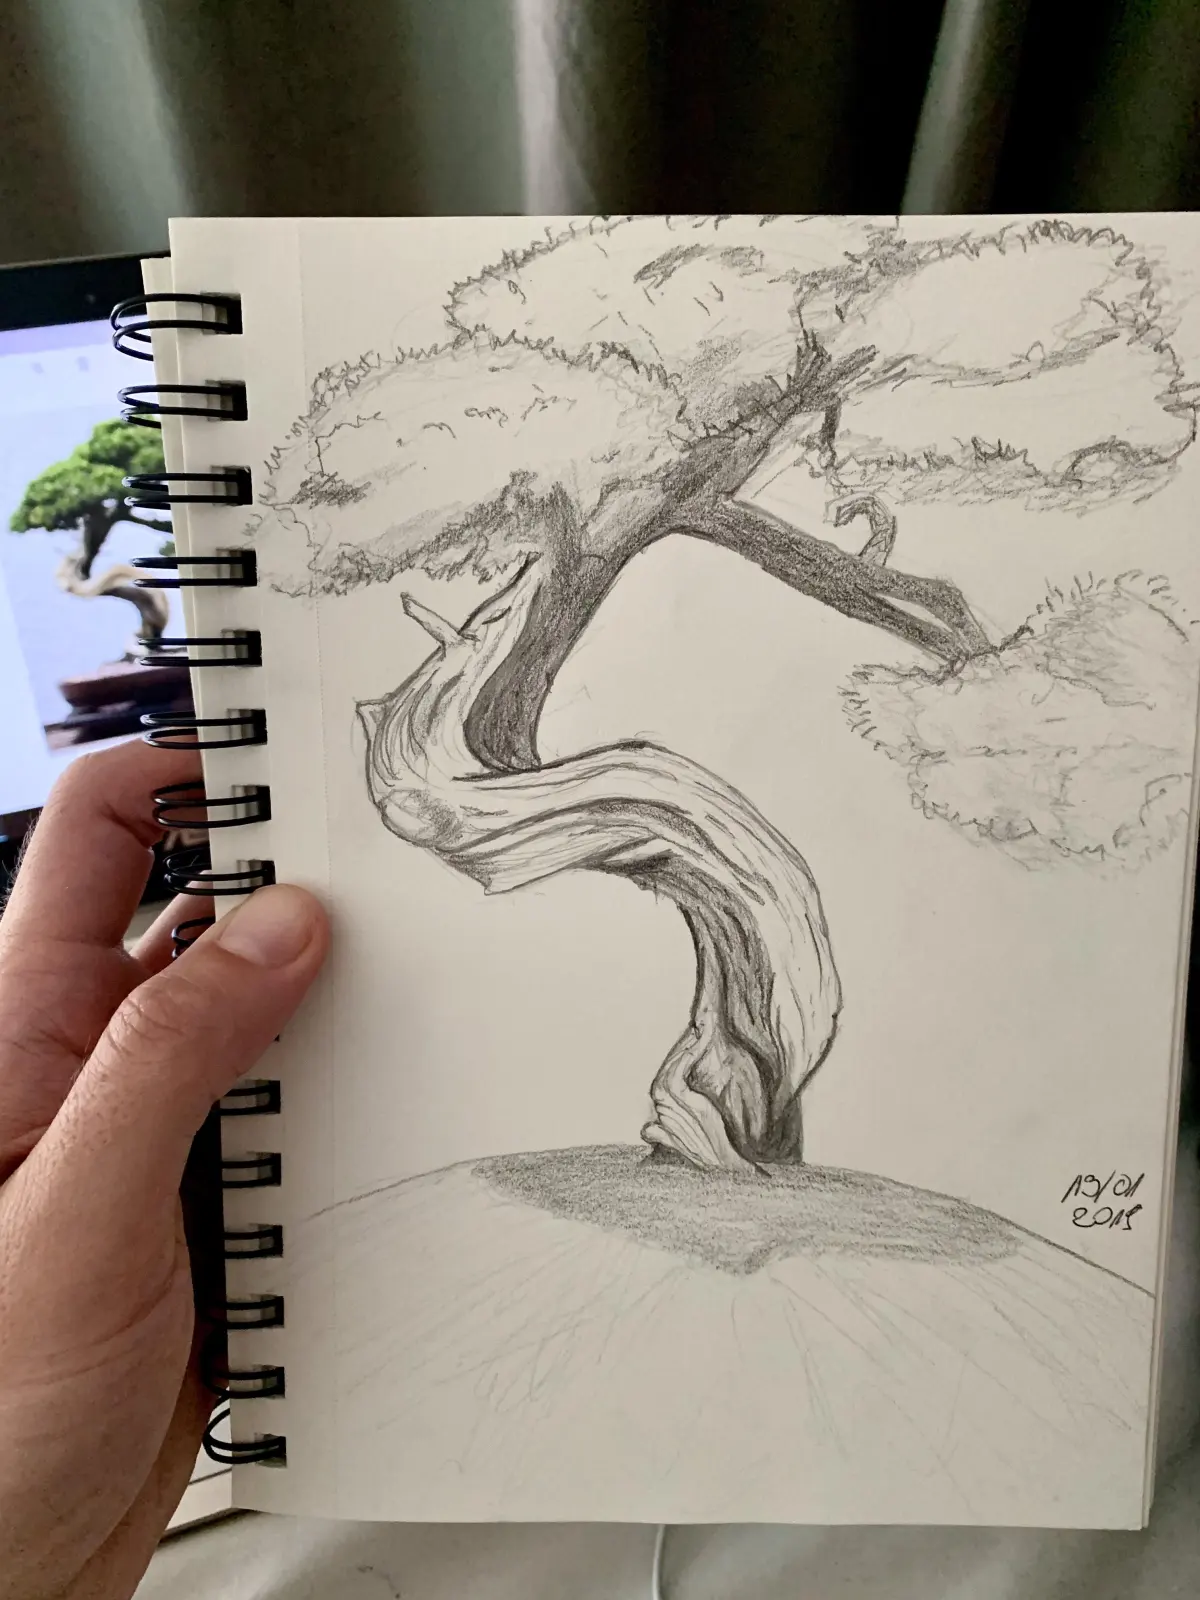
- Do not make your branches perfectly straight; trees are subject to wind and gravity, so include slight curves and bends.
- Refrain from outlining the tree with a dark pen or heavy brushstroke, as this separates the tree from the atmosphere of the painting.
- Ensure your paint consistency is thick enough to cover the paper; if the paint is too thin, the tree will lack the necessary weight to feel grounded.
What supplies are needed for beginners
For those just starting, a limited palette is often more effective than a large set of colors. You only need a few high-quality pigments, such as ultramarine blue, cadmium yellow, and burnt sienna, to mix a wide spectrum of natural greens. A round brush in sizes 4 and 8 will handle both the fine details of the branches and the larger massing of the foliage. Use cold-press watercolor paper, which has a slight texture that helps hold the pigment and creates a more organic finish.
- Select a professional-grade paper with a weight of at least 140lb (300gsm) to prevent buckling when applying water.
- Keep two jars of water on your desk: one for rinsing dirty brushes and one for picking up clean water to mix new colors.
- Use a palette with deep wells to allow for mixing larger pools of paint, which ensures you have enough color to finish a section without stopping.
- Keep a paper towel or a clean cloth nearby to dab your brush, which is essential for controlling the moisture levels required for dry brush effects.
Key facts
- Use a round brush with a fine point to create varied line thickness for branches and foliage.
- Start with the lightest colors, such as pale yellow-greens, before layering darker tones for depth.
- Leave small patches of white paper visible to represent light reflecting off leaves.
- Use a "wet-on-wet" technique for soft, distant trees and "wet-on-dry" for sharp, foreground details.
- Vary the pressure on your brush to create natural, tapering branches that get thinner toward the tips.
- Mix complementary colors like red or purple into your greens to create more realistic, muted shadows.
The bottom line
Painting trees in watercolor requires a balance of structure and organic spontaneity. By layering colors from light to dark and utilizing different brush techniques, you can capture the complex textures of bark and foliage. Remember to prioritize negative space and varying color temperatures to create depth. With practice, these fundamental steps will allow you to render diverse tree species with confidence and artistic flair.
People also ask
Should I paint the trunk or the leaves first?
It is generally best to paint the trunk and main branches first to establish the tree's structure. Once the base is dry, you can layer the foliage over or around the branches to create a sense of depth.
How do I make foliage look realistic instead of like blobs?
Use a stippling technique by dabbing the tip of your brush to create individual leaf shapes. Avoid painting solid, uniform shapes, and instead focus on creating clusters with irregular edges and varied colors.
What is the best way to paint pine trees?
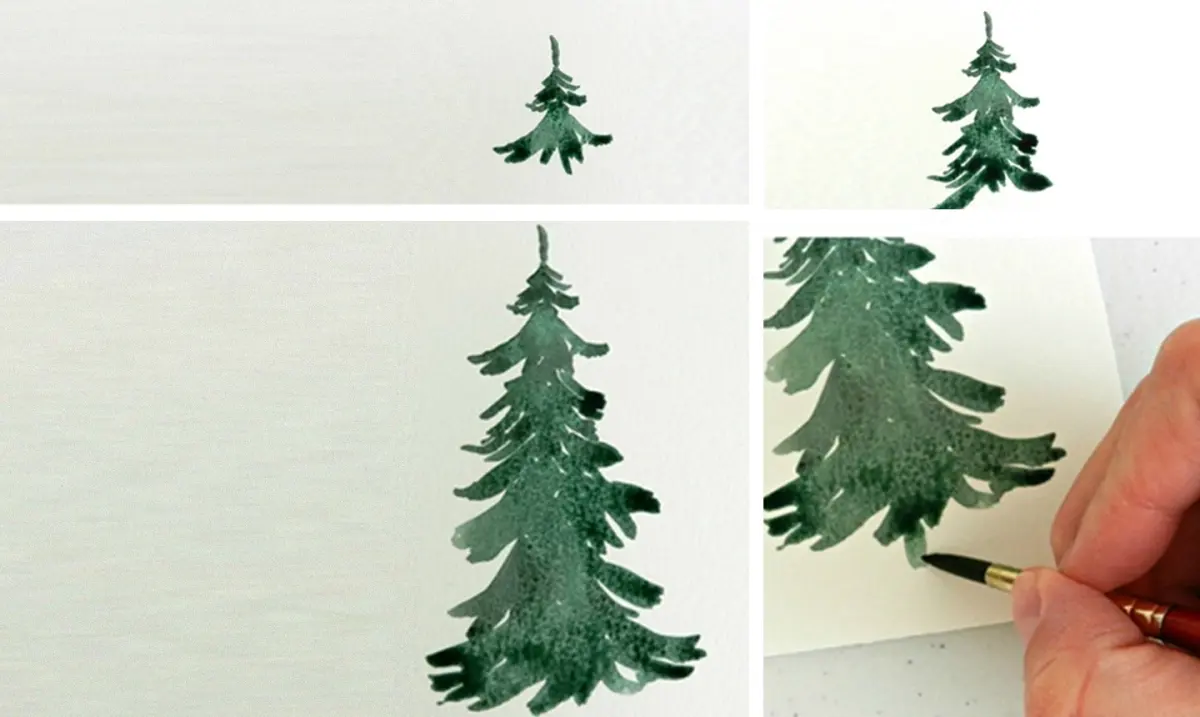
Paint a central vertical line to act as a guide for the trunk. Use horizontal, zigzag strokes with a dry brush to create the characteristic tiered, needle-covered branches, starting small at the top and getting wider toward the base.
How do I fix a tree that looks too dark?
If the paint is still damp, use a clean, slightly damp brush or a paper towel to lift the pigment. If the paint is dry, you can try gently scrubbing with a stiff brush and water, though this may damage the paper surface.
What paper works best for watercolor trees?
Cold-press watercolor paper with a 140-pound (300 gsm) weight is ideal. Its textured surface holds pigment well and allows for the layering required to build realistic foliage and bark textures.
How do I create a sense of distance in a forest scene?
Paint distant trees with cooler, paler, and less detailed colors. Keep the foreground trees darker, warmer, and more defined to create atmospheric perspective that draws the viewer's eye into the painting.
This answer was created with the help of AI research tools and reference sources. Spotted an error? Let us know — we correct mistakes quickly. See our editorial policy.