How do you paint a forest with acrylic paint?
Short answer
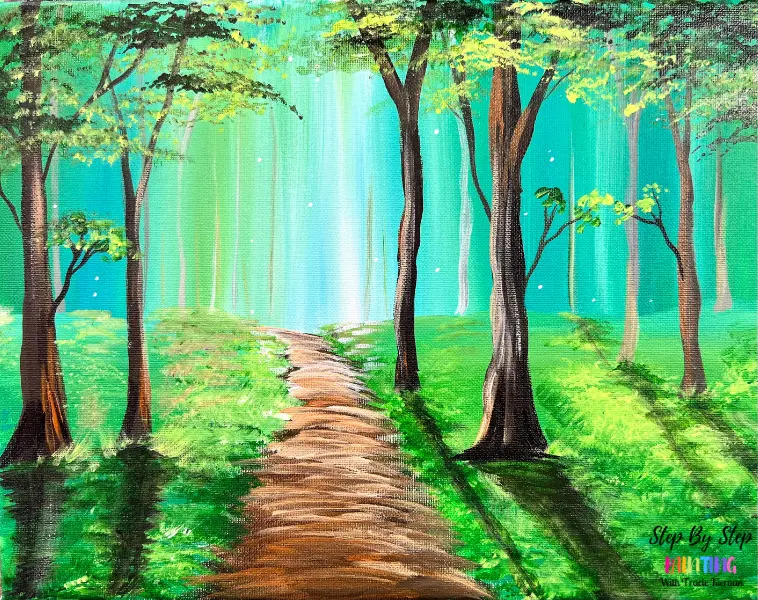
Painting a forest with acrylics requires layering from the background to the foreground. Begin by establishing atmospheric depth with muted, light colors, then add mid-ground trees with increasing detail. Finally, apply high-contrast highlights and dark shadows to the foreground trees to create a sense of scale, texture, and immersive forest depth.
On this page
How to prepare the canvas for a forest scene
Before applying paint, prepare your surface to manage the fast-drying nature of acrylics. Start by applying a layer of gesso to your canvas, which creates a smooth, non-porous barrier that prevents the paint from soaking into the fabric. Once dry, tone the canvas with a thin, neutral wash of burnt sienna or raw umber. This mid-tone base eliminates stark white gaps, making it easier to judge the true value of your colors as you build the composition.
Organize your workspace with a limited palette to ensure color harmony. For a natural forest look, select a cool blue, a warm yellow, and a deep red, along with titanium white and burnt umber. By mixing your own greens, you avoid the artificial, neon appearance of tube greens. Use a stay-wet palette or a spray bottle filled with water to keep your acrylics workable for longer periods, as the quick drying time is the most common hurdle for beginners.
How to paint atmospheric background layers
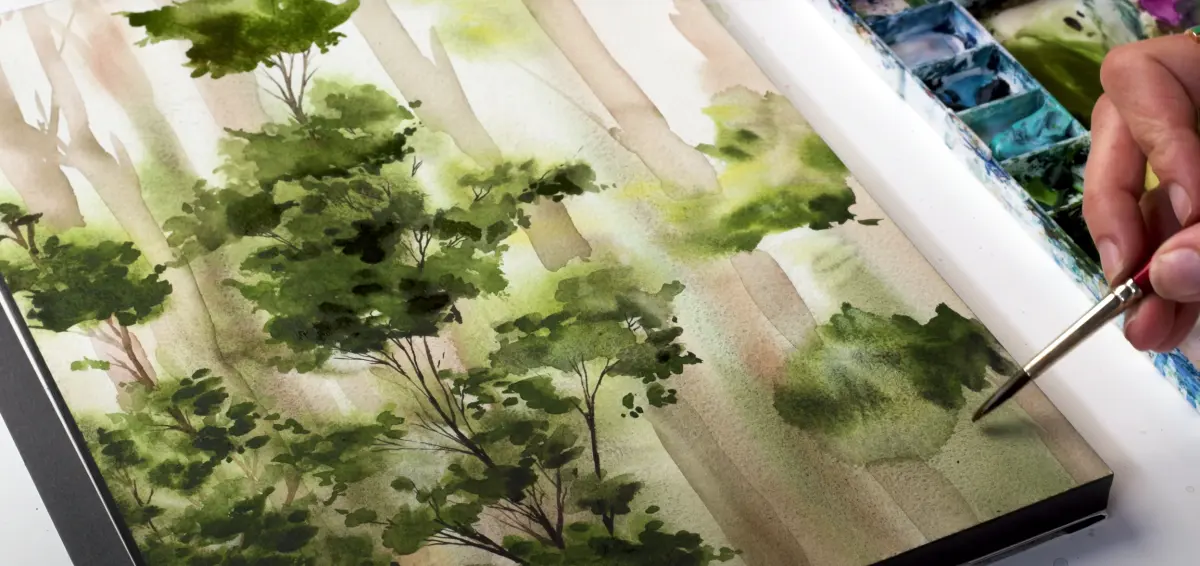
The secret to a realistic forest is atmospheric perspective, which dictates that distant objects appear lighter, cooler, and less detailed. Begin by painting the furthest trees using a mixture of your blue and a touch of white or light gray. Keep these shapes soft and indistinct, as they represent the forest edge fading into the horizon. Avoid using black for these distant elements, as it creates a muddy, flat look that kills the illusion of depth.
Focus on layering these distant shapes before moving forward. As you progress toward the mid-ground, gradually increase the saturation and contrast of your colors. You can achieve this by adding more yellow to your greens or deepening the shadows with a bit of burnt umber. Keep the edges of these mid-ground trees slightly softer than those in the foreground to maintain a natural transition.
- Mix a very pale, cool blue-gray for the furthest trees.
- Apply thin, vertical strokes to suggest tree trunks.
- Use a dry brush technique to lightly suggest foliage shapes.
- Allow each layer to dry completely before adding overlapping branches.
Best techniques for painting realistic tree trunks
Tree trunks serve as the structural pillars of your forest composition. Start by blocking in the general shape of the trunks using a flat brush and a dark, earthy tone. Once the base layer is dry, use a smaller round brush to add texture and highlights. Acrylic paint is excellent for layering, so use a "scumbling" technique—dragging a semi-dry, lighter-colored brush over the textured surface—to mimic the rough bark of trees like pines or oaks.
Pay close attention to the light source when highlighting your trunks. If the sun is hitting the forest from the left, ensure the highlights on every tree are consistently placed on the left side. Add deep shadows on the opposite side using a mixture of burnt umber and blue. This consistent lighting is what transforms a flat, cartoonish painting into a three-dimensional, believable forest scene that draws the viewer's eye into the depth of the woods.
Common mistakes when painting forest foliage
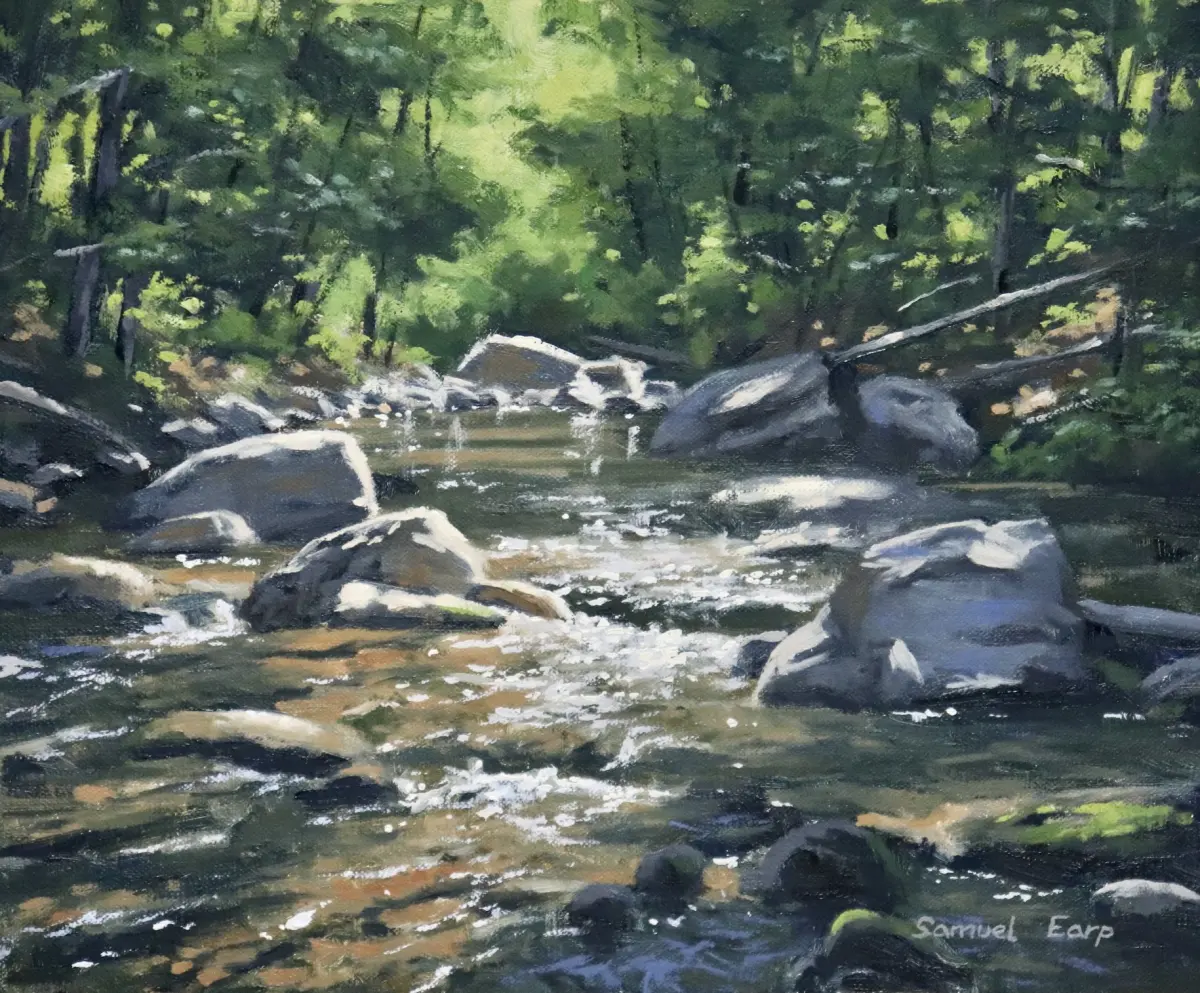
Many beginners make the mistake of painting every individual leaf, which results in a cluttered and overwhelming image. Instead, focus on painting "clumps" of foliage. Treat the canopy as large, interconnected shapes of light and shadow rather than a collection of separate leaves. Use a fan brush or a stippling sponge to suggest the texture of leaves, dabbing the paint on lightly to create a sense of volume and density within the branches.
Another frequent error is using a uniform color for all foliage. A real forest contains a vast array of greens, from deep, shadowy olive tones to bright, sun-drenched chartreuse. Mix your greens with varying amounts of yellow, blue, and red to create a vibrant, realistic palette. If your foliage looks too flat, add small, bright highlights where the sun hits the canopy, and deepen the shadows in the recesses to create a sense of depth and complexity.
- Over-detailing individual leaves instead of painting shapes.
- Using a single shade of green for the entire canopy.
- Neglecting to vary the size and spacing of tree trunks.
- Ignoring the direction of the light source across the scene.
- Making foreground trees too light, which destroys the depth.
How to add final details and highlights
The final stage of your painting is where you add the "pop" that brings the forest to life. Use a fine-liner brush to add thin, sharp branches that reach out from the main trunks. These small details provide a sense of scale and realism. Add bright, crisp highlights on the edges of leaves or trunks that face the light source, using pure white or a very pale yellow. These high-contrast accents should be reserved only for the foreground to maintain the depth perspective.
Finally, consider adding elements like moss, forest floor debris, or dappled sunlight hitting the ground. A few well-placed vertical lines representing tall grass or ferns can ground your trees and make the forest feel inhabited. Step back frequently to view your work from a distance, as this helps you identify areas that need more contrast or color adjustment. Once you are satisfied, you may apply a matte or gloss varnish to protect the acrylic surface and unify the overall finish of the painting.
Key facts
- Acrylic paint dries within 10 to 20 minutes, allowing for rapid layering of forest elements.
- Use a "blocking in" technique to establish large shapes of trees and shadows before adding fine details.
- Mix a small amount of water or acrylic medium into your paint to achieve a smooth, brush-stroke-free consistency for distant foliage.
- Vary your brush sizes, using a wide flat brush for the sky and ground, and a fine liner brush for tree branches.
- Incorporate atmospheric perspective by painting distant trees in cooler, lighter tones and foreground trees in warmer, darker colors.
- Clean brushes immediately after use, as dried acrylic paint is water-resistant and can ruin bristles.
The bottom line
Painting a forest with acrylics requires balancing speed with careful layering. By establishing depth through atmospheric perspective and focusing on light-filled shapes rather than individual details, you can create a vibrant, realistic woodland scene. Remember to keep your brushes moist, work from the background to the foreground, and embrace the quick-drying nature of the medium to build complex textures that bring your forest to life.
People also ask
How do I create the illusion of depth in a forest painting?
Use atmospheric perspective by making objects further away appear paler, bluer, and less detailed. Keep foreground elements darker and more saturated to pull them toward the viewer.
What is the best way to paint realistic tree bark?
Apply a base coat of dark brown, then use a dry brush technique to drag lighter highlights across the surface. This mimics the rough, textured appearance of bark without needing to paint every individual crevice.
How can I paint convincing forest foliage without painting every leaf?
Focus on massing shapes of light and shadow rather than individual leaves. Use a stippling motion with a round brush to suggest clusters of leaves, varying the colors to show depth.
Can I use acrylics to create a watercolor effect?
Yes, you can thin acrylic paint with a significant amount of water or a glazing medium to create transparent washes. This technique is ideal for misty backgrounds or soft, filtered sunlight.
Why are my colors turning muddy when I paint trees?
Muddy colors often occur from over-mixing paints on the canvas or using too many complementary colors at once. Mix your greens on the palette first and apply them cleanly to avoid blending them into a brown mess.
How do I prevent my acrylic paint from drying too quickly while I work?
Use a stay-wet palette or a fine mist spray bottle to lightly dampen your paint surface. You can also mix in a retarder medium, which slows the drying time significantly.
This answer was created with the help of AI research tools and reference sources. Spotted an error? Let us know — we correct mistakes quickly. See our editorial policy.