How do you paint the moon with acrylic paint?
Short answer
Painting the moon with acrylics requires layering shades of gray, white, and blue to capture its cratered texture. Begin by establishing a dark background, then build the lunar sphere using thin, circular glazes. Use a stippling technique with a small brush to create realistic shadows and highlights across the surface.
On this page
How to prepare your canvas for the moon
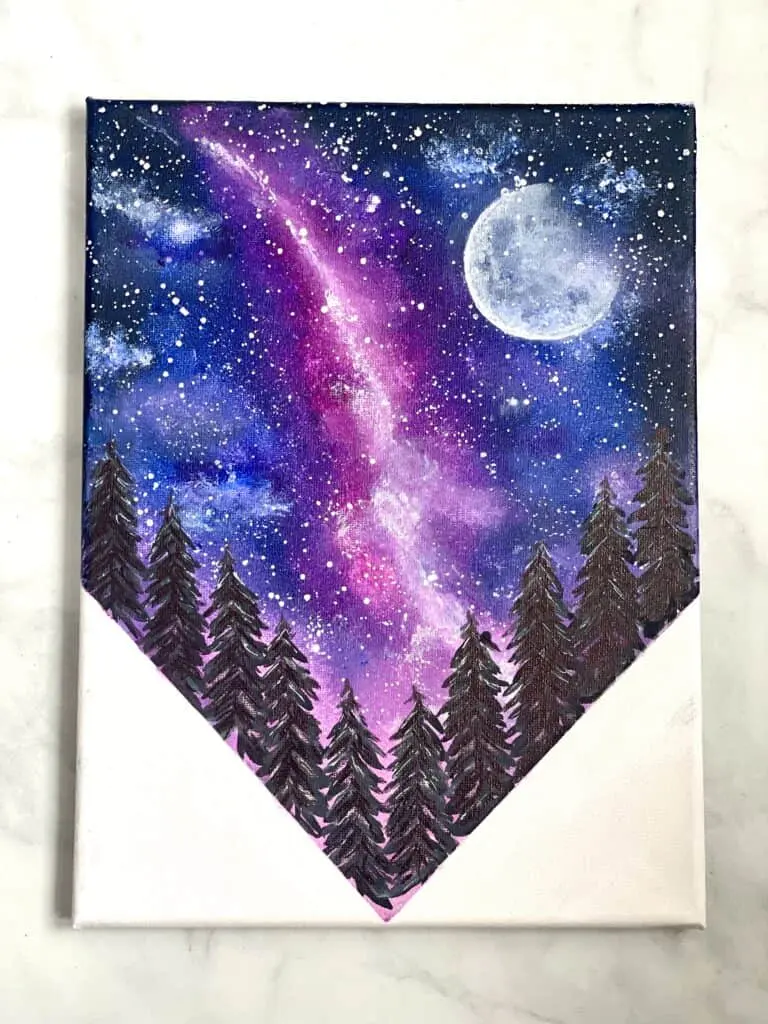
Achieving a realistic moon starts with your background, which provides the necessary contrast to make the lunar surface pop. Acrylic paint dries quickly, so you should aim to complete your deep space background before moving on to the moon itself. A mixture of ultramarine blue, burnt umber, and black creates a rich, atmospheric dark base that avoids the flatness of pure black. Apply this base layer with a wide, flat brush, ensuring even coverage across the canvas.
Once the background is dry, use a compass or a circular object to lightly trace the moon’s outline with a piece of white chalk. Avoid using dark pencils, as they can be difficult to cover with lighter acrylic tones later. If you are aiming for a crescent moon, mark the terminator line—the border between the illuminated and shadowed sides—to guide your shading. Proper preparation ensures that your circular form remains consistent while you focus on the intricate textures of the lunar surface.
Best acrylic painting techniques for moon textures
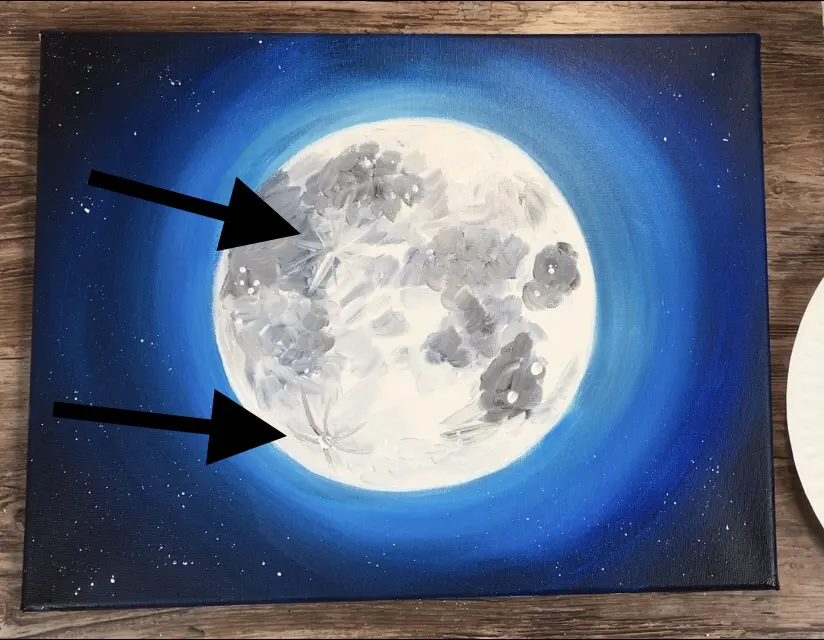
The moon is defined by its craters and varied topography, which you can replicate using specific brushwork. Instead of painting flat colors, use a "stippling" technique where you dab the tip of a round brush vertically onto the canvas. This creates the irregular, porous texture characteristic of lunar rocks and dust. Start with a medium-gray base for the sphere, then add darker grays for the maria, or lunar seas, and pure white for the brightest crater rims.
- Base layer: Apply a solid circle of medium gray to establish the moon's volume.
- Shadowing: Use a small, stiff-bristled brush to dab dark gray into the craters, keeping the light source consistent.
- Highlighting: Use a fine-liner brush to add sharp white highlights on the edges of craters facing the light.
- Blending: Lightly tap over your transitions with a dry, soft brush to soften harsh edges and create a realistic glow.
How to mix colors for a realistic moon
Many beginners make the mistake of using only black and white, which results in a sterile, monochromatic image. Real moonlight contains subtle undertones of blue, yellow, and even violet depending on the atmospheric conditions. Mix your grays by combining complementary colors like burnt sienna and ultramarine blue; this produces a more complex, neutral gray than mixing black and white alone. Adding a tiny touch of yellow ochre to your white highlights can also simulate the warm glow of a harvest moon.
When mixing, keep your palette organized so you can easily access your light, medium, and dark values. You should have at least four distinct shades of gray ready before you begin the detailed work. If your paint dries too fast on the palette, use a spray bottle filled with water to lightly mist your colors. This keeps the acrylics workable for longer, allowing you to blend the transitions between the moon’s light and shadow areas more effectively.
Common mistakes when painting the moon
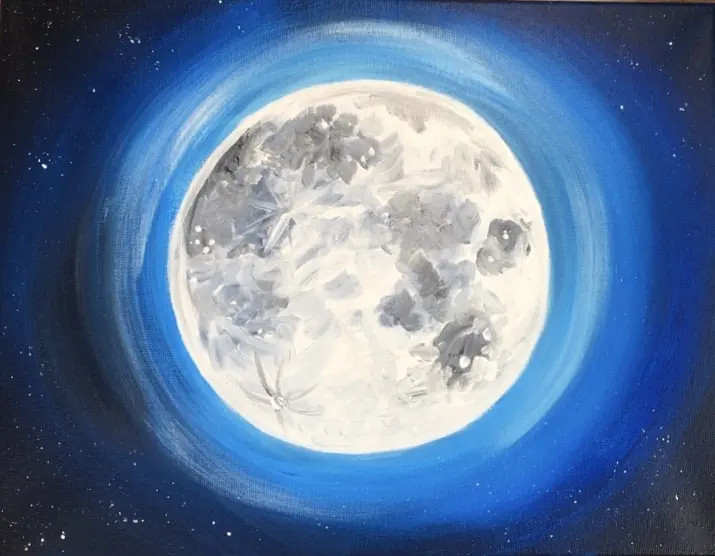
One of the most frequent errors is creating a moon that looks like a flat sticker pasted onto the background. This happens when the edges of the moon are too sharp or when there is no atmospheric halo around the sphere. To fix this, take a clean, damp brush and gently smudge the outer perimeter of your moon into the background colors. This creates a soft "glow" effect that integrates the moon into the night sky, making it appear as if it is truly suspended in space.
Another common mistake is neglecting the direction of the light source. If you place highlights on the wrong side of your craters, the moon will look inverted or flat. Always decide where your light is coming from—usually from the top or side—and keep all highlights and shadows consistent with that position. If you find your craters look like simple circles, try varying their shapes into ovals to account for the curvature of the moon’s surface, which helps suggest depth and three-dimensional form.
How long does it take to paint the moon
The time required depends on the level of detail you choose to include, but a standard 8x10 inch canvas typically takes two to three hours. The first hour is usually dedicated to the background and the initial sphere, while the remaining time is spent on the delicate stippling and glazing of the craters. Acrylics are ideal for this project because they allow you to layer quickly; you can add a new layer of detail every ten to fifteen minutes without worrying about the colors muddying beneath.
If you are a beginner, do not rush the drying process between layers. Patience is the key to achieving the depth required for a professional look. If you feel overwhelmed by the detail, focus on the "terminator line" first, as this is where the most dramatic shadows occur. By mastering the transition from light to dark along this line, you can create a convincing lunar effect even with minimal crater detail. Take breaks to step back from your work, as this helps you see the overall balance of light and shadow on your moon.
Key facts
- Use a circular sponge or a stencil to create a perfectly round base shape for the moon.
- Mix titanium white with a tiny amount of yellow ochre or gray to avoid a flat, stark white appearance.
- Apply paint in thin layers, allowing each to dry completely to build depth and texture.
- Use a small, stiff-bristled brush to dab on craters, creating shadows with diluted dark gray paint.
- Paint the background a deep midnight blue or black while the moon is still wet to blend the edges for a soft glow.
- Add a final highlight of pure white on one side to mimic the moon’s curvature and light source.
The bottom line
Painting a convincing moon with acrylics requires layering colors from dark to light to capture the celestial body's complex texture. By utilizing sponges for craters, blending edges for a soft glow, and using subtle color variations instead of pure white, you can achieve a professional result. Practice patience with drying times and focus on light direction to give your moon a realistic, three-dimensional presence on canvas.
People also ask
How do I create a realistic crater texture on the moon?
Use a sea sponge or a piece of crumpled plastic wrap to dab darker gray tones onto the surface. Focus these marks toward the edges to suggest depth and uneven terrain.
Should I use a primer before painting the moon?
Yes, applying a coat of gesso ensures your acrylic paint adheres smoothly to the canvas. A dark-toned primer, such as black or navy, helps the moon’s brightness pop more effectively.
How do I make the moon look like it is glowing?
Create a "halo" effect by dry-brushing a thin, translucent layer of white or pale yellow around the moon's perimeter. Blending this into the dark background creates the illusion of light diffusion.
Can I use metallic paints for the moon?
Metallic silver or pearl acrylics can add a sophisticated shimmer to the moon’s surface. Mix them sparingly with matte colors to maintain a realistic, non-plastic appearance.
What is the best way to fix a mistake while painting?
Since acrylics dry quickly, let the area dry fully before painting over it with a fresh base color. If the paint is still wet, you can wipe it away with a damp paper towel.
How do I choose the right moon phase for my painting?
Reference astronomical images to see how light hits the lunar surface during different phases. A crescent moon requires a sharp, curved shadow, while a full moon relies on subtle crater shading.
This answer was created with the help of AI research tools and reference sources. Spotted an error? Let us know — we correct mistakes quickly. See our editorial policy.