How do you paint a cat with acrylic paint?
Short answer
Painting a cat with acrylics involves sketching the feline’s anatomy, blocking in base colors, and layering fur textures. Use high-quality synthetic brushes to build depth, starting from dark undercoats and moving to light highlights. Patience is essential, as acrylics dry rapidly, requiring consistent blending techniques to achieve a realistic, soft, and lifelike appearance.
On this page
What supplies do you need for painting cats?
To paint a cat effectively, you should select high-quality materials that suit the fast-drying nature of acrylics. Start with a set of heavy-body acrylic paints, which provide better coverage and texture than fluid varieties. Essential colors for a cat portrait include burnt umber, raw sienna, titanium white, mars black, and ultramarine blue for creating realistic shadows.
For brushes, invest in a variety of synthetic flats, rounds, and filberts. Synthetic bristles are durable and hold their shape well when working with thick paint. You will also need a palette, a water container, and a canvas or heavy-duty acrylic paper. Using a slow-drying medium is highly recommended, as it extends the working time of your paint, allowing for smoother transitions between colors.
- Heavy-body acrylic paints (artist grade)
- Synthetic brushes (sizes 2, 6, and 10)
- Stretched canvas or primed wood panel
- Palette knife for mixing
- Slow-drying medium or glazing liquid
- Water jar and paper towels
How to sketch a cat for painting
Before applying any paint, establish a solid foundation through a detailed sketch. Use a graphite pencil or a light-colored pastel to outline the cat’s proportions, focusing on the shape of the head, the placement of the eyes, and the curve of the ears. A common mistake is making the eyes too small or incorrectly spaced; remember that a cat’s eyes are typically set wide apart.
Focus on capturing the "gesture" of the cat rather than just the outline. Sketch the direction of the fur growth, as this will guide your brushstrokes later. If you are working from a photograph, use a grid method to ensure accuracy. Keep your lines light so they do not show through thin layers of paint. Once the sketch is complete, seal it with a very thin wash of acrylic to prevent graphite smudging.
- Study the cat's anatomy, noting the skull shape and muzzle.
- Lightly draw the eyes, nose, and mouth as anchor points.
- Outline the main body shape and the flow of the fur.
- Add subtle directional arrows to remind yourself of fur growth patterns.
- Erase any overly dark or messy graphite lines before painting.
How to layer fur with acrylics
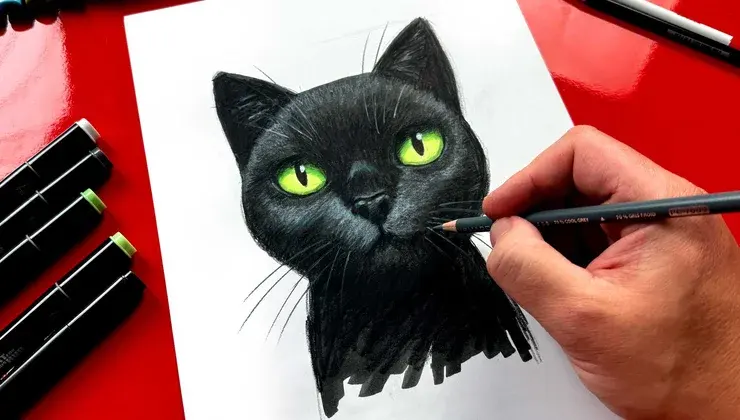
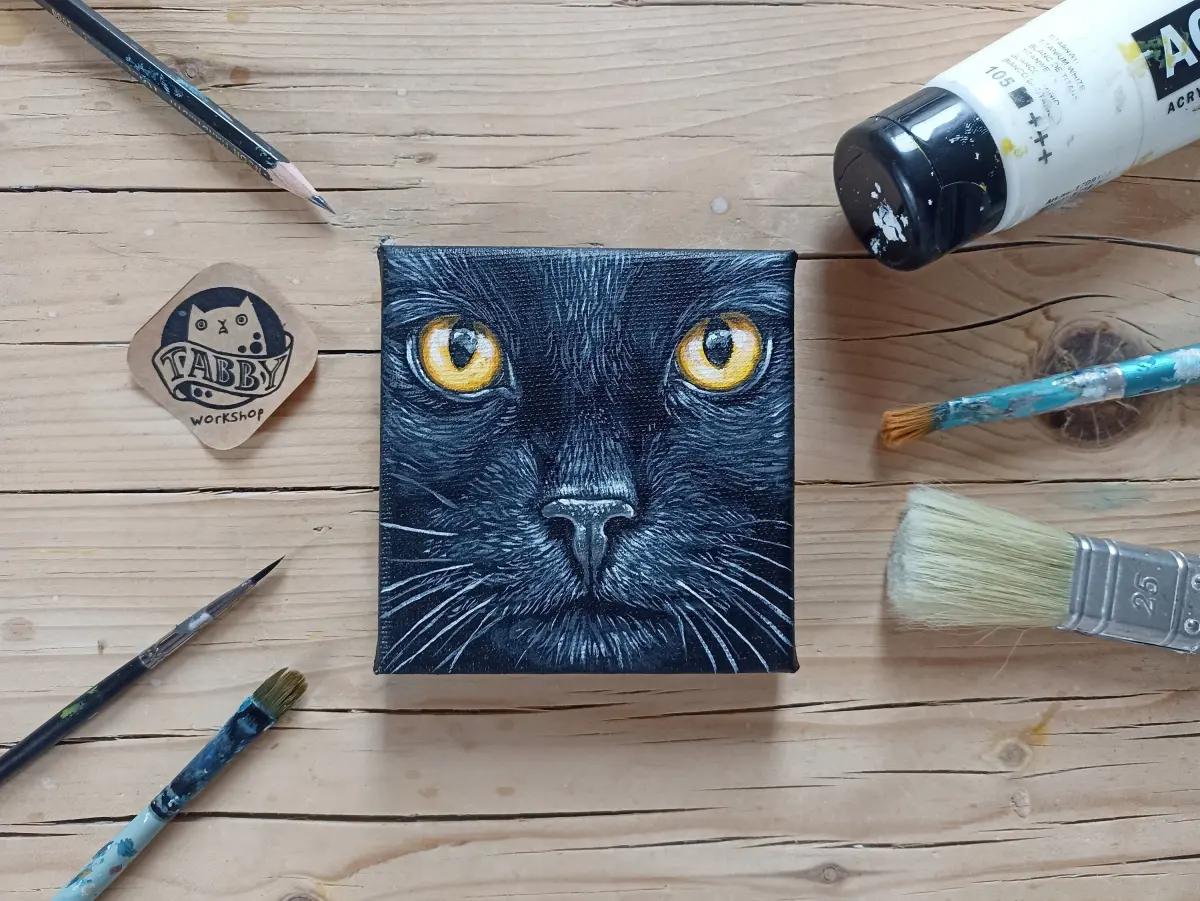
Creating realistic fur is the most challenging part of painting a cat. Begin by blocking in the local color of the coat, which serves as your mid-tone. Once dry, apply darker shades in the shadow areas, such as under the chin, behind the ears, and along the belly. Use a dry-brush technique to suggest the texture of individual hairs, dragging a lightly loaded brush across the surface.
As you progress, add lighter colors to represent highlights and the sheen of the coat. Use a fine-tipped liner brush to paint individual whiskers and stray hairs that catch the light. Do not try to paint every single hair; instead, focus on clumps of fur. By varying the length and direction of your strokes, you create the illusion of depth and movement that makes the cat appear three-dimensional and soft.
How to paint cat eyes and whiskers
The eyes are the focal point of any cat portrait and require careful attention to detail. Paint the iris with a base color, then add a darker ring around the pupil and a lighter highlight to indicate moisture. A small, crisp white dot of paint in the pupil provides the "spark" that brings the animal to life. Keep the edges of the eye sharp and clean.
Whiskers should be painted last, using the thinnest brush you own. Load the brush with a fluid consistency of titanium white or a very pale grey. Apply the paint with a quick, flicking motion to mimic the natural taper of a cat's whisker. If the paint is too thick, the whiskers will look like stiff wires rather than delicate sensory hairs. Ensure the whiskers follow the natural curve of the muzzle.
Common mistakes when painting cats
One of the most frequent errors is over-blending, which results in a muddy, flat appearance. Acrylics dry quickly, so if you try to blend too much, you will lift the previous layer. Instead, embrace the layering process. Allow each layer to dry completely before adding the next one to maintain clarity and vibrancy in your colors. Always clean your brushes thoroughly between colors.
Another mistake is ignoring the light source. Beginners often paint shadows that are too light or highlights that are incorrectly placed, making the cat look like a paper cutout. Always identify where the light is coming from before you start. Finally, avoid using pure black for shadows; mix black with a bit of blue or brown to create a more natural, transparent shadow that adds depth to the cat's fur.
Key facts
- Acrylic paint dries rapidly, usually within 10 to 20 minutes, which allows for quick layering.
- Use a high-quality synthetic brush to prevent bristle shedding during the application of fine fur details.
- Always start your painting with a mid-tone base layer to establish the cat's overall shape and shadows.
- Mix a small amount of water or acrylic medium into your paint to improve flow and prevent visible brush strokes.
- Apply fur texture using a dry-brush technique, which involves using very little paint on a stiff, dry brush.
- Clean your brushes immediately after use, as dried acrylic paint is permanent and can ruin synthetic bristles.
The bottom line
Painting a cat with acrylics requires patience, starting with a solid base layer followed by deliberate, directional brushstrokes to mimic fur texture. By focusing on the eyes early and utilizing the quick-drying nature of the medium to layer colors, you can achieve a lifelike result. Always maintain clean tools and use high-quality pigments to ensure your feline portrait remains a vibrant, professional-looking piece of art.
People also ask
Should I paint the eyes or the fur first?
It is best to paint the eyes early in the process because they define the cat’s personality and focus. Once the eyes are established, you can build the surrounding fur layers to frame them correctly.
How do I make the fur look realistic?
Use thin, short brushstrokes that follow the natural direction of the cat’s hair growth. Varying the colors slightly within the fur helps create depth and avoids a flat, cartoonish appearance.
Can I fix a mistake if I paint the wrong color?
Yes, acrylic paint is opaque, meaning you can easily paint over a dry layer once it has set. Simply wait for the area to dry completely, then apply a new layer of the correct color on top.
What kind of surface works best for acrylics?
Stretched canvas, wood panels, or heavy-duty acrylic paper are ideal surfaces. Ensure your surface is primed with gesso to prevent the paint from soaking into the fibers and dulling the colors.
How do I blend colors on the canvas?
Since acrylics dry fast, use a spray bottle to mist your canvas with water to keep the paint workable longer. Alternatively, use a slow-drying acrylic medium to extend the blending time significantly.
How do I protect the finished painting?
Once the painting is fully cured, usually after 24 to 48 hours, apply a clear acrylic varnish. This protects the surface from dust, UV light, and moisture, ensuring the colors remain vibrant for years.
This answer was created with the help of AI research tools and reference sources. Spotted an error? Let us know — we correct mistakes quickly. See our editorial policy.