How do you draw fabric?
Short answer
Drawing fabric requires observing how gravity pulls material toward anchor points, creating tension and compression. By identifying the origin of a fold—such as a shoulder or a waist—you can map out consistent lines of force. Focus on the shape of shadows rather than individual threads to capture realistic, three-dimensional volume.
On this page
How to identify basic fold types
Understanding the physics of fabric begins with recognizing how cloth reacts to stress. When fabric is pulled from two points, it creates "diaper folds," which look like a sagging hammock shape. If fabric is compressed against a surface, it forms "pipe folds," resembling cylindrical tubes or curtains. Tension folds appear when material is stretched tightly across a joint, such as the elbow or knee, creating small, radiating lines that originate from the point of strain.
To master these shapes, observe how gravity dictates the flow of the material. Heavy fabrics like denim or wool create large, blunt folds with soft transitions, while lightweight silks produce sharp, angular, and numerous small wrinkles. Always look for the "eye" of the fold, which is the deepest point where the fabric bends. By drawing these anchor points first, you establish the structure of the garment before adding surface details or shading.
How to draw fabric step by step
Creating a convincing drape requires a systematic approach that prioritizes form over detail. Start by sketching the underlying anatomy, as the body provides the framework for how fabric hangs. Once the figure is established, follow these steps to render the clothing:
- Sketch the primary silhouette to define the overall volume of the garment.
- Identify the anchor points where the fabric is pinned or pulled, such as the shoulders, waist, or wrists.
- Draw the main lines of tension flowing away from these anchor points toward the ground.
- Add secondary folds that emerge where the fabric bunches or compresses against the body.
- Use light and shadow to define the depth of each fold, ensuring the darkest values are placed at the deepest crevices.
Focusing on the path of the lines rather than individual wrinkles prevents the drawing from looking cluttered. Keep your initial lines light so you can adjust the flow of the fabric as you refine the shape.
Why fabric folds look realistic
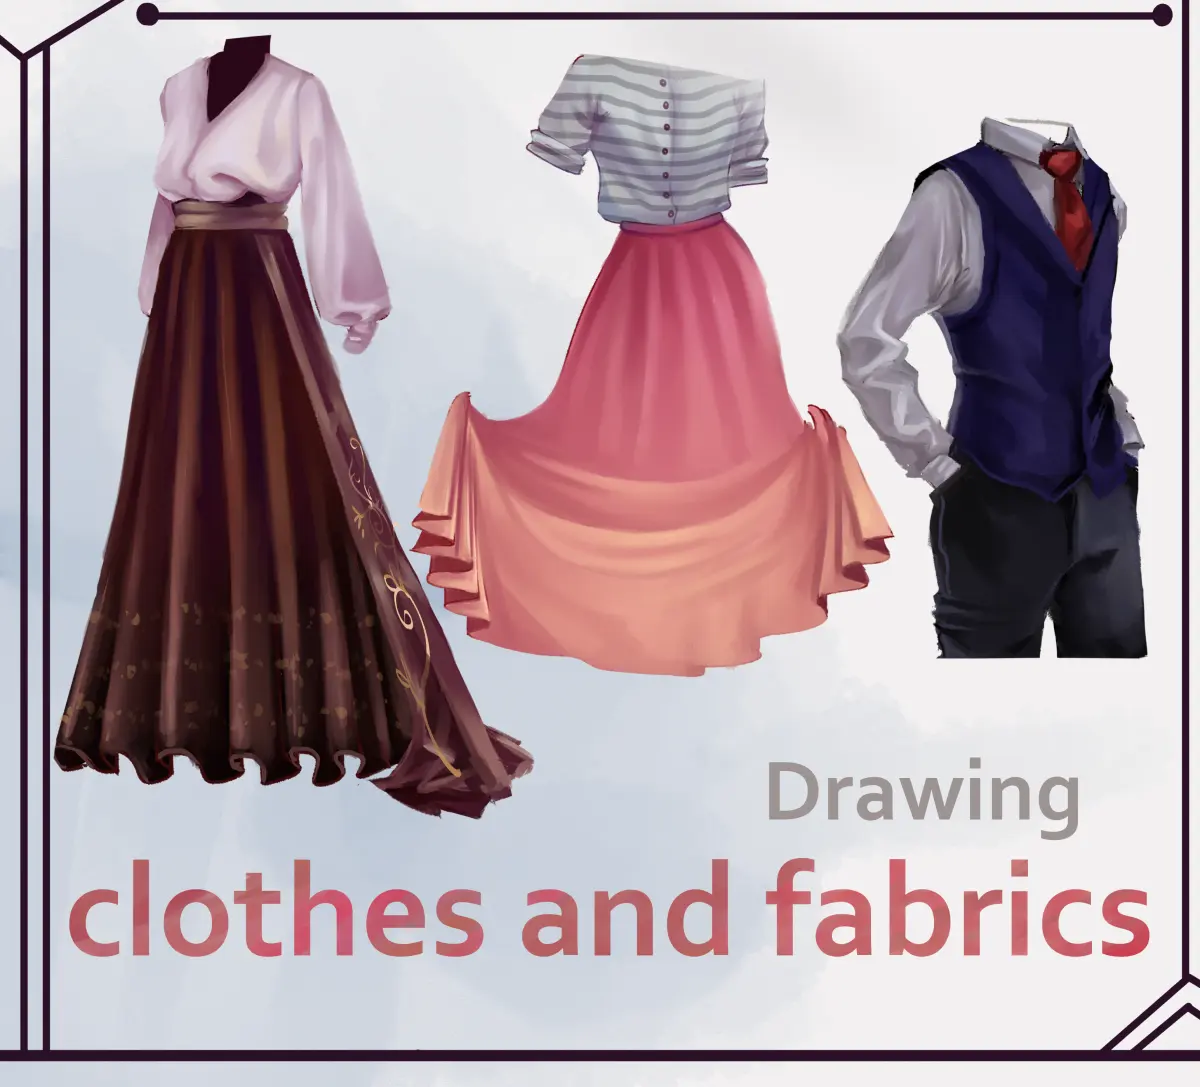
Realism in fabric drawing is achieved through the accurate depiction of light and shadow. When light hits a fold, it creates a highlight on the convex side and a deep shadow on the concave side. These values provide the visual cues necessary for the human eye to perceive depth and texture. Without proper contrast, fabric appears flat, like a piece of paper draped over a mannequin rather than a flexible material.
The transition between light and shadow, known as the terminator line, is crucial for defining the material's weight. Hard, sharp edges in the shadow indicate stiff, heavy fabrics, while soft, gradual gradients suggest thin, pliable materials. Pay attention to reflected light within the shadows, as this prevents the fabric from looking like a solid, dark mass. By carefully observing how light wraps around the cylindrical forms of the folds, you can convey the specific tactile quality of the cloth.
Common mistakes when drawing fabric
One frequent error is adding too many unnecessary lines, which creates a "busy" appearance that obscures the form. Beginners often draw every wrinkle they see, failing to distinguish between major structural folds and minor surface textures. This leads to a loss of clarity and makes the fabric appear overly complicated or stiff. Focus on the "big shapes" first, as these define the garment's interaction with the body.
Another common mistake is neglecting the influence of gravity. Fabric should always appear to be pulling downward unless it is being actively pushed or bunched. If your folds seem to float or lack a clear direction, check your anchor points. Ensure that the lines of tension logically connect back to the source of the pull. Avoid drawing parallel, uniform lines across the entire surface, as natural fabric rarely behaves in such a predictable, mechanical fashion.
Best tools for drawing fabric textures
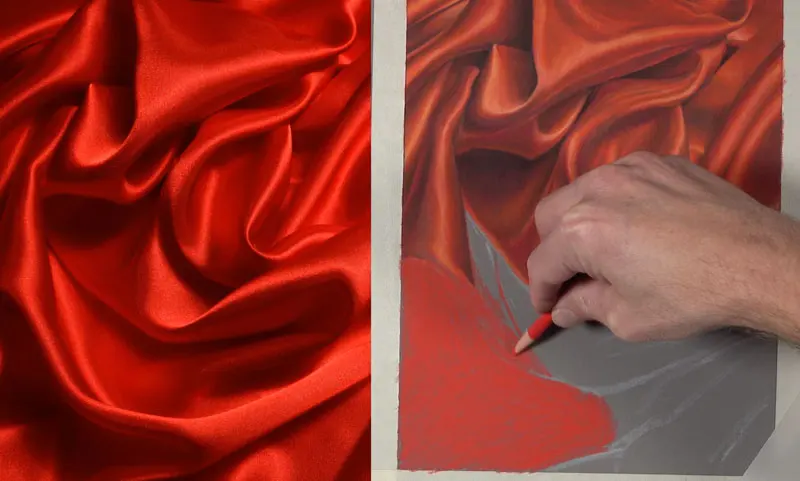
Selecting the right medium can significantly improve your ability to render fabric effectively. Graphite pencils are excellent for beginners because they allow for precise control over shading and line weight. Using a range of pencils, from 2H for light structural lines to 4B for deep, rich shadows, helps in building the necessary contrast. For those working in color, pastels or markers can be used to emphasize the way light reflects off different types of surfaces, such as the sheen on satin or the matte finish of cotton.
- Use a kneaded eraser to lift highlights from the center of folds, creating a sense of volume.
- Utilize a blending stump or a soft cloth to smooth out transitions between light and shadow.
- Practice drawing from life by draping a piece of plain cloth over a chair to observe how it behaves under different tension levels.
- Experiment with cross-hatching to build up darker tones in the deepest folds without losing the texture of the fabric.
By consistently practicing these techniques, you will develop an intuitive understanding of how to translate complex fabric movements onto a flat page.
Key facts
- Fabric folds are determined by the point of tension, such as where a garment hangs from a shoulder or waist.
- Gravity pulls fabric downward, creating vertical "pipe folds" in loose, hanging cloth.
- Zigzag folds occur when fabric is compressed, such as at the inside of an elbow or knee.
- Use "C" curves to represent the rounded shape of folds, rather than straight lines, to suggest volume.
- Thicker fabrics like denim or wool create fewer, larger folds, while thin silks create many small, tight ripples.
- Always establish the underlying anatomy of the figure first, as fabric must conform to the body's mass.
The bottom line
Drawing fabric is an exercise in understanding tension, gravity, and anatomy. By anchoring your folds to specific points of stress and using curved lines to define volume, you can create realistic drapery. Focus on the primary structural folds rather than minor details, and vary your line weight to suggest depth. With practice, you will learn to translate the weight and texture of any material onto the page.
People also ask
How do I decide where to place folds on a garment?
Folds always originate from a point of tension or compression. Identify where the fabric is being pulled, such as the shoulders, or pushed, such as the inner elbow, and draw your lines radiating from those points.
Why does my fabric look stiff or like cardboard?
This often happens because the lines are too rigid or follow the outline of the body too closely. Use soft, curved lines and ensure the fabric hangs away from the body in areas where it is not touching the skin.
What is the best pencil technique for drawing fabric?
Use light, gestural lines to map out the major folds before committing to darker contours. Vary your line weight to suggest depth, using thicker lines in the deepest shadows and lighter lines on the crests of the folds.
How do I represent different types of fabric textures?
Use sharp, angular lines for stiff materials like heavy canvas or leather. For soft, draping fabrics like chiffon or jersey, use long, flowing, and fluid lines that suggest movement and lightness.
Should I draw every single wrinkle I see?
No, over-detailing can make a drawing look cluttered and messy. Focus on the primary, dominant folds that define the shape, and ignore minor, distracting wrinkles that do not contribute to the overall form.
How do I shade fabric effectively?
Identify the light source and keep the areas facing the light bright. Use a smooth gradient in the shadows to show the rounded nature of the folds, ensuring the transition between light and dark is soft.
This answer was created with the help of AI research tools and reference sources. Spotted an error? Let us know — we correct mistakes quickly. See our editorial policy.