How do you draw a skirt?
Short answer
Drawing a skirt begins by establishing the figure's waistline and hips as a structural foundation. You then sketch the silhouette based on the garment's specific style, such as A-line or pencil. Finally, add natural fabric folds, gravity-driven drapes, and shading to define volume, texture, and movement within the cloth.
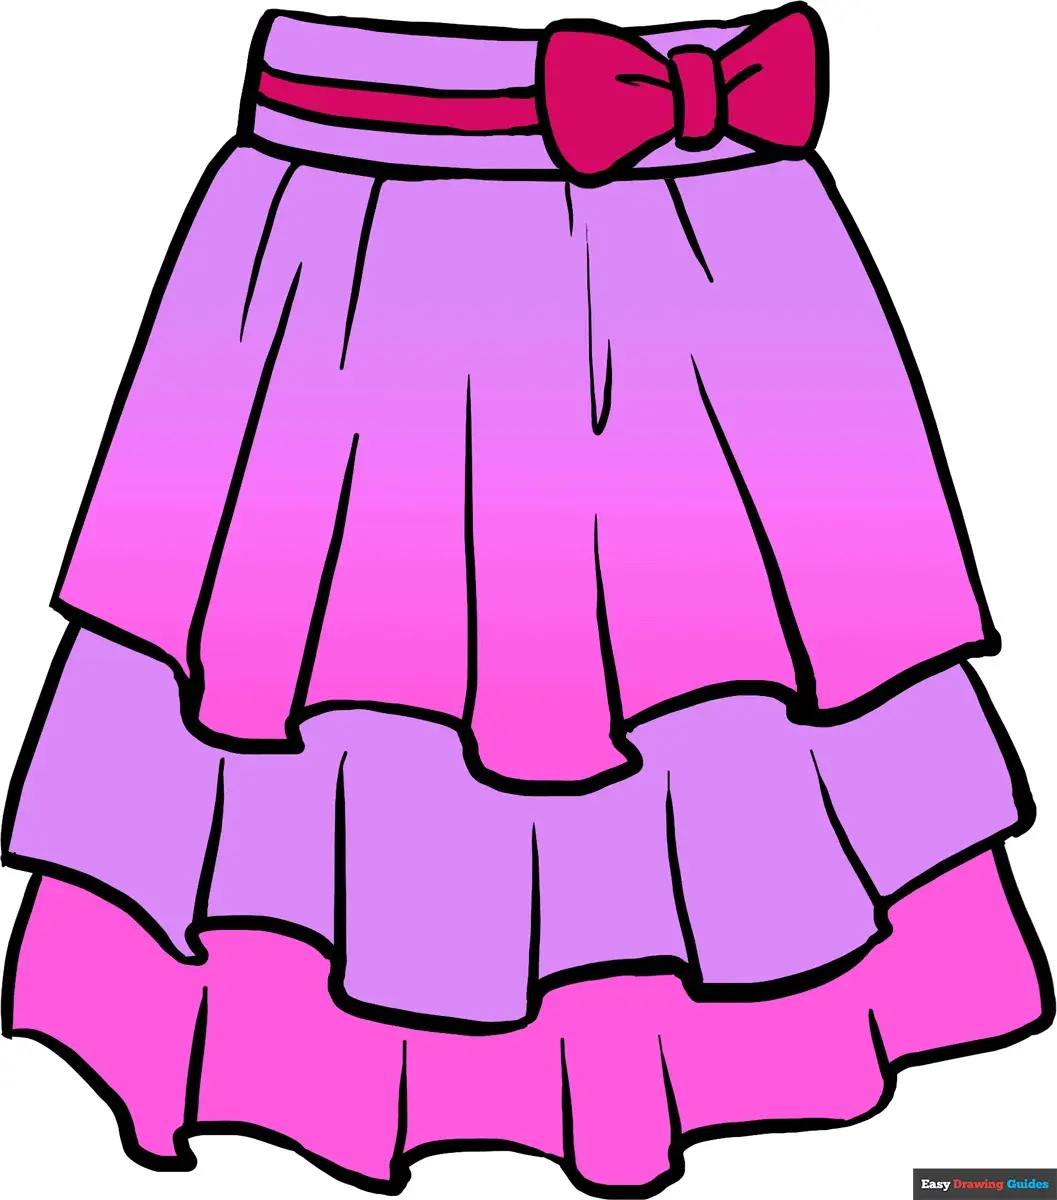
On this page
How to draw basic skirt shapes
To draw a skirt accurately, you must first understand the underlying anatomy of the hips and thighs. Start by drawing a horizontal line across the waist and a slightly wider curve for the hips. This framework dictates how the fabric will hang. For a simple A-line skirt, draw two diagonal lines extending downward from the hips, widening as they reach the hemline. For a pencil skirt, draw straight or slightly inward-curving lines that hug the legs, ending just above or below the knees.
Consistency in the silhouette is vital for a realistic look. Always ensure the hemline follows the contour of the body or the movement of the legs. If the character is standing still, the hem should be relatively level. If the character is in motion, the hem should tilt to reflect the shift in weight. Practice these variations by sketching basic geometric shapes like trapezoids for A-line skirts and rectangles for straight skirts before adding details.
How to add folds and fabric movement
Fabric behavior is governed by gravity and tension. When fabric hangs from the waist, it naturally pulls toward the center of gravity, creating vertical folds known as "tension lines." These lines usually originate from points of stress, such as the hips or the waistband. To draw these, use light, tapering strokes that start thick at the point of tension and thin out as they move toward the hem.
When adding folds, consider the weight and stiffness of the material. Heavy fabrics like denim or wool produce fewer, broader folds, while lightweight materials like silk or chiffon create many thin, complex pleats. Follow these steps to render realistic drapery:
- Identify the anchor points where the fabric is pulled tight.
- Draw "V" or "Y" shaped lines radiating from these anchor points to suggest folds.
- Use curved lines to connect these folds, creating a sense of depth and volume.
- Add cross-contour lines to define the shape of the legs beneath the fabric.
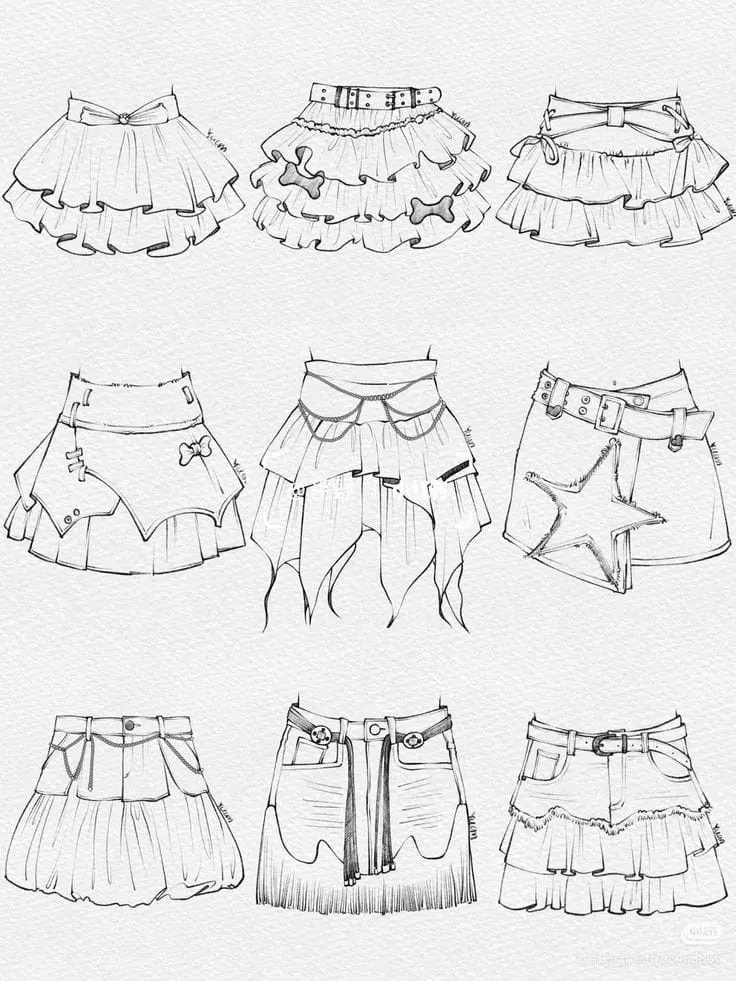
Best skirt styles for beginners
Beginners should start with simple, structured silhouettes before attempting complex, flowing designs. The A-line skirt is the most forgiving style because its shape is consistent and does not require complex anatomical rendering of the legs underneath. Once you master the A-line, move on to the circle skirt, which allows you to experiment with how fabric drapes in a circular motion around the body.
Avoid overly intricate designs like tiered ruffles or complex pleating until you have a firm grasp of basic shading. Focus on these three styles to build your fundamental skills:
- A-line: A classic, triangular shape that is easy to construct and shade.
- Pencil: Excellent for practicing how fabric conforms to the shape of the legs.
- Circle: Perfect for learning how to draw fabric that moves and flares out during motion.
Each of these styles teaches you different ways that fabric reacts to the human form.
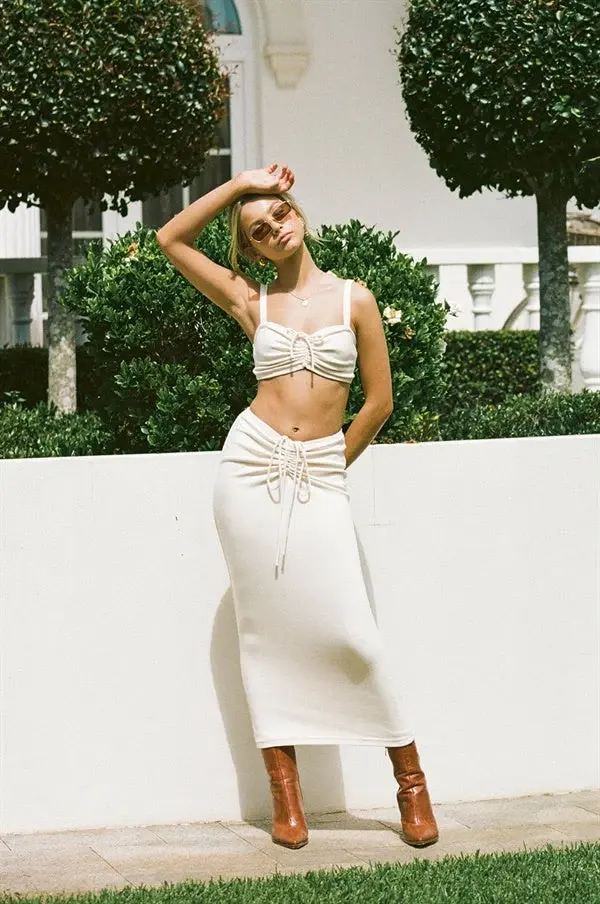
Why skirt drawings look stiff
Stiffness in drawings often occurs when the artist ignores the way fabric reacts to the body's movement. If the skirt looks like a rigid board, it is likely because the folds lack variation in depth or curvature. To fix this, ensure that your lines follow the form of the body underneath. If a leg is bent, the fabric should bunch up on the inside of the bend and stretch taut on the outside.
Another common issue is the lack of "weight" at the hem. If the hem is drawn as a perfectly straight, thin line, it will appear unnatural. Instead, draw a slight curve at the hem to suggest the thickness of the fabric and the way it hangs. Incorporating shadows beneath the hemline can also ground the garment, making it appear as though it occupies three-dimensional space rather than floating on the page.
Common mistakes when drawing skirts
One of the most frequent errors is failing to define the waistband properly. A skirt does not simply sit on the body; it wraps around the waist, meaning the top of the skirt should curve slightly to follow the cylindrical shape of the torso. If you draw the waistband as a flat, straight line, the skirt will look like a sticker placed on top of the figure rather than a piece of clothing worn by it.
Additionally, many artists neglect the internal shading that defines the skirt's volume. Without shadows, even a well-drawn silhouette will look flat. Use a consistent light source to determine where shadows fall, typically under the waistband, within the folds, and on the side of the skirt furthest from the light. By carefully observing how light hits real fabric, you can add depth and realism to your sketches. Always remember that the fabric should look like it is interacting with the body, not just covering it.
Key facts
- A skirt is defined by its waistline and the way the fabric hangs from the hips, typically ending above, at, or below the knees.
- To draw a skirt, first sketch a basic human torso and hip structure to establish the garment's anchor point.
- Use "C" curves to represent the hemline, which helps create the illusion of volume and movement in the fabric.
- Add vertical lines starting from the waist to indicate pleats, folds, or the natural drape of the material.
- Consider the weight of the fabric; stiff fabrics like denim require sharp, angular lines, while silk needs soft, flowing curves.
- Always draw the legs beneath the skirt first to ensure the proportions of the garment remain accurate to the figure's stance.
The bottom line
Drawing a convincing skirt requires a solid understanding of how fabric interacts with the human form. By establishing the hip structure first and using varied line weights to denote fabric texture, you can create depth and realism. Remember that gravity dictates the drape, so focus on how the material hangs from the waist. With practice, these techniques will help you illustrate garments that look natural and dynamic.
People also ask
How do I make a skirt look like it is moving?
Draw the hemline with asymmetrical, wavy lines rather than a straight horizontal line. Adding "action lines" or speed lines trailing behind the fabric suggests the skirt is blowing in the wind.
What is the best way to draw a pleated skirt?
Start by drawing a series of repeating "V" shapes along the hemline. Connect these points to the waist with straight, parallel lines to create the structured look of crisp fabric folds.
How do I draw a skirt that looks heavy?
Use fewer, thicker lines and avoid excessive wrinkling. Focus on the weight pulling the fabric downward, which results in straighter vertical lines near the hem.
Should I draw the legs inside the skirt?
Yes, sketching the legs first provides a guide for where the skirt should fall. You can erase the inner lines later, but this ensures the skirt does not look like it is floating off the body.
How do I draw a pencil skirt versus a flared skirt?
A pencil skirt follows the contours of the hips and legs closely with nearly vertical lines. A flared skirt requires lines that curve outward from the waist, creating a triangular or bell shape.
What are common mistakes when drawing skirts?
A frequent error is ignoring gravity, which causes the skirt to look stiff or detached from the body. Another mistake is making the hemline perfectly flat, which removes the sense of depth and three-dimensional form.
This answer was created with the help of AI research tools and reference sources. Spotted an error? Let us know — we correct mistakes quickly. See our editorial policy.