What is a pinhole camera?
Short answer
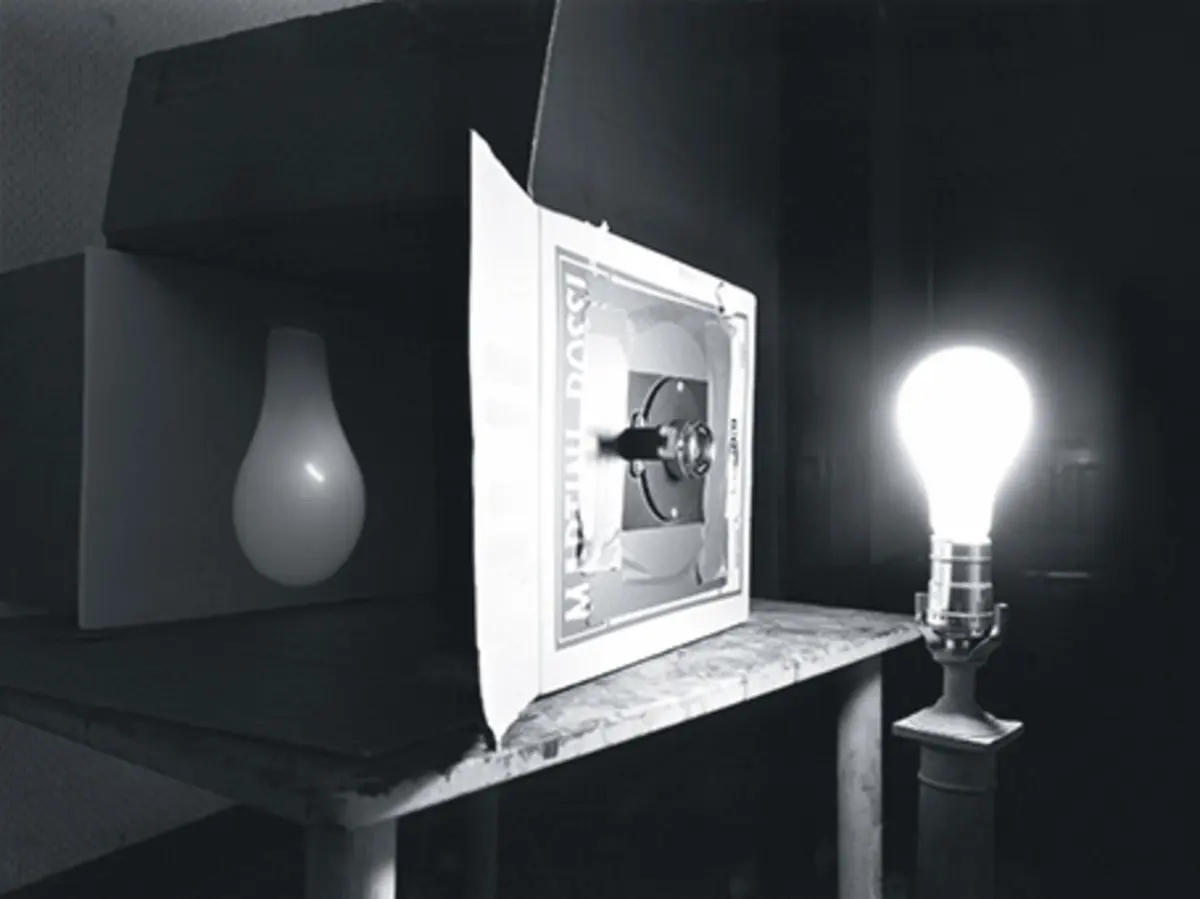
A pinhole camera is a simple optical device that creates images without a lens. It consists of a light-tight box with a tiny aperture on one side. Light rays pass through this hole, projecting an inverted image of the external scene onto the opposite interior wall or a piece of film.
On this page
How does a pinhole camera work?
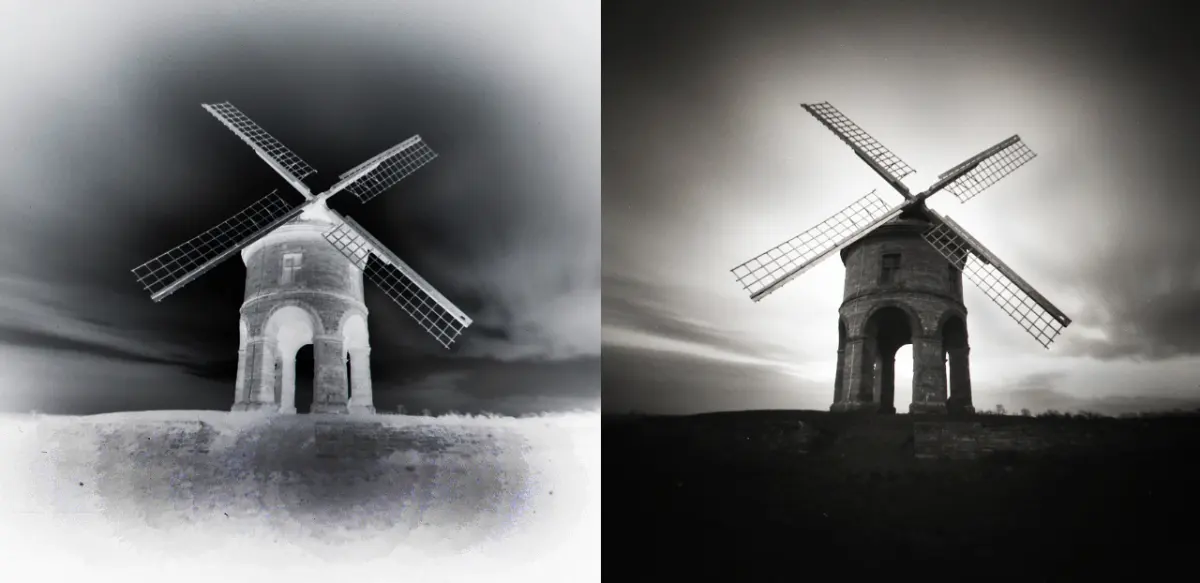
The fundamental principle behind a pinhole camera is the rectilinear propagation of light. Because light travels in straight lines, rays reflecting off an object pass through the small aperture and continue in their straight paths until they strike the back of the camera. This results in an inverted and laterally reversed projection of the subject. The absence of a glass lens means there is no central focal point, which gives these cameras an infinite depth of field. Every object, whether near or far, remains in focus simultaneously.
The size of the aperture is critical to the quality of the image. If the hole is too large, light rays overlap and create a blurry, indistinct projection. If the hole is too small, diffraction effects occur, where light waves bend around the edges of the aperture, also causing a loss of sharpness. For most DIY projects, an aperture diameter between 0.2 and 0.5 millimeters is considered the "sweet spot" for achieving a balance between brightness and resolution.
How to build a pinhole camera at home
Constructing a pinhole camera is an accessible project that demonstrates the physics of optics. You can use common household items like a shoebox, a coffee can, or a sturdy cardboard tube. The primary requirement is that the container must be completely light-tight, meaning no stray light can leak through the seams or corners. You can use black electrical tape to seal any gaps effectively.
- Paint the interior of your box matte black to minimize internal light reflections.
- Cut a small square hole in the center of one end of the box.
- Tape a piece of thin metal, such as a soda can fragment, over the hole.
- Use a needle to carefully poke a tiny, clean hole in the center of the metal.
- Cover the pinhole with a piece of tape to serve as a shutter until you are ready to take an exposure.
Why is exposure time so long?
Because the aperture is extremely small, only a tiny fraction of the available light enters the camera compared to a standard lens-based system. This necessitates long exposure times, which can range from a few seconds in bright sunlight to several hours in dim, indoor conditions. Because of these long durations, the camera must remain perfectly still throughout the entire process. Even the slightest vibration or movement will result in a blurred or "ghosted" image.
When using photographic paper or film, you must account for "reciprocity failure." This phenomenon occurs when film does not respond linearly to light over long exposure durations. Essentially, the longer the exposure, the less efficient the film becomes at recording the light. You will often need to multiply your calculated exposure time by a factor provided by the film manufacturer to compensate for this loss of sensitivity.
Best tips for successful pinhole photography
Achieving high-quality results requires careful planning and patience. Since you cannot see through a viewfinder, you must estimate your composition by looking at the camera's position relative to the subject. Using a wide-angle perspective is generally easier for beginners because it allows more of the scene to be captured within the frame. Always use a tripod or a heavy weight to stabilize the camera during the exposure to prevent movement.
- Use a light meter app on your phone to estimate the light intensity, though you will still need to experiment with timing.
- Keep a notebook to record the aperture size, lighting conditions, and the duration of each exposure.
- Test your camera in bright, direct sunlight first to ensure the light-tightness of your box.
- Use a piece of black cardstock as a manual shutter to avoid touching the camera body when starting or ending the exposure.
Common mistakes when using pinhole cameras
The most frequent error is failing to make the camera light-tight. Even a microscopic pinhole leak in the side of the box will cause "fogging," which ruins the image by washing out details or creating streaks of light. Another common issue is using a hole that is too large or jagged. If the edges of your pinhole are rough or thick, the light will not pass through cleanly, resulting in a dark or distorted image. Always sand the metal piece lightly to ensure the hole is smooth and perfectly round.
Another mistake involves improper development of the film or paper. Since pinhole photography often uses traditional darkroom materials, ensure your chemicals are fresh and that your workspace is truly dark. If you are using digital sensors, remember that the long exposure time can cause the sensor to heat up, which creates "digital noise" or hot pixels in the final image. By carefully controlling your environment and ensuring your equipment is sturdy, you can produce ethereal, dreamlike photographs that are impossible to replicate with modern digital lenses.
Key facts
- A pinhole camera is a simple camera without a lens, consisting of a light-proof box with a single tiny hole on one side.
- Light passes through the aperture and projects an inverted image onto the opposite interior wall of the box.
- The smaller the hole, the sharper the image, but the dimmer the projection becomes due to reduced light intake.
- Exposure times are significantly longer than modern cameras, often requiring seconds, minutes, or even hours to capture an image.
- You can build one using household items like a shoebox, aluminum foil, a needle, and photographic paper or film.
- The technique relies on the optical principle of the camera obscura, which has been documented since the time of ancient Greek philosophers.
The bottom line
The pinhole camera serves as a fundamental introduction to optics and the history of photography. By stripping away complex lenses and focusing mechanisms, it reveals the pure mechanics of how light creates images. Whether you are building a simple cardboard box model or modifying a digital camera, this method encourages patience and a deeper understanding of exposure, light, and the essential nature of visual perception.
People also ask
How do I calculate the best hole size for a pinhole camera?
The ideal diameter is typically found using the formula d = 1.9 sqrt(f λ), where f is the distance from the hole to the film and λ is the wavelength of light. For most shoebox cameras, a hole created by a standard sewing needle provides a sufficient balance between sharpness and brightness.
Why is the image inside the camera upside down?
Light travels in straight lines from the subject through the pinhole. Rays from the top of the object pass through the hole and strike the bottom of the back wall, while rays from the bottom hit the top, resulting in an inverted projection.
Can I use a digital camera sensor instead of film?
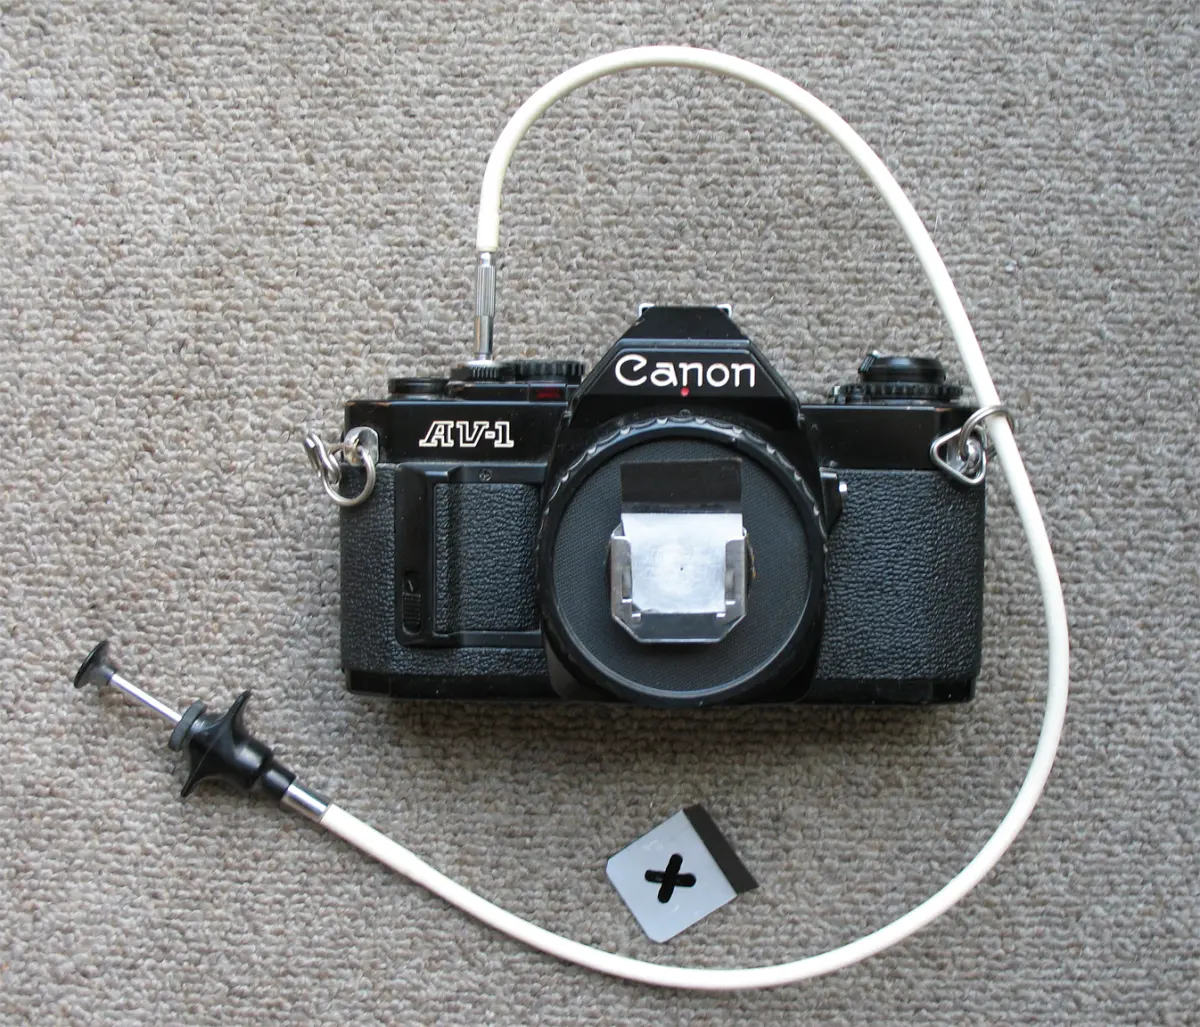
Yes, you can replace the lens of a digital camera body with a body cap featuring a pinhole. This allows you to experiment with long-exposure digital photography while seeing the results immediately on the camera's screen.
What is the most common mistake when building a pinhole camera?
The most frequent error is light leakage, where light enters the box through gaps in the seams or tape. Ensure your box is completely light-tight by using opaque black tape on every corner and edge.
Why are pinhole photos often blurry?
If the pinhole is too large, light rays overlap and create a soft, unfocused image. Conversely, if the hole is too small, diffraction causes light waves to scatter, which also degrades the sharpness of the final photograph.
Do I need a tripod to take a pinhole photo?
Because exposure times are very long, the camera must remain perfectly still to avoid motion blur. A tripod or a stable, flat surface is essential for keeping the camera steady during the entire exposure process.
This answer was created with the help of AI research tools and reference sources. Spotted an error? Let us know — we correct mistakes quickly. See our editorial policy.