How do you draw clothes folds step by step?
Short answer
Drawing clothing folds requires understanding the tension points where fabric pulls against the body. By identifying anchor points—such as shoulders, elbows, or knees—you can map the path of gravity and tension. Use simple geometric shapes to establish volume, then refine lines to indicate how fabric bunches, stretches, or hangs naturally.
On this page
How to identify anchor points on the body
Clothing folds are primarily determined by the relationship between the fabric and the human form underneath. The fabric acts as a skin that reacts to gravity and points of resistance. Anchor points are the specific areas where fabric is held in place, such as the shoulders, waist, hips, or joints. When you begin a drawing, you must first establish these structural anchors because they dictate where the fabric will be pulled tight or allowed to sag.
To effectively map these points, observe how the silhouette changes when a person moves. A shirt pulled into a waistband creates tension lines radiating from the belt, while a sleeve bunched at the elbow shows compression. By marking these anchor points with light dots before sketching the folds, you create a logical framework. This prevents the fabric from looking like it is floating or detached from the body. Always prioritize the underlying anatomy before adding the complexity of fabric texture.
How to draw the five main types of folds
Fabric behaves in predictable ways depending on how it is manipulated. Artists categorize these behaviors into specific fold types to simplify the drawing process. By mastering these five patterns, you can render almost any garment with accuracy.
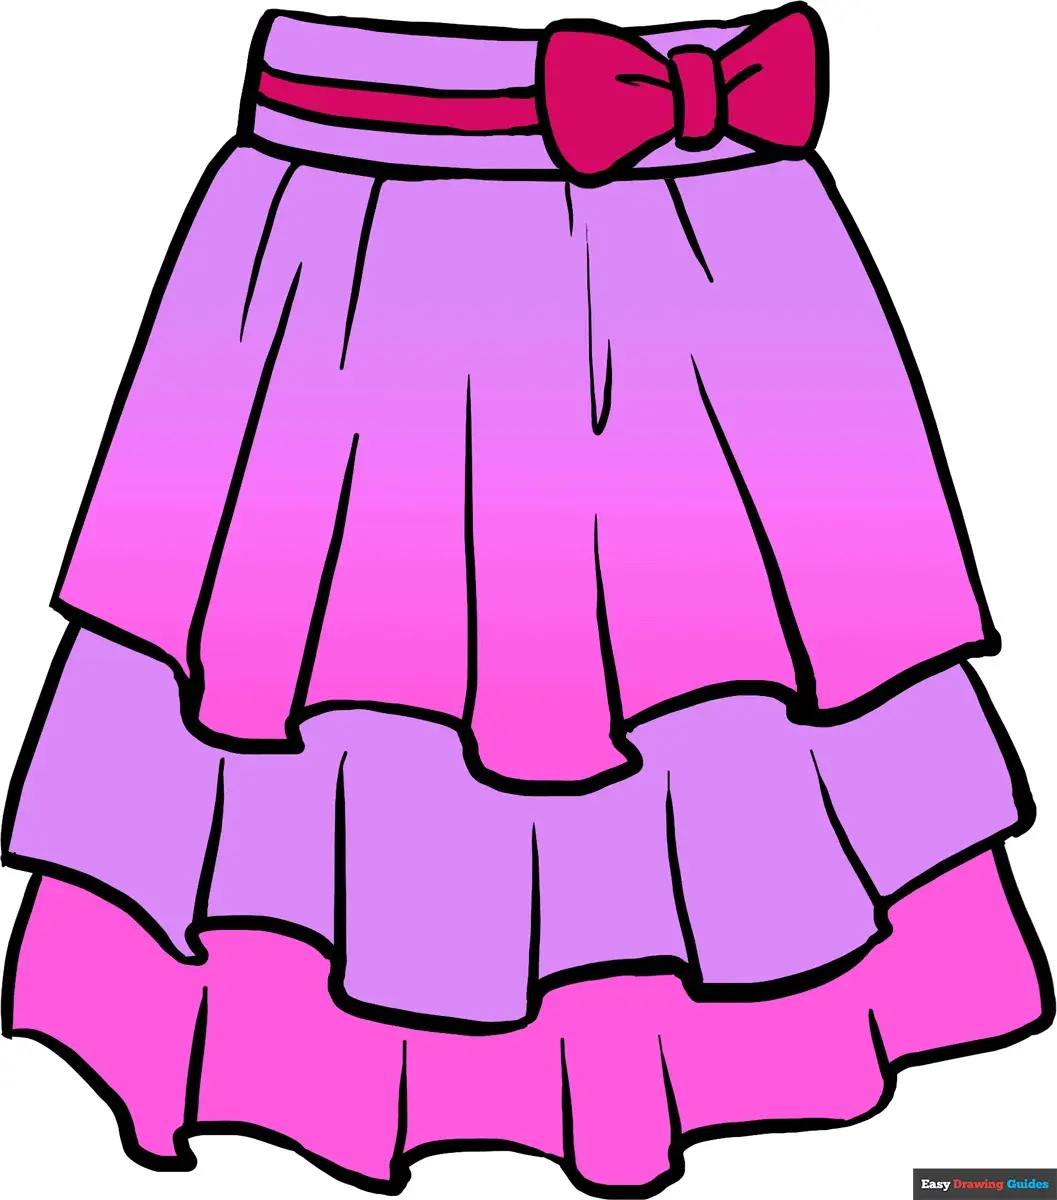
- Pipe folds: These occur when fabric hangs vertically, such as in curtains or a loose skirt, creating cylindrical shapes.
- Diaper folds: These form between two anchor points, creating a sagging "U" shape, common in draped capes or loose sleeves.
- Inertia folds: These appear when fabric moves suddenly, creating sharp, zigzagging lines that indicate momentum.
- Zigzag folds: These happen when fabric is compressed at a joint, such as the inside of an elbow or knee.
- Spiral folds: These occur when fabric is twisted or wrapped, often seen in sleeves pushed up or pant legs bunched at the ankle.
Why fabric folds occur at joints
Folds are essentially a visual map of tension and compression. When a limb bends, the fabric on the inner side of the joint must compress to accommodate the reduced space, resulting in bunching. Conversely, the fabric on the outer side of the joint stretches, becoming taut and smooth. Understanding this push-and-pull dynamic is essential for creating realistic movement in your illustrations.
If you ignore the tension, the clothing will appear stiff, like cardboard. Instead, focus on the "line of action" within the fabric. When an arm is raised, the folds should point toward the shoulder, which acts as the primary anchor. When the arm is lowered, the folds shift toward the elbow or wrist. By observing these shifts, you can suggest the weight and thickness of the material. Heavy denim, for instance, will produce fewer, larger folds than thin silk, which creates many small, complex ripples.
Common mistakes when drawing clothing folds
Many beginners fall into the trap of drawing too many lines, which makes the garment look cluttered or messy. A common error is adding folds to every single area of the fabric, even where it is pulled tight against the body. If the fabric is stretched across the chest or thigh, there should be no folds at all in that specific area. Over-detailing ruins the sense of form and makes the drawing look flat rather than three-dimensional.
Another frequent mistake is failing to connect the folds to the anchor points. Folds should never just appear out of nowhere; they must originate from a point of tension or a seam. If you draw lines that float in the middle of a fabric surface without a structural reason, the clothing will lose its physical integrity. Always trace your lines back to a joint or a point of constraint to ensure the drawing remains grounded in reality.
Best practice for shading and depth
Shading is the final step that brings folds to life by defining their volume. Use the light source to determine which side of the fold is illuminated and which side falls into shadow. A fold is essentially a small, three-dimensional shape, so it requires a highlight, a mid-tone, and a core shadow. By consistently applying this value structure, you transform flat lines into tangible, heavy fabric that appears to occupy real space.
To improve your shading technique, follow these steps:
- Identify the primary light source and keep it consistent across the entire garment.
- Use soft, blended shadows for thin, light fabrics like cotton or silk.
- Use sharp, high-contrast shadows for heavy materials like leather or wool.
- Avoid using pure black for shadows; instead, use a darker, desaturated version of the base fabric color.
- Remember that the deepest shadows usually occur in the tightest part of the fold, where the fabric is most compressed.
By focusing on the interaction between light and the geometric shapes of the folds, you can convey the weight and texture of any material. Practice these techniques regularly to build your visual library of fabric behavior.
Key facts
- Folds always follow the path of least resistance, meaning they originate from points of tension or compression.
- Gravity dictates that fabric will hang vertically unless pulled taut by a limb or object.
- Tubular folds form when fabric hangs from a single point, creating a series of cylinders.
- Diaper folds occur when fabric is pinned at two points, creating a sagging "U" shape between them.
- Zigzag folds appear at joints like elbows or knees where fabric bunches up due to compression.
- Use thinner lines for shallow folds and thicker, darker lines for deep, shadowed crevices to create depth.
The bottom line
Drawing realistic fabric folds relies on understanding the relationship between the cloth and the body beneath it. By identifying points of tension and compression, you can place folds logically rather than randomly. Focus on the silhouette and the interaction of light and shadow to create volume. With consistent practice observing how different materials drape, you will develop the ability to render clothing that feels natural and dynamic.
People also ask
Why do my fabric drawings look stiff and flat?
You are likely ignoring the underlying anatomy of the figure. Fabric must wrap around the volume of the body, so drawing the limbs first helps you place folds where the fabric stretches or bunches.
Should I draw every single wrinkle I see?
No, over-detailing creates visual clutter and makes the fabric look like plastic. Focus on the primary folds that define the shape and ignore minor, distracting creases.
What is the difference between tension and compression folds?
Tension folds occur when fabric is pulled tight between two points, creating straight lines. Compression folds happen when fabric is pushed together, resulting in soft, bunched-up curves.
How do I choose where to place shadows in folds?
Identify your light source first, then shade the side of the fold that is hidden from the light. Keep the transition between light and shadow soft to mimic the way fabric absorbs light.
Does the type of fabric affect how I should draw it?
Yes, heavy fabrics like denim create large, angular folds, while light materials like silk produce many small, delicate, and flowing lines. Adjust your line weight and frequency based on the material's weight.
How can I practice drawing folds effectively?
Drape a piece of cloth over a chair or your own arm and observe it under a single light source. Sketching from life helps you understand how gravity and tension interact in real time.
This answer was created with the help of AI research tools and reference sources. Spotted an error? Let us know — we correct mistakes quickly. See our editorial policy.