How do you paint a sunrise with acrylic paint?
Short answer
To paint a sunrise with acrylics, begin by applying a light-to-dark gradient of yellow, orange, and pink across your canvas. Use a wide, damp brush to blend the colors while they remain wet. Once dry, add silhouette elements like mountains or trees in the foreground using deep, opaque black or dark purple paint.
On this page
How to prepare your canvas for acrylic painting
Before you begin your sunrise, ensure your canvas is properly primed with gesso. A smooth, white surface allows acrylic colors to appear more vibrant and prevents the paint from soaking into the fabric weave. If you are using a stretched canvas, apply two thin coats of gesso, sanding lightly between layers once they are fully dry. This creates a professional foundation that makes blending easier.
For your color palette, select high-quality student or artist-grade acrylics. You will need a warm yellow, a bright orange, a deep magenta or red, and a touch of white for highlights. Prepare a palette with these colors arranged in a logical order, such as a rainbow gradient. Keep a spray bottle filled with water nearby, as acrylics dry rapidly. Misting your palette occasionally keeps your paint workable for longer periods, which is essential for achieving the soft, glowing transitions characteristic of a morning sky.
How to blend colors for a smooth sunrise
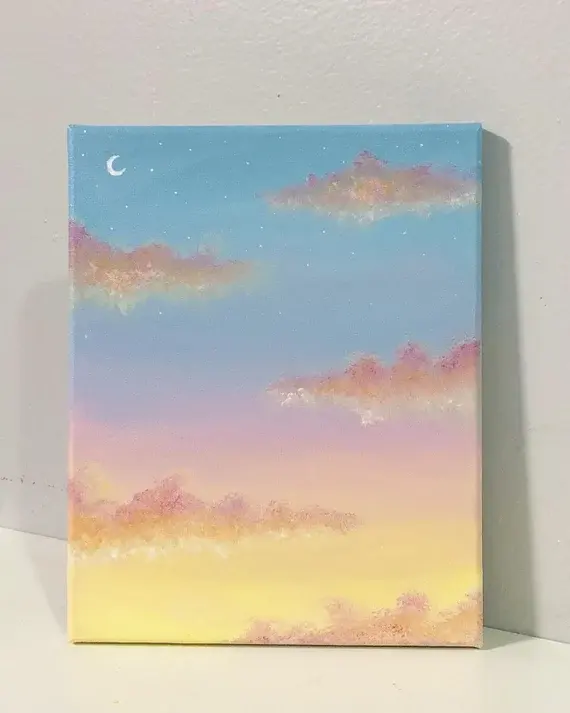
The key to a realistic sunrise is the gradient. Start by applying your lightest color, usually a pale yellow, near the horizon line where the sun will be positioned. Gradually transition into warmer oranges and then deeper pinks or purples as you move toward the top of the canvas. Use a large, flat brush to pull the colors into one another while they are still wet.
- Apply horizontal bands of color across the canvas, starting from the center and working outward.
- Use a clean, damp brush to lightly sweep over the seams where two colors meet.
- Work quickly before the acrylic polymer sets, as the paint becomes difficult to blend once it starts to dry.
- Add small amounts of white to your colors to create lighter tints as you approach the horizon.
Best techniques for painting clouds and light
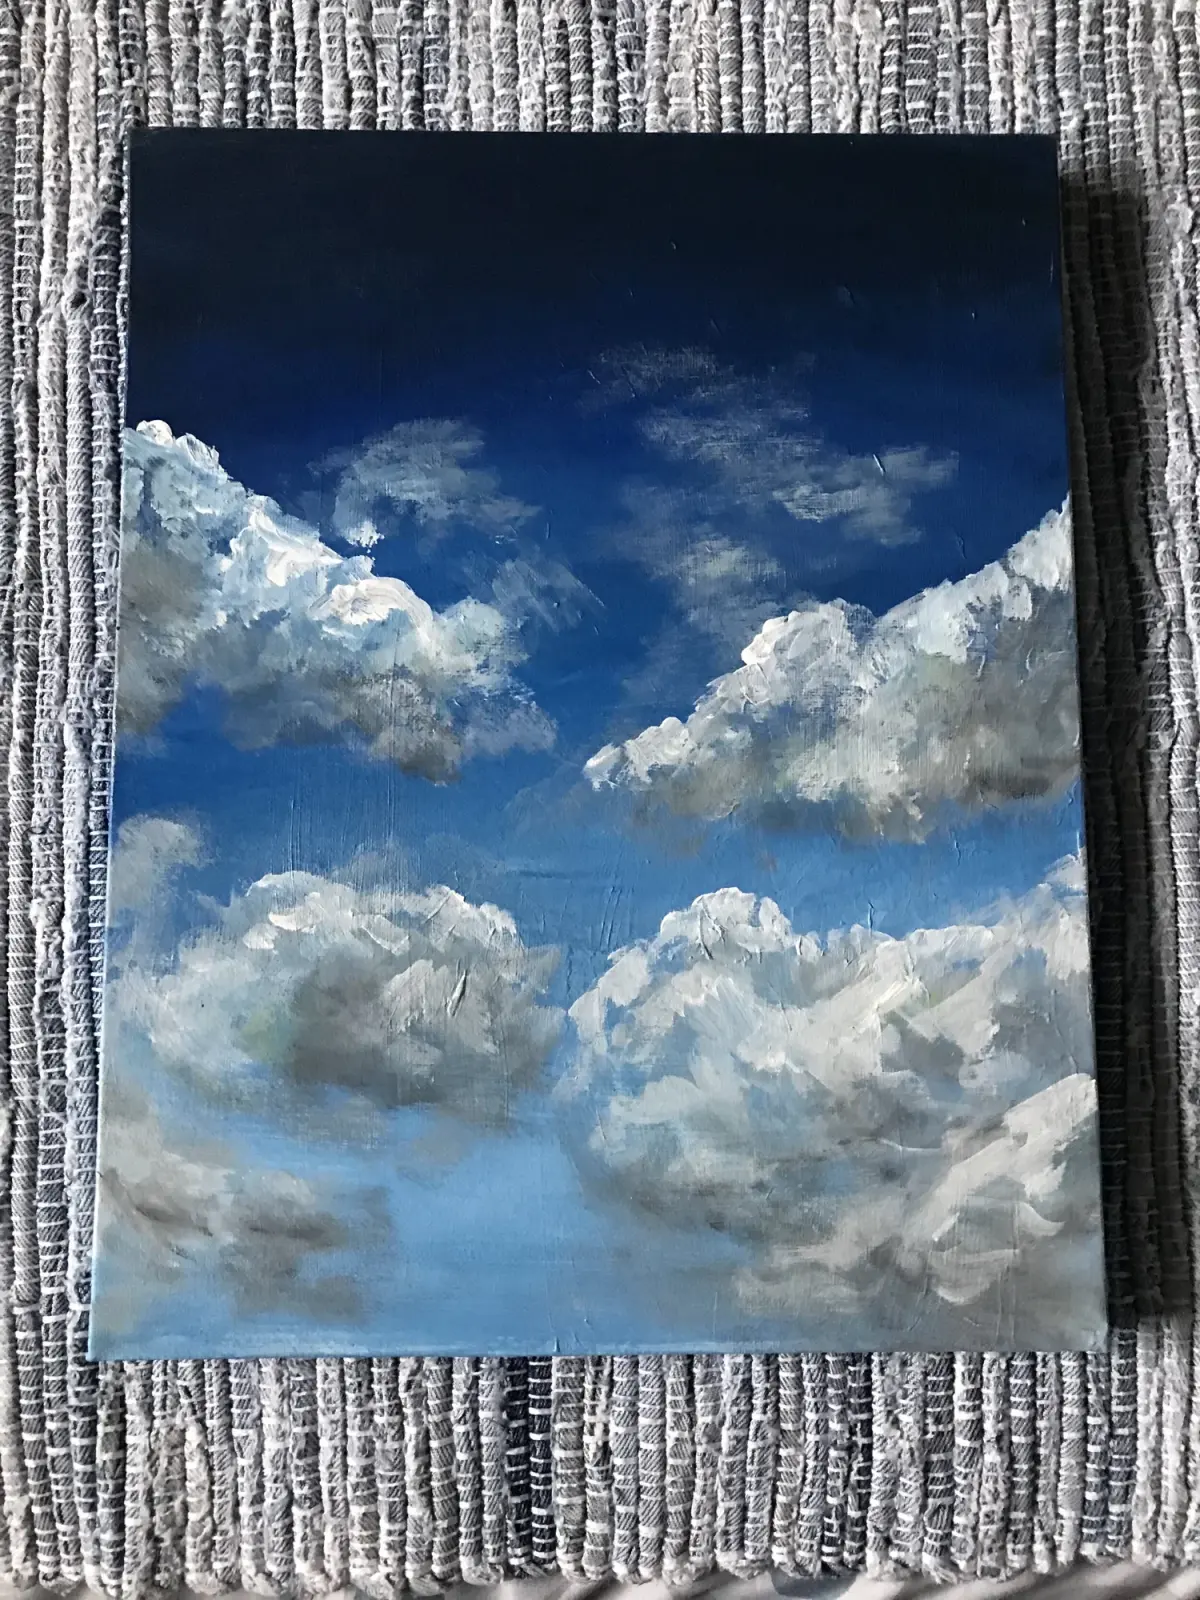
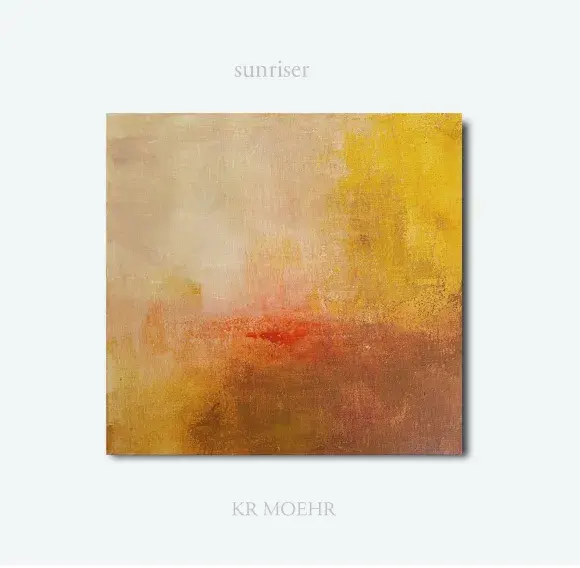
Sunrises often feature soft, wispy clouds that catch the early morning light. To create these, use a dry-brush technique with a small amount of white or light pink paint. Lightly drag the brush across the dried sky background to create broken, textured marks. This mimics the ethereal, delicate nature of morning mist and high-altitude cirrus clouds.
For the sun itself, wait until the surrounding sky is completely dry. Use a small, round brush to apply a concentrated circle of pure white or very pale yellow at the horizon. If you want a glowing effect, carefully dab a soft, dry brush around the edges of the circle to blur it slightly into the background. Avoid overworking this area, as too much blending will turn the sun into a muddy gray color rather than a bright, radiant light source.
How to add silhouettes and foreground details
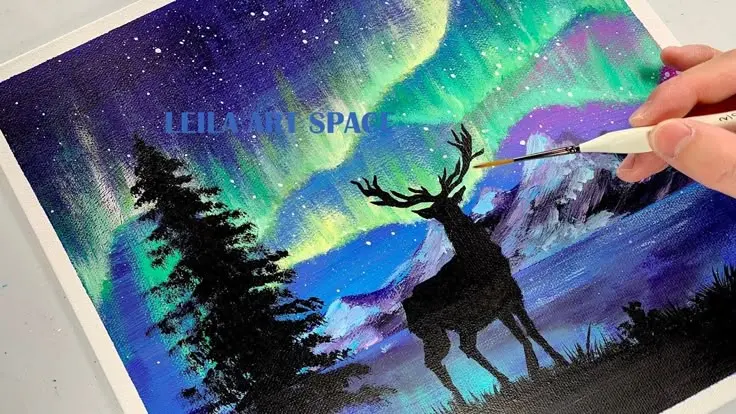
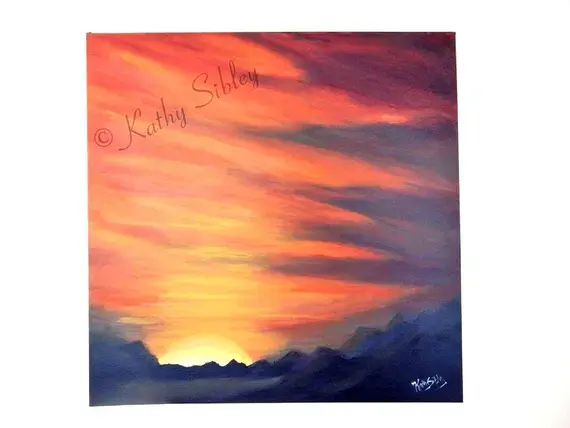
Once the sky is finished, the foreground provides the necessary contrast to give your painting depth. Use dark, opaque colors like burnt umber, ultramarine blue, or black to paint silhouettes of trees, mountains, or buildings. Because the sun is behind these objects, they should appear as flat, dark shapes without internal detail.
- Use a fine-liner brush for thin branches or grass blades.
- Ensure your foreground shapes are grounded by painting them all the way to the bottom edge of the canvas.
- Keep the edges of your silhouettes sharp to create a clear separation between the distant sky and the near landscape.
- Layer your silhouettes, placing larger objects lower on the canvas to simulate a sense of distance and perspective.
Common mistakes when painting sunrises
A frequent error is over-blending the colors, which results in a muddy, brownish sky. To avoid this, limit the number of times you pass your brush over the same area. If the colors start to lose their vibrancy, let the layer dry completely before adding a thin, transparent glaze of color over the top. Another common mistake is neglecting the horizon line, which should remain relatively straight to provide a sense of stability.
Do not be afraid to use bold, saturated colors. Beginners often use too much white, which can make the sunrise look washed out or pastel rather than energetic. If your painting looks flat, try adding a few darker, cooler tones near the very top of the sky to create a sense of atmospheric depth. Finally, always clean your brushes immediately after use, as dried acrylic paint is permanent and can quickly ruin the bristles of your favorite tools.
Key facts
- Acrylic paint dries within 10 to 20 minutes, requiring you to blend colors quickly while they remain wet.
- Use a retarder medium to extend the drying time of your acrylics, allowing for smoother gradients.
- Start with a base layer of white or light yellow to ensure the subsequent colors appear vibrant and luminous.
- Apply colors from the horizon line upward, transitioning from warm yellows to oranges, then deep reds or purples.
- Use a soft, wide synthetic brush to blend the edges of your color bands horizontally for a seamless sky.
- Always clean your brushes immediately after use, as acrylic paint becomes water-resistant and permanent once dry.
The bottom line
Painting a sunrise requires a balance of speed and color layering. By working from light to dark and utilizing blending mediums, you can achieve a smooth, atmospheric transition. Remember to keep your brushes clean and work in thin, buildable layers. With patience and consistent horizontal brush strokes, you can capture the fleeting, radiant beauty of a morning sky on your canvas with professional-looking results.
People also ask
Should I use a primer on my canvas before painting a sunrise?
Yes, applying a coat of gesso creates a smooth, non-porous surface that prevents the paint from soaking into the fabric. This ensures your colors remain bright and easy to manipulate during the blending process.
How do I create a realistic sun glow?
Paint a small, bright white circle for the sun and use a dry, soft brush to lightly feather the edges outward into the surrounding yellow paint. This technique creates a soft, hazy halo effect common in natural sunrises.
Can I fix mistakes if the paint dries too fast?
If a section dries before you are satisfied, simply let it dry completely and paint a new thin layer over the top. Acrylics are opaque enough to cover previous mistakes once the surface is solid.
What brushes are best for blending a sky?
Flat or filbert brushes with soft synthetic bristles are ideal for covering large areas and blending transitions. Avoid stiff natural-bristle brushes, as they can leave visible streaks in your smooth sky gradients.
How do I make the colors look more natural?
Avoid using paint straight from the tube; mix small amounts of white or complementary colors into your hues to soften them. Natural light in a sunrise is rarely pure, saturated color, so subtle shifts add realism.
Is it better to paint the clouds before or after the sky?
Paint the base sky colors first, then layer the clouds on top once the background is tacky or dry. This allows you to define the edges of the clouds without them muddying into the sky colors.
This answer was created with the help of AI research tools and reference sources. Spotted an error? Let us know — we correct mistakes quickly. See our editorial policy.