How do you paint sunflowers with acrylic paint?
Short answer
Painting sunflowers with acrylics involves layering warm yellows and oranges over a dark, earthy base. Begin by sketching the central disc, then apply petals using varied brushstrokes to create texture. Acrylics dry quickly, so work in sections, blending colors directly on the canvas to achieve depth and naturalistic light effects.
On this page
What materials are needed for acrylic sunflowers?
To paint sunflowers effectively, you need a basic set of high-quality acrylic paints, including cadmium yellow, yellow ochre, burnt sienna, raw umber, and titanium white. Choose a variety of brushes, specifically filbert brushes for petals and small round brushes for the intricate details of the seed head. A medium-textured canvas or heavy-duty acrylic paper serves as an ideal surface.
Beyond the paint and brushes, prepare a palette, a water container, and a rag for cleaning your tools. Acrylics dry quite rapidly, so having a spray bottle of water to mist your palette will keep the colors workable for longer durations. Consider these essential supplies:
- Heavy-body acrylic paints for better texture and coverage.
- A palette knife for mixing colors and adding impasto-style highlights.
- Synthetic brushes that hold their shape well with thicker acrylic paint.
- A stay-wet palette or a simple plastic tray to manage paint consistency.
How to prepare the canvas for painting?
Preparation begins with a toned ground, which helps unify the painting and makes color choices more accurate. Apply a thin wash of burnt sienna or yellow ochre mixed with water or a glazing medium across the entire canvas. This mid-tone background eliminates the stark white of the canvas, allowing you to judge the brightness of your yellow petals more effectively as you build the composition.
Once the wash is dry, sketch the basic structure of the sunflowers using a light charcoal pencil or a diluted paint color. Focus on the circular centers and the radiating lines of the petals. Avoid drawing too much detail at this stage, as the goal is to establish the placement and scale of the flowers. Keep your lines loose so they can be easily covered by the subsequent layers of opaque paint.
How to paint sunflower petals and centers?
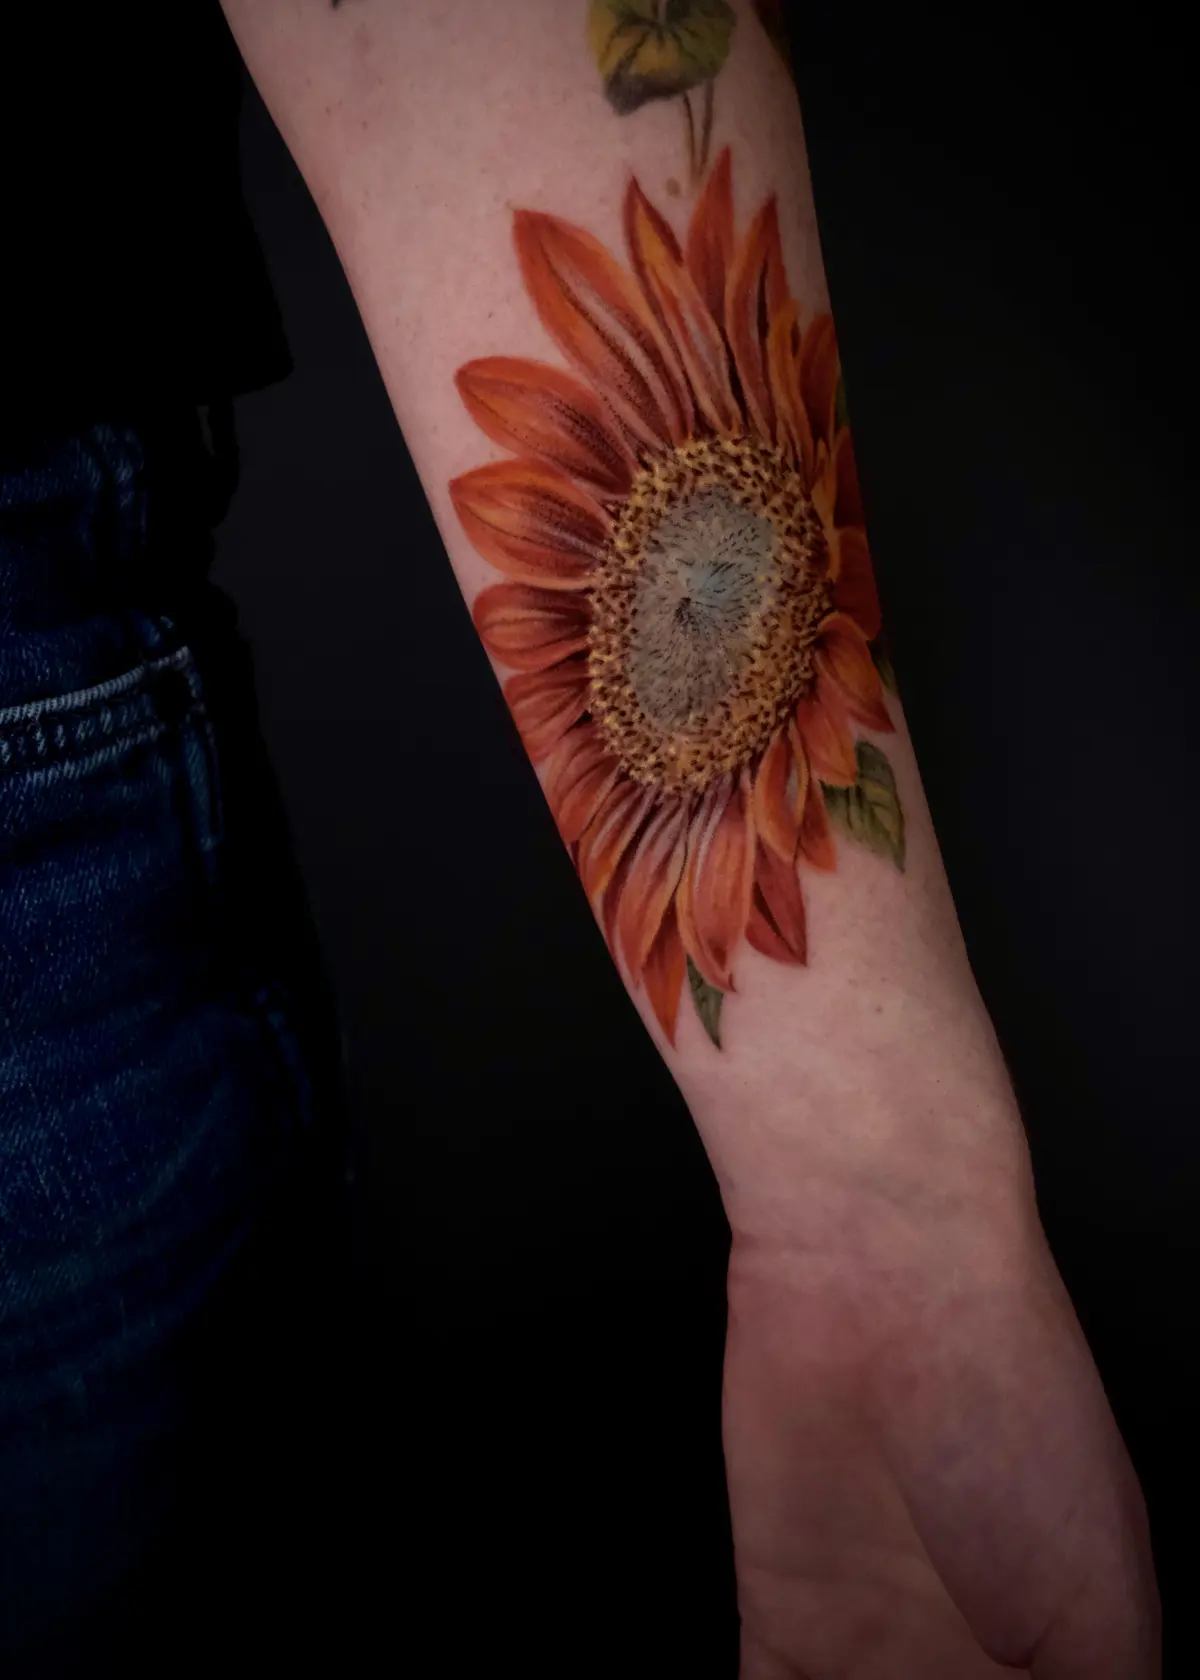
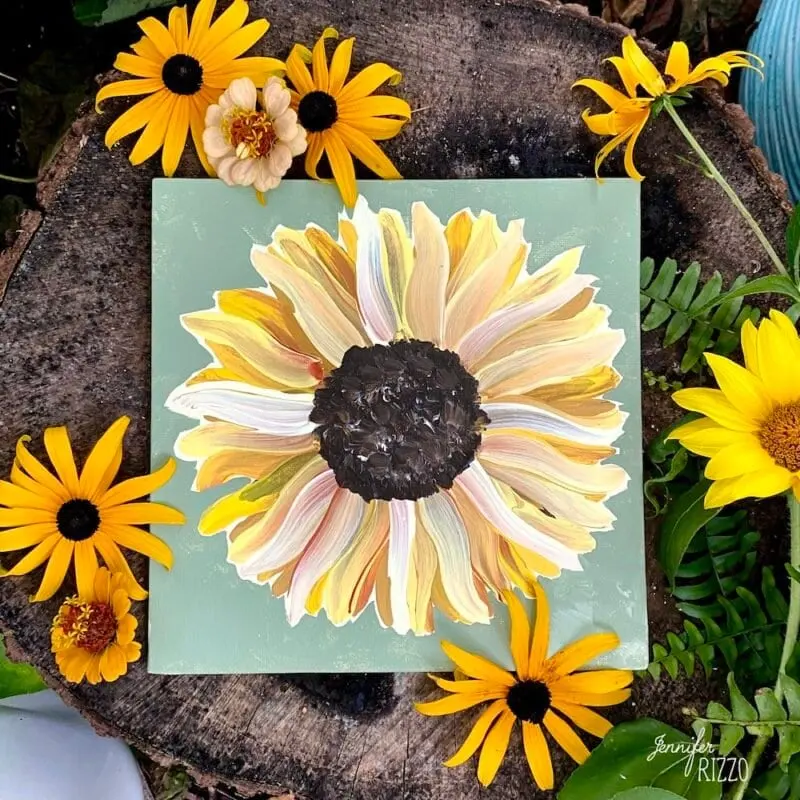
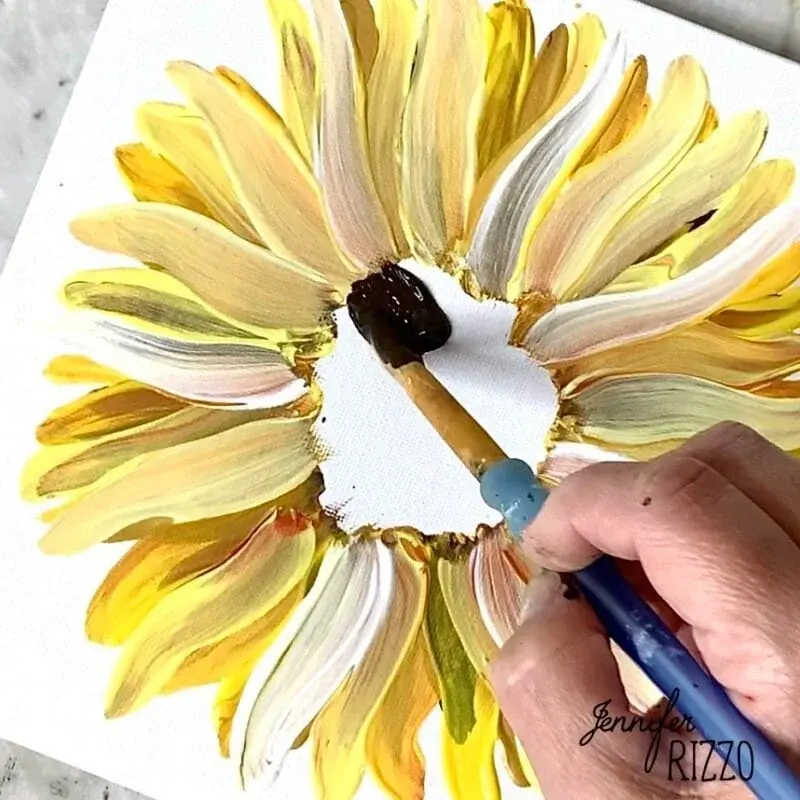
The key to realistic sunflowers lies in the variation of color and brushwork. Start by filling in the center of the flower with a dark mixture of raw umber and burnt sienna. While the center is still wet, dab in small dots of lighter ochre or orange to suggest the texture of seeds. This creates an immediate sense of volume and depth before you even touch the petals.
For the petals, use a filbert brush to apply thick, confident strokes starting from the center and moving outward. Vary the length and direction of each stroke to create a natural, organic look. Use these steps to build the petals:
- Mix a base yellow with a touch of white for the brightest highlights.
- Apply a darker yellow or orange at the base of the petal where it meets the center.
- Layer lighter, thinner strokes over the base to create the illusion of light hitting the surface.
- Use a clean, dry brush to gently soften the edges of the petals if they appear too rigid.
Common mistakes when painting sunflowers?
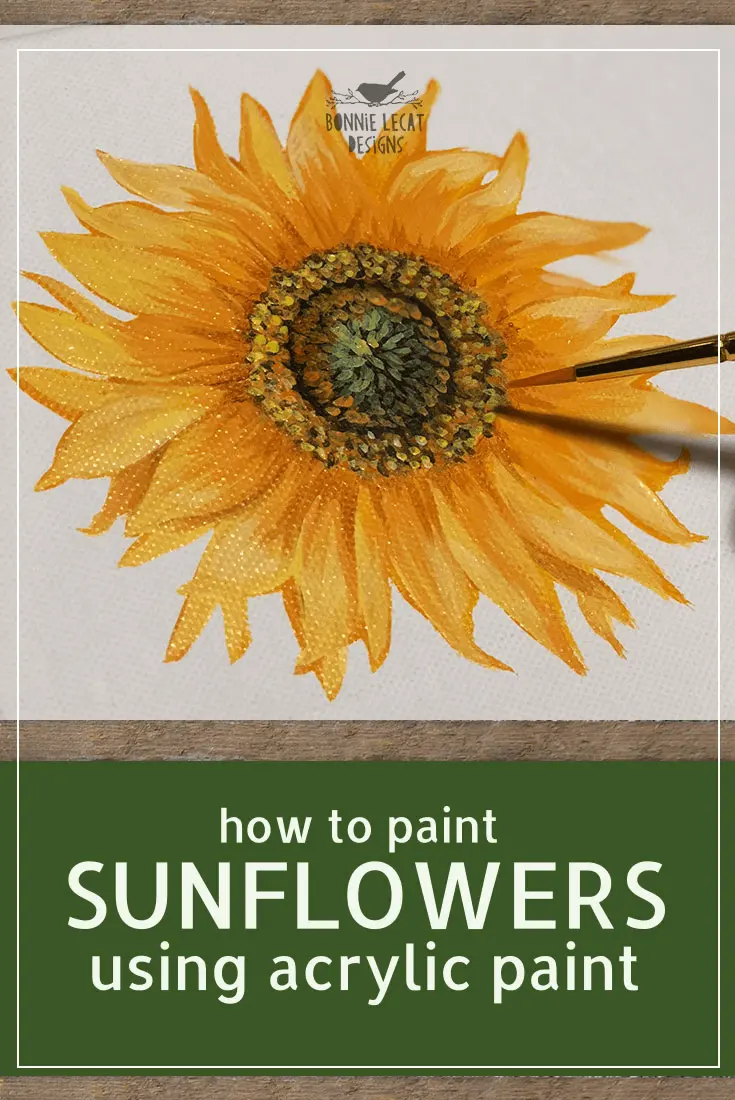
One frequent error is using a single, flat shade of yellow for all the petals. Sunflowers naturally possess a range of hues, from pale lemon to deep, burnt orange. If you do not incorporate these variations, the flower will appear static and two-dimensional. Always mix your yellow with small amounts of orange, brown, or white to reflect the light and shadow falling across the petals.
Another common mistake is failing to account for the thickness of the paint. Beginners often water down acrylics too much, which makes them behave like watercolors and prevents the creation of texture. To achieve the iconic, tactile appearance of a sunflower, use the paint straight from the tube or mix it with a heavy-body gel medium. This allows the brushstrokes to remain visible, providing the painting with a professional, sculptural quality that captures the essence of the flower.
How to add finishing touches and depth?
The final stage of the painting is where you add the highlights and shadows that bring the sunflower to life. Use a small round brush to add bright white or light yellow accents to the tips of the petals that face the primary light source. Conversely, deepen the shadows under the petals where they overlap to create a sense of distance and space between them.
Do not forget to paint the stem and leaves, which provide a necessary contrast to the vibrant yellow heads. Use a mix of sap green, ultramarine blue, and a touch of yellow to create a realistic, muted green. Keep these elements slightly out of focus compared to the petals to ensure the viewer’s eye remains on the sunflower itself. By layering these final details with care, you complete the work with a polished, professional finish that highlights your artistic growth.
Key facts
- Acrylic paint dries within 10 to 20 minutes, allowing for rapid layering of petals.
- Use a round brush for delicate petal shapes and a flat brush for filling in large centers.
- Mix yellow with a touch of burnt sienna to create depth and shadow in the petals.
- Apply a dark brown or black base layer in the center before adding texture with stippling.
- Keep a spray bottle of water nearby to prevent the paint from drying on your palette.
- Use a synthetic hog-hair brush to create realistic, coarse textures on the sunflower leaves.
The bottom line
Painting sunflowers with acrylics is an accessible process that rewards patience and layering. By mastering basic brushwork and understanding how to manipulate drying times, you can capture the vibrant essence of these flowers. Focus on building depth through color transitions and textures. With proper tool maintenance and a steady hand, you will create a lasting, professional-looking floral piece that highlights your unique artistic style and vision.
People also ask
Should I use a primer on my canvas before starting?
Yes, applying a coat of gesso ensures the acrylic paint adheres properly and prevents the fabric from absorbing too much pigment. It creates a smooth, professional surface that makes your colors appear more vibrant.
How do I blend colors smoothly with fast-drying acrylics?
Work in small sections and use a damp brush to soften the edges of your paint before it sets. You can also add a retarder medium to your paint, which extends the drying time significantly.
What is the best way to clean acrylic brushes?
Wash them immediately with warm water and mild soap while the paint is still wet. Never let acrylic paint dry on your bristles, as it creates a plastic-like film that ruins the brush shape.
Can I paint over mistakes if I mess up a petal?
Absolutely, as acrylics are opaque and layerable. Simply wait for the area to dry completely and then paint over the error with a fresh layer of color.
How do I make the sunflower look three-dimensional?
Focus on light and shadow by using darker tones near the base of the petals and lighter highlights at the tips. This contrast creates the illusion of volume and depth.
Do I need to seal the finished painting?
Applying a clear acrylic varnish once the painting is fully cured protects the work from dust, UV light, and moisture. This step ensures your artwork remains vibrant for many years.
This answer was created with the help of AI research tools and reference sources. Spotted an error? Let us know — we correct mistakes quickly. See our editorial policy.