How do you draw a tree?
Short answer
Drawing a tree involves capturing the structural hierarchy of the trunk, branches, and foliage. Begin by establishing a sturdy vertical foundation, then layer organic, tapering branches outward. Focus on the silhouette and light patterns rather than individual leaves, using varied line weights to create depth, dimension, and a sense of natural movement.
On this page
How to structure a tree drawing
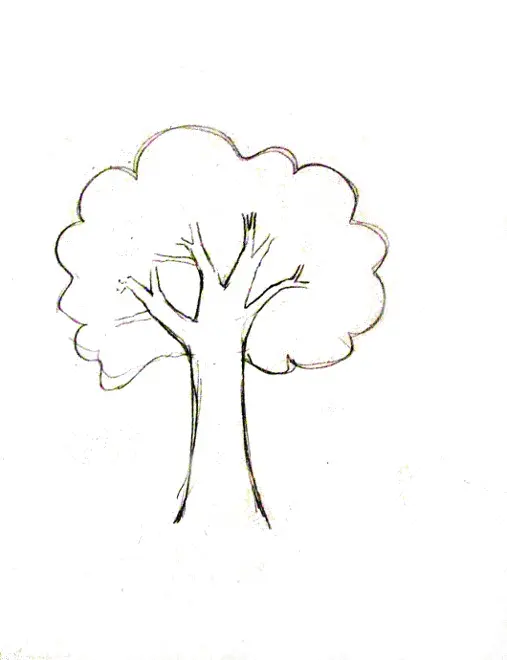
The secret to a realistic tree is understanding its skeletal growth. Every tree follows a pattern of branching where the trunk acts as the primary support, splitting into secondary limbs, which then divide into smaller twigs. Before adding texture or leaves, sketch a simple "Y" or "V" shape to establish the main fork. This basic framework prevents the drawing from looking lopsided or unnatural.
To build a convincing structure, follow these steps:
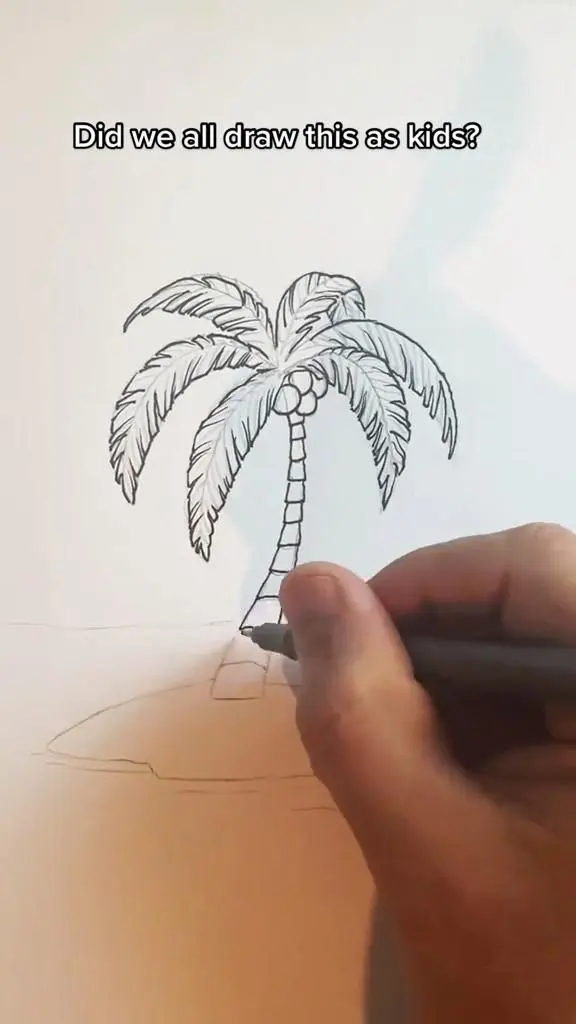
- Draw a vertical line for the trunk, making it slightly wider at the base where it meets the ground.
- Extend lines outward at varying angles to represent the primary branches.
- Add smaller, thinner lines that curve upward or outward to represent the canopy's reach.
- Vary the thickness of your lines; branches should always be thinner than the trunk they emerge from.
Best drawing techniques for beginners
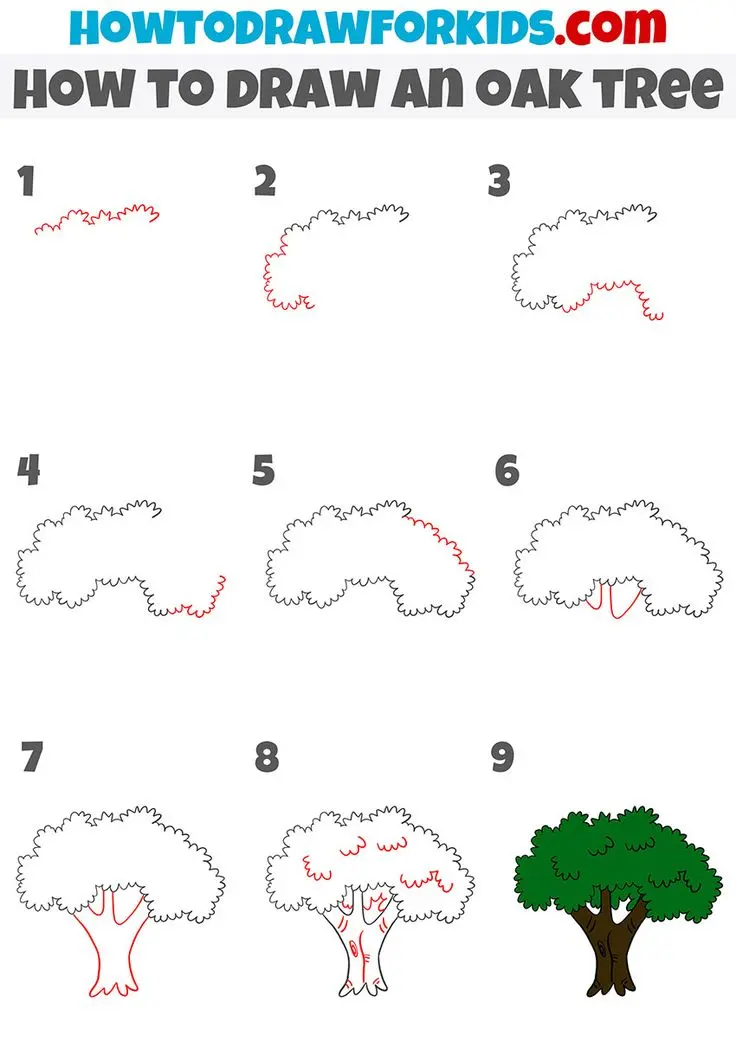
Beginners often make the mistake of drawing individual leaves, which leads to a cluttered and artificial appearance. Instead, think of the tree as a series of large, grouped masses or "clouds" of foliage. Use light, circular, or scribbling motions to define the outer edges of these masses. This creates a sense of volume without the tedious task of detailing every single leaf.
Focusing on light and shadow is essential for giving your tree a three-dimensional quality. Identify where the sun is hitting the tree and leave those areas lighter, while shading the undersides of the foliage clusters. By grouping the leaves into distinct shapes, you create clear silhouettes that are much easier to shade. This method helps you manage the complexity of a tree’s canopy by focusing on the overall form rather than the minute details.
How to add texture to tree bark
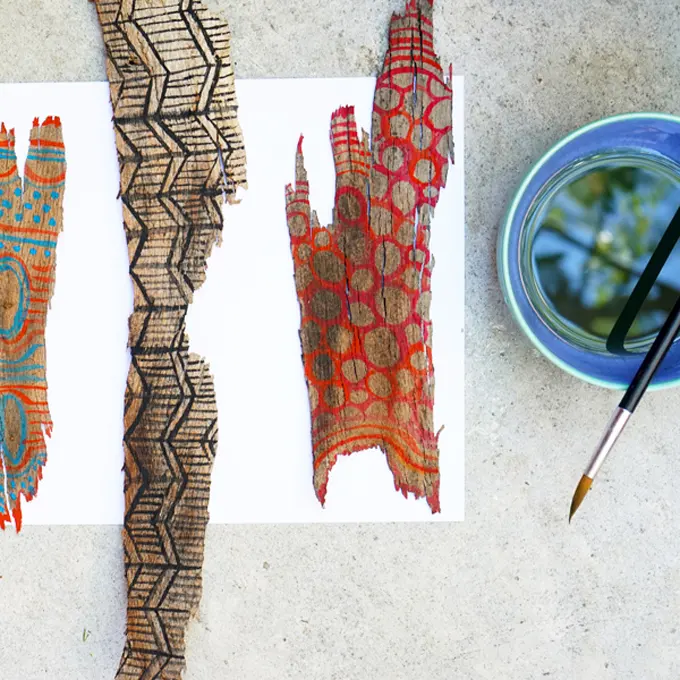
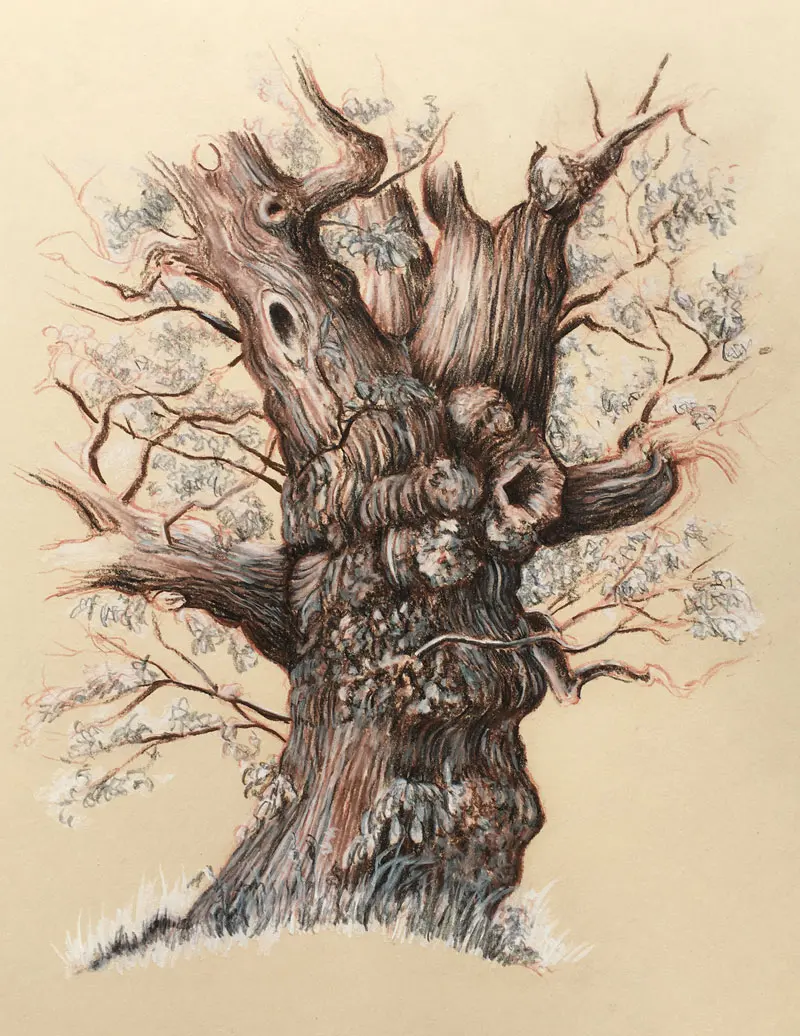
Bark texture is what separates a professional-looking drawing from a flat sketch. Avoid drawing long, straight lines up and down the trunk, as this makes the tree look like a flat pole. Instead, use short, broken, and jagged marks to suggest the rough, irregular surface of the bark. These marks should follow the curve of the trunk, which helps convey its cylindrical shape.
Consider these tips for rendering realistic bark:
- Use a soft graphite pencil (like a 4B or 6B) to create deep, dark crevices in the bark.
- Leave small, unshaded gaps to represent highlights where the bark catches the light.
- Vary the density of your marks, making them tighter together in shadowed areas and sparser in the light.
- Add horizontal knots and scars to break up the vertical flow, making the trunk appear aged and authentic.
Common mistakes when drawing trees
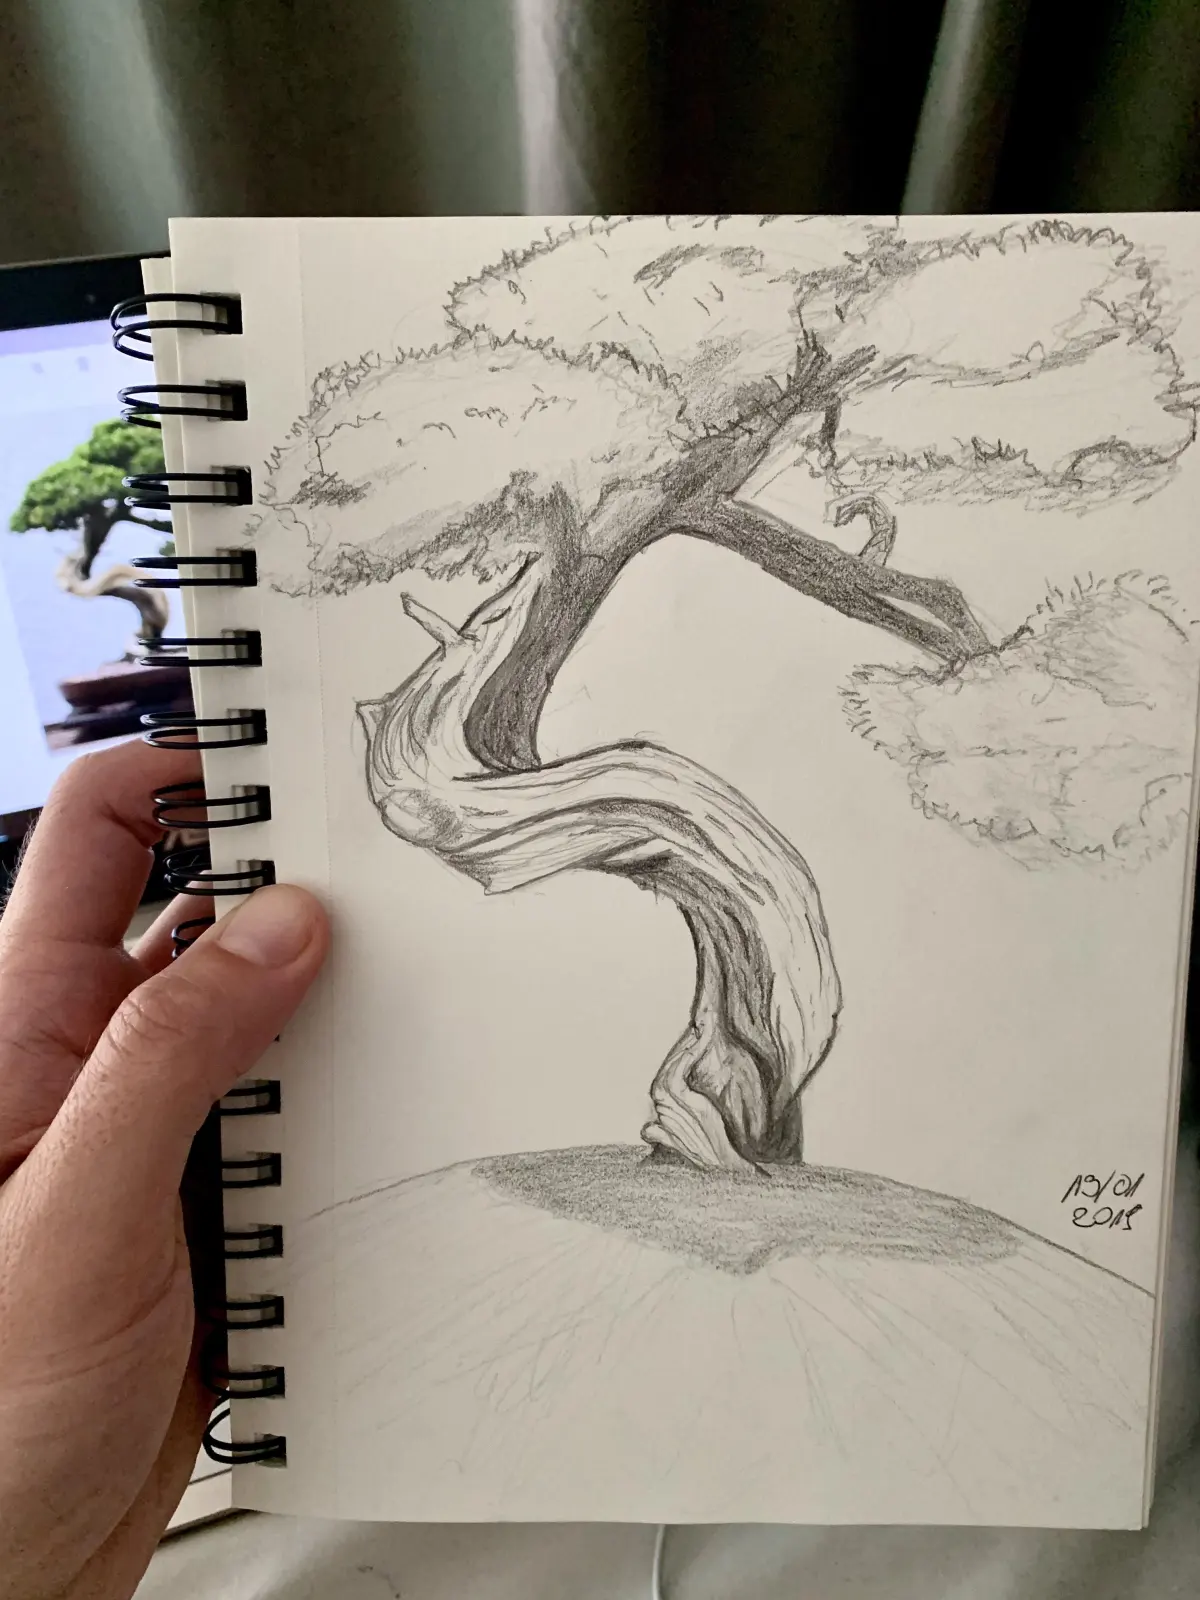
One of the most frequent errors is creating a "lollipop" tree, which features a perfectly round ball of leaves sitting on a thin, straight stick. Real trees are rarely symmetrical and almost never perfectly round. To avoid this, introduce asymmetry by making one side of the canopy larger or lower than the other. Study real trees in your neighborhood to see how they lean, twist, and adapt to their environment.
Another common pitfall is ignoring the negative space between branches. Beginners often fill every gap with leaves, resulting in a solid, heavy-looking blob. Remember that a tree is mostly empty space; you should be able to see bits of the sky or background through the gaps in the branches. By allowing the viewer to see through the tree, you instantly add realism and a sense of airiness to your artwork.
How to use light and shadow effectively
Light is the most powerful tool for defining the form of a tree. A tree is essentially a collection of spheres and cylinders, and you should treat it as such when applying value. Determine your light source early on and stick to it consistently throughout the drawing. If the light comes from the top right, the top right of each foliage cluster should be bright, while the bottom left should be in shadow.
To master lighting, observe how shadows fall on the ground beneath the tree. The shadow on the ground should mirror the shape of the canopy above, though it will be distorted by the angle of the sun. Deepening the shadows within the foliage masses will make the light areas pop, giving the tree a sense of weight and presence. By mastering these light transitions, you move beyond simple outlines and create a living, breathing representation of nature on your page.
Key facts
- Start by drawing a vertical line for the trunk, making it wider at the base to create a stable foundation.
- Use a "Y" shape or a series of smaller "V" shapes to branch out from the trunk, ensuring they become thinner as they extend upward.
- Avoid drawing perfectly symmetrical branches, as natural trees grow in irregular, organic patterns.
- Add foliage by drawing clusters of small, cloud-like shapes rather than individual leaves to suggest density.
- Apply shading on one side of the trunk and branches to create a three-dimensional effect and indicate a light source.
- Use darker values near the center of the tree and lighter values toward the edges to provide depth and volume.
The bottom line
Drawing a tree is an exercise in capturing organic irregularity rather than geometric perfection. By building a sturdy trunk, branching out with asymmetrical limbs, and grouping foliage into shaded masses, you create a convincing representation of nature. Focus on the interplay of light and shadow to establish volume. With practice, observing the unique structural habits of different species will allow you to sketch any tree with confidence.
People also ask
How do I make my tree look realistic?
Focus on the "gesture" of the tree by observing how branches twist and reach toward the light. Adding texture to the bark with short, jagged lines helps ground the drawing in reality.
What is the best pencil grade for drawing trees?
Use an HB pencil for initial light sketches and a 4B or 6B pencil to add deep shadows and contrast. Softer leads allow for richer blacks that make the foliage pop.
Should I draw every single leaf?
Drawing every leaf is unnecessary and often makes a tree look cluttered. Instead, group leaves into masses and focus on the overall silhouette and shadow patterns.
How do I draw different types of trees?
Study the specific growth habits of species, such as the weeping posture of a willow or the upward, V-shaped branching of an elm. Each species has a unique "skeleton" that defines its shape.
How can I show depth in a forest scene?
Draw trees in the foreground with high contrast and detail, while keeping background trees lighter and less defined. This atmospheric perspective creates the illusion of distance.
Why does my tree look like a lollipop?
This common mistake happens when the trunk is too thin and the foliage is drawn as a single, uniform circle. Break the canopy into smaller, overlapping clumps to create a more natural, complex form.
This answer was created with the help of AI research tools and reference sources. Spotted an error? Let us know — we correct mistakes quickly. See our editorial policy.