How do you draw bark?
Short answer
Drawing bark requires capturing the texture through varied line weights and shadow patterns rather than individual lines. Focus on the tree’s structural rhythm, using directional strokes to mimic growth patterns. By layering dark crevices against lighter, raised ridges, you create a three-dimensional effect that defines the specific species of the tree.
On this page
How to observe bark patterns
Before placing your pencil to paper, study the specific tree species you intend to draw. Bark is not a uniform surface; it often features distinct fissures, plates, or peeling layers that follow the tree's growth. For instance, a birch tree displays horizontal lenticels, while an oak tree exhibits deep, vertical, and rugged furrows. Spend time identifying the primary direction of these textures, as this will dictate your initial sketching strokes.
To capture these patterns effectively, look for the "rhythm" of the bark. Most trees have a repeating motif that flows around the trunk. Avoid drawing every single crack you see, as this leads to a cluttered and unrealistic image. Instead, focus on the following elements:
- The main vertical or horizontal fissures that define the trunk's shape.
- The raised areas that catch the light, creating highlights.
- The deepest shadows where crevices trap light, creating contrast.
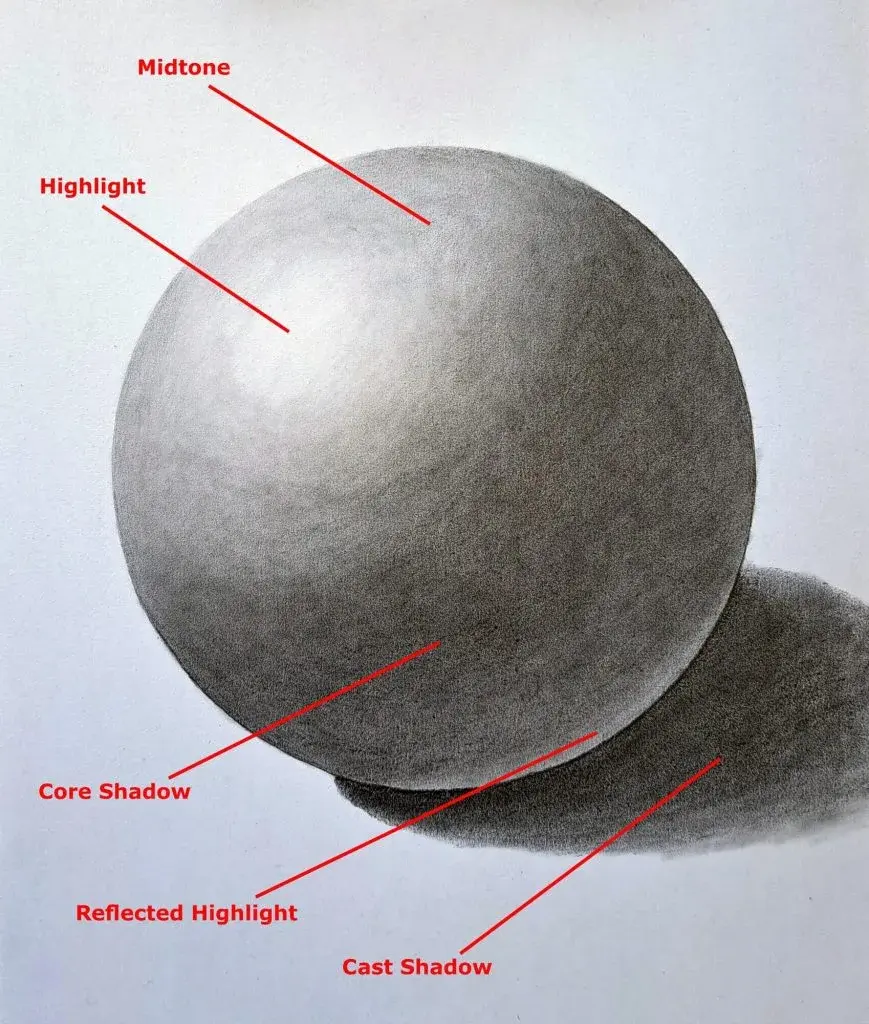
- The overall curvature of the trunk, which influences how shadows wrap around the cylinder.
Best drawing tools for beginners
For those just starting, a versatile set of graphite pencils is essential. A 2H pencil is ideal for light, preliminary structural lines, while a 4B or 6B pencil provides the necessary darkness for deep shadows within the bark. Using a kneaded eraser is also crucial, as it allows you to lift graphite to create subtle highlights on the raised ridges of the bark without damaging the paper surface.
When selecting paper, choose a medium-tooth surface. Smooth paper often fails to catch enough pigment, making the texture look flat, while overly rough paper can make fine detail work difficult. Consider these steps for your setup:
- Prepare your workspace with a sharpener to maintain precise points for detailed fissures.
- Use a blending stump or a soft cloth to soften transitions between shadows and mid-tones.
- Keep a scrap piece of paper under your hand to prevent smudging your work as you progress across the drawing.
- Experiment with charcoal if you want to achieve deep, velvety blacks that represent the darkest recesses of mature bark.
How to layer texture and shadow
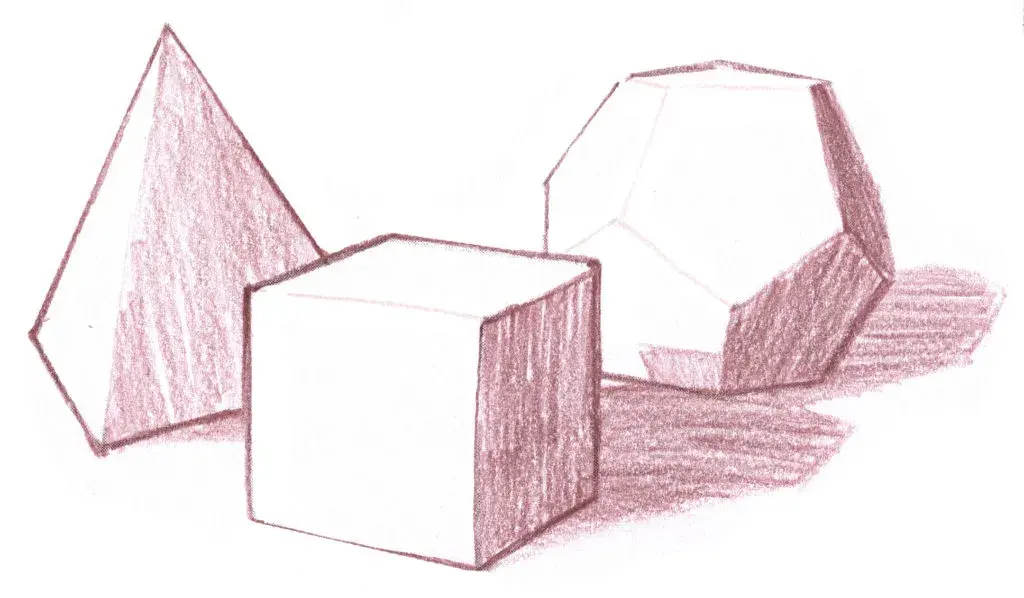
Creating a realistic bark texture relies on the principle of layering. Start by establishing the mid-tones across the entire surface of the trunk. Once the base tone is set, use your softer pencil to darken the deepest cracks. By keeping the ridges lighter and the fissures darker, you create the illusion of depth and physical mass that characterizes a living tree.
Always work in the direction of the tree's growth. If the bark is vertical, use long, sweeping downward strokes to define the ridges. If the bark is flaky or circular, use short, choppy marks to mimic the irregular surface. As you add detail, follow this progression:
- Establish the light source to determine which side of the ridges should be highlighted.
- Apply a light wash of graphite to define the overall form of the trunk.
- Add the darkest shadows within the crevices to create high contrast.
- Use an eraser to pull out thin, bright lines on the tops of the ridges where light hits most directly.
Common mistakes when drawing bark
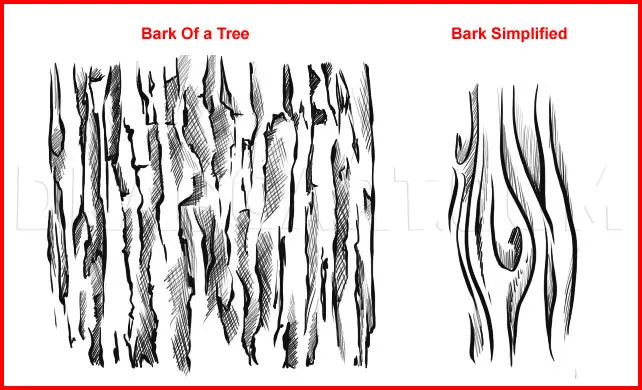
A frequent error is the tendency to draw every single line with the same pressure and thickness. This results in a flat, cartoon-like appearance that lacks the organic complexity of nature. Bark is a living, changing surface, and your lines should vary in weight to reflect this. Press harder in the deep, shaded cracks and use a very light touch on the raised, sunlit surfaces to maintain volume.
Another common mistake is ignoring the curvature of the tree. Many beginners draw bark as if it were a flat wall, forgetting that the trunk is a cylinder. This causes the texture to look disconnected from the form of the tree. To avoid this, ensure that your lines curve slightly as they move toward the edges of the trunk. This simple technique grounds the texture in three-dimensional space, making the tree appear solid and substantial rather than like a two-dimensional cutout.
How to add realistic finishing touches
The final stage of your drawing involves refining the highlights and shadows to unify the image. Use your kneaded eraser to gently dab at the ridges, creating irregular, broken highlights that suggest age and weathering. If the bark looks too uniform, add small, dark spots or "knots" to break up the pattern. These imperfections are what make a tree look authentic and aged rather than manufactured.
Finally, consider the transition between the bark and the surrounding environment. Adding a few stray leaves, moss, or subtle shadows at the base of the tree adds context and scale. Do not overwork the edges; leaving some parts of the bark slightly blurred or less defined can actually enhance the sense of realism by mimicking how the human eye focuses on a subject. By balancing sharp, dark details with soft, light-filled areas, you will successfully capture the complex, rugged beauty of tree bark in your artwork.
Key facts
- Bark texture is defined by the tree species, with patterns ranging from smooth, papery sheets to deep, vertical fissures.
- Use a soft graphite pencil, such as a 4B or 6B, to capture the dark, recessed shadows between ridges.
- Establish the tree's cylindrical form first by using light, curved hatching lines before adding surface details.
- Vary the pressure of your strokes to create depth, pressing harder in the crevices and lifting for the highlights on raised ridges.
- Avoid drawing every single crack; instead, suggest the texture through intermittent, broken lines and irregular shapes.
- Incorporate "negative space" by leaving small, unshaded areas on the ridges to represent sunlight hitting the bark surface.
The bottom line
Drawing realistic bark requires moving away from rigid patterns and embracing the organic, irregular nature of wood. By establishing the cylindrical volume of the trunk first and using varied line weights to define deep fissures, you create the illusion of depth. Focus on the shadows within the cracks rather than outlining every detail, as this technique provides a more authentic, textured appearance for your botanical sketches.
People also ask
How do I make bark look three-dimensional?
Focus on the curvature of the trunk by curving your shading lines around the cylinder. Darken the side of the tree that is furthest from your light source to create a sense of volume.
Should I use a blending stump to smooth out bark textures?
Use blending tools sparingly, as bark is typically rough and jagged. Over-blending can make the surface look like soft fabric rather than sturdy wood.
How do I draw moss or lichen on tree bark?
Use light, stippling dots or small, irregular clusters of marks on top of the bark texture. Keep these details subtle so they do not distract from the primary structure of the ridges.
What is the biggest mistake beginners make when drawing bark?
The most common error is drawing uniform, repetitive patterns that look like a grid or brick wall. Nature is chaotic, so vary the size, length, and spacing of your lines to mimic organic growth.
How do I represent different types of bark like birch versus oak?
For birch, use horizontal, thin, dark marks across a smooth, light surface. For oak, use deep, vertical, jagged lines that overlap to create thick, heavy ridges.
Do I need to draw the entire tree to practice bark?
Practicing on small, rectangular segments of bark is highly effective for learning texture. Focusing on a small section allows you to concentrate on the complex interplay of light and shadow without being overwhelmed.
This answer was created with the help of AI research tools and reference sources. Spotted an error? Let us know — we correct mistakes quickly. See our editorial policy.