How do you draw texture?
Short answer
Drawing texture requires observing how light interacts with surfaces to create shadows, highlights, and patterns. You must translate these visual cues into mark-making techniques like hatching, stippling, or layering. By focusing on the repetition of shapes and varying the pressure of your tools, you can convincingly replicate materials ranging from soft fur to jagged stone.
On this page
How to observe texture in real life
To draw texture effectively, you must first train your eyes to look past the object's outline and focus on its tactile qualities. Every surface reflects light differently based on its microscopic topography. Smooth surfaces like glass or polished metal create sharp, high-contrast highlights, while rough surfaces like brick or fabric diffuse light, resulting in softer, more scattered shadows.
When analyzing a subject, squint your eyes to blur the fine details. This helps you identify the primary light source and the overall value structure of the object. Once you understand the light, look for the repeating patterns or irregularities that define the surface. Ask yourself if the texture is composed of small pits, raised bumps, or directional fibers. Breaking a complex surface into these fundamental geometric components makes the drawing process significantly more manageable.
Best drawing techniques for beginners
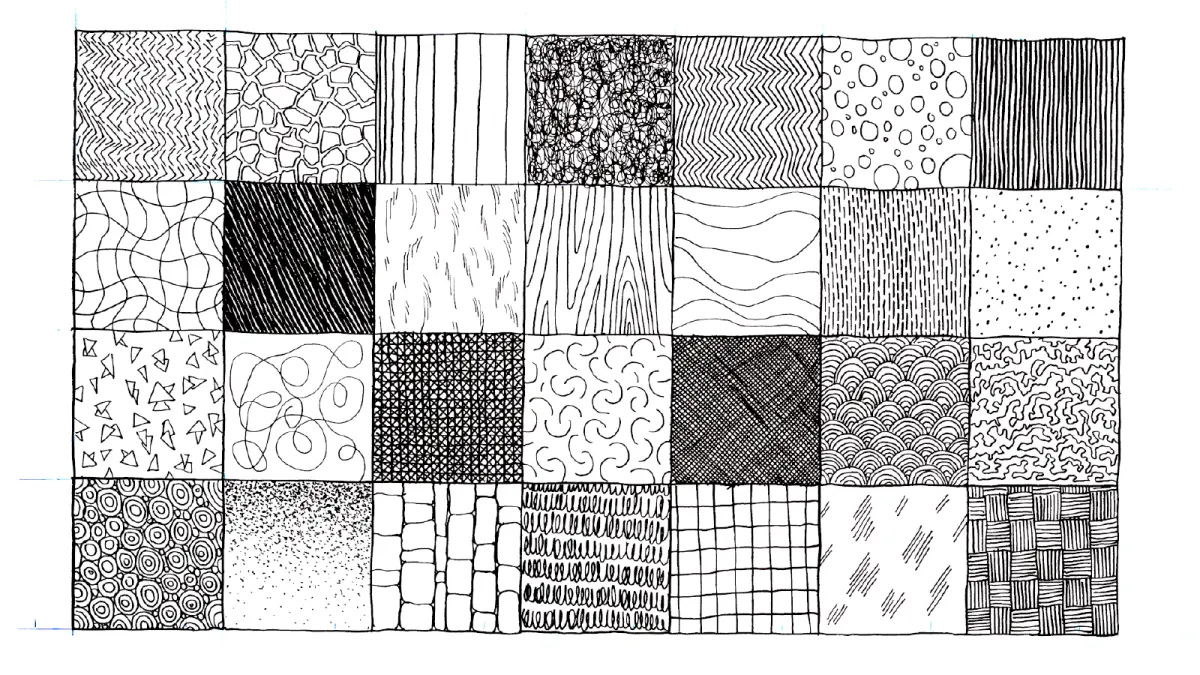
Mastering texture involves choosing the right mark-making style to mimic physical reality. Different tools and motions create distinct visual effects that represent specific materials. Beginners should practice these fundamental approaches to build a versatile repertoire:
- Hatching and cross-hatching: Use parallel or intersecting lines to build up shadow areas. Closer lines create darker, denser textures, while wider spacing suggests lighter, smoother surfaces.
- Stippling: Apply small dots to create tone. This is ideal for porous textures like skin, stone, or sand. The density of the dots determines the depth of the shadow.
- Scumbling: Use circular, overlapping scribbles to create a chaotic or organic feel. This technique works exceptionally well for drawing foliage, clouds, or tangled hair.
- Eraser lifting: Use a kneaded eraser to pull highlights out of a dark field. This is essential for rendering shiny or reflective textures like water or metallic surfaces.
How to draw fur and hair
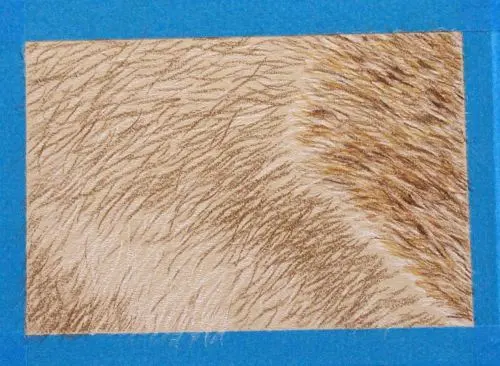
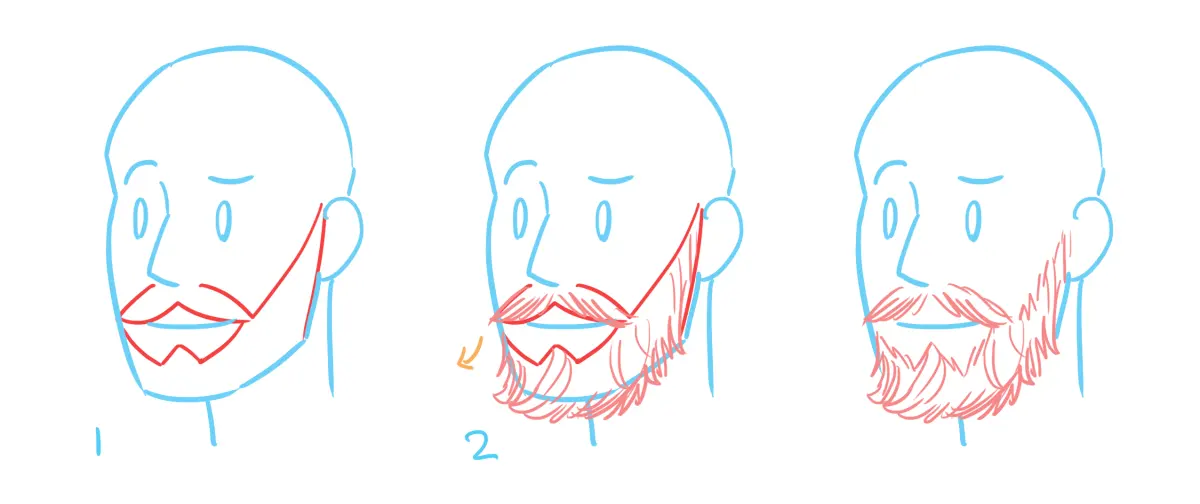
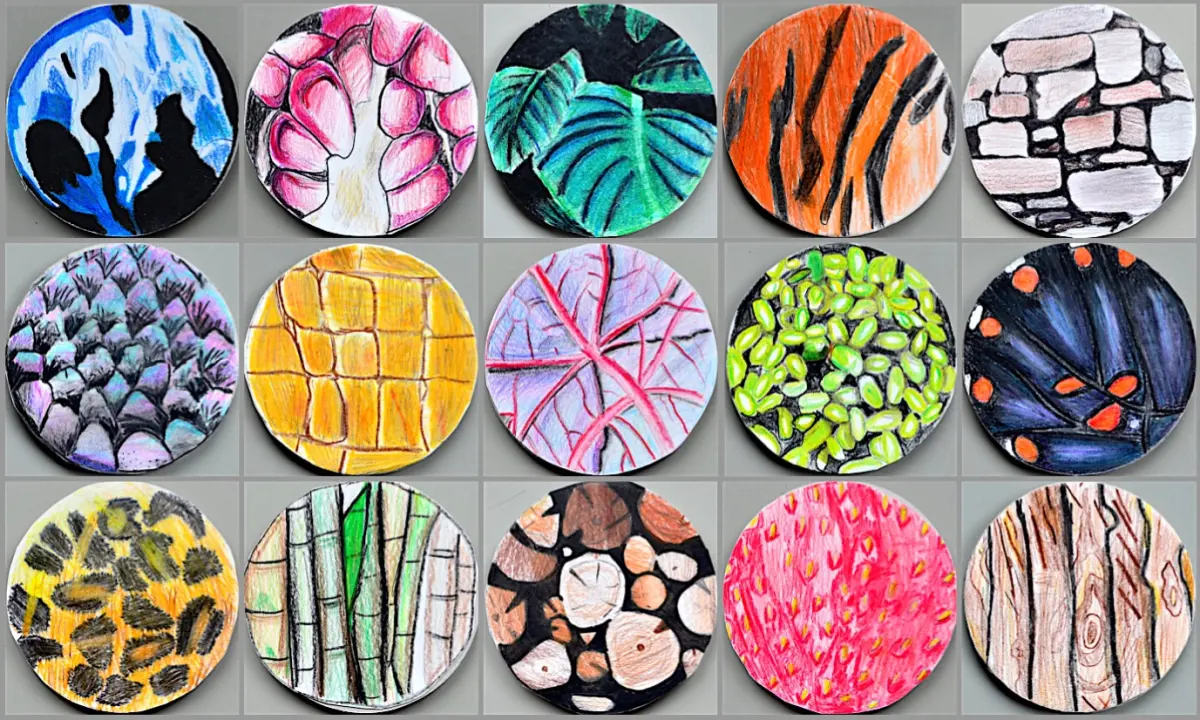
Drawing hair and fur is a common challenge because artists often try to draw every individual strand. Instead of focusing on single hairs, you should prioritize the overall shape and the way light flows over the mass. Think of hair as a series of overlapping ribbons or planes that follow the underlying form of the skull or body.
Start by sketching the general volume and the direction of growth. Use long, fluid strokes rather than short, choppy ones to maintain a sense of flow. To create realistic depth, follow these steps:
- Establish the darkest shadows where the hair clumps together or meets the skin.
- Use a sharp pencil to add individual strands only at the edges where the silhouette meets the background.
- Leave white space for the "highlight band," which is where light hits the curved surface of the hair mass.
- Vary the thickness of your lines to create a natural, organic appearance.
Why texture looks flat or fake
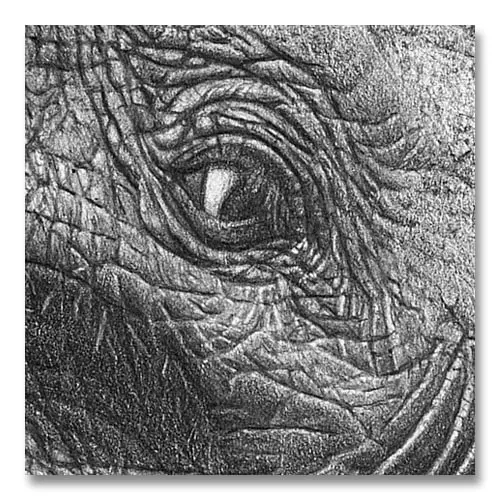
Many artists struggle with texture because they apply the same level of detail across the entire object. In reality, our eyes naturally focus on specific areas, leaving the periphery slightly blurred. If you draw every single pore on a face or every grain of sand on a beach with equal intensity, the drawing will look busy, mechanical, and flat.
Another reason for a lack of realism is the failure to consider the object's underlying form. Texture must wrap around the contours of the subject to appear three-dimensional. If you draw a pattern on a sphere but ignore the way the shadow curves, the texture will appear as if it is floating on top of the object rather than being a part of it. Always cross-contour your marks to reinforce the volume of the subject, ensuring the texture bends and stretches according to the object's shape.
Common mistakes when drawing texture
The most frequent error is using too much pressure, which prevents you from building layers of tone. Texture is rarely a single layer; it is the result of light, shadow, and mid-tones working in harmony. If you press too hard, you create permanent indentations in the paper and lose the ability to add subtle gradients. Always start with a light touch and gradually increase pressure as you define the darkest areas of the surface.
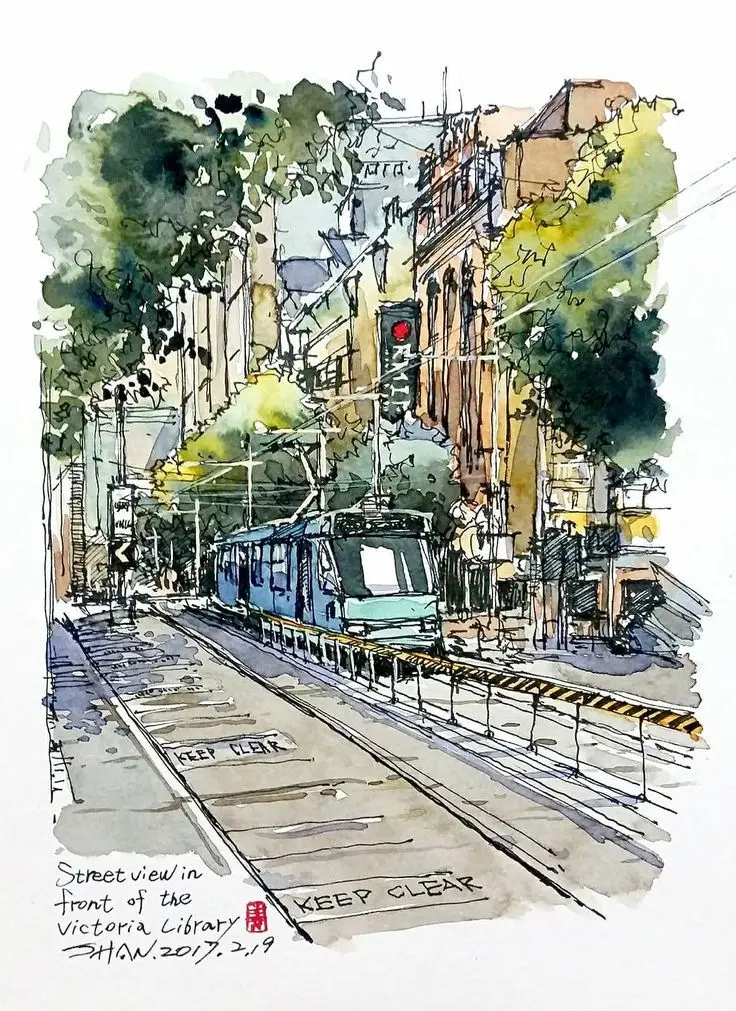
Avoid the tendency to use a single type of mark for the entire drawing. Variety is the key to visual interest and realism. If you are drawing a landscape, the texture of the foreground should be sharp and detailed, while the background should be softer and less defined to create atmospheric perspective. By carefully managing the contrast and density of your marks, you can lead the viewer's eye across the page and create a compelling, tactile experience that feels authentic to the observer.
Key facts
- Texture is defined by the repetition of small marks, such as dots, lines, or cross-hatching, rather than the outline of an object.
- Use directional strokes that follow the contours of an object to make a flat surface appear three-dimensional.
- Vary your pressure to create light and dark values; heavy pressure creates deep shadows, while light pressure suggests highlights.
- Stippling involves using thousands of tiny dots to create density, where more dots clustered together result in darker tones.
- Cross-hatching requires layering sets of parallel lines at angles to build up complex, woven textures.
- Observe the "surface quality" of your subject, noting if it is matte, shiny, rough, or smooth before choosing your mark-making style.
The bottom line
Drawing texture is the art of translating physical touch into visual marks. By mastering various mark-making techniques like stippling, hatching, and cross-hatching, you can simulate any surface quality. The secret lies in observing how light interacts with specific materials and using directional lines to define form. Practice consistently by focusing on the relationship between light, shadow, and the unique patterns that define the world around you.
People also ask
How do I make a surface look shiny instead of matte?
Shiny surfaces feature high-contrast transitions with very sharp, bright highlights and deep, dark shadows. Avoid soft, blended gradients, as these usually indicate a dull or matte texture.
What is the best pencil grade for drawing texture?
Use a range of pencils, such as 2H for light, precise details and 4B or 6B for dark, rich shadows. A harder pencil will keep your marks crisp, while a softer pencil allows for velvety, textured shading.
How do I draw realistic hair or fur?
Focus on drawing groups of hair rather than individual strands, following the natural flow and direction of growth. Use long, tapering strokes that overlap to create volume and depth.
Can I use an eraser to create texture?
Yes, an eraser is a drawing tool used for "subtractive" techniques. Use a kneaded eraser to lift pigment and create highlights, such as the texture of clouds or the glint on a metallic object.
Why does my drawing look flat when I add texture?
You likely ignored the underlying form of the object. Always ensure your textured marks wrap around the shape of the subject to reinforce its volume rather than just sitting on the surface.
How do I draw rough textures like stone or brick?
Use jagged, irregular lines and high-contrast shading to suggest crags and pits. Keep your marks inconsistent to mimic the natural, weathered appearance of stone surfaces.
This answer was created with the help of AI research tools and reference sources. Spotted an error? Let us know — we correct mistakes quickly. See our editorial policy.