How do you draw birds in flight?
Short answer
Drawing birds in flight requires capturing the "line of action" and the rhythmic geometry of wing positions. Focus on the skeletal structure, specifically the shoulder and wrist joints, rather than individual feathers. By establishing a strong gesture and understanding the cycle of the wing stroke, you create a sense of dynamic movement.
On this page
How to capture the gesture of flight
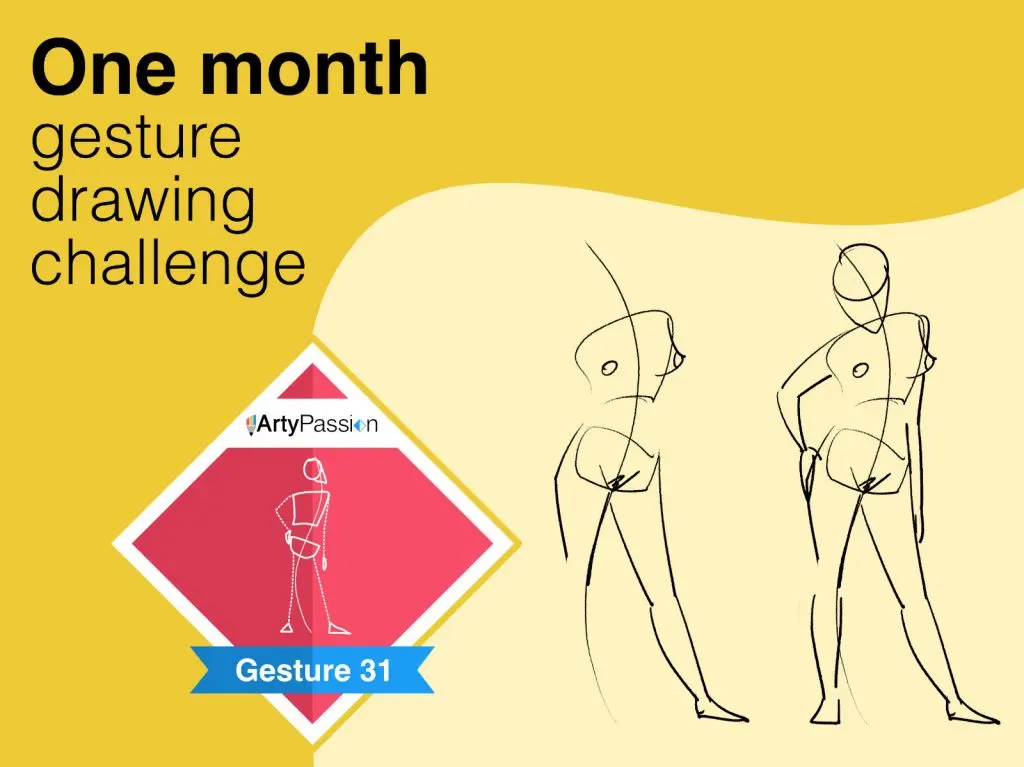
The secret to drawing a bird in motion lies in the "line of action," an imaginary curve that runs from the bird’s head through its spine to the tail. Before adding any anatomical detail, you must sketch this line to establish the bird's trajectory and energy. A bird in a steep dive will have a sharp, downward-curving line, while a soaring bird will exhibit a gentle, horizontal arc.
Once the line of action is set, place the head and the body as simple geometric shapes, such as ovals or teardrops. Do not worry about feathers or fine details at this stage. Instead, focus on the placement of the wings relative to the body's center of gravity. If the wings are not positioned correctly, the bird will appear to be falling rather than flying. Use these steps to establish your foundation:
- Draw a light, sweeping curve to represent the bird's path.
- Place a small circle for the head and a larger oval for the torso.
- Mark the shoulder joints as anchor points on the upper torso.
- Sketch the wing span as simple lines extending from those anchors.
How to understand wing anatomy
Birds do not flap their wings as rigid paddles; they move them through a complex series of joints. The wing is essentially a modified arm, consisting of a humerus, radius, ulna, and a "hand" section that supports the primary feathers. When drawing a bird in flight, you must treat the wing as a series of connected segments that fold and extend.
The primary feathers act as the bird's "fingers," while the secondary feathers form the "forearm." During the downstroke, the wing is fully extended and often slightly cupped to push against the air. During the upstroke, the bird folds its wing closer to its body to reduce drag. Observing these phases is critical for realism. Keep these anatomical rules in mind:
- The shoulder joint stays relatively stable near the top of the chest.
- The "wrist" joint is where the wing bends, often creating a sharp angle.
- Primary feathers are the longest and most rigid, located at the wingtip.
- Secondary feathers are shorter and attach to the forearm, providing lift.
Best techniques for drawing wing positions
To master the mechanics of flight, you should study the "wing beat cycle." Most birds follow a repetitive pattern: the downstroke provides the power, and the upstroke provides the recovery. By drawing the bird at different stages of this cycle, you can suggest speed and effort. A bird with wings fully swept back is in a high-speed dive, while wings held high above the back indicate the end of an upstroke.
Practice sketching birds in three distinct positions: the fully extended downstroke, the mid-stroke transition, and the folded upstroke. Use reference photos to observe how the feathers fan out during the downstroke but overlap tightly during the upstroke to let air pass through. By alternating these positions in a series of sketches, you will develop a mental library of how different species, such as gulls or hawks, manipulate their wings to navigate the sky.
Common mistakes when drawing birds
One of the most frequent errors is drawing wings that are too symmetrical or static. Beginners often mirror the wings perfectly, which makes the bird look like a paper cutout rather than a living creature. In reality, a bird’s wings are rarely identical in a drawing because of the perspective and the bird's constant adjustments to wind currents. Always account for foreshortening, where one wing appears shorter because it is angled toward or away from the viewer.
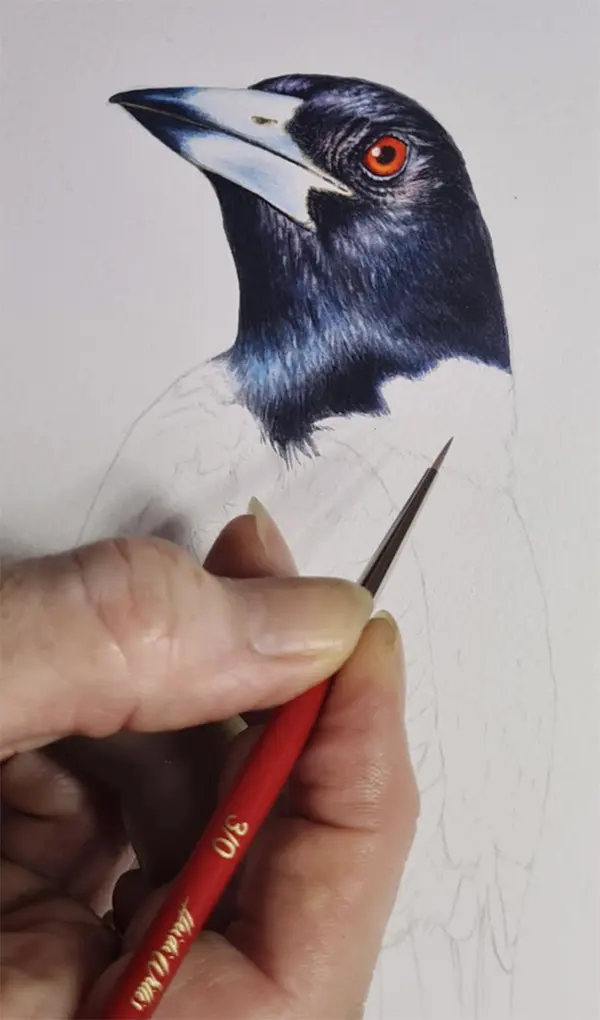
Another mistake is over-rendering the feathers before establishing the structure. If you focus on individual feathers too early, the bird will lose its sense of weight and motion. Feathers are merely a surface texture; the structure of the wing bones is what dictates the form. Avoid the urge to draw every single feather you see. Instead, group the feathers into "tracts" or masses, and only add detail to the tips of the primary feathers where the silhouette is most distinct.
How to add detail and finish the drawing
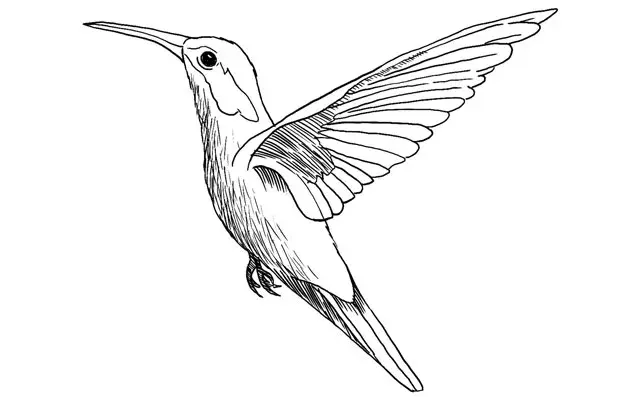
After establishing the gesture, anatomy, and wing position, you can begin to refine the drawing. Start by defining the silhouette, paying close attention to the way the feathers overlap along the leading edge of the wing. The leading edge is usually smooth and aerodynamic, while the trailing edge is ragged and flexible. This contrast is what gives the bird its realistic, organic appearance.
Finally, consider the lighting and the bird's environment. The underside of the wings is often in shadow, while the top surfaces might catch the light. Use hatching or cross-hatching to suggest the direction of the feathers, following the curve of the wing rather than drawing straight lines. This technique reinforces the three-dimensional form of the bird. Once the shading is complete, you can add a few sharp, dark accents at the wingtips to emphasize the bird's speed and focus. By maintaining a clean silhouette and focusing on the rhythm of the stroke, you will successfully capture the essence of flight.
Key facts
- Use a simple "M" or "W" shape as a base guide for the wings, adjusting the angle based on the bird's flap cycle.
- Focus on the primary feathers at the wingtips, as these are the longest and most visible during flight.
- Keep the body shape streamlined and oval-like, as birds tuck their legs and streamline their feathers to reduce drag.
- Observe the "wing beat cycle," noting that the downstroke is usually more powerful and curved than the upstroke.
- Sketch the head and tail as anchor points to maintain the bird's correct proportions and balance.
- Vary the wing position to show motion; fully extended wings indicate a glide, while tucked wings suggest a rapid dive.
The bottom line
Drawing birds in flight requires capturing the essence of motion through simplified shapes rather than intricate detail. By establishing a strong, aerodynamic silhouette and focusing on the wing's pivot points, you can convey energy and grace. Remember to observe how different species use their wings to navigate the air, as this understanding will allow you to create dynamic, realistic sketches that truly capture the feeling of avian flight.
People also ask
How do I make a bird look like it is moving fast?
Draw the wings slightly blurred or angled backward to suggest speed. Focus on a sleek, aerodynamic body shape and minimize unnecessary feather detail.
Should I draw the bird from the side or from below?
Side views are best for beginners to understand wing structure. Views from below are more challenging because they require foreshortening of the wings and body.
What is the most common mistake when drawing flying birds?
Beginners often make the wings too symmetrical or stiff. Real birds adjust their wings constantly to navigate air currents, so add slight irregularities to each wing.
Do all birds have the same wing shape in flight?
No, wing shape varies by species. Raptors have broad, slotted wings for soaring, while swifts have narrow, pointed wings designed for high-speed flight.
How do I draw the feathers on a flying bird?
Do not draw every individual feather. Instead, group them into primary, secondary, and tertiary sections to suggest texture without cluttering the silhouette.
How do I determine the correct wing angle?
Study reference photos or watch birds in nature to see the "shoulder" position. The wing should pivot from the top of the torso, not the middle.
This answer was created with the help of AI research tools and reference sources. Spotted an error? Let us know — we correct mistakes quickly. See our editorial policy.