How can I draw a hawk easily?
Short answer
Drawing a hawk is best achieved by breaking the bird’s complex form into simple geometric shapes like circles and triangles. By focusing on the sharp, hooked beak and the powerful, angular wings, you can capture the essence of a raptor. Consistent practice with basic anatomy will help you achieve a realistic result.
On this page
How to draw a hawk step by step
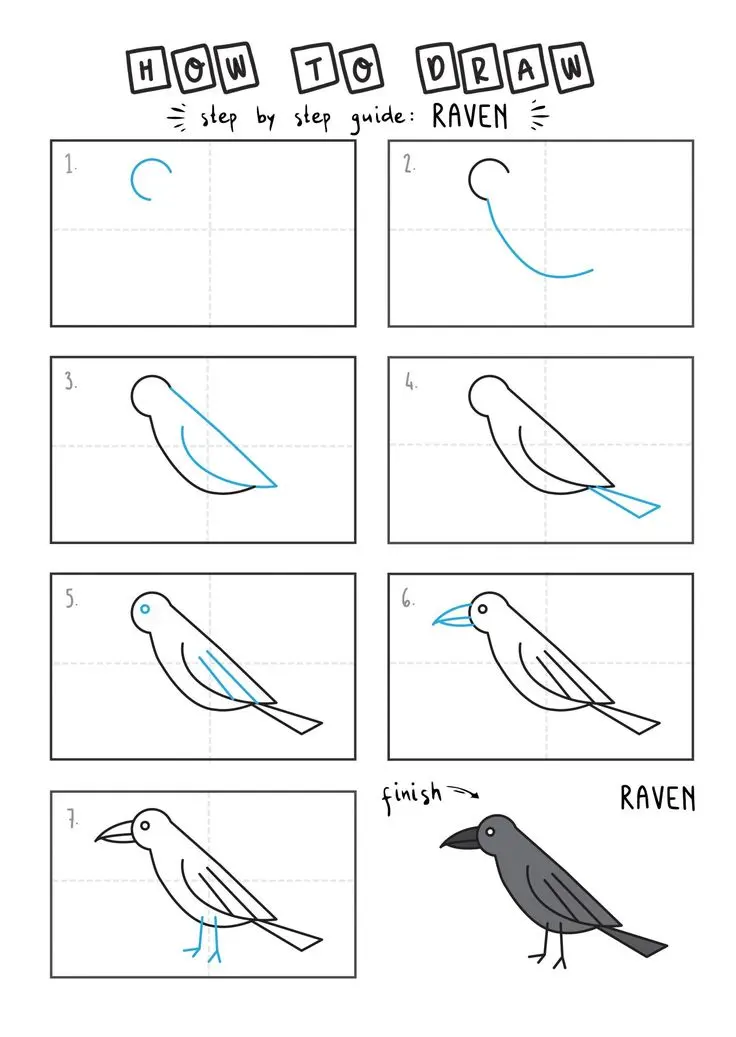
To begin your hawk drawing, start by sketching a circle for the head and a larger, oval shape for the body. Connect these with a short, curved line to represent the neck, ensuring the head is positioned slightly forward. Lightly draw a triangle extending from the front of the head circle to serve as the base for the sharp, hooked beak. These foundational shapes provide the structural integrity needed to build the rest of the bird’s anatomy accurately.
Once the frame is set, follow these steps to refine the form:
- Add a small circle for the eye, positioned near the top of the beak line.
- Draw a large, elongated triangle on the back of the body to represent the folded wing.
- Sketch a rectangular shape at the base of the body for the tail feathers.
- Add two small, inverted triangles beneath the body for the talons.
- Use quick, short strokes to outline the feathers along the wing and chest.
Best drawing tools for beginners
For those new to bird illustration, using a graphite pencil with a range of hardness levels is highly recommended. An HB pencil is ideal for the initial light sketching, while a 2B or 4B pencil allows for darker, bolder lines when defining the beak and eyes. Using a high-quality kneaded eraser is also essential, as it allows you to lift graphite gently without damaging the paper surface during the refinement process.
Consider using smooth-surface drawing paper, which prevents the graphite from becoming trapped in deep textures. If you choose to add color, colored pencils are far easier to control than paints for beginners. When layering colors, start with light, neutral tones like tan or grey before adding the darker browns and blacks characteristic of common hawk species like the Red-tailed Hawk. Always sharpen your pencils frequently to maintain the crisp edges required for feathers.
Why hawk anatomy is important
Understanding the skeletal structure of a hawk is vital for creating a convincing drawing. Hawks are defined by their compact, powerful bodies and high-set shoulders, which are designed for flight and hunting. The most critical feature is the beak; it must have a distinct downward curve at the tip to convey the predatory nature of the bird. If the beak is drawn too straight, the hawk will look more like a generic songbird.
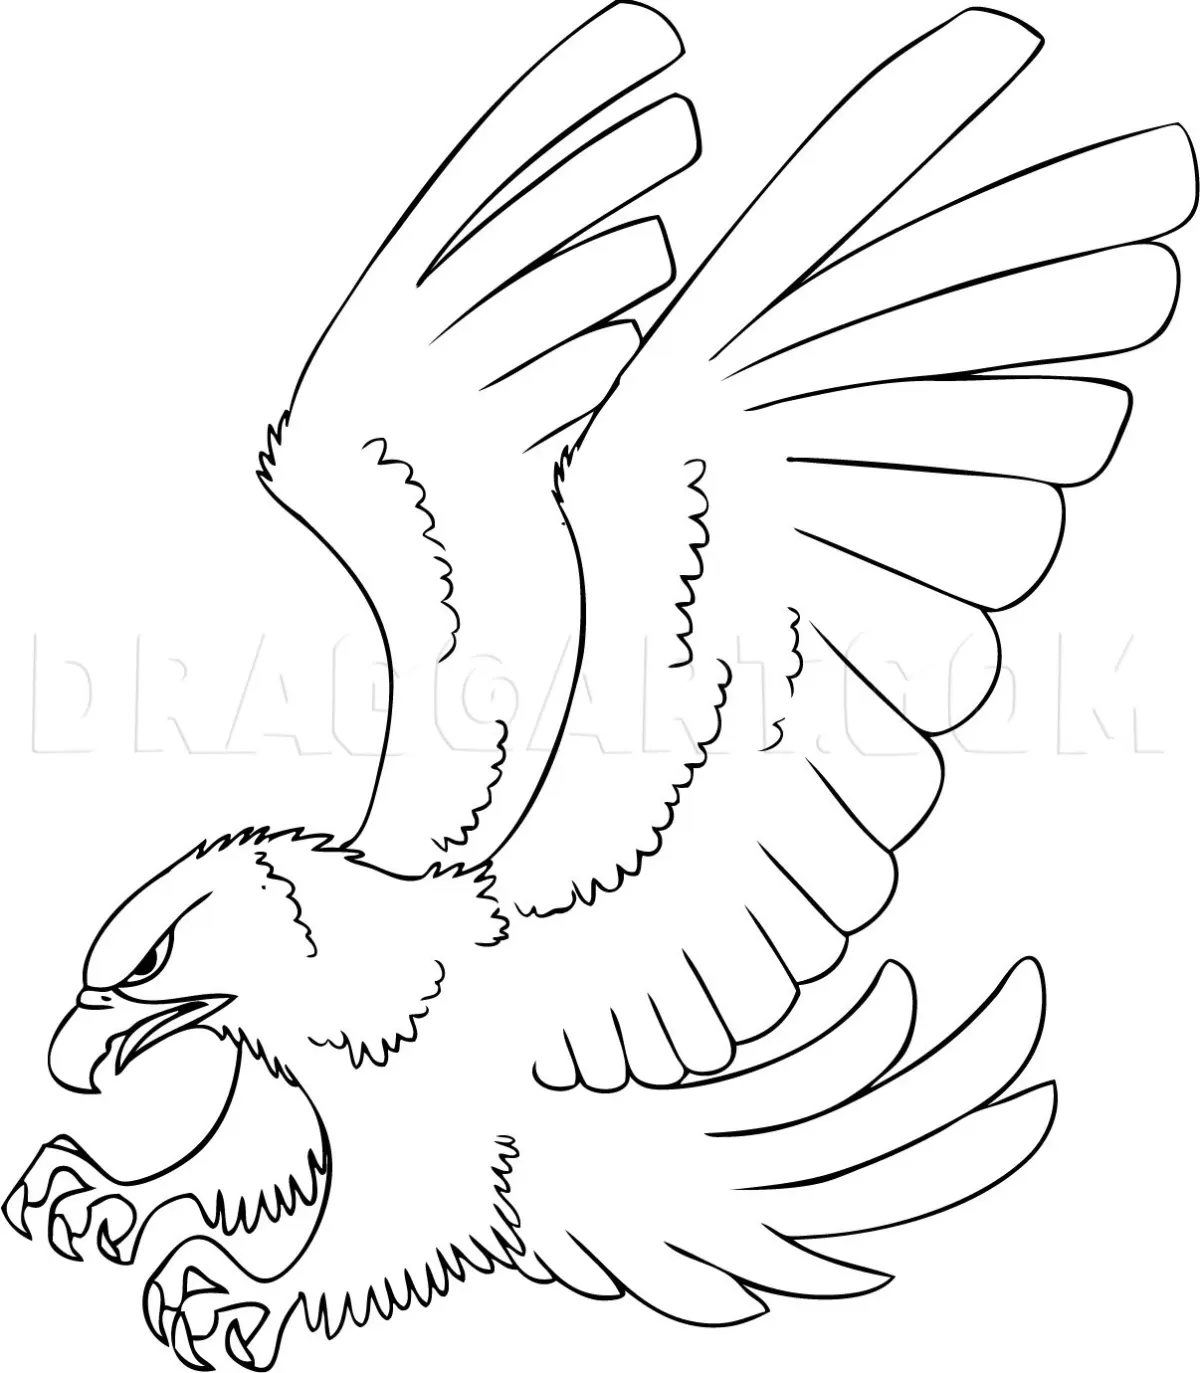
The eyes of a hawk are also uniquely positioned to provide a fierce, focused gaze. They are typically set deep beneath a prominent brow ridge, which gives the bird its characteristic stern expression. When you draw the wings, remember that they are composed of long, stiff primary feathers that overlap like shingles on a roof. Observing how these feathers splay out when the hawk is perched or in flight will add a layer of realism that separates a professional sketch from a simple cartoon.
Common mistakes when drawing hawks
One of the most frequent errors is making the head too small in proportion to the body. Hawks have relatively large, broad heads to accommodate strong jaw muscles, so ensure your initial head circle is substantial enough. Another common mistake is neglecting the "shoulders" of the wing. Many beginners draw the wings as smooth, rounded curves, but in reality, the wing joint creates a sharp, angular protrusion near the top of the back.
Pay close attention to these common pitfalls to improve your accuracy:
- Drawing the eye too far back, which makes the bird look startled rather than predatory.
- Using overly soft, fuzzy lines that obscure the sharp, clean edges of the feathers.
- Forgetting the talons, which should look thick and curved rather than like thin, straight sticks.
- Creating a tail that is too short, which ruins the balance of the bird’s silhouette.
How to add texture to feathers
Texture is what brings a drawing of a hawk to life, transforming a flat outline into a three-dimensional creature. Instead of drawing every single feather, focus on the "feather groups." Use short, overlapping "U" shapes or jagged lines to suggest the texture of the chest and wing coverts. By varying the pressure of your pencil, you can create shadows between these groups, which adds depth and volume to the bird’s overall form.
Focus your most detailed work on the head and the leading edge of the wings, as these areas draw the viewer's eye first. Use long, thin strokes to represent the primary feathers, ensuring they follow the direction of the wing's movement. In the shadowed areas under the wings or near the tail, use cross-hatching to darken the tone without losing the sense of texture. With patience and careful observation of your reference images, you will successfully capture the regal presence of the hawk.
Key facts
- Hawks have sharp, hooked beaks designed for tearing prey, which should be the focal point of your drawing.
- Focus on the "brow ridge" above the eye, which gives the hawk its characteristic intense and predatory expression.
- Use a teardrop shape for the main body to establish the bird's sleek, aerodynamic silhouette.
- Sketch the wings as elongated triangles, keeping in mind that primary feathers are long and separated at the tips.
- Position the talons as curved, sharp hooks rather than straight lines to convey the bird's gripping power.
- Always observe the hawk's posture; they often hold their heads slightly tilted when scanning the ground for movement.
The bottom line
Drawing a hawk effectively requires focusing on the bird's predatory features, specifically the sharp, hooked beak and the intense, hooded eyes. By starting with simple geometric shapes like teardrops and triangles, you can build a balanced structure before adding detailed feather textures. Practice observing the hawk's posture to capture its natural grace, ensuring your final sketch highlights the power and focus inherent in these birds.
People also ask
What is the best pencil grade for sketching birds?
Use an HB pencil for light initial outlines and a 2B or 4B pencil for adding darker shadows and texture to the feathers. This range allows for both precision and depth.
How do I make the feathers look realistic?
Avoid drawing every individual feather. Instead, focus on the direction of feather growth and use short, overlapping strokes to suggest texture in clusters.
Should I start with the head or the body?
Start with the head to establish the hawk's personality and scale. Once the head is placed, the body and wings can be sized proportionally around it.
How do I draw hawk eyes accurately?
Draw a small, dark circle for the pupil and leave a tiny white dot for a highlight to create a lifelike, piercing gaze. The eye should be placed just below the brow ridge.
What is the most common mistake when drawing wings?
Beginners often draw wings too small or too close to the body. Hawks have a large wingspan, so ensure the wings extend well beyond the body's width.
How can I show the hawk is in flight?
Angle the wings upward or downward in a V-shape and spread the tail feathers into a fan. This creates a sense of motion and lift.
This answer was created with the help of AI research tools and reference sources. Spotted an error? Let us know — we correct mistakes quickly. See our editorial policy.