How can I draw a bee easily?
Short answer
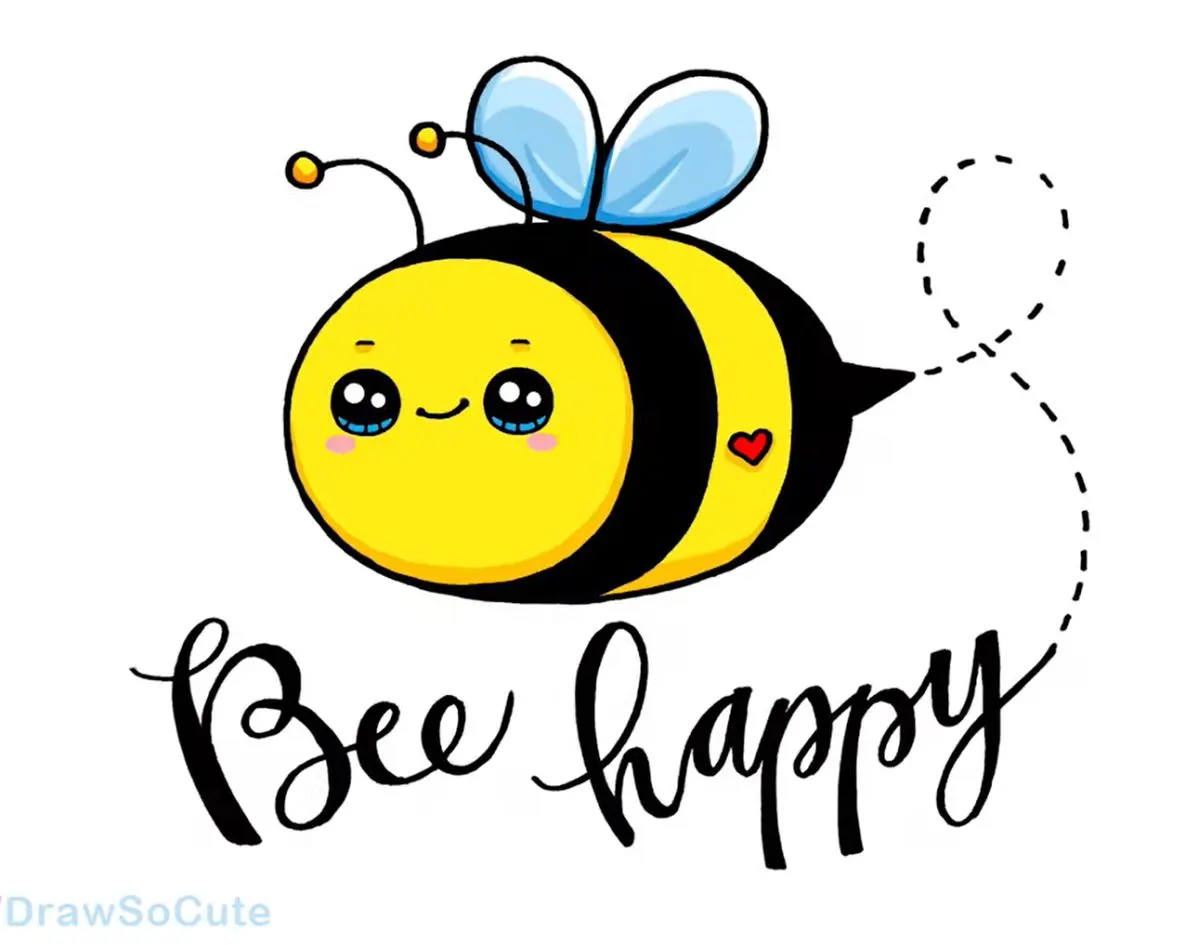
Drawing a bee is best achieved by breaking the insect down into three simple, rounded geometric shapes: an oval for the head, a larger oval for the thorax, and a teardrop shape for the abdomen. By adding two wings, six thin legs, and distinct yellow-and-black stripes, you create a recognizable, charming illustration.
On this page
How to draw a bee step by step
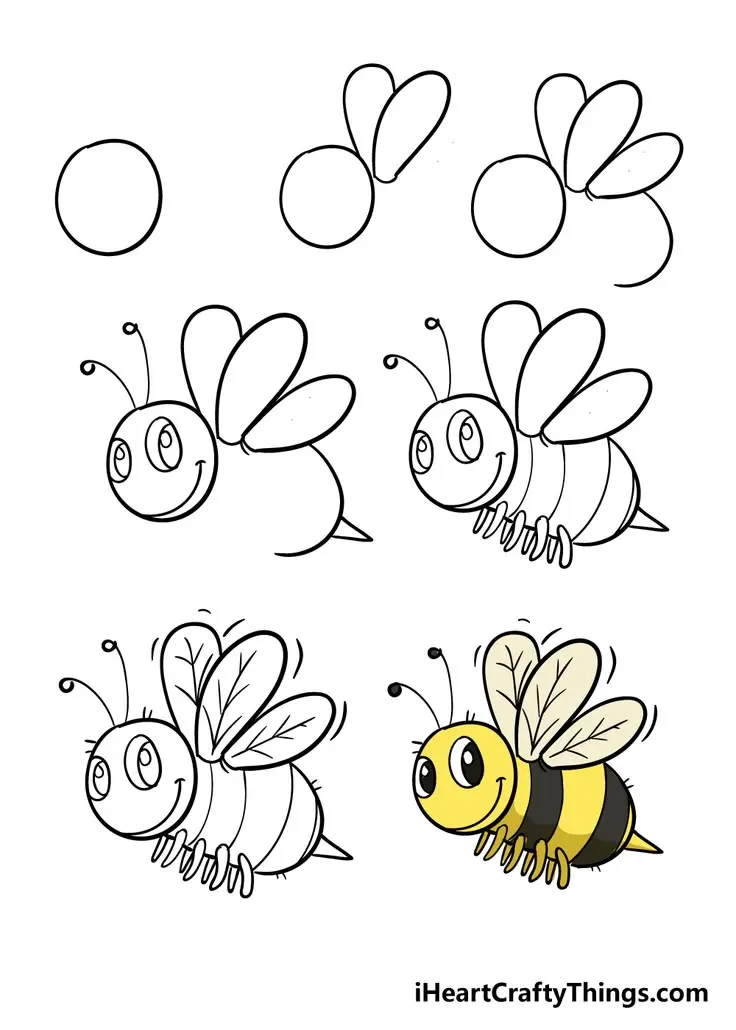
To begin your drawing, focus on the basic silhouette of the insect. Start by sketching a small circle for the head, followed by a slightly larger oval attached to its side for the thorax. Finally, draw a long, tapered teardrop shape extending from the thorax to serve as the abdomen. These three segments form the foundation of a bee's anatomy.
Once the body segments are in place, add the defining features that make the creature identifiable. Follow these steps to refine your sketch:
- Draw two large, oval-shaped wings extending from the top of the thorax, overlapping slightly.
- Add two small, curved antennae protruding from the top of the head.
- Include six thin, jointed legs originating from the bottom of the thorax.
- Draw horizontal lines across the abdomen to create the signature striped pattern.
- Add a small circle for the eye and a tiny stinger at the tip of the abdomen.
Best drawing tools for beginners
For those just starting, graphite pencils are the most forgiving medium because they allow for easy corrections. Use an HB or 2B pencil to sketch your initial shapes lightly, as these grades provide enough pigment to see your work without leaving deep indentations on the paper. A kneaded eraser is also essential, as it can be molded to lift away small mistakes without smudging the surrounding lines.
When you are ready to move beyond pencil, fine-liner pens or felt-tip markers are excellent for finalizing your design. These tools allow you to create clean, crisp outlines that make the bee stand out. If you choose to add color, watercolor pencils or alcohol-based markers are highly recommended. They provide vibrant yellows and deep blacks that mimic the natural coloration of a honeybee while remaining easy to control on standard drawing paper.
Why bees have stripes and wings
Understanding the biology of a bee can actually improve your drawing accuracy. Bees possess two pairs of wings, though they often appear as one large pair when viewed from the side because they are hooked together during flight. The stripes on a bee’s abdomen serve as a warning to predators, a concept known as aposematism. By knowing that these stripes are meant to be bold and high-contrast, you can emphasize them to make your drawing look more realistic.
The anatomy of a bee is designed for efficiency and pollination. Their bodies are covered in fine, branched hairs that help collect pollen as they move between flowers. When sketching, you can represent these hairs by adding small, short dashes along the edges of the thorax. This simple technique adds texture to your drawing and highlights the functional role the bee plays in nature, moving beyond a flat, cartoonish representation.
Common mistakes when drawing bees
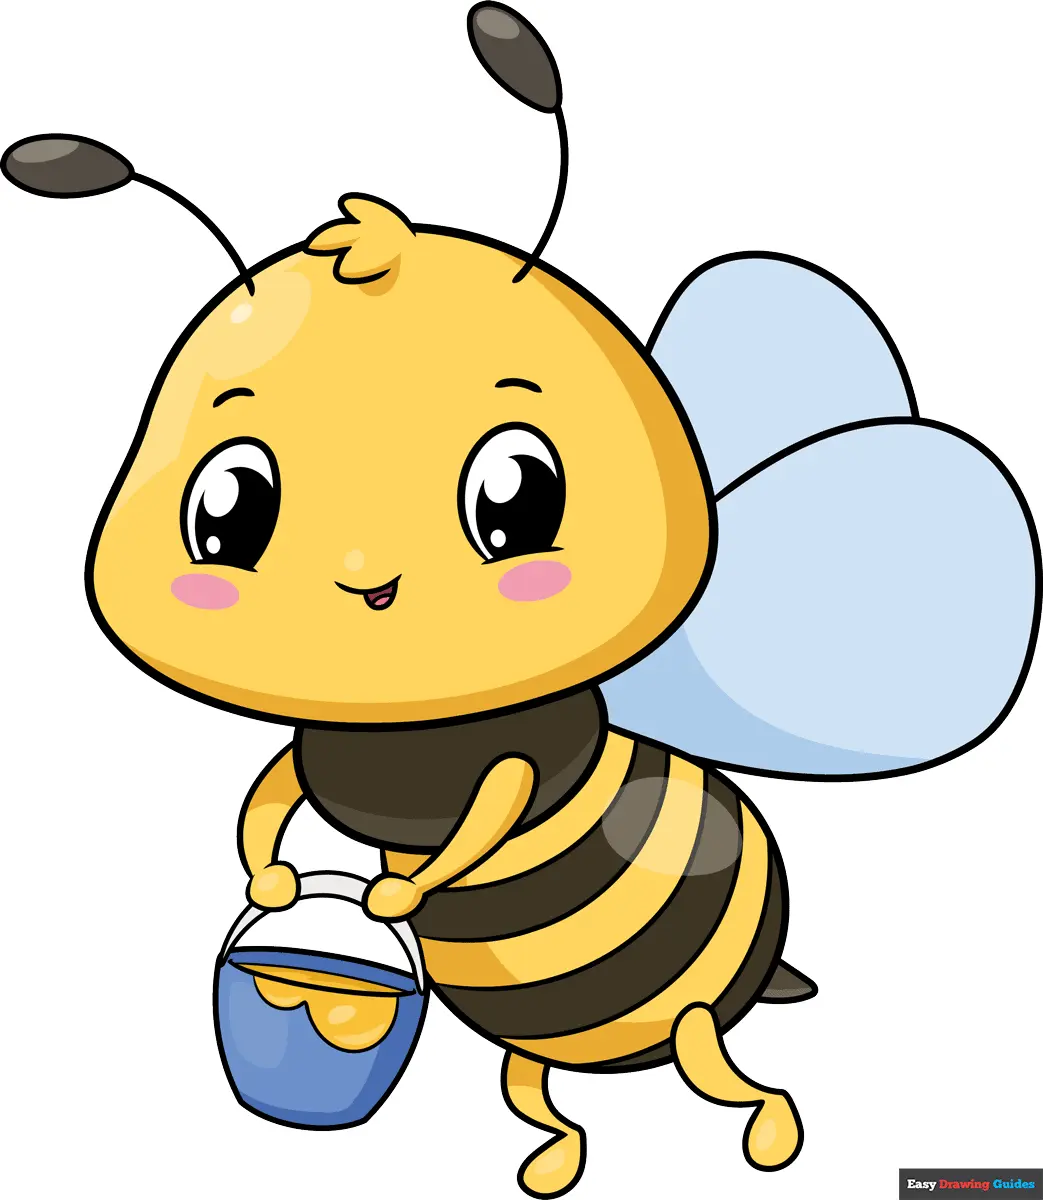
One of the most frequent errors is drawing the body segments as a single, uniform shape. Bees are segmented insects, and failing to distinguish the head, thorax, and abdomen makes the drawing look like a generic beetle or a fly. Always ensure there is a clear separation between these three parts, as this is the most defining characteristic of the Hymenoptera order, which includes bees, wasps, and ants.
Another common mistake involves the placement of the legs. Beginners often place the legs along the abdomen, but in reality, all six legs are attached to the thorax. Drawing legs on the abdomen will make the insect look anatomically incorrect and less like a bee. Additionally, avoid drawing the wings too far back; they should always originate from the thorax, which acts as the powerhouse for the insect's flight muscles. Keeping these anatomical points in mind will significantly improve the professional quality of your artwork.
How to add details to your bee
Once the basic structure is complete, you can elevate your drawing by adding subtle details. Consider drawing the wings with thin, vein-like lines to mimic the delicate structure of actual insect wings. You can also add a small, fuzzy texture to the thorax by using short, light strokes with your pencil or pen. This "fuzz" helps distinguish the bee from smoother insects like wasps, giving your drawing a softer, more organic appearance.
To finish your piece, focus on the eyes and the face. Bees have large, compound eyes that cover much of the side of their head. Instead of a simple dot, try drawing a large, rounded shape that fills the side of the head segment. Adding a small highlight inside the eye can make the bee look more lively and engaging. By combining these small, intentional details with the basic structural steps outlined earlier, you will create a polished and accurate representation of a bee.
Key facts
- Bees have three distinct body segments: the head, the thorax, and the abdomen.
- The thorax is the central segment where two pairs of wings and six legs attach.
- Drawing an oval for the body and a smaller circle for the head provides a solid foundation.
- Use horizontal stripes across the abdomen to immediately identify the insect as a bee.
- Add two small, oval-shaped wings on the back to suggest movement and flight.
- Keep antennae simple by drawing two thin, slightly curved lines extending from the top of the head.
The bottom line
Drawing a bee is an accessible exercise that relies on simple geometric shapes. By stacking an oval abdomen, a rounded thorax, and a small head, you create a clear silhouette. Adding horizontal stripes, six legs, and two pairs of wings completes the recognizable form. With practice, you can refine these basic elements to create charming illustrations that capture the essential characteristics of these vital, industrious garden pollinators.
People also ask
How do I make a bee look friendly instead of scary?
Draw large, round eyes and a small, curved line for a smile to give the bee a cute, cartoonish appearance. Avoid making the stinger too sharp or prominent.
Should I color the bee yellow and black?
Yes, alternating yellow and black stripes are the most recognizable features of a honeybee. You can use markers or colored pencils to fill in these sections clearly.
How many legs should a bee have?
All insects, including bees, have exactly six legs. When drawing, attach three legs to each side of the thorax for anatomical accuracy.
What is the best way to draw bee wings?
Draw two elongated, teardrop-shaped wings overlapping slightly on the back. Adding thin, vein-like lines inside the wings adds a professional touch to your sketch.
Can I draw a bee without stripes?
While stripes are iconic, many solitary bee species are metallic green, blue, or black. You can experiment with different colors to represent the diversity of bee species found in nature.
What common mistake should I avoid when drawing bees?
A frequent error is placing the wings on the abdomen rather than the thorax. Always ensure the wings are attached to the middle segment of the body to maintain correct insect anatomy.
This answer was created with the help of AI research tools and reference sources. Spotted an error? Let us know — we correct mistakes quickly. See our editorial policy.