How do you draw a wizard step by step?
Short answer
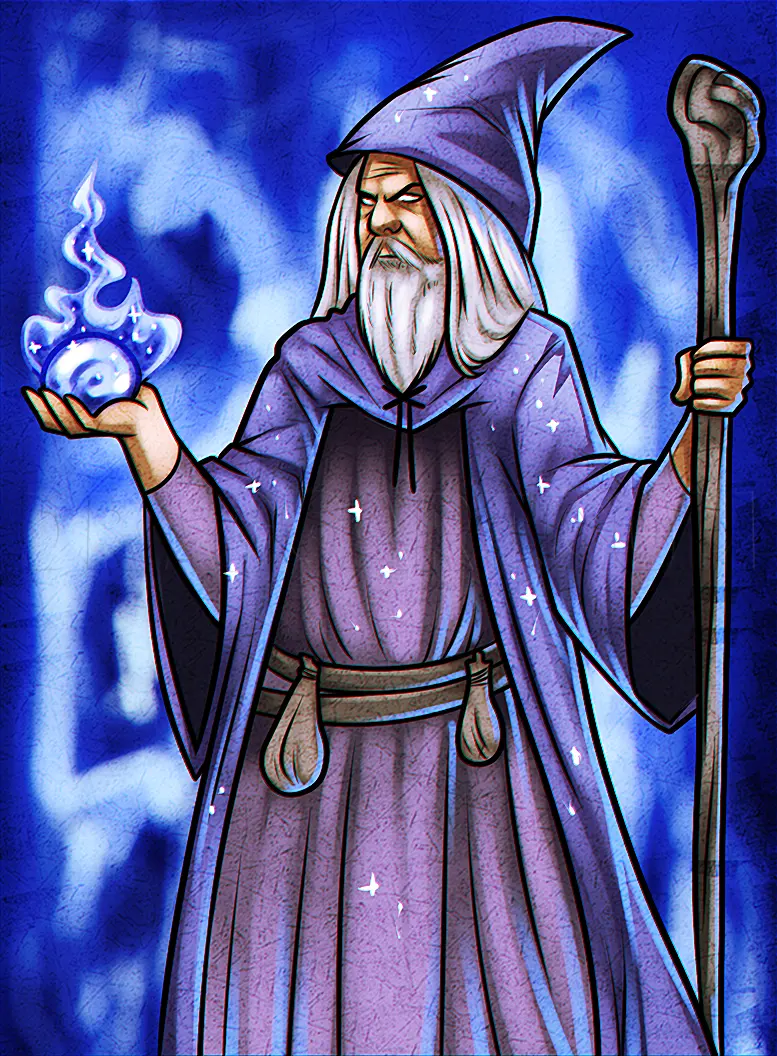
Drawing a wizard involves constructing a character through basic geometric shapes, layering clothing, and adding iconic accessories. By starting with a skeletal frame, you establish the pose and proportions before refining the facial features, flowing robes, and magical staff. This systematic approach ensures your final illustration captures the classic, mystical aesthetic effectively.
On this page
How to draw a wizard step by step
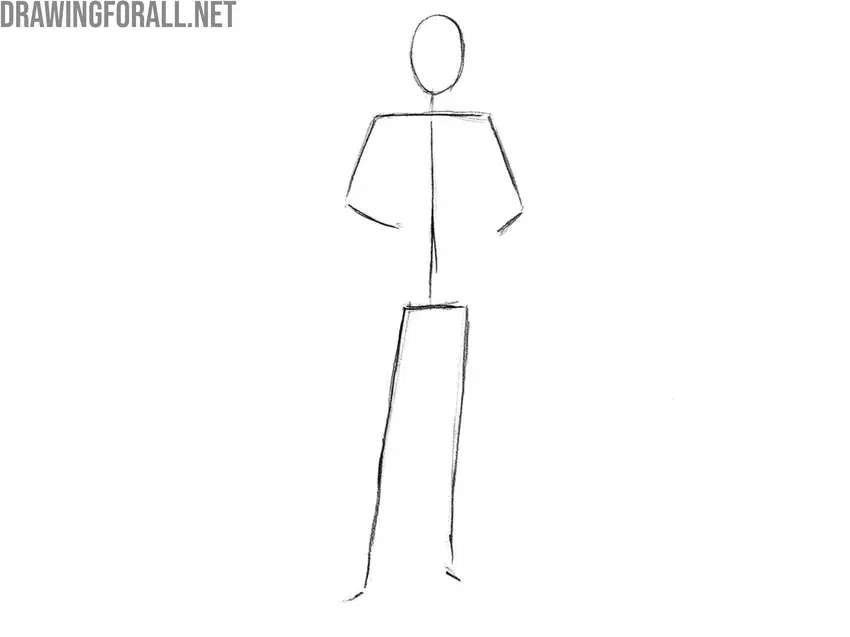
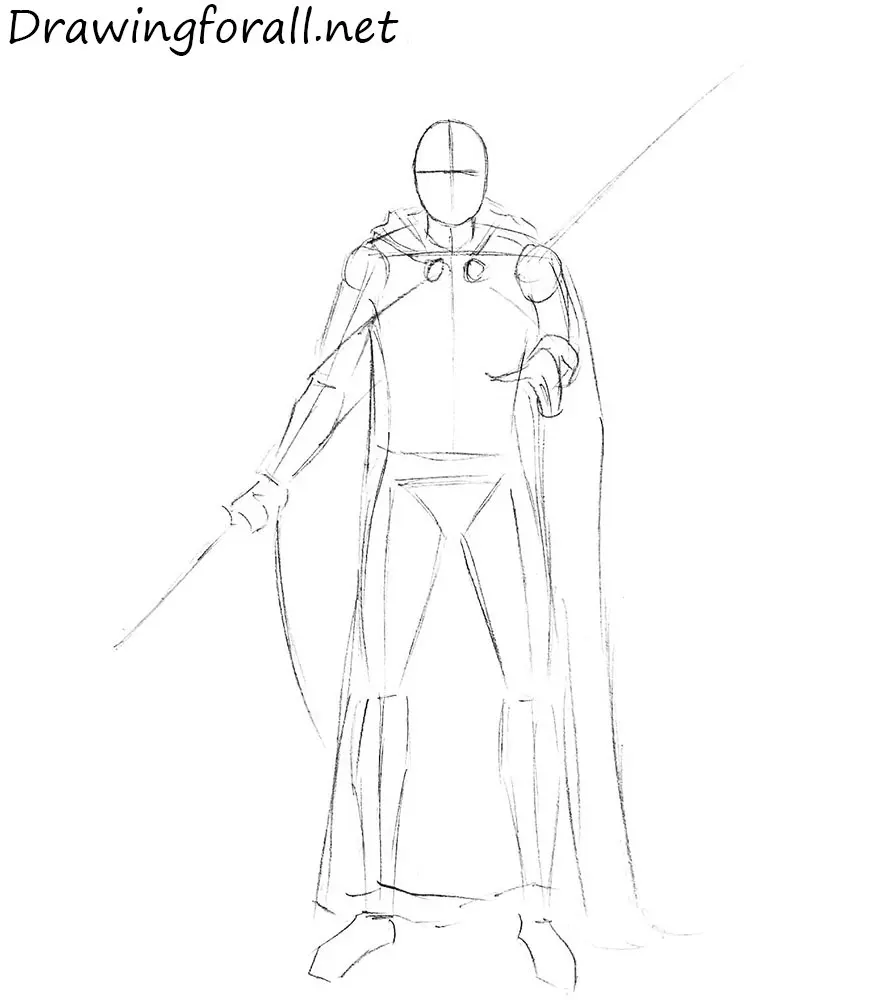
To begin your wizard, start with a simple stick figure or light geometric sketch to determine the character's posture. Wizards are often depicted with a slight hunch or a commanding, upright stance, so define the spine and limb placement early. Once the pose is set, build volume around the lines using cylinders for arms and legs, and an oval for the torso.
Follow these steps to build the foundation:
- Sketch a large circle for the head and a slightly smaller oval for the chest area.
- Draw a central line down the body to ensure the robes drape symmetrically.
- Add two long, flowing shapes extending from the shoulders to the ground to represent the outer cloak.
- Position the hands near the waist or holding a central prop to anchor the character's focus.
Keep your initial lines very light, as these are merely guides to be erased later. Focusing on the silhouette at this stage helps you avoid awkward anatomy before you commit to detailed ink or color work.
Best drawing tools for beginners
For those new to character design, starting with traditional graphite pencils is highly recommended. A standard HB pencil is perfect for the initial layout, while a softer 4B pencil allows for darker, more expressive shading once the form is established. Using a kneaded eraser is also essential, as it lifts graphite gently without damaging the paper texture during the refinement process.
Consider these essential supplies for your kit:
- A set of drawing pencils ranging from 2H to 6B for varying line weights.
- Smooth-finish sketchbook paper to prevent smudging during intricate detailing.
- Fine-liner pens with archival ink for outlining the final silhouette.
- A blending stump or soft tissue to smooth out shadows on the robes.
Using high-quality materials makes the process more enjoyable and allows for greater precision. As you progress, you may transition to digital tablets, but mastering the tactile control of pencil on paper remains the best way to understand form and pressure.
How to design wizard robes and accessories
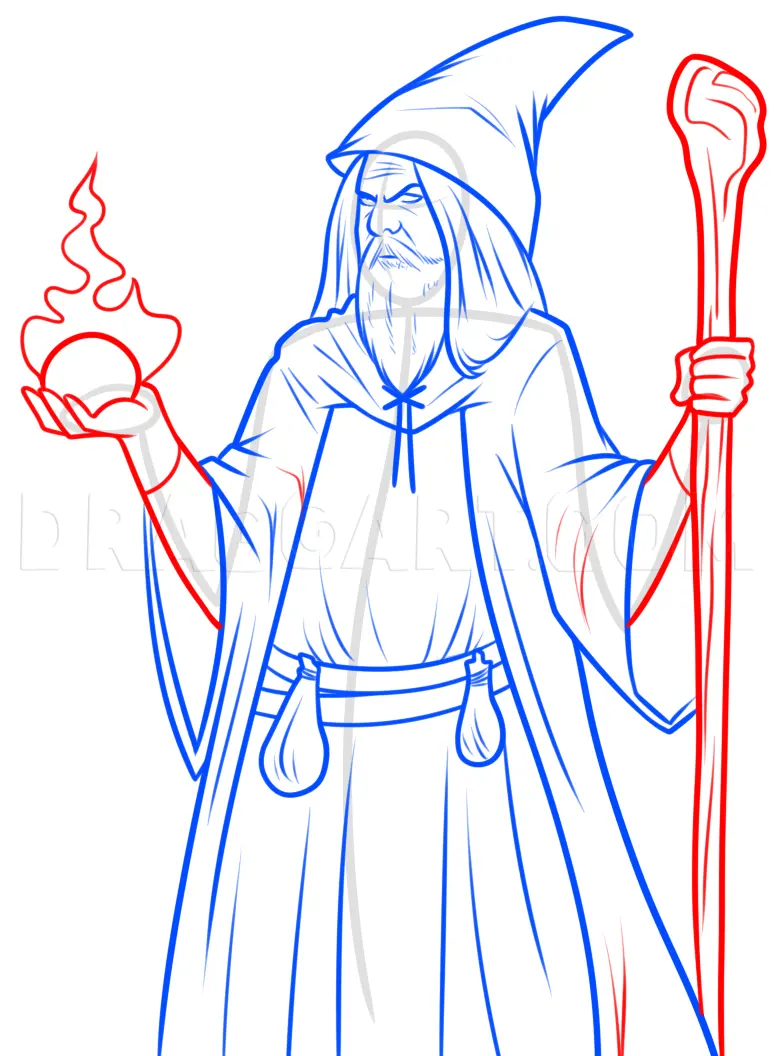
The iconic look of a wizard relies heavily on the texture and volume of their clothing. Long, layered robes should follow the movement of the body, with folds gathering at the elbows and the hem. Use curved lines to indicate the weight of the fabric, ensuring the cloth looks heavy rather than stiff. Adding a wide-brimmed, pointed hat is a classic touch that immediately signals the character's role.
When adding accessories, consider their purpose and history. A wooden staff should look sturdy, perhaps featuring a crystal or a lantern at the top to suggest magical utility. You might also include a leather scroll case, a belt with hanging pouches, or a weathered satchel. These details tell a story about the wizard’s lifestyle and level of experience, making the character feel more grounded and authentic within their fantasy setting.
Why anatomy matters in fantasy art
Even though wizards are often covered in voluminous robes, understanding the underlying human anatomy is critical for a convincing drawing. If the limbs are placed incorrectly, the character will look like a flat shape rather than a three-dimensional person. Pay attention to where the joints are located; for example, the elbows should align with the waist, and the knees should be positioned halfway down the leg length.
If you ignore basic proportions, the wizard may appear to have an unnaturally long torso or stunted limbs. Practice drawing the human frame without clothing first to get a feel for how the body moves in space. Once you are comfortable with the skeleton, you can drape the robes over it with confidence. This knowledge allows you to create dynamic poses, such as a wizard casting a spell or reaching for a potion, without losing structural integrity.
Common mistakes when drawing wizards
A frequent error is over-detailing the face while neglecting the overall silhouette. Beginners often spend too much time on the eyes or beard, resulting in a character that looks like a floating head rather than a complete figure. Always work from the outside in, ensuring the posture and clothing are balanced before focusing on the fine details of the face or magical effects.
Avoid these common pitfalls to improve your work:
- Drawing the beard as a single flat shape instead of individual, flowing strands.
- Making the staff appear too thin or fragile, which undermines the wizard's power.
- Neglecting to add a consistent light source, which makes the drawing look flat.
- Forgetting to ground the character, leaving them looking like they are hovering in mid-air.
By consistently checking your work against these points, you will create more professional and compelling illustrations. Take breaks to look at your drawing from a distance, as this helps identify balance issues that are not visible when you are working close to the page.
Key facts
- Start with a simple stick figure or basic geometric shapes to establish the wizard's pose and height.
- Use long, flowing lines for the robes to create a sense of movement and volume.
- The iconic pointed hat should be tall and slightly slumped to suggest age and wear.
- Add a long, flowing beard that reaches the chest or waist to emphasize wisdom and seniority.
- Place a staff in the wizard's hand, ensuring it is slightly taller than the character for a balanced composition.
- Include small details like pouches, crystals, or embroidered stars to add personality and narrative depth.
The bottom line
Drawing a wizard is a rewarding exercise in balancing iconic fantasy tropes with your own creative flair. By focusing on the foundational silhouette—the tall hat, flowing robes, and signature staff—you create a character that feels authentic and grounded. Remember to prioritize the gesture and movement of the fabric, as these details bring the figure to life and define the wizard’s personality and magical presence.
People also ask
What is the most important feature of a classic wizard design?
The most important feature is the silhouette, which is typically defined by a tall, pointed hat and long, flowing robes. These elements create a sense of mystery and authority that is instantly recognizable.
Should a wizard always hold a staff?
While not strictly required, a staff is a traditional accessory that helps balance the character's design. It acts as a focal point for the viewer and suggests the source of the wizard's magical power.
How do I make a wizard look older?
You can convey age by adding a long, drooping beard, deep wrinkles around the eyes, and a slightly hunched posture. Using muted or earthy color palettes also helps ground the character in a sense of history.
What are common mistakes when drawing wizard robes?
A common mistake is drawing robes that look stiff or flat against the body. To avoid this, use curved lines to suggest the weight of the fabric and how it folds around the arms and legs.
How can I make my wizard look more powerful?
To imply power, focus on the eyes and the stance of the character. A wide, confident pose and glowing effects around the hands or staff suggest that the wizard is actively channeling magic.
What kind of shoes does a wizard wear?
Wizards are traditionally depicted wearing simple, soft leather boots or pointed slippers. These footwear choices complement the rustic, scholarly aesthetic often associated with classic fantasy magic users.
This answer was created with the help of AI research tools and reference sources. Spotted an error? Let us know — we correct mistakes quickly. See our editorial policy.