How do you draw a family portrait?
Short answer
Drawing a family portrait requires careful planning, starting with a light sketch of basic shapes to establish proportions. Focus on the relationships between family members, using consistent scale and lighting. By layering details from large features to fine textures, you create a cohesive composition that captures both likeness and emotional connection.
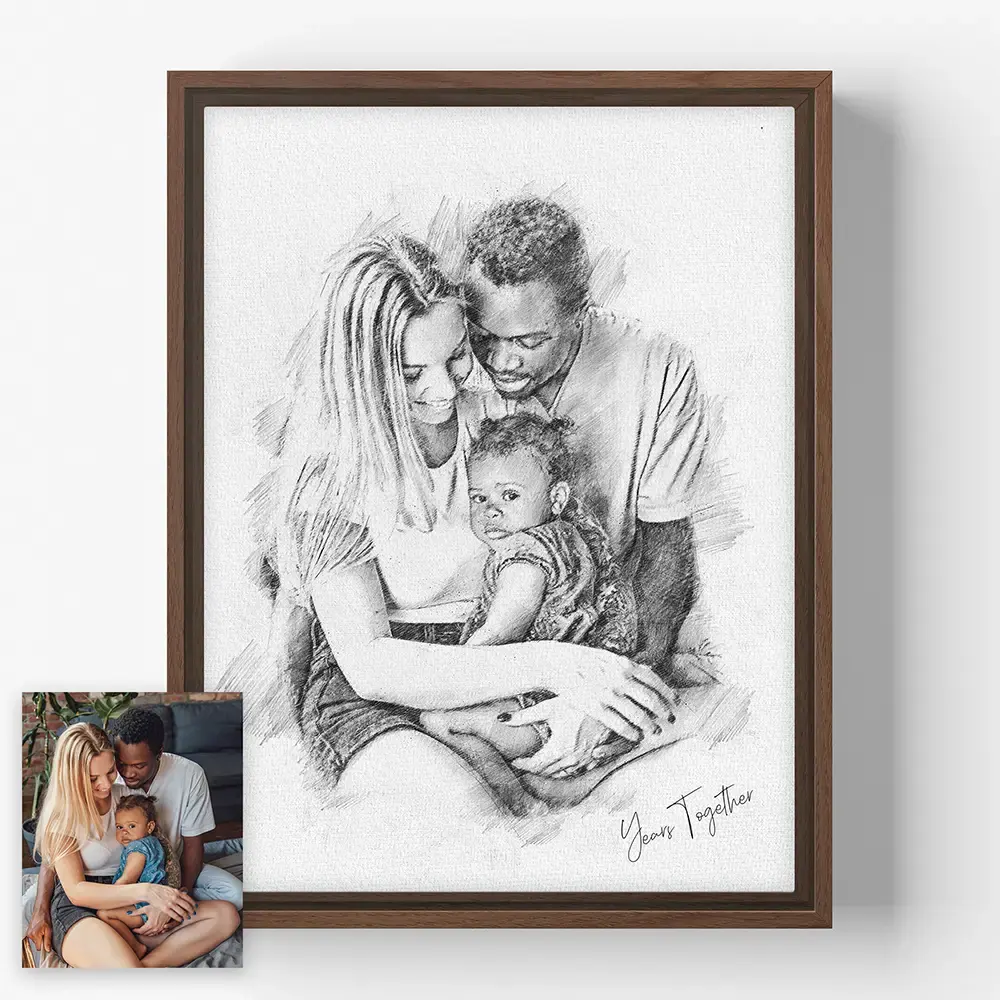
On this page
How to prepare for a family portrait
Before putting pencil to paper, gathering high-quality references is essential. If you are drawing from life, arrange your subjects in a comfortable, well-lit space where they can maintain a natural posture for extended periods. If using photographs, select images that show clear facial features and consistent lighting across all individuals. Avoid using blurry or low-resolution photos, as these make it difficult to capture accurate details and expressions.
Once you have your subjects or references, prepare your workspace with the right tools. Use a variety of graphite pencils, such as 2H for light initial outlines and 4B or 6B for deeper shadows. Keep a kneaded eraser nearby to lift graphite without damaging the paper surface. Having a clean, flat surface and proper lighting will help you maintain focus throughout the process.
- Select a reference photo with clear, even lighting.
- Ensure all subjects are visible without significant overlap.
- Choose a high-quality, acid-free drawing paper.
- Organize your pencils, sharpeners, and erasers for easy access.
How to sketch the basic composition
Start by mapping out the overall layout on your page. Use very light strokes to draw simple geometric shapes—circles for heads and cylinders for torsos—to represent each family member. This "mannequin" technique helps you establish the correct scale and placement before committing to permanent lines. Ensure there is enough negative space around the group to prevent the composition from feeling cramped or cluttered.
Pay close attention to the spacing between individuals. The goal is to create a balanced arrangement where no single person dominates the frame unless intended. Use a ruler or your pencil to measure the relative heights of the subjects, ensuring that their proportions remain consistent with one another. If one person appears significantly larger or smaller than they should be, adjust your initial shapes immediately.
- Keep your lines extremely faint to allow for easy corrections.
- Check the alignment of eyes and shoulders across the entire group.
- Use a vertical center line to help maintain symmetry in the layout.
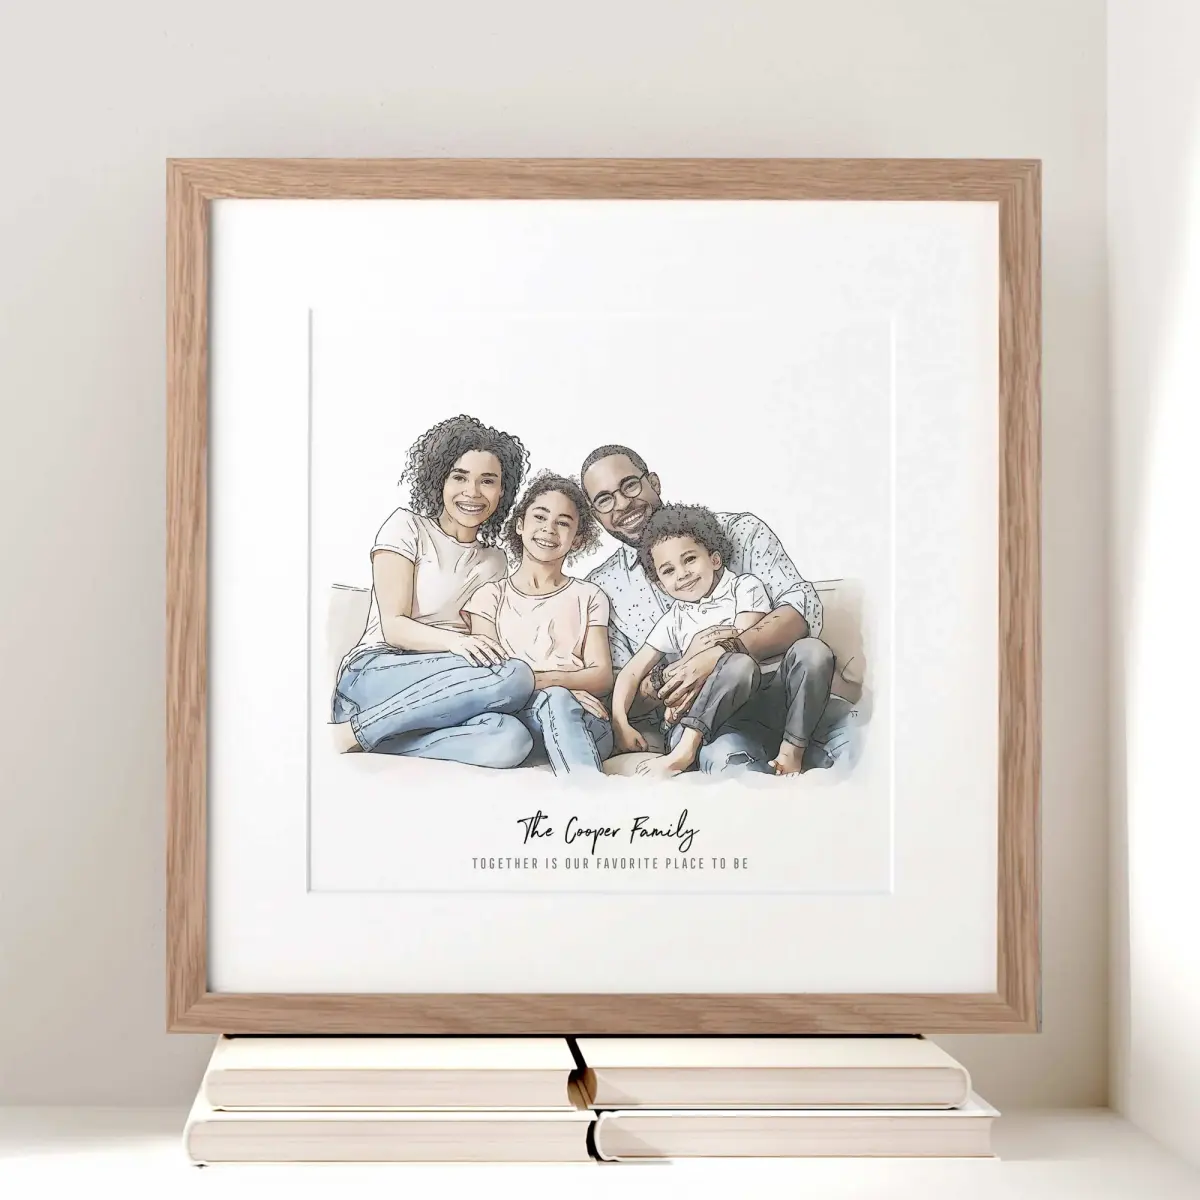
How to refine facial features and expressions
Once the basic shapes are established, begin refining the facial features. Start with the eyes, as they are the most expressive part of the face and set the tone for the portrait. Move on to the noses and mouths, ensuring that the angles align with the perspective of each person’s head. Use light shading to indicate the bridge of the nose and the curve of the lips.
Capturing a genuine likeness requires observing the unique details of each person. Look for specific traits such as the shape of an eyebrow, the fullness of a lip, or the way hair falls around the face. Avoid drawing generic features, as this will make the family members look like strangers. Instead, focus on the subtle variations that define each individual’s character and relationship to others in the portrait.
- Draw the eyes first to establish the gaze and expression.
- Outline the outer contours of the face and jawline.
- Add ears and hair, following the natural flow and volume.
- Re-evaluate the proportions after adding these details.
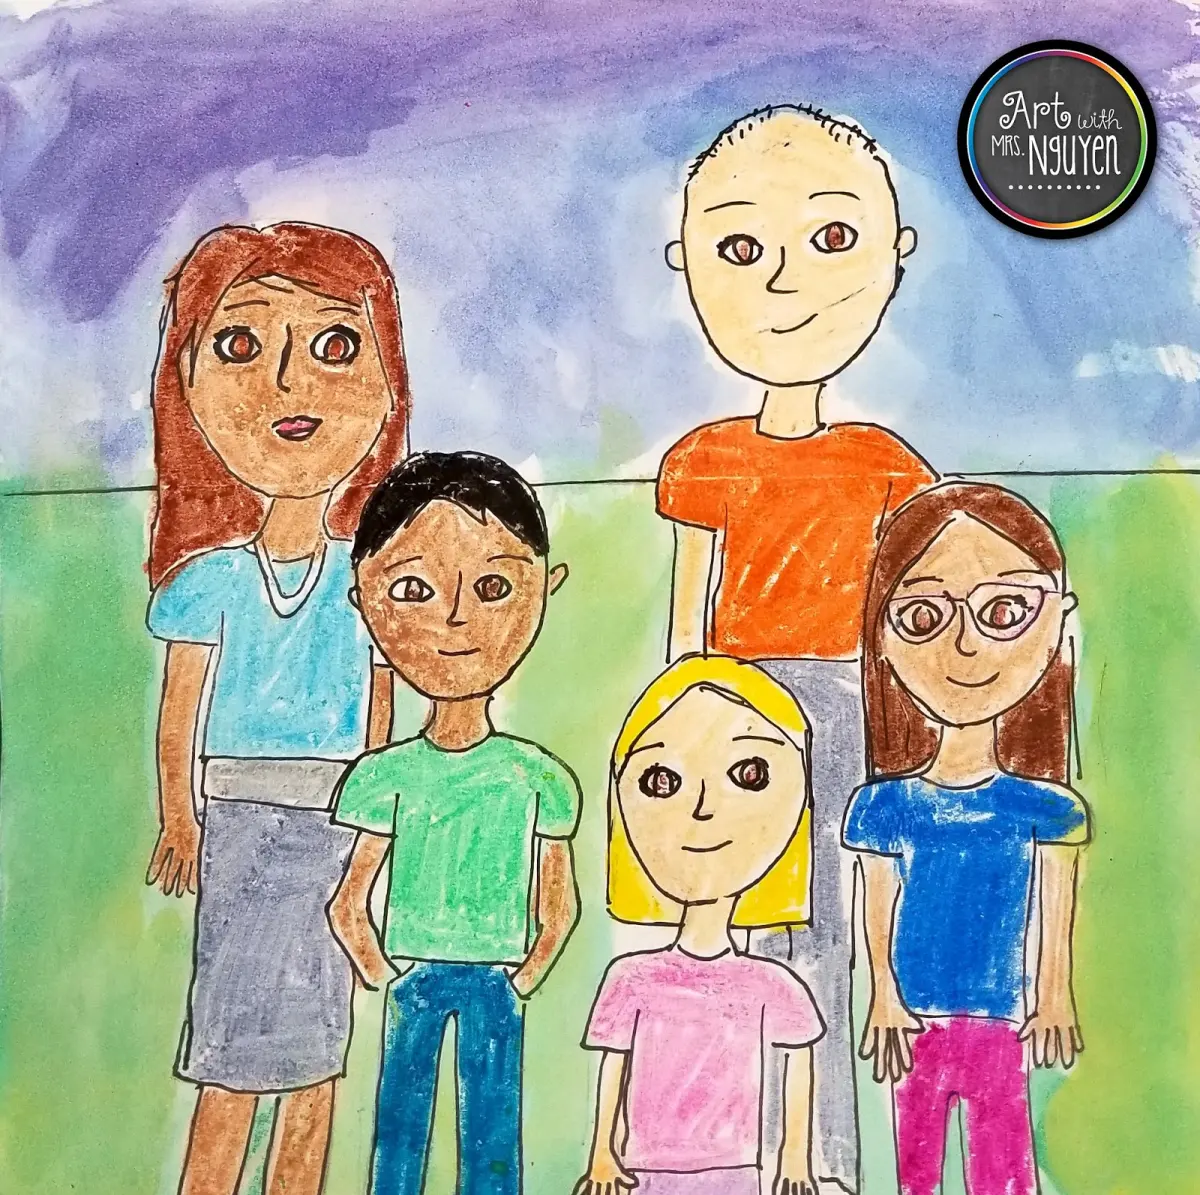
How to add shading and depth
Shading is what brings a flat drawing to life. Identify where the light source is coming from and apply shadows consistently across all faces. Areas that are furthest from the light, such as the underside of the chin or the side of the nose, should receive the darkest tones. Use a blending stump or a soft tissue to smooth out transitions between light and dark areas for a realistic skin texture.
Maintain a consistent light direction for the entire group. If the light hits the left side of one person’s face, it should generally hit the left side of everyone else’s face. This consistency anchors the family in the same environment and prevents the drawing from looking like a collection of disconnected portraits. Build your shadows gradually, starting with light gray tones and darkening them in layers to avoid muddying the paper.
- Use cross-hatching for darker, more defined shadows.
- Apply soft, circular motions for skin tones and highlights.
- Leave the brightest areas of the skin completely white for natural highlights.
Common mistakes when drawing portraits
One of the most frequent errors is rushing the initial sketch. Beginners often jump into detailing the eyes or hair before the underlying proportions are correct, which makes it nearly impossible to fix errors later. If the head shapes or body placements are off, the entire portrait will look distorted regardless of how well you shade individual features. Always step back frequently to view your work from a distance.
Another common mistake is ignoring the interplay between family members. A successful portrait should feel like a cohesive unit, not a series of individual heads floating on a page. Avoid making the subjects look too stiff or detached from one another. Instead, consider how their bodies lean or how their gazes interact to tell a story. By focusing on the emotional connection and the harmony of the composition, you will create a meaningful and professional-looking family portrait that captures the essence of your subjects.
Key facts
- Start by sketching light geometric shapes to represent each person's head and torso to establish proper spacing.
- Draw a horizontal line across the middle of each head to ensure the eyes are aligned correctly.
- Focus on the unique features of each family member, such as glasses, hair texture, or facial expressions, to build character.
- Group family members closely together in the composition to create a sense of connection and intimacy.
- Use a soft graphite pencil for the initial layout so that lines can be easily erased or adjusted.
- Establish a consistent light source so that shadows fall in the same direction on every figure.
The bottom line
Creating a family portrait is an exercise in both observation and composition. By establishing a solid structural foundation with simple shapes, you can ensure that each individual is accurately placed before adding intricate details. Remember that the goal is to capture the essence of your subjects through their unique features and their physical connection to one another, resulting in a meaningful and balanced artistic representation.
People also ask
How do I make everyone look like themselves?
Focus on distinct features like eyebrow shape, nose bridge width, and jawline structure. Use reference photos to observe specific details rather than relying on generic facial templates.
What is the best way to arrange people in a group?
Place taller individuals toward the back or center and shorter individuals in the front. Overlapping figures slightly can make the group look more natural and less like a rigid line.
Should I draw the background or the people first?
Always draw the people first to ensure they are sized correctly within the frame. Add the background elements afterward to frame the subjects without distracting from them.
How do I handle clothing details?
Simplify complex patterns and focus on the main folds of the fabric. Use shading to show the volume of the body underneath the clothes rather than drawing every individual stitch.
What pens or pencils are recommended for beginners?
Start with an HB pencil for sketching and a 2B or 4B pencil for adding darker shadows. These grades provide enough versatility to create depth without requiring a large set of tools.
How do I fix a mistake without ruining the paper?
Use a kneaded eraser to gently lift graphite off the page instead of rubbing hard. If you must erase a dark mark, dab the area rather than scrubbing to prevent damaging the paper fibers.
This answer was created with the help of AI research tools and reference sources. Spotted an error? Let us know — we correct mistakes quickly. See our editorial policy.